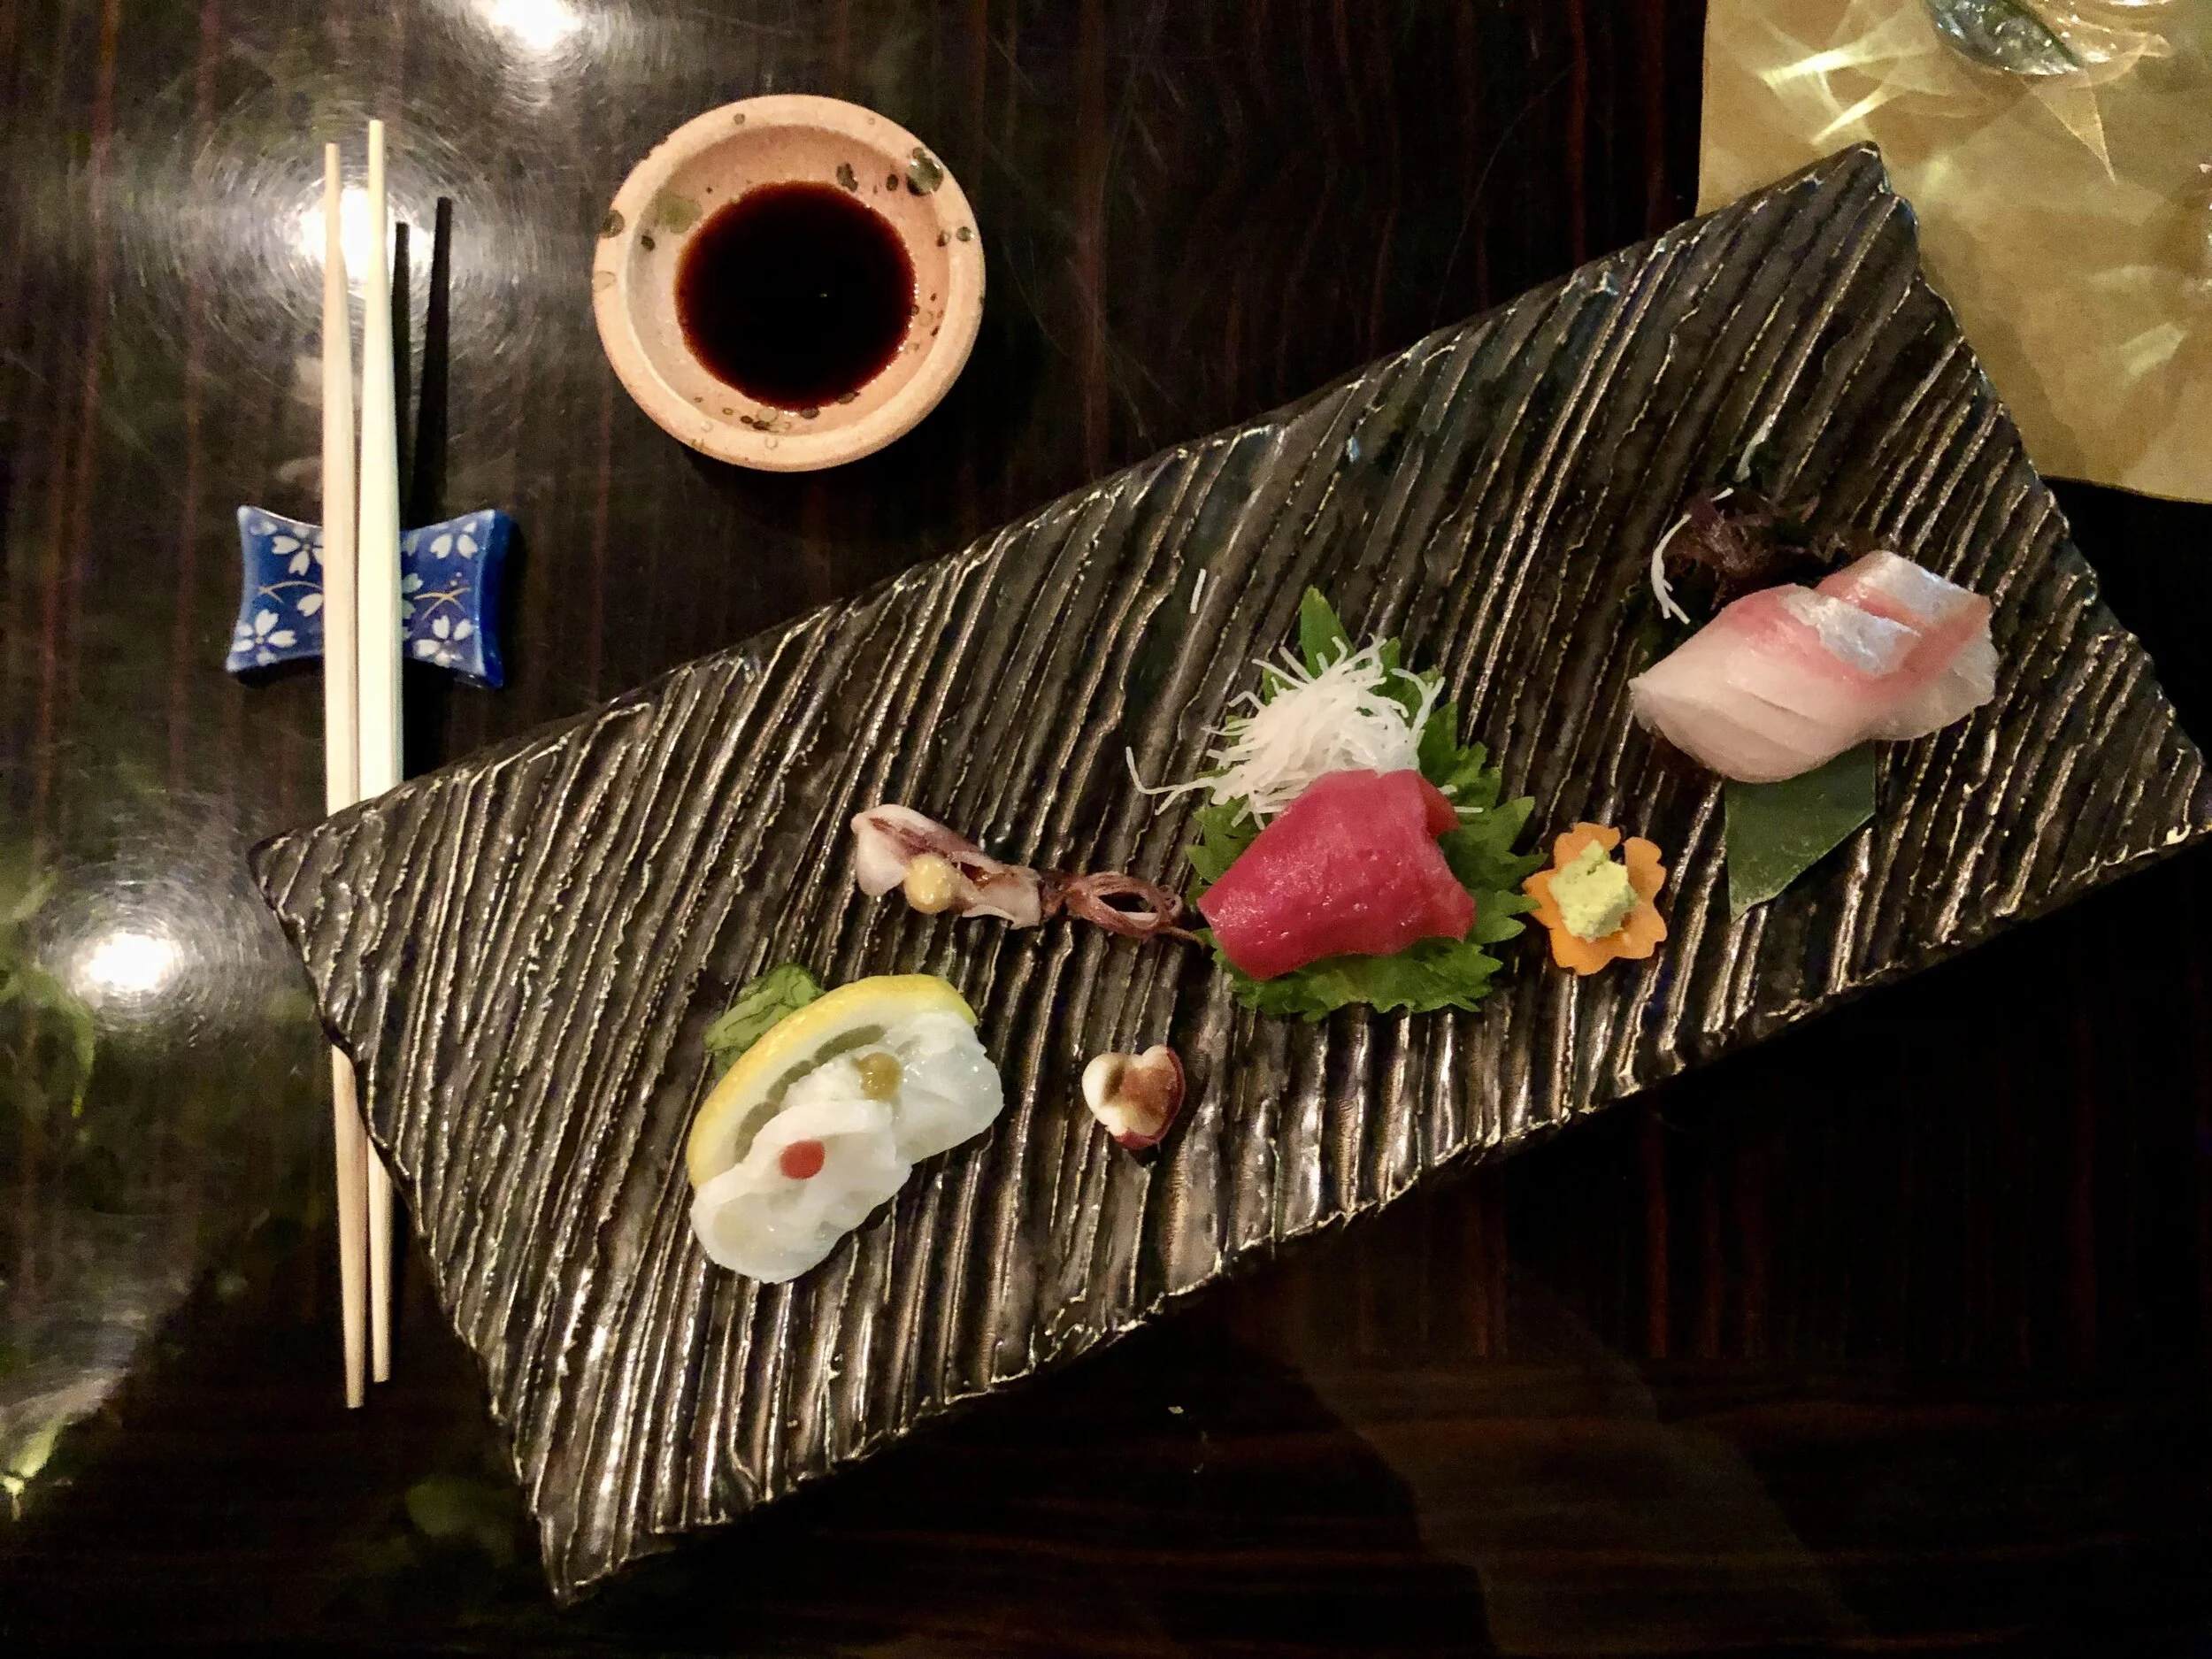
For a refreshing juice or smoothie on the east side, definitely stop by Tropical Juice in Highland Park. This no-frills shop whips up everything from green juices to ice cream milkshakes to seasonal fruit bowls to Mexican style desserts out of its beautiful and brightly colored stand on Figueroa. The fruit cocktail- a bowl of diced cantaloupe, watermelon, mango, cucumber, pineapple, and coconut topped off with lemon, salt and chile- is especially refreshing on a hot summer day. I’m also a fan of the jugo verde- made of parsley, celery, cucumber, kale, pineapple and spinach- so healthy! Everything is super affordable as well, so feel free to add it to your daily routine ;) Can’t wait to stop by again next time I’m back in my old stomping grounds.


healthy zucchini bread


It’s that time of year when zucchini squash are abundant, and I have to say, I’m not mad about it. While it’s common to use zucchini in savory meals like fired up on the grill alongside some meat, or turned into zoodles (aka zucchini noodles), they also make a wonderful baking ingredient! When grated and drained of their moisture, you can add this green veggie to countless baked good without compromising flavor. It’s such a clutch way to sneak in an extra serving of veggies for toddlers, or any picky eater for that matter! There are tons of zucchini bread recipes out there, and just like banana bread, you can make it as healthy or as sinful as you desire. This version is hearty and nutrient-packed, not too sweet, but still super delish thanks to ingredients like banana, flaxseed, almond flour, and (duh) zucchini. You can do a mix of flours like I did, or stick to one, but I find using a combo of both heartier and lighter flours is a nice way to balance things out. I went with a gluten-free version here (paleo if you sub out the brown rice flour as well), but feel free to use whole grain flours if you prefer. I typically do! I should note, since it’s sweetened just with banana, this bread is not overwhelmingly sweet. Make sure to use super ripe bananas, or if you prefer things on the sweeter side, you can opt to add a touch of maple syrup. I find once I add various toppings (fig jam, perhaps?), it’s sufficiently sweet for my tastes. Not to mention the citrus zest (use a microplaner) really adds a nice little kick. Mix-ins are another must in my book- they make for such great texture- so feel free to add in whatever your heart desires. Toasted nuts, raisins, shredded coconut, or even chocolate chips would all be tasty here. I kept things a bit simple this time, as I wanted my one year old to be able to dig in without any choking hazards ;) I’ll take a slice toasted and spread with a generous smear of nut butter, please. Yum!
Healthy Zucchini Bread:
1 cup mashed banana (about 2 medium bananas)
2 cups grated zucchini, excess moisture drained (about 2 medium zucchini)
3 large eggs
1/4 cup melted coconut oil
1 tsp pure vanilla extract
1 tsp citrus zest (orange, lemon, or lime!)
2 cups flour (I did a mix of almond, coconut & brown rice)
1/2 cup ground flaxseed
1 tsp baking powder
1/4 tsp baking soda
1 tsp ground cinnamon
1/4 tsp ground nutmeg
1/4 tsp kosher salt
1/2 cup preferred mix-ins (walnuts, raisins, coconut, chocolate chips etc)


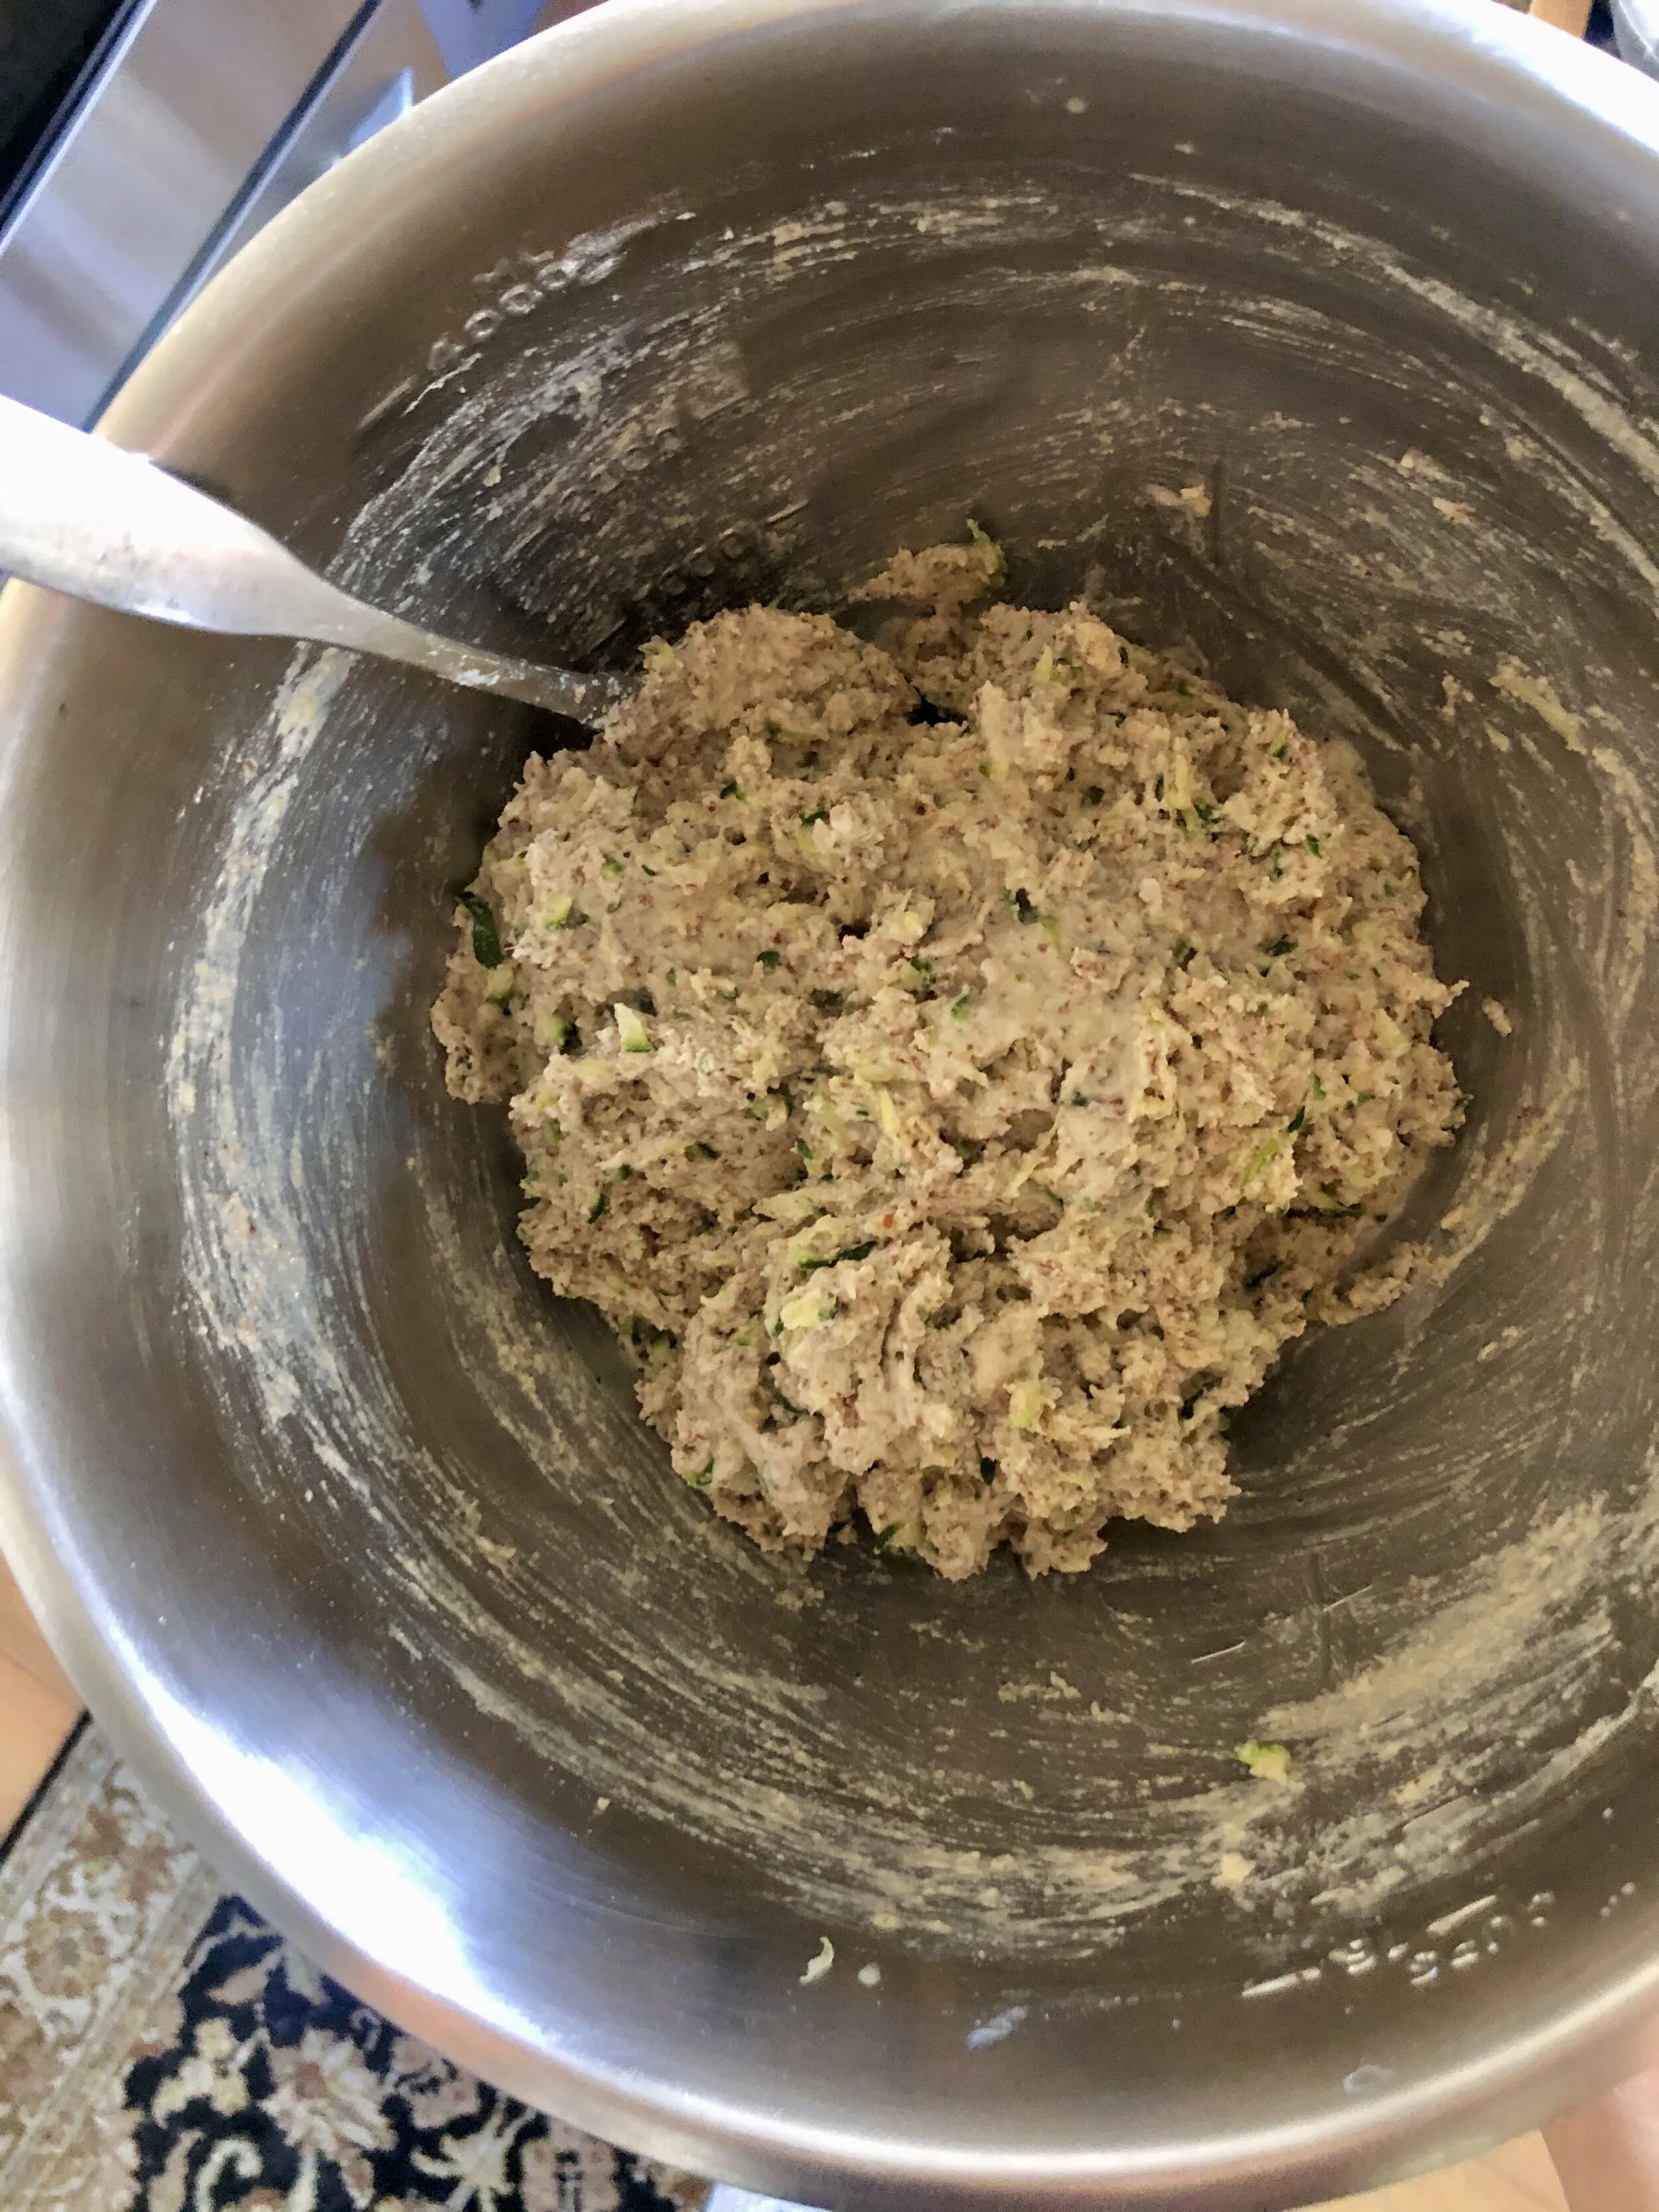

Preheat oven to 350 degree. Line a loaf pan with parchment paper, and add a bit of coconut oil or nonstick spray. In a large bowl whisk together banana, zucchini, eggs, coconut oil, vanilla extract & citrus zest until smooth. In a separate bowl, combine flours, flaxseed, baking powder, baking soda, cinnamon, nutmeg & salt. Then mix dry ingredients into wet until just incorporated. If your batter is super thick, you may thin it out a bit with 1/4-1/2 cup almond milk. Stir in any desired mix-ins. Add batter to loaf pan and bake for 45-55 minutes (or until cake tester comes out clean). Allow the bread to cool a few minutes before removing it from the pan with the ends of the parchment. Place it on a cooling rack to cool completely. Slice and enjoy with your preferred spread- butter, nut butter, or marmalade are all great choices!
*Adapted from The Best Paleo Zucchini Bread by RachL Mansfield.


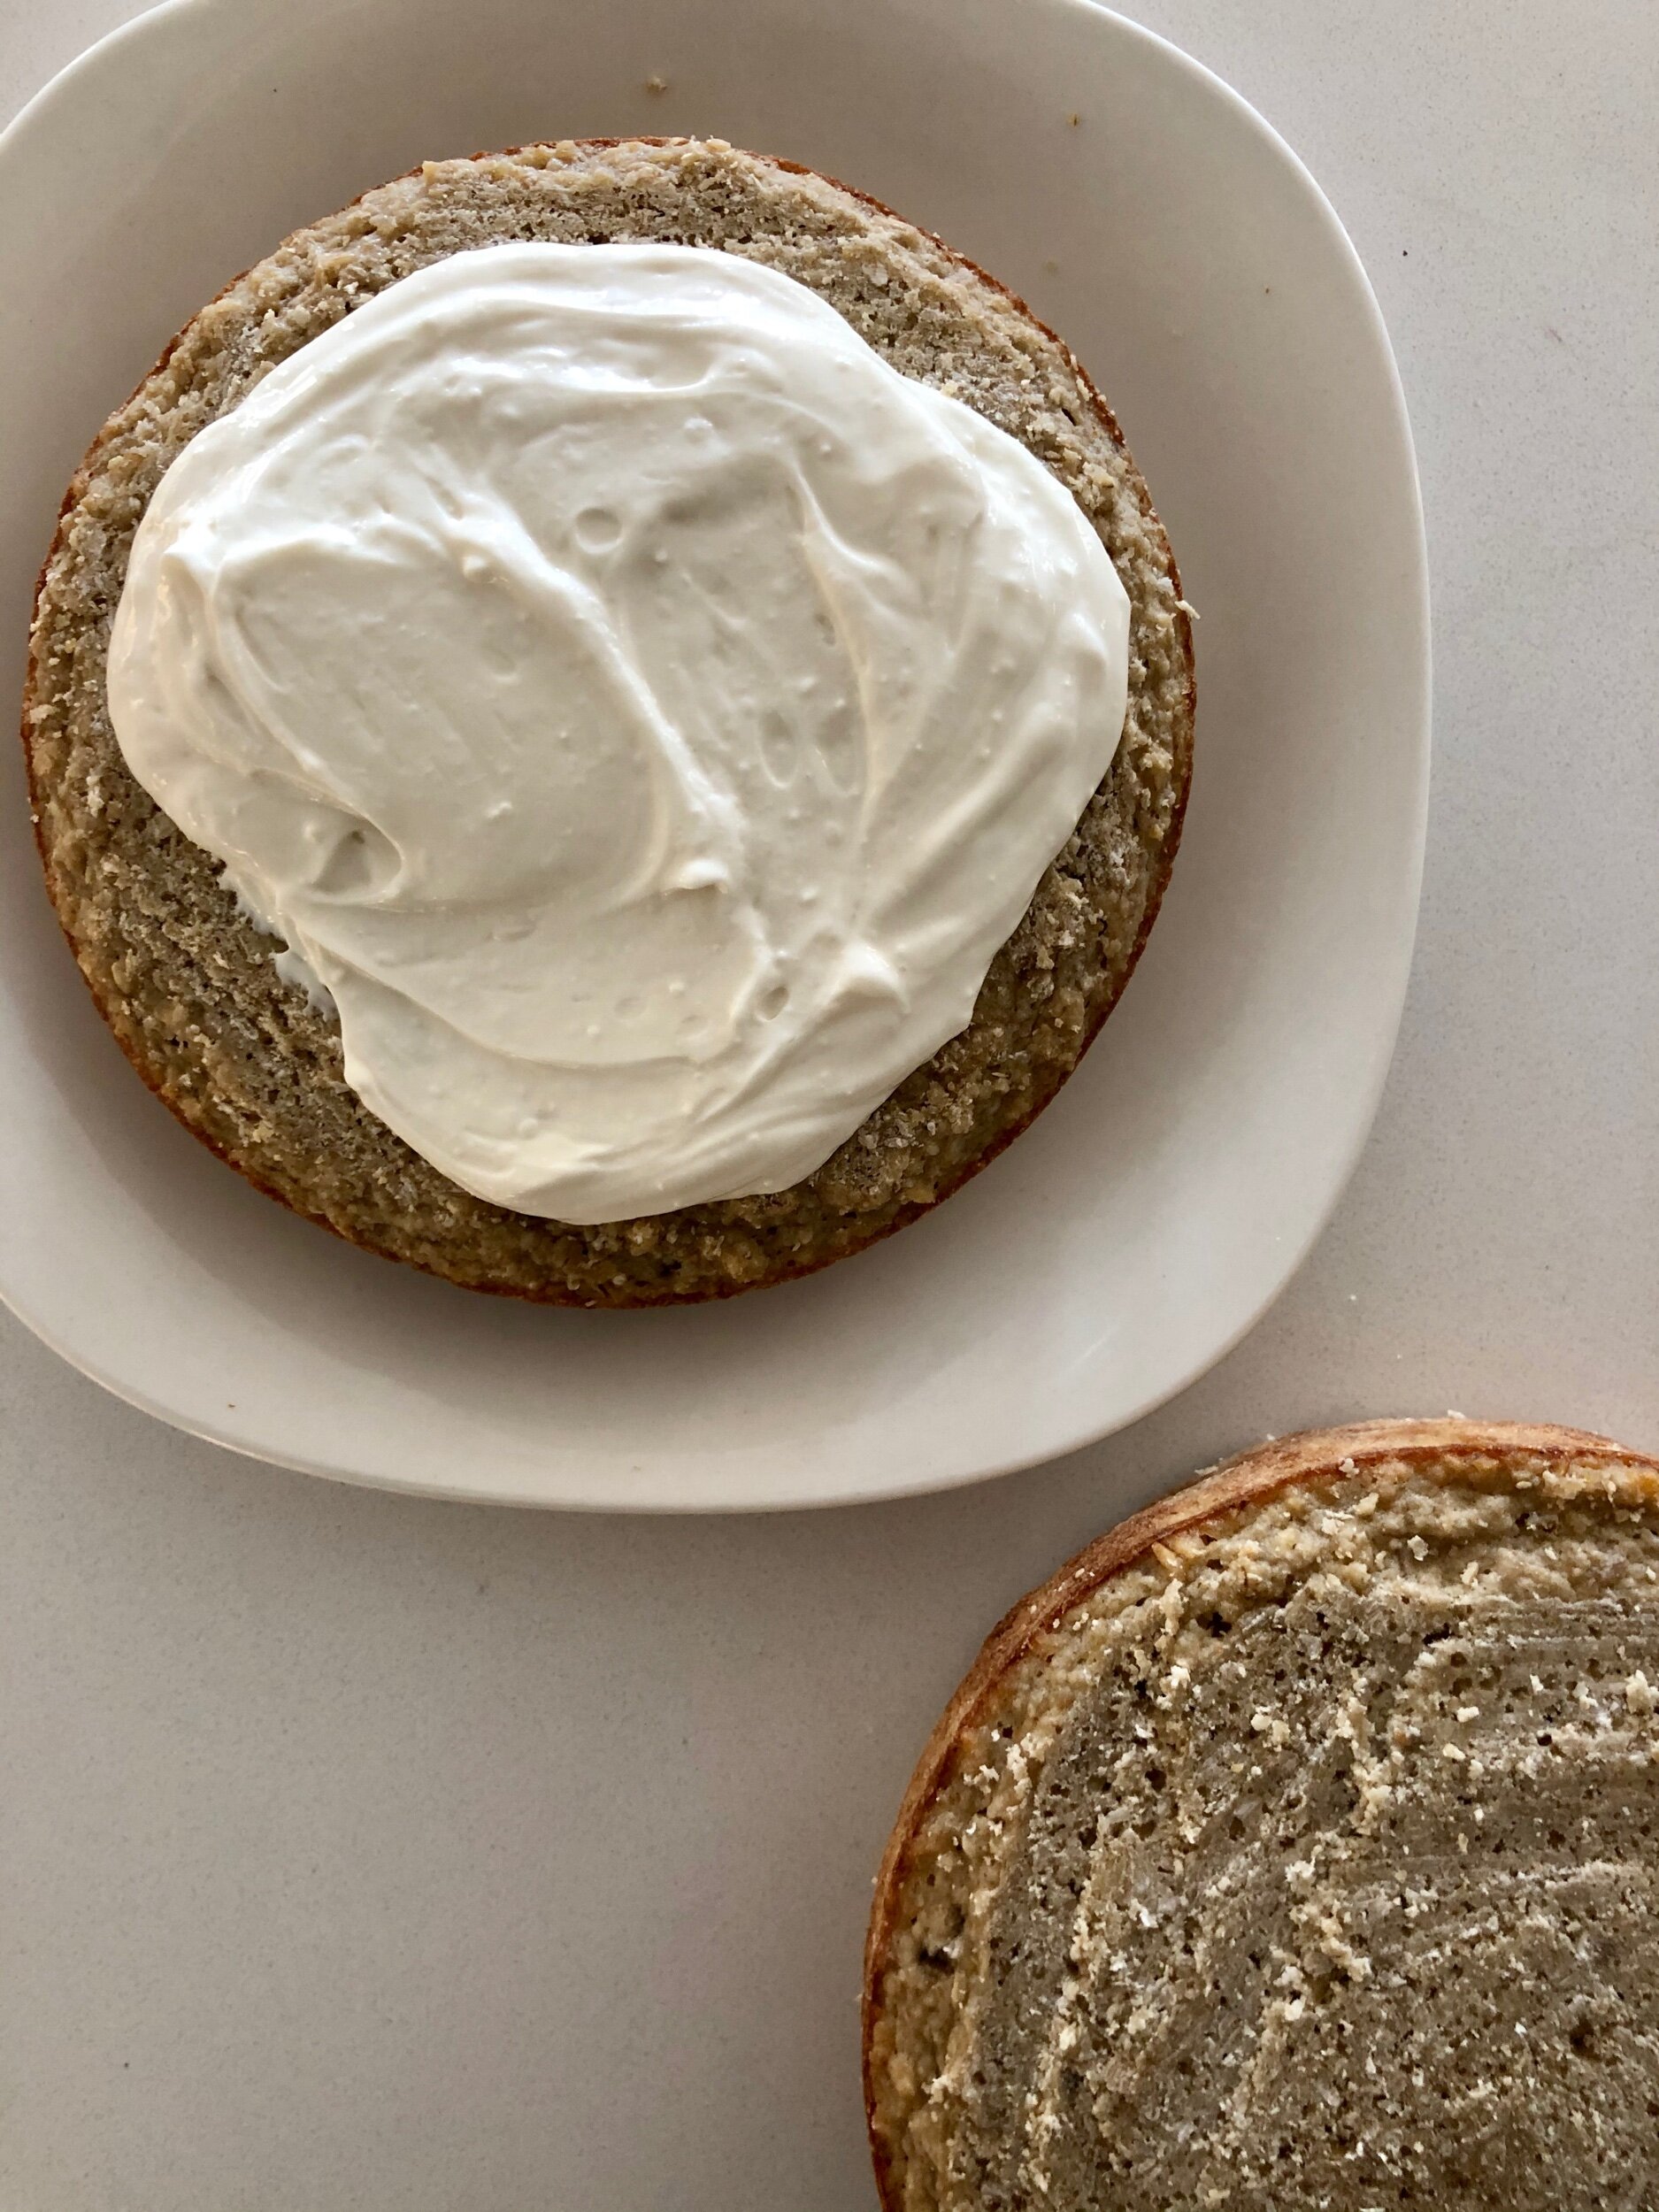
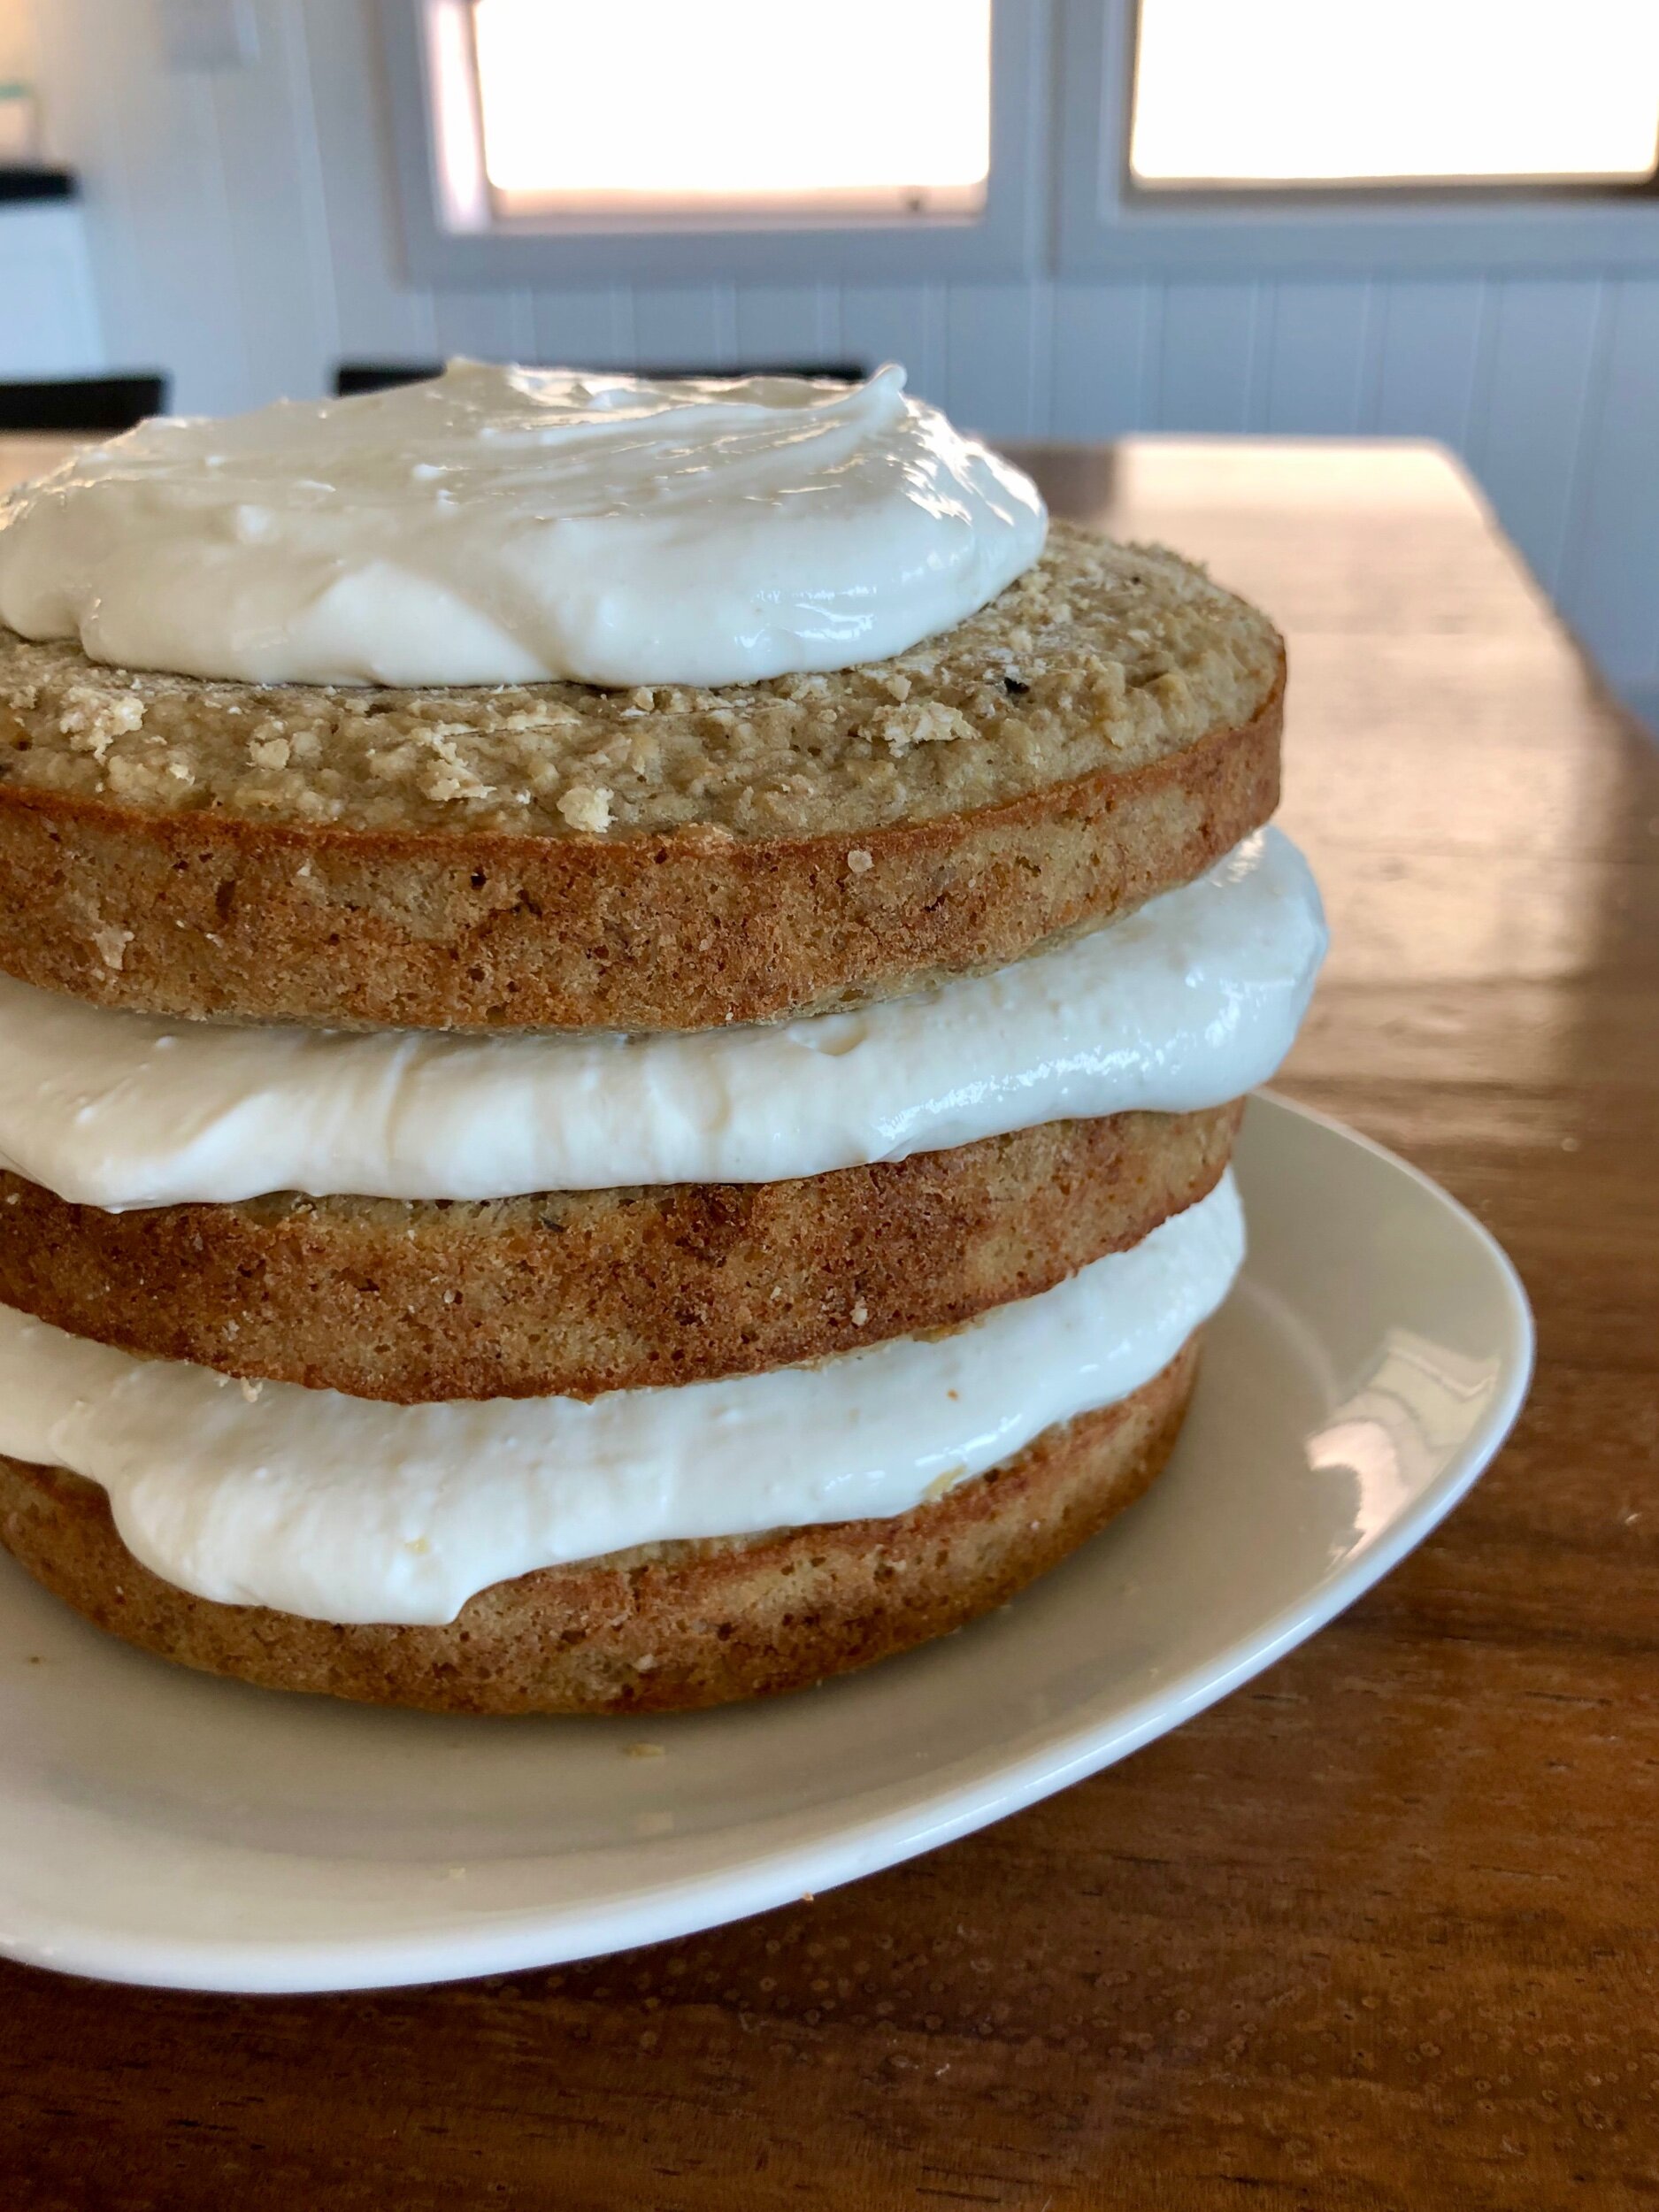
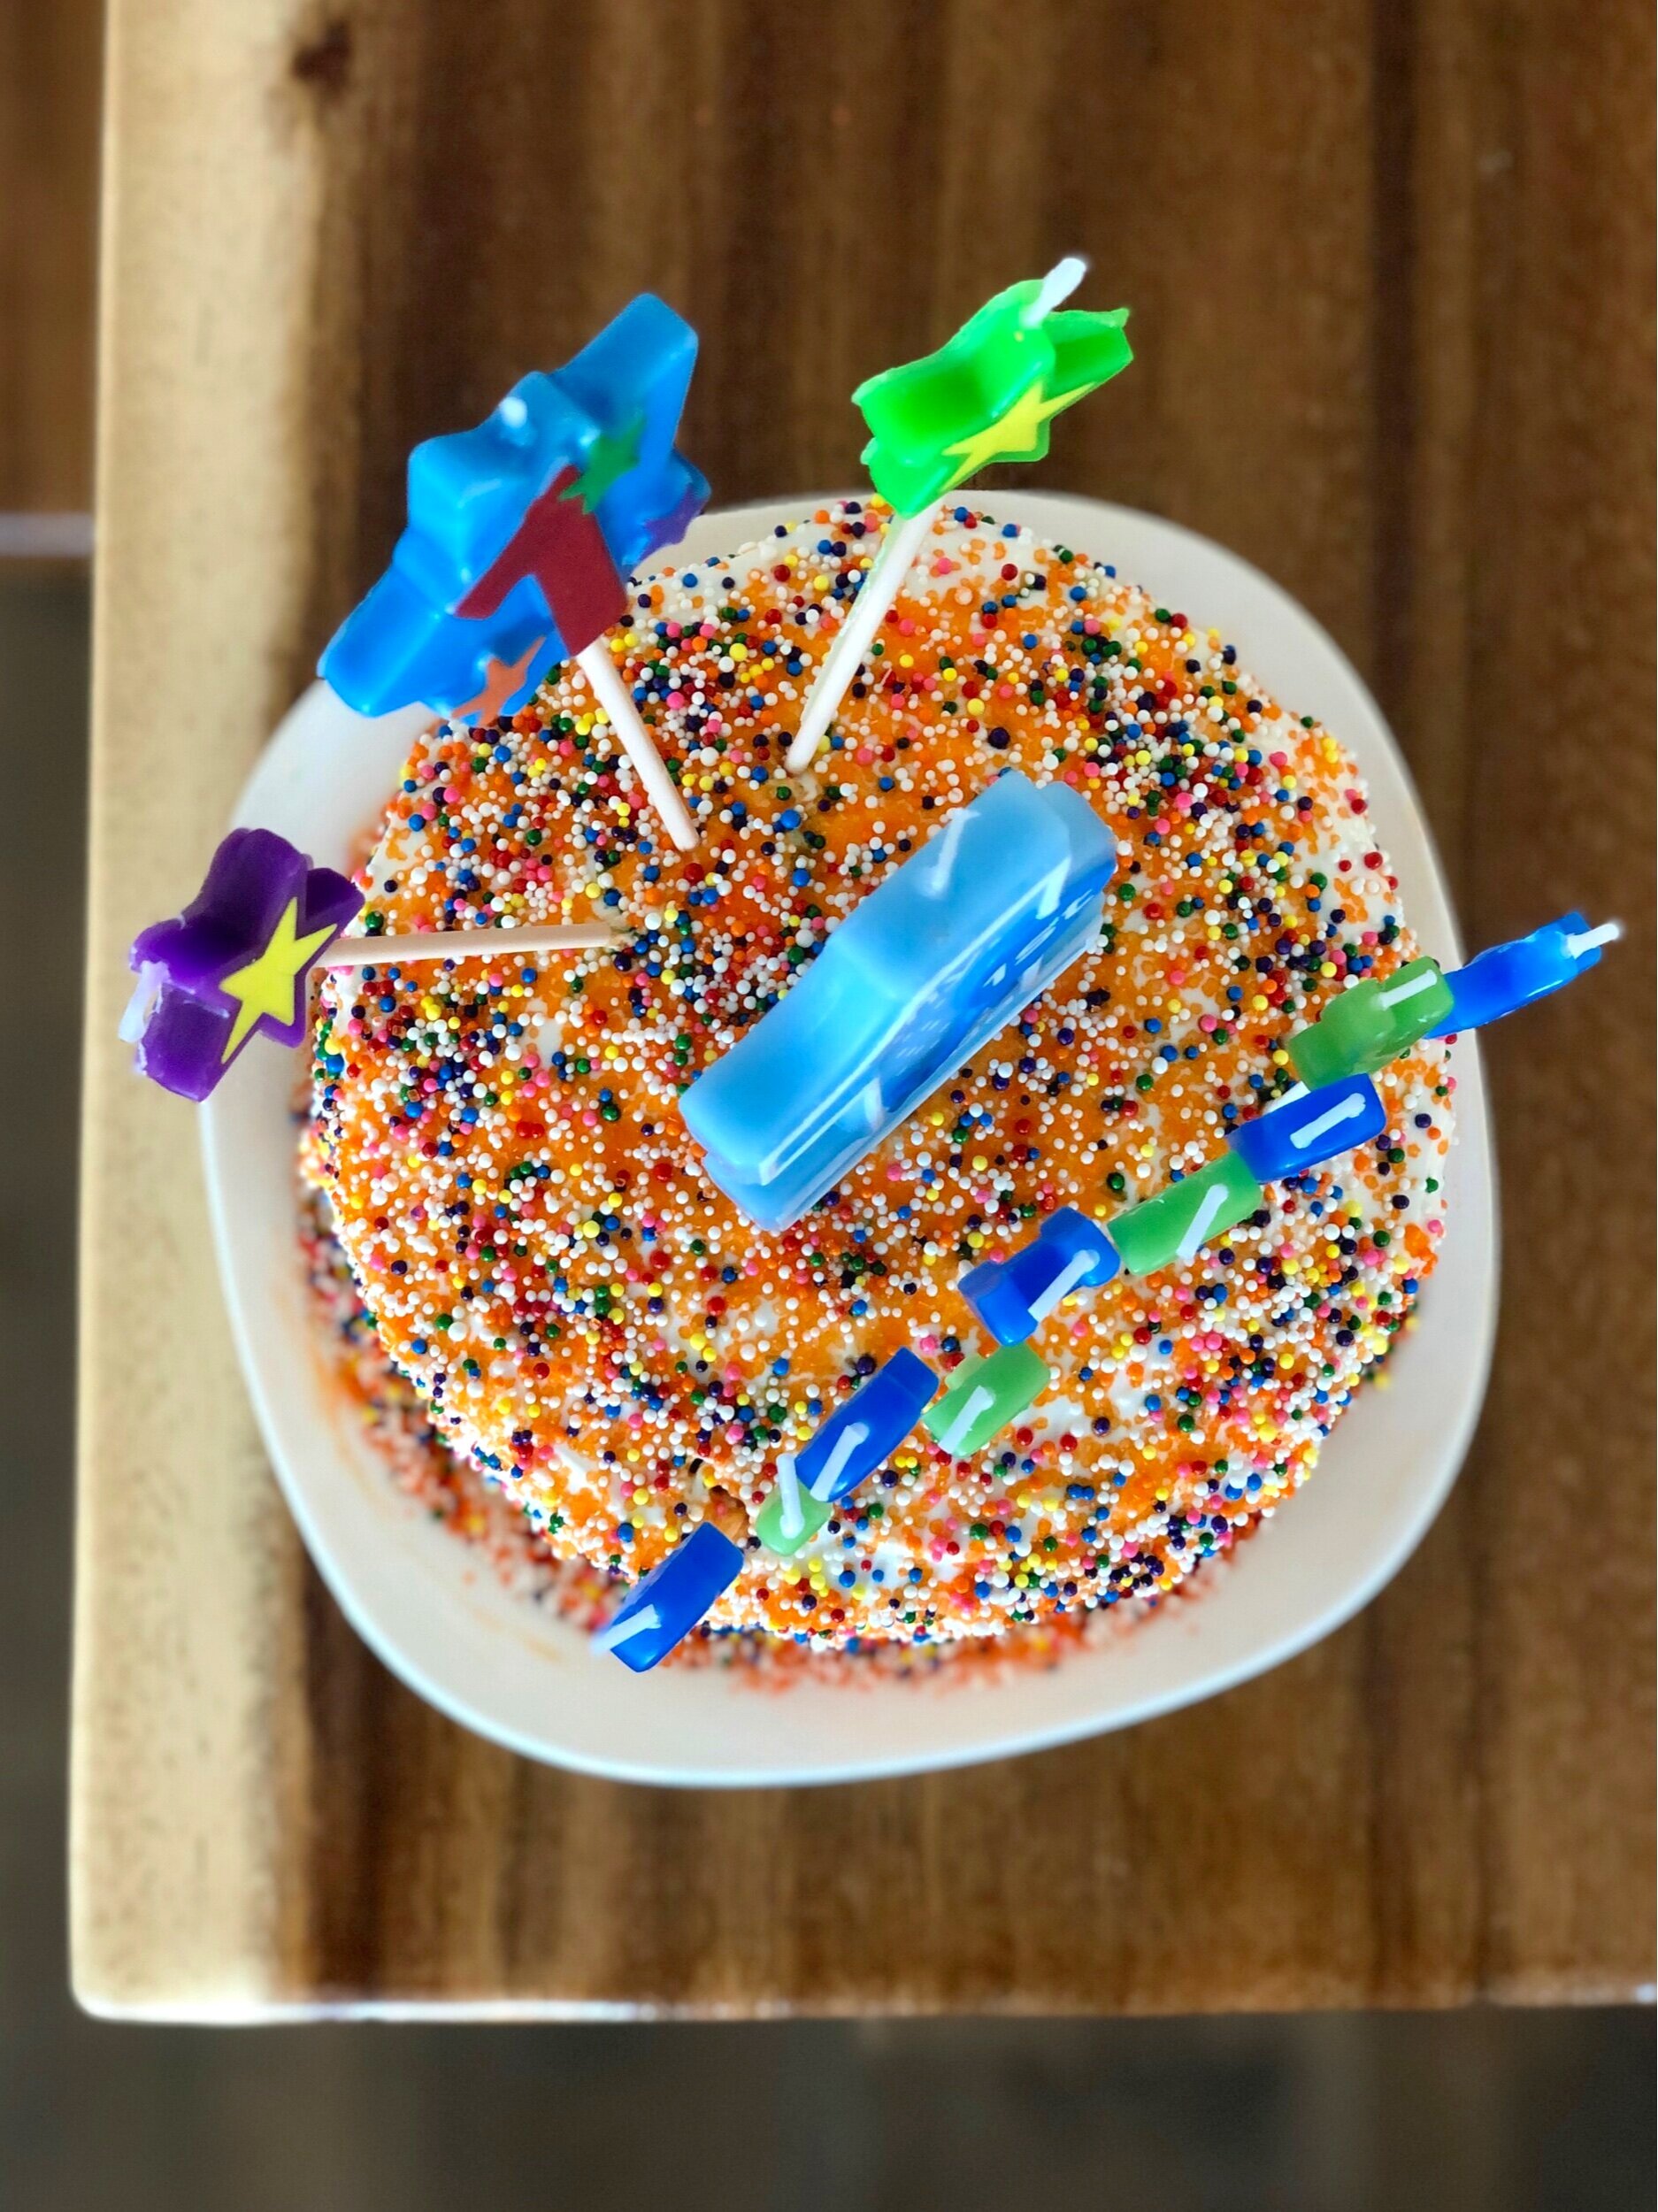
first birthday smash cake


I’m sure it’s no surprise to anyone that I was super excited to bake my son Dylan’s first birthday cake. Typically called “smash cake”, it’s a birthday cake for a one year old that they can essentially smash, play around with, eat, dig in, throw, whatever. Anything goes! And extra cake for me to eat? Yes please! While researching recipes, I knew I wanted something on the healthier side- not too much added sugar for sure. Fresh fruit like bananas are a great way to add a natural sweetness to your cakes without having to add a bunch of cane sugar. I also used a combination of coconut oil (healthy fats!) and applesauce, which keeps the cake nice and moist. Oat flour is a healthy alternative to all-purpose, and I made mine by grinding up rolled oats in a food processor. Super easy! If I’m honest, I didn’t even pulverize the oats into total flour consistency, and left it a bit coarser to give the cake some texture. Whatever you prefer! Plus, if you use certified gluten-free oats, this cake is completely gluten-free as well. In terms of frosting, which can all too often be a huge sugar bomb, I went the Greek yogurt route, with just a touch of maple syrup for sweetness! Make sure you strain it so it’s extra thick for frosting purposes. Feel free to decorate however you desire- a more “naked” frosted cake or spread all-over, and top with berries or natural sprinkles. I was assembling this away from home, without my usual tools and decorating accessories, so it didn’t end up being the prettiest cake out there (I essentially threw sprinkles at it to cover up a messy frosting job), but it was still super fun to make! Just don’t forget the first birthday candles! I’m happy to report Dylan dug right in and ate quite a few handfuls (mostly frosting). Thankfully, he even shared with his mama ;) Happy baking!


First Birthday Smash Cake:
3 cups oat flour
2 tsp baking powder
1/2 tsp salt
6 tbsp coconut oil, melted and slightly cooled
6 tbsp unsweetened applesauce
1/4 cup pure maple syrup
3/4 cup mashed banana (about 1.5 large bananas)
1/4 cup unsweetened almond milk
4 large eggs
2 tsp pure vanilla extract
fresh berries or sprinkles, for topping
Greek Yogurt Frosting:
3 cups whole milk greek yogurt
1 cup cream cheese
1/4 cup pure maple syrup
1 tsp pure vanilla extract


Place greek yogurt in a mesh sieve or fine-mesh strainer lined with a paper towel with a bowl underneath. Let sit for a couple hours (or overnight in the fridge). Transfer the yogurt to a bowl and stir in maple syrup and vanilla extract. You may add more maple syrup if you prefer it sweeter. Refrigerate until ready to use.
Preheat the oven to 350 degrees F. Grease three 6-inch cake pans (you can alternatively use two 9-inch cake pans, but baking time will need to be adjusted), line each with parchment paper, and then grease the parchment as well. In a medium bowl, whisk together the flour, baking powder, and salt. In a large bowl or base of a stand mixer, whisk together melted coconut oil, applesauce, maple syrup, mashed banana, almond milk, eggs, and vanilla until smooth. Slowly add the flour mixture, mixing until just combined. Divide the batter evenly between prepared cake pans, and bake for about 22 minutes, or until a toothpick or cake tester comes out clean. Remove from oven and place pans onto a wire rack to cool for 15 minutes before removing cakes from pans to cool completely.
To assemble, level off any dome shape on your cakes, so you have flat surfaces. Place one cake on your cake stand, (you can also use cake boards and a revolving cake stand if you’d like!), and top with frosting, spreading it in an even layer just past the edges. Add the second, repeat with frosting, and then repeat with the third cake . Use an offset spatula or knife to scrape off the frosting overhang for a “naked” cake look, or use additional frosting to coat the entire cake. Top with berries or sprinkles, and enjoy!
*Adapted from First Birthday Smash Cake with Yogurt Frosting by Yummy Toddler Food.


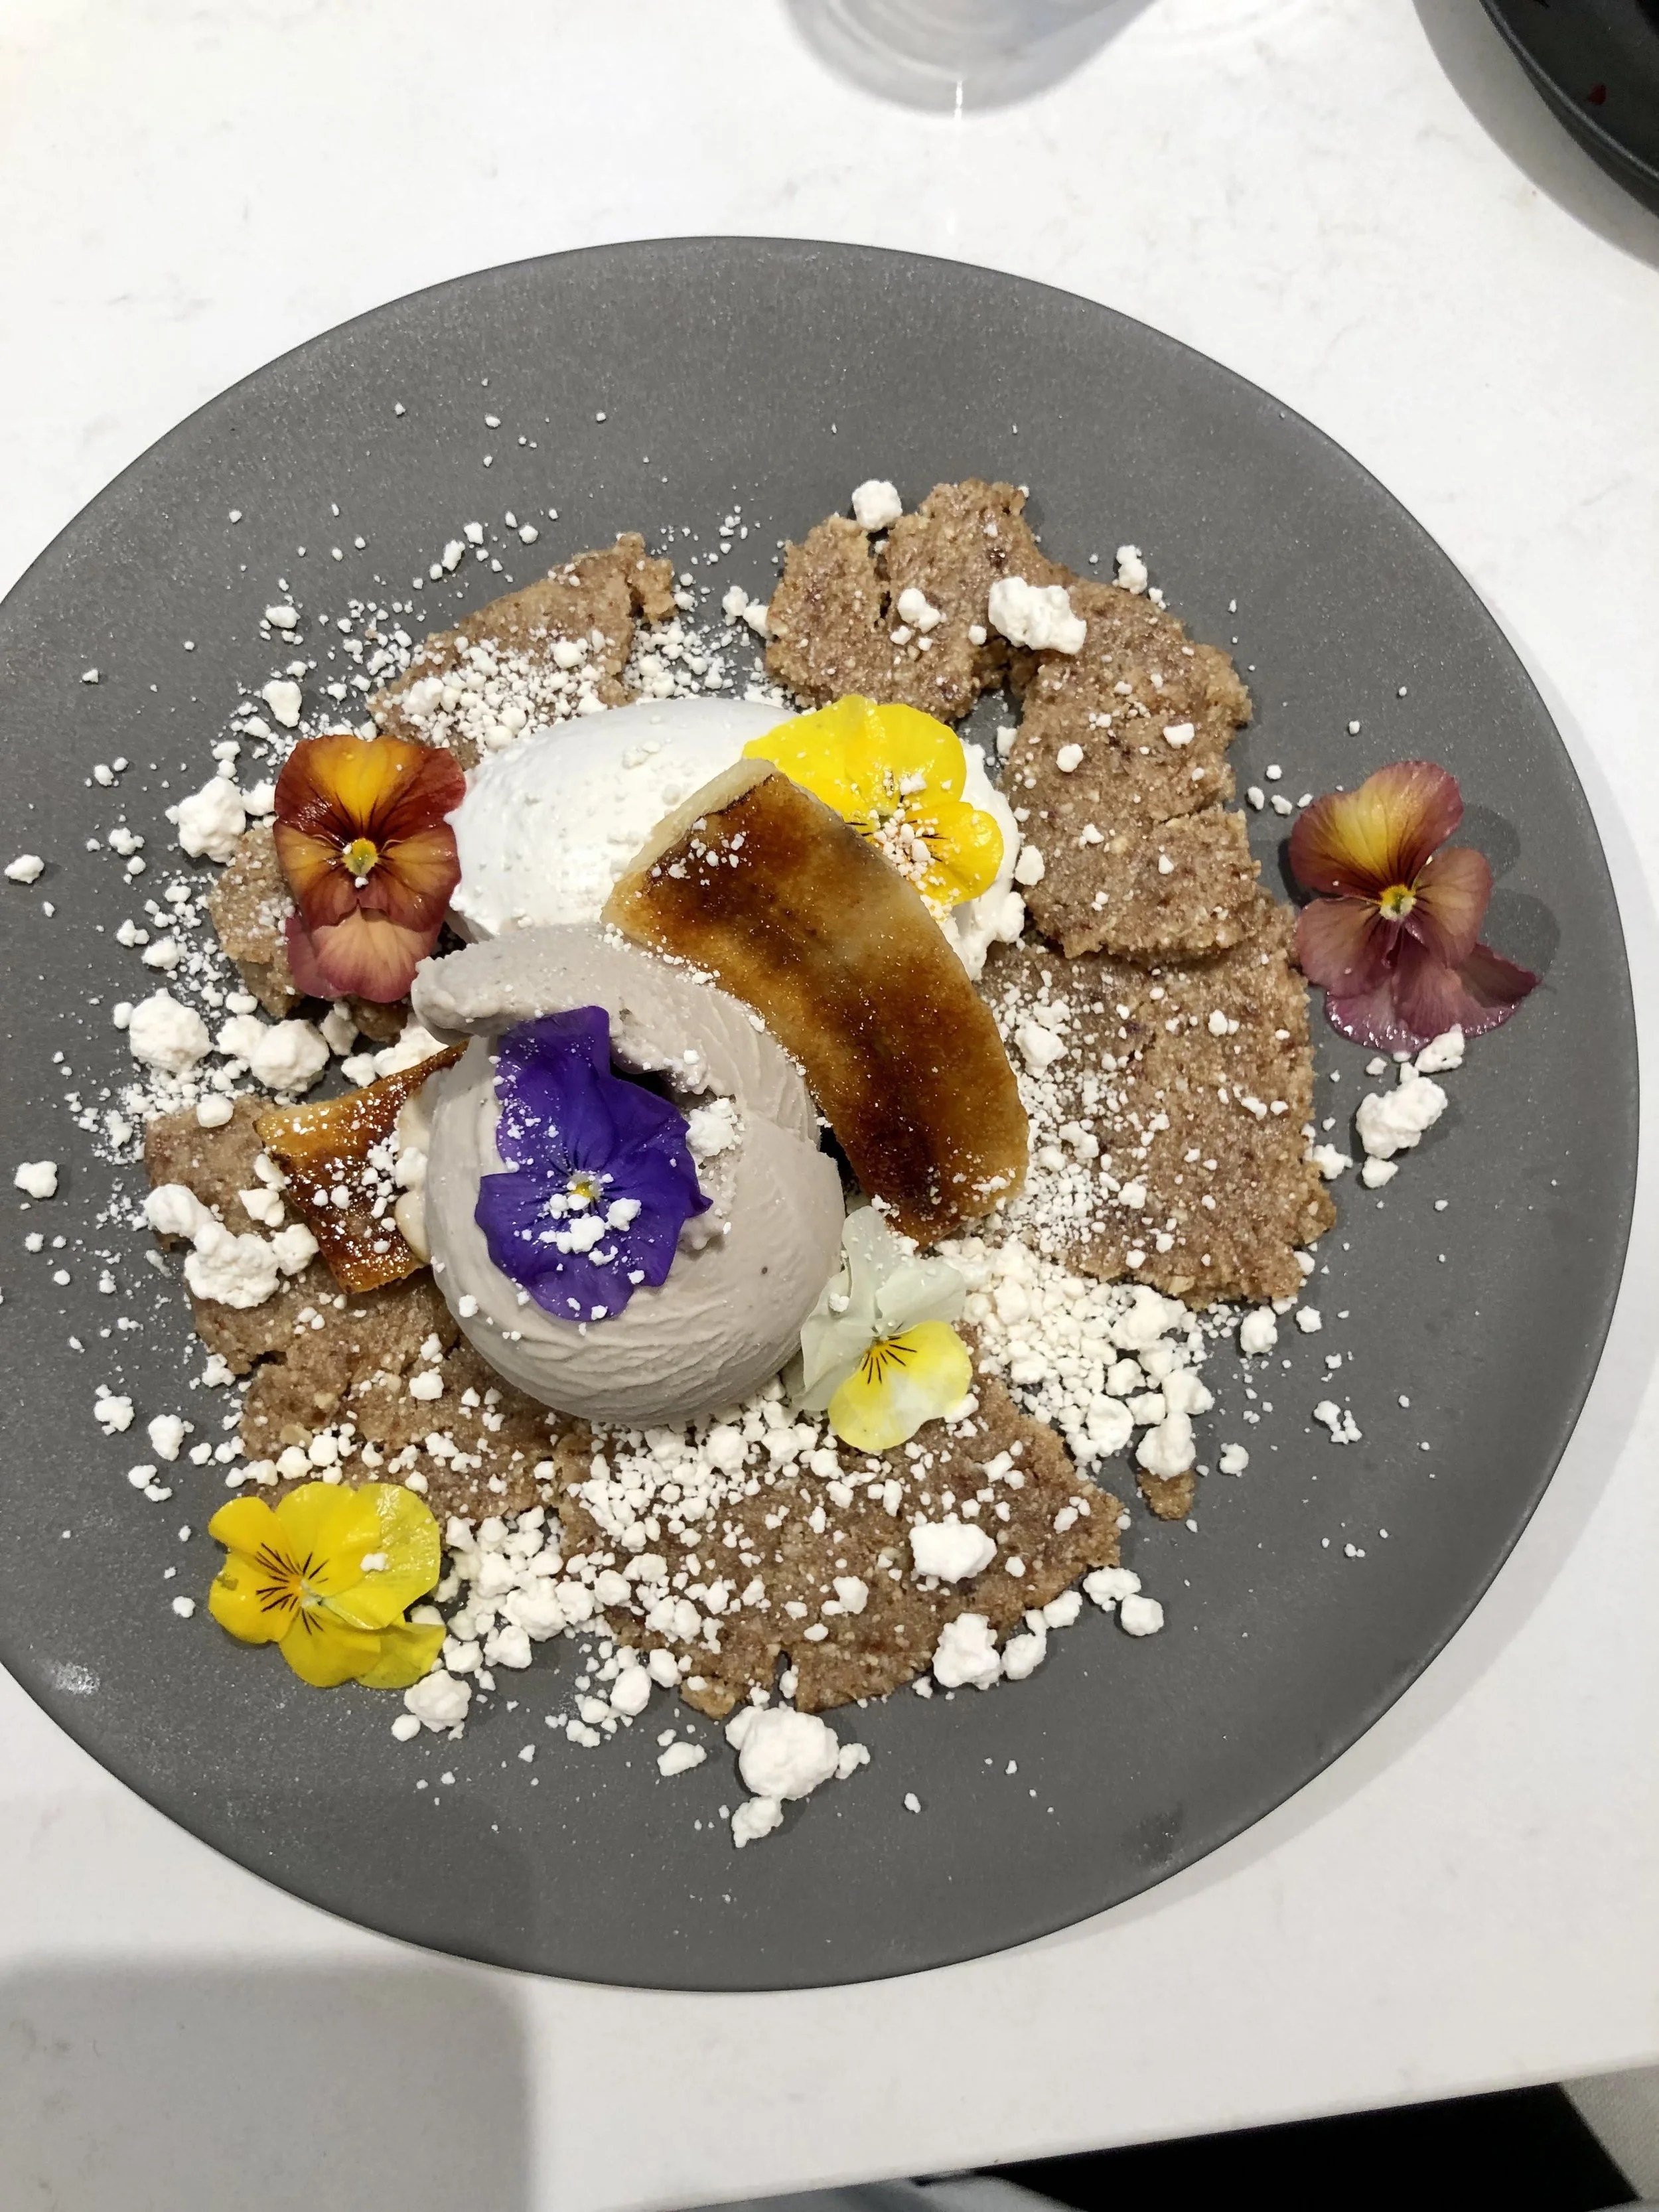
turmeric rye banana bread


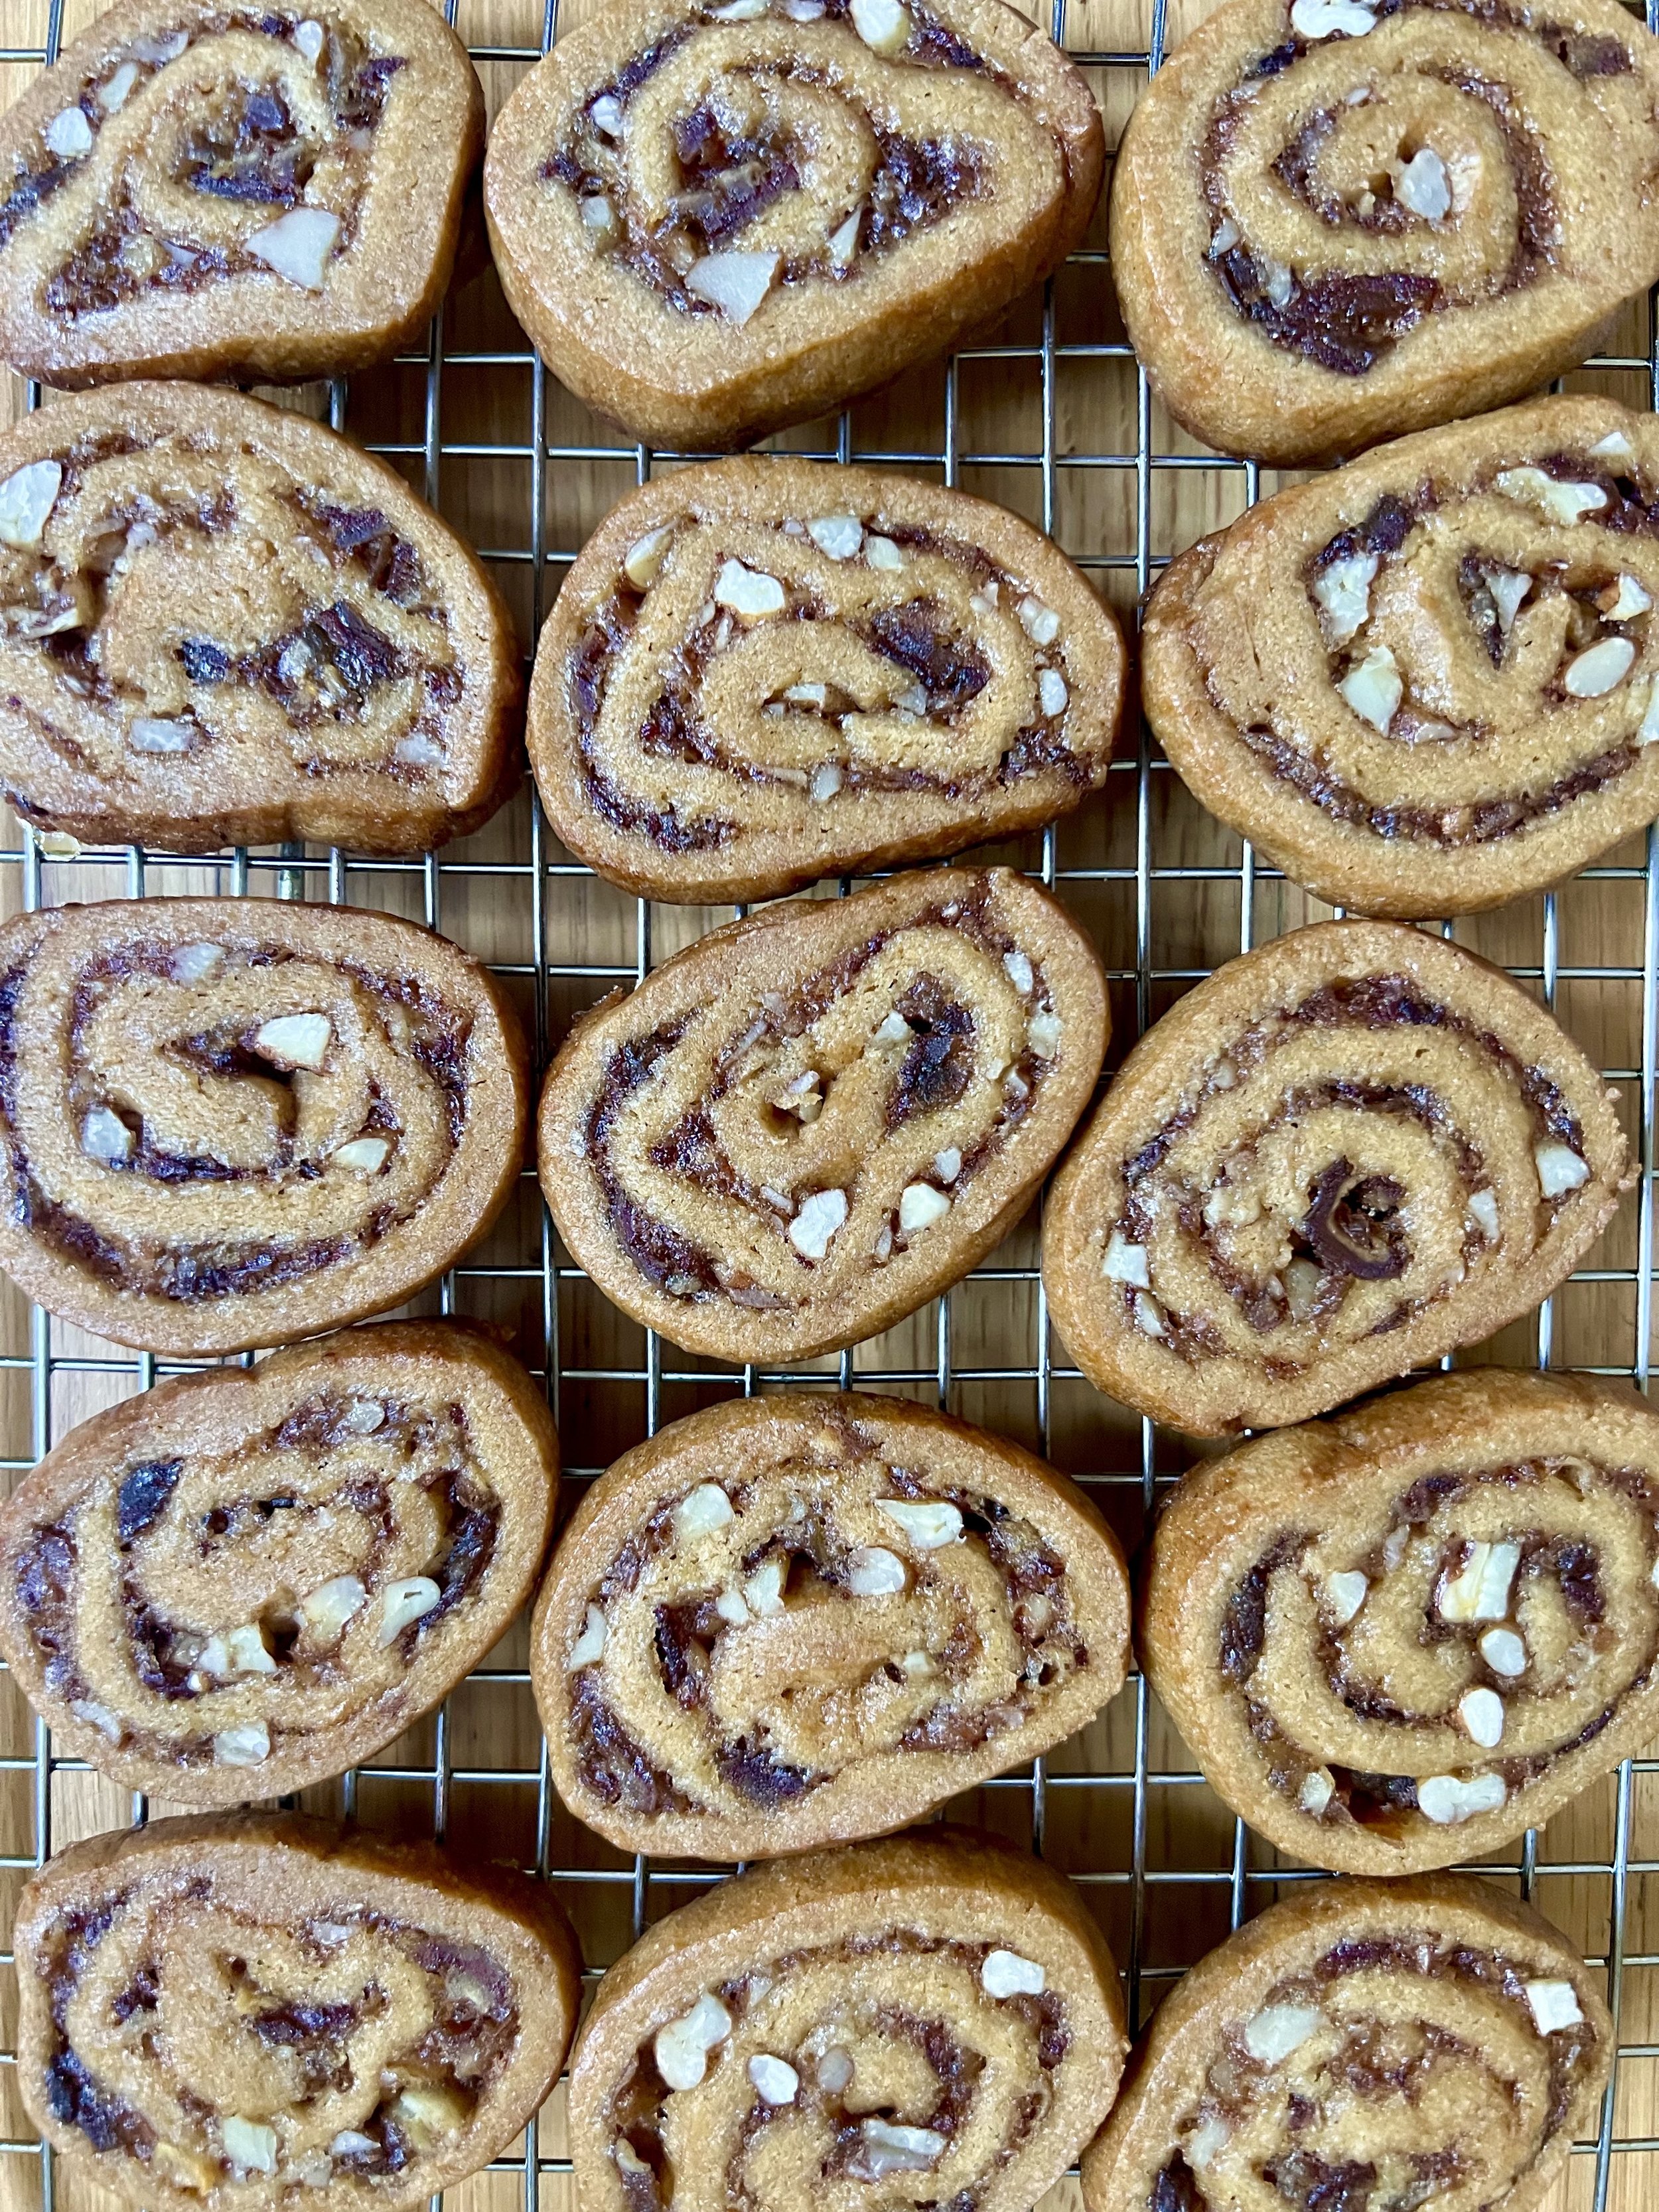
Honestly, who doesn’t love a good banana bread?? I feel like it’s one of life’s simple, but oh so delicious pleasures, and always nice to have on hand. It can be made as healthy or as decadent as you want, but I tend to love the heartier loaves chock full of good-for-you ingredients like whole grains, nuts, and seeds. My husband and I have been on a bit of a banana bread kick, and he recently whipped up such a unique & tasty version, I just had to share. Fresh ground turmeric really shines through in both flavor and appearance, giving this moist loaf a beautiful golden hue, and rye flour lends a hearty, but not overpowering hand. The pecans, hemp hearts, and chia seeds add a lovely texture, and the raw honey creates just the right amount of sweetness. It’s damn near perfect on its own, but lightly toasted with a pat of butter (or carrot cake jam, as pictured above), and it’s absolute heaven!
Turmeric Rye Banana Bread:
7 oz whole wheat flour
3 oz rye flour
1 tsp ground turmeric
1/8 tsp black pepper
1/2 tsp ground cinnamon
1 tsp baking soda
1/2 tsp salt
4 oz butter, melted
4 oz raw honey
2 large eggs
4 extra ripe bananas (2 mashed, 1 chunky, 1 sliced)
4 oz almond (or other non-dairy) milk
1 tsp pure vanilla extract
1/2 cup pecans, toasted & chopped
1/4 cup hemp hearts
1/4 cup chia seeds
Preheat the oven to 350 F. Sift both flours, baking soda, turmeric, black pepper, cinnamon, and salt into a large mixing bowl. In a separate bowl, mix the butter and honey together until smooth. Add the eggs, mashed bananas, almond and vanilla extract to the butter mixture until well combined. Then add in the chunky banana pieces as well. Fold in the flour mixture, then gently add the pecans, hemp hearts, and chia seeds. Grease a loaf tin, and pour in the batter, smoothing and evening out if necessary. Top with reserved sliced bananas. Transfer to the oven and bake for about 50-60 minutes, or until the top is golden-brown and bananas are lightly caramelized. Remove from the oven and cool in the tin for a few minutes, then turn out onto a wire rack to cool completely before serving.
*Adapted from Banana Bread from BBC.
Useful Tools:
wishing well shave ice


Ok shave ice, where have you been all my life?! I shouldn’t necessarily say all my life. There was this amazing ‘lil shave ice stand in the Texas Hill Country that my family would frequent during the summertime when I was a kid. But man, I forgot how good that stuff is! I’m not talking about the typical sno-cone you find at your local amusement park or state fair. Those are icy, hard, and way too syrupy. True Hawaiian shave ice is another beast entirely, and I found some of my fave at Wishing Well Shave Ice in Kauai. The ice is shaved so finely thin (go figure!), it’s like the fluffiest snow you’ve ever tasted. No hard crunches to the teeth here! Plus, the typical flavors are made from local, seasonal fruits like coconut, mango & papaya, so they aren’t too crazy sweet. Your shave ice bowl gets topped with fresh fruit for a nice, refreshing finish! Many of Wishing Well’s offerings are even organic as well- pretty awesome if you ask me! Now, if you know what’s good for you, you’ll take advantage of the optional ice cream scoop that gets put at the base of the bowl. Oh my glory, it’s the perfect, creamy complement to the fruity shave ice. But go for the macadamia nut ice cream (a local favorite!) over classic vanilla, and thank me later :) Enjoy!
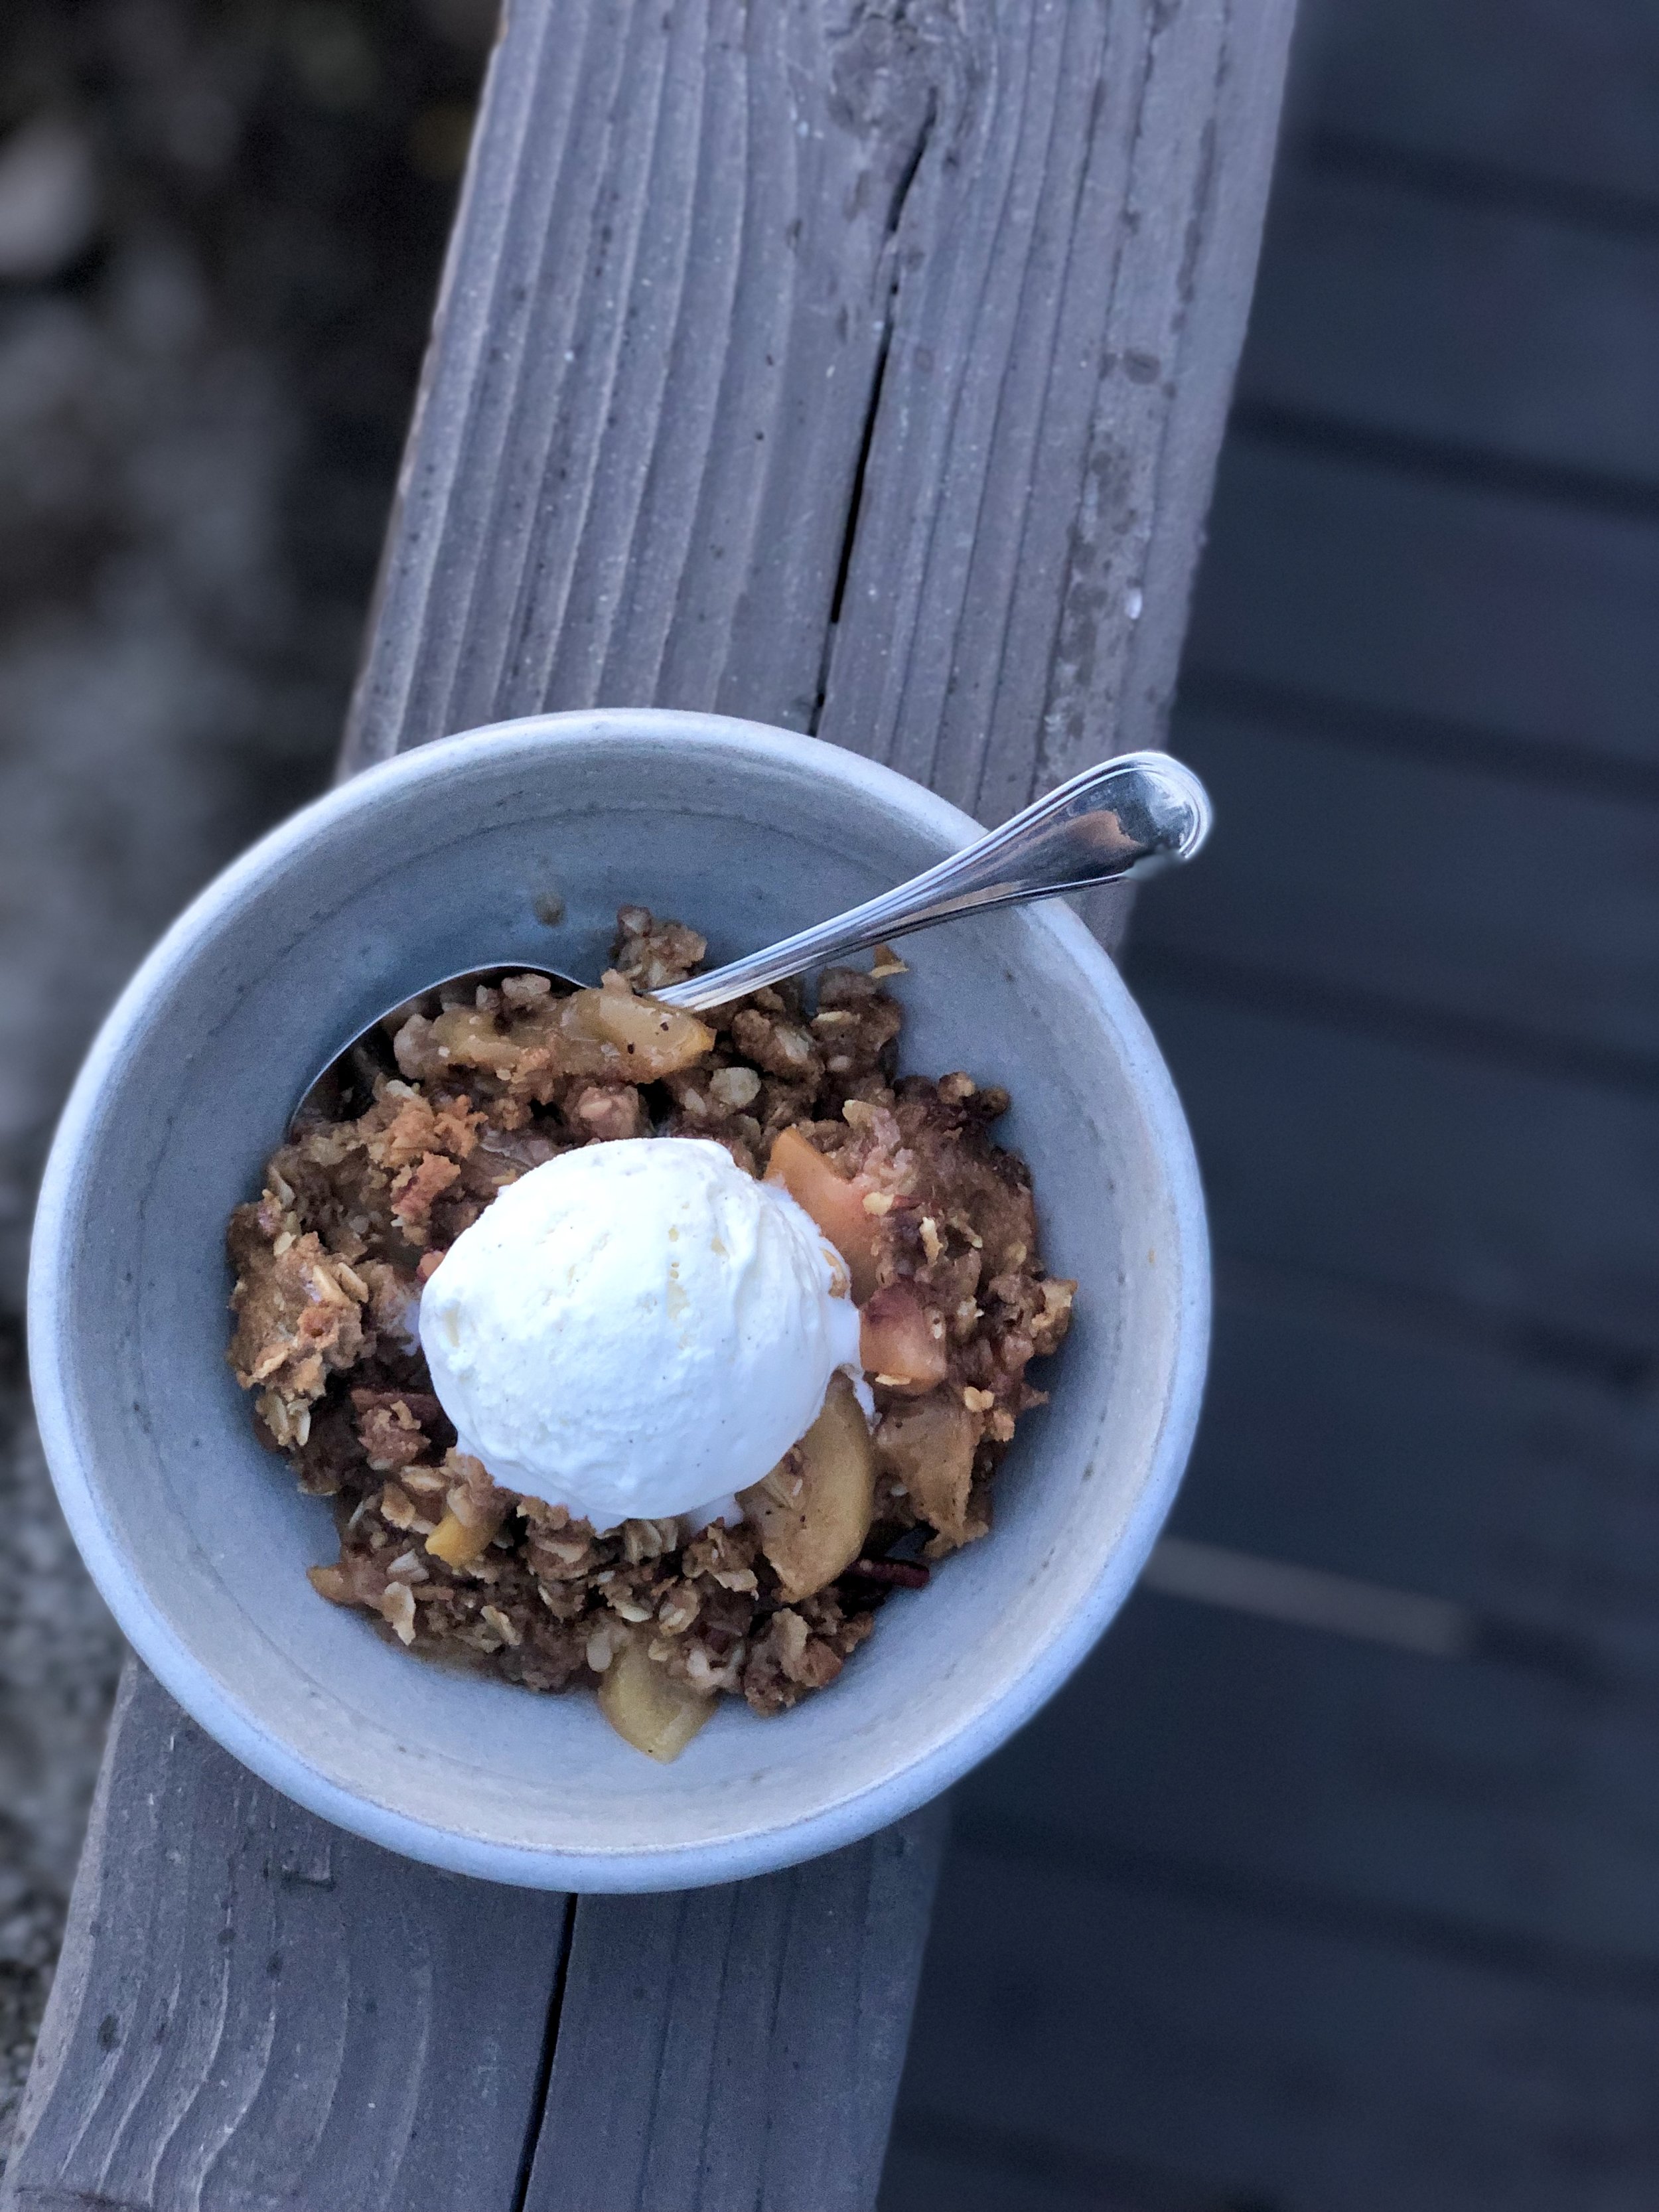
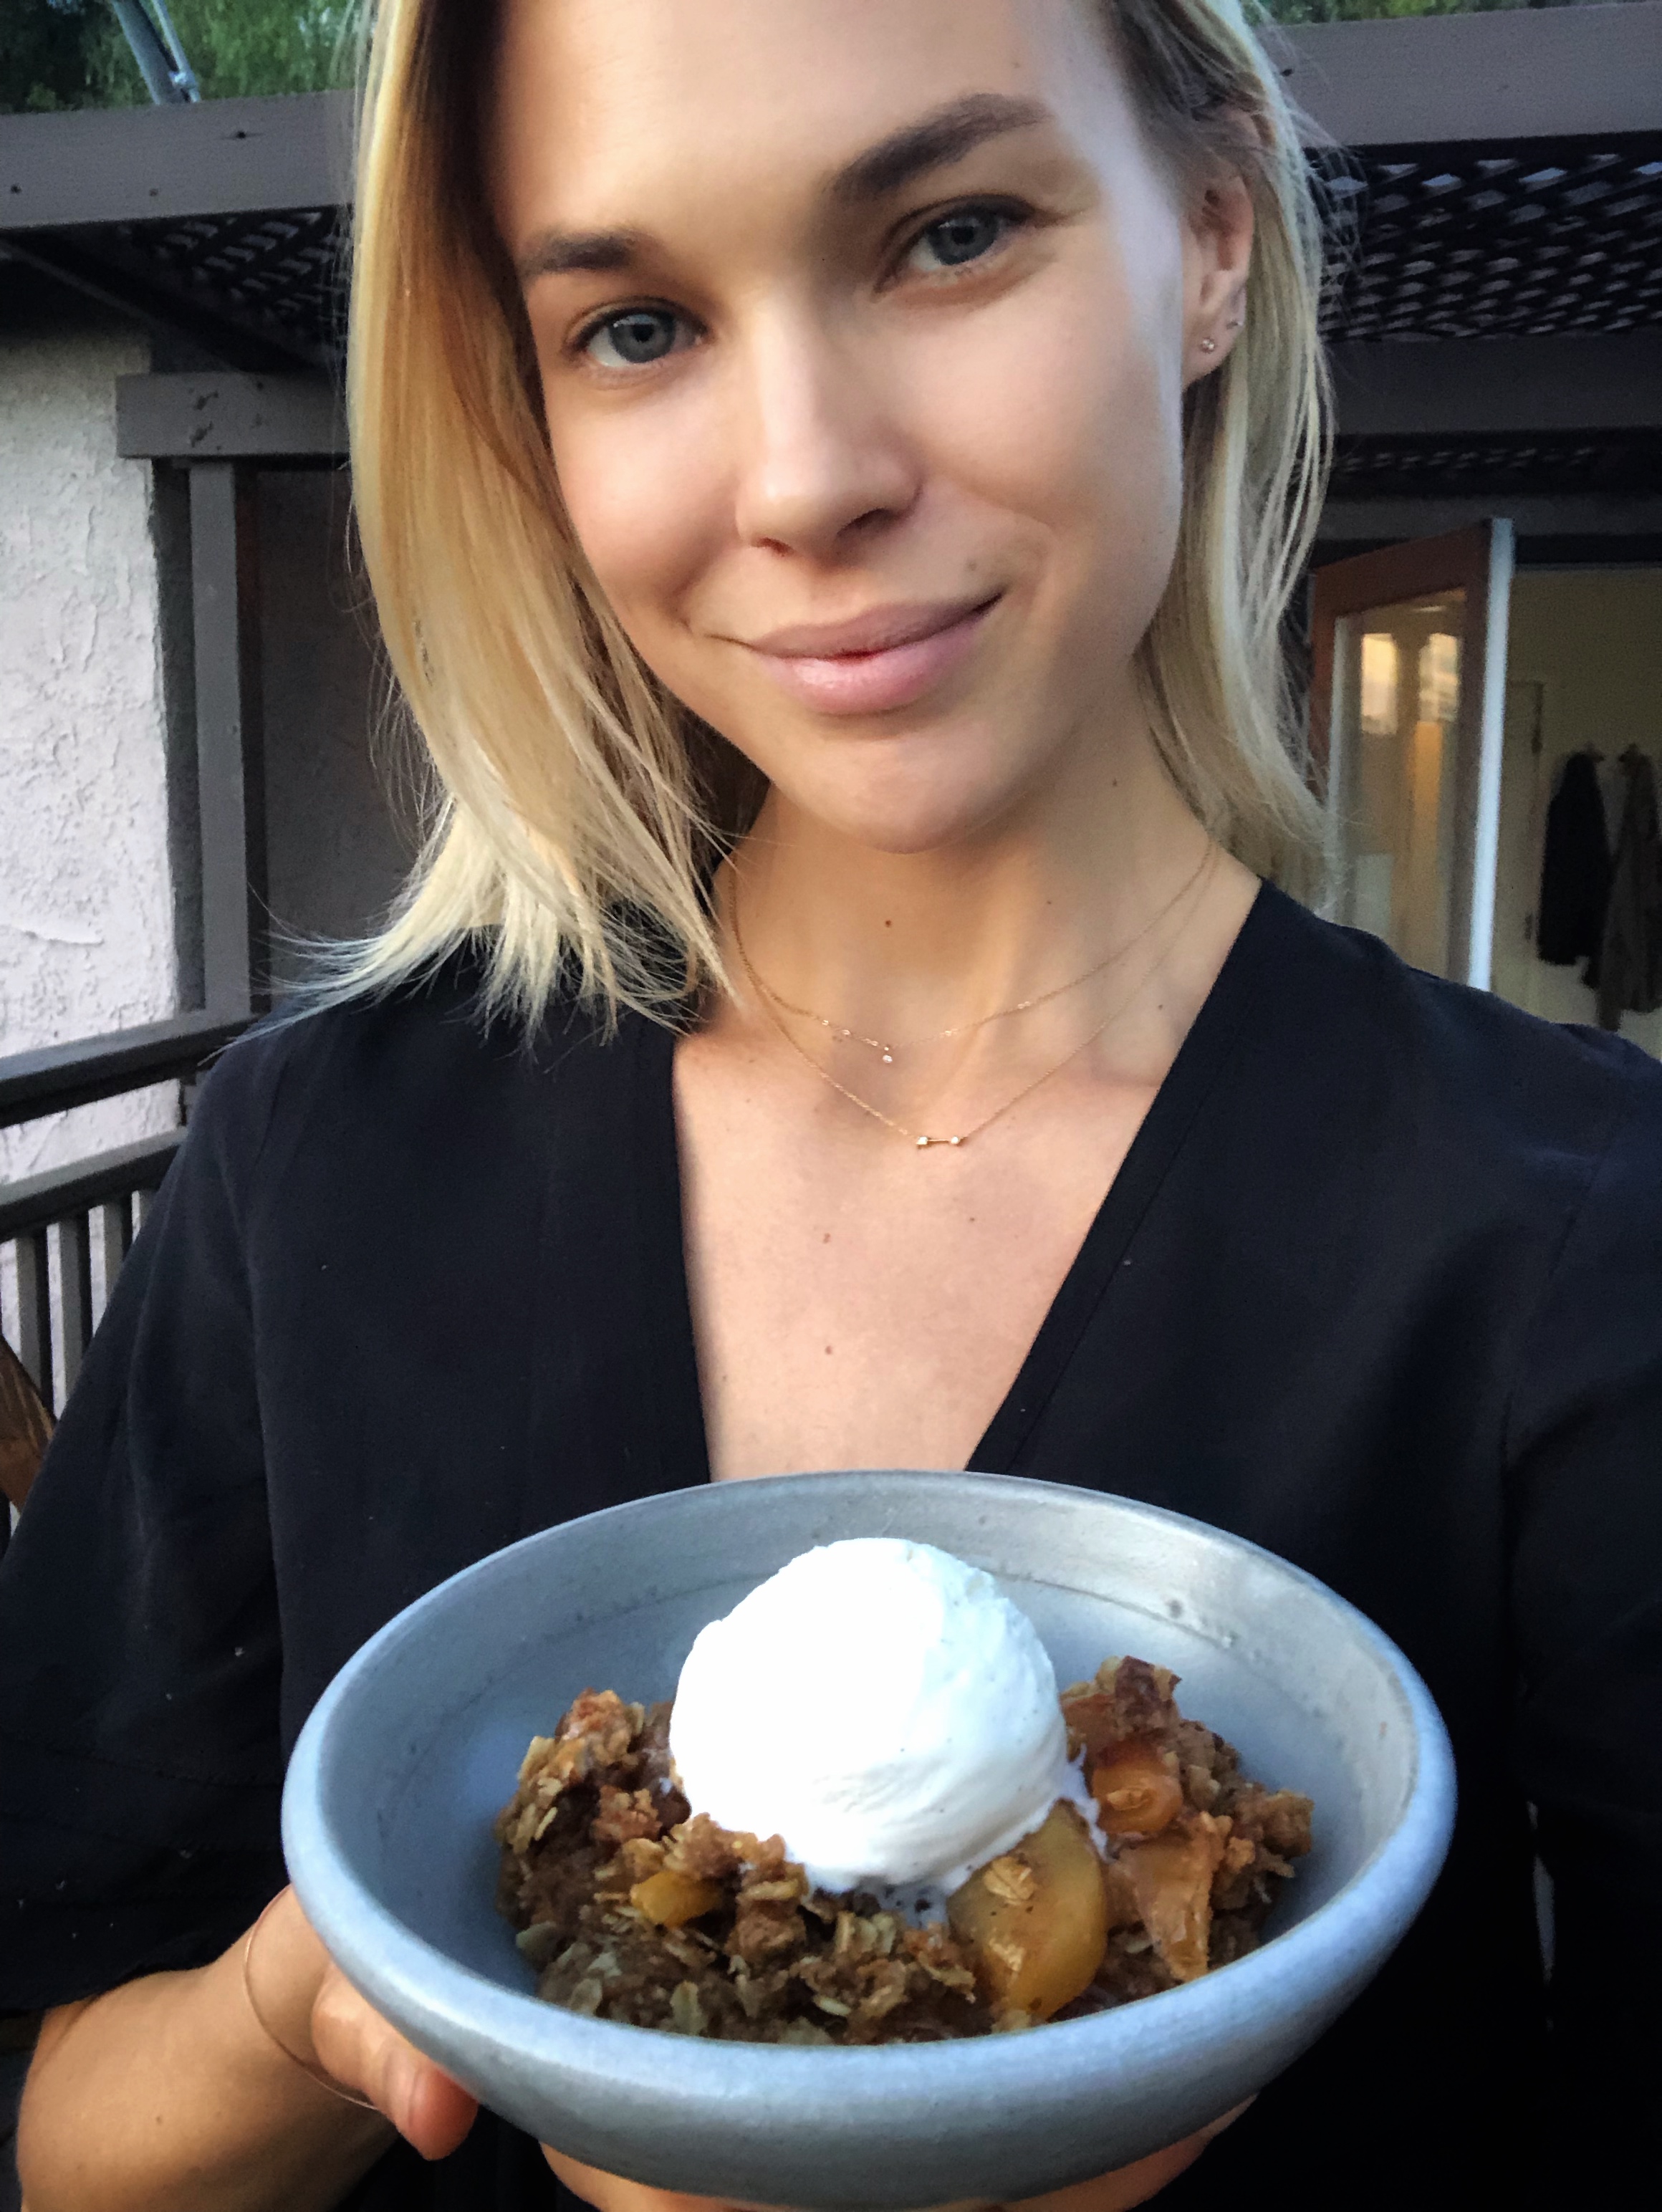
homestyle apple plum crisp
Apple crisp (or crumble, whatever you want to call it) is one of those good ‘ol classic desserts that always hits the spot. I love it come fall and winter, served warm with spicy notes of cinnamon and streusel topping. It’s super tasty alone, but even better topped with some vanilla bean gelato! Some apples, like Honeycrisp, Pink Lady & Fuji, are better for eating thanks to their crisp, sweet bite. Others, like Macintosh & Braeburn, are better for cooking, and get nicely stewed in a crisp. I like using a variety of apples for layers of flavor and texture that can’t be beat! This time I also decided to throw in some gorgeous, seasonal plums that I had on hand. Perfect combo! Don’t forget about crisps and crumbles during spring and summer- by switching up the fruit, you can enjoy a delicious bowl of goodness year-round!


Homestyle Apple Plum Crisp:
Fruit Filling:
2 pounds apples (I like any combo of Macintosh, Granny Smith, Cortland, Braeburn & Fuji)
1 pound plums
1 lemon, zested & juiced
1/3 cup cane sugar
1/2 tsp pure vanilla extract
1 tsp ground cinnamon
1 tsp ground nutmeg
2 tbsp cornstarch
Crumble Topping:
1 cup all-purpose flour
1 cup old-fashioned oats
1 cup pecans, chopped
1 tsp ground cinnamon
1/2 tsp kosher salt
1 cup brown sugar, packed
1 cup unsalted butter, chilled and cubed
vanilla bean ice cream, for serving


Preheat oven to 350 F, and butter a large baking dish (9x13 or 2 qt oval). Peel, core & cut apples into 1/4-inch slices, and place into a large bowl. Add lemon zest, lemon juice, sugar, cinnamon, nutmeg, and cornstarch, and mix to combine. Pour apples into baking dish.
For the topping, add the flour, oats, pecans, cinnamon, salt, and sugars in a large bowl and stir well with a wooden spoon. Work the butter into the mixture with your fingertips until evenly distributed (you may also use a stand mixer if you prefer). Spread the streusel topping mixture evenly over the apples. Bake the crisp in the dish on a baking sheet on the center oven rack until the topping is crunchy and the apples are bubbling, about 55-60 minutes. Best served warm, topped with vanilla bean ice cream.
*Adapted from Sit & Stay Awhile Apple Crisp by Joy the Baker and Old-Fashioned Apple Crisp by Ina Garten.
Useful Tools: