grain-free pecan pie bars

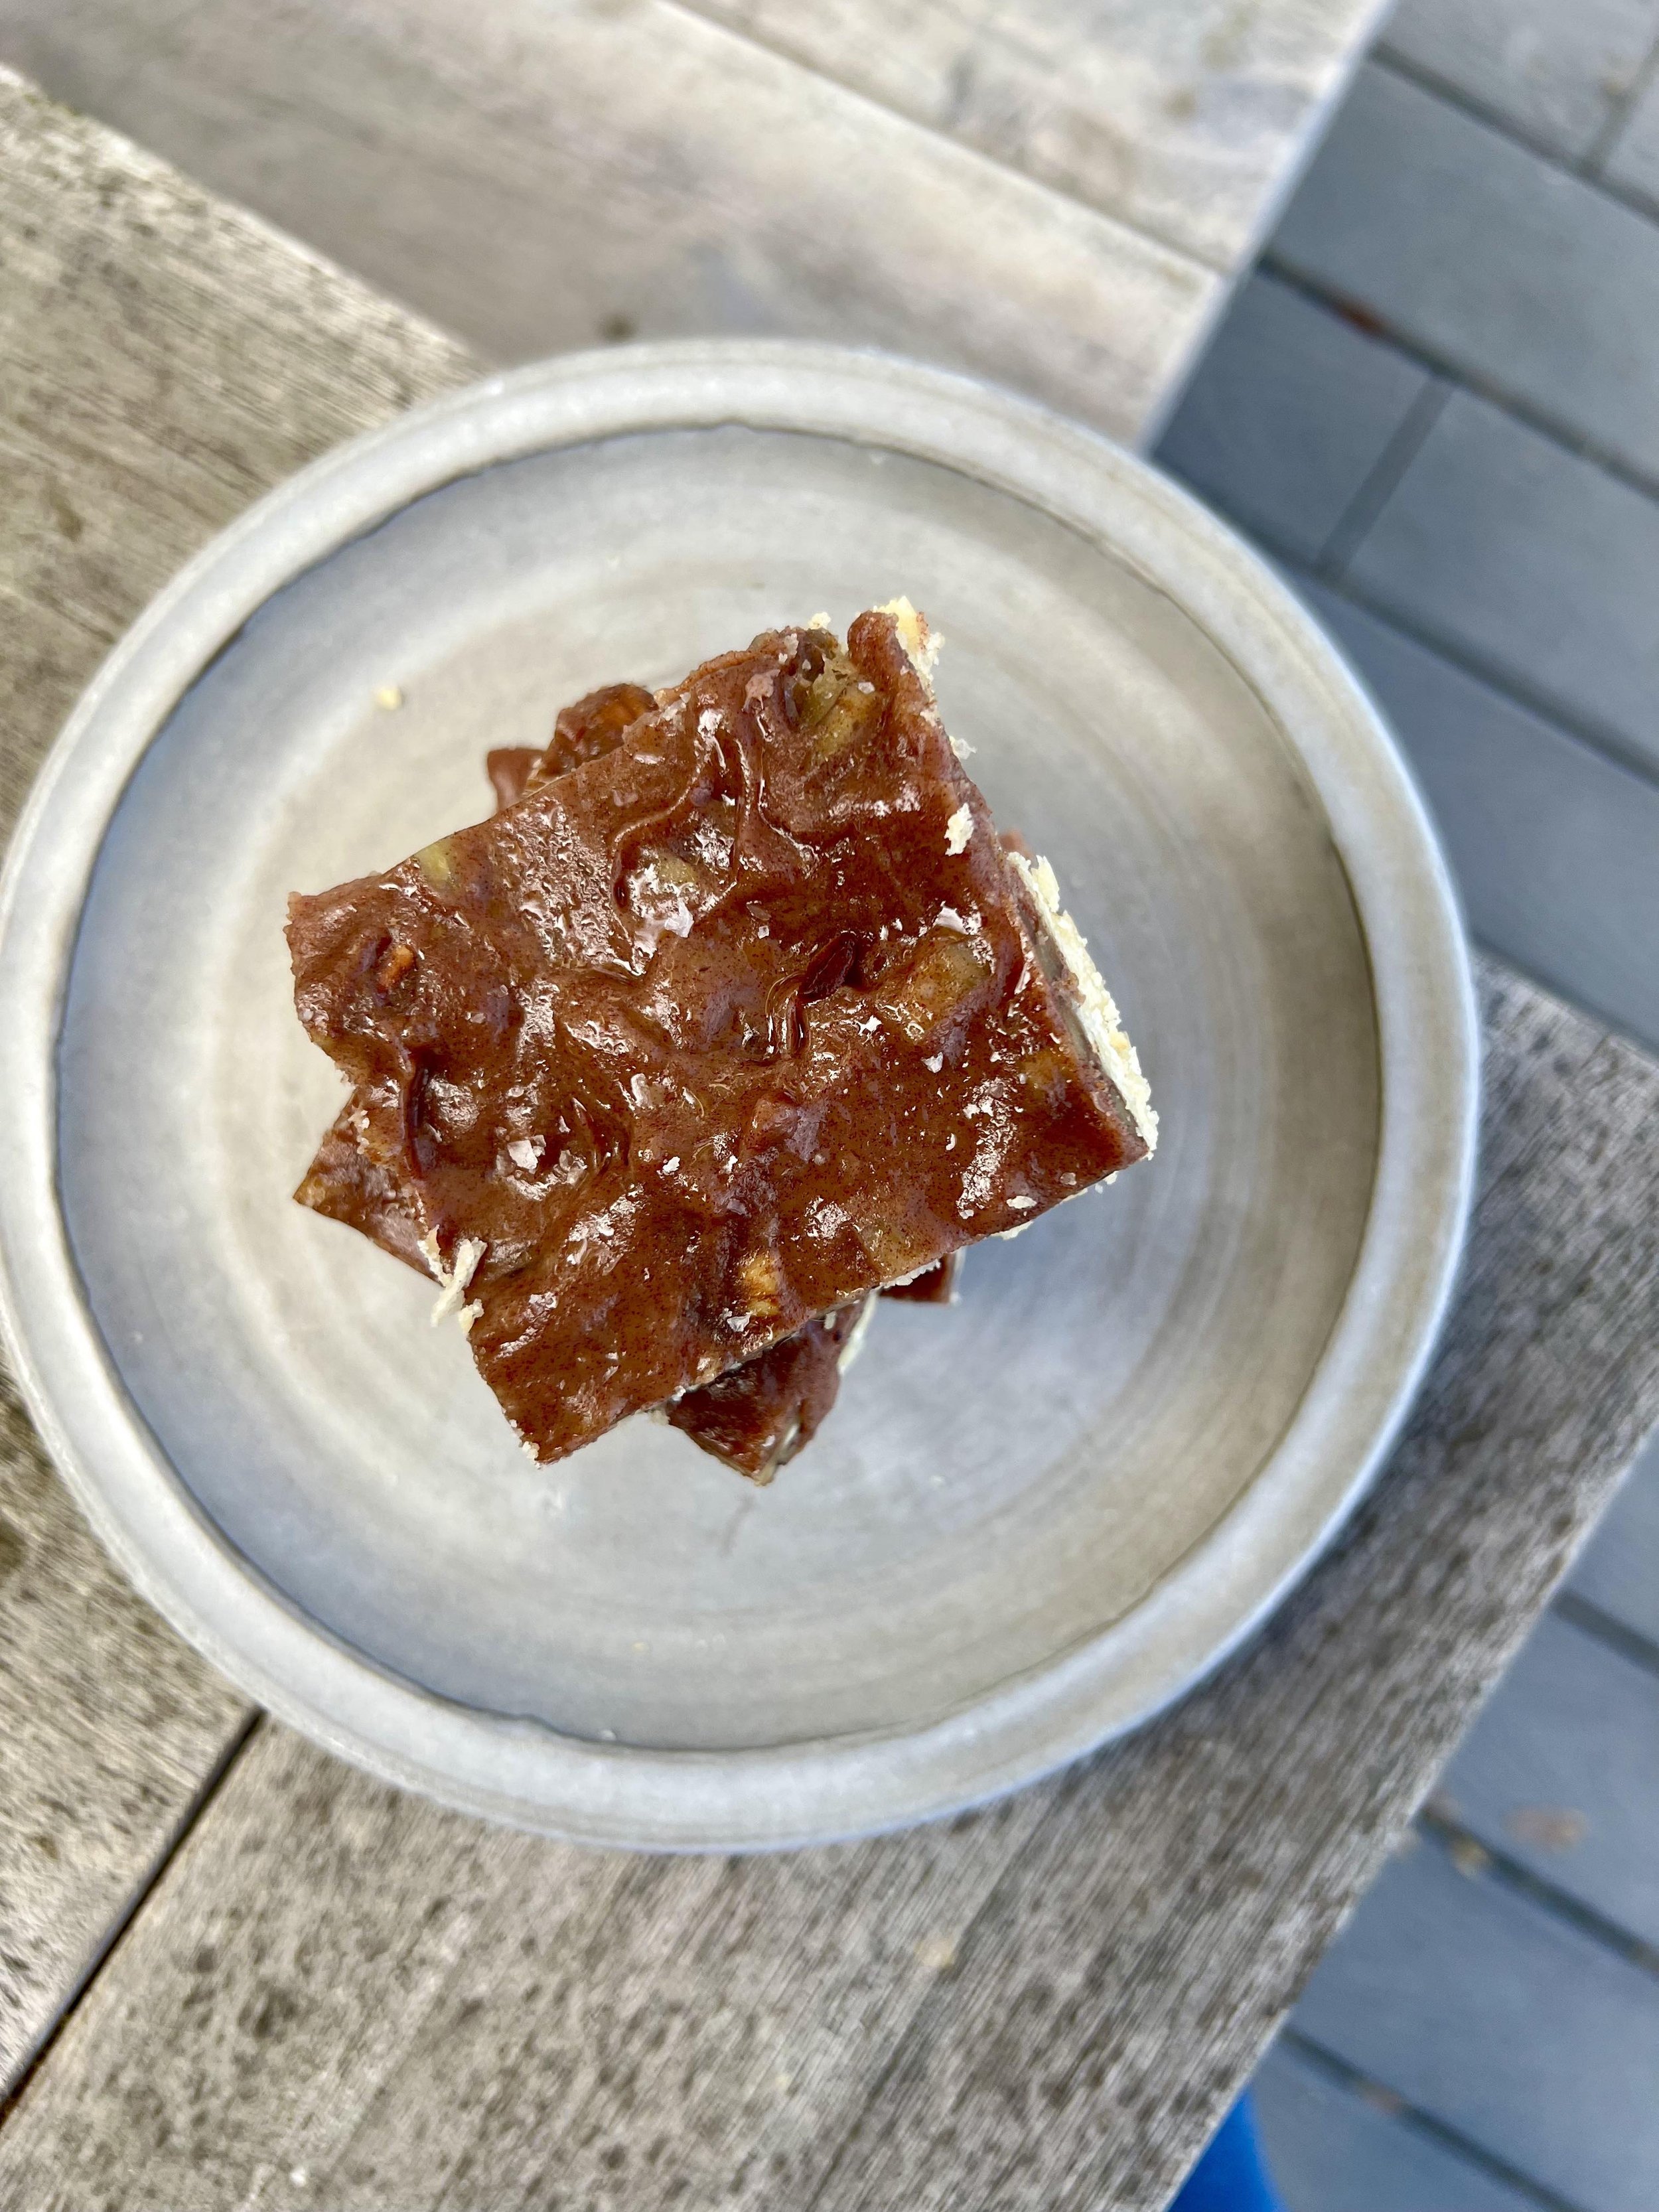
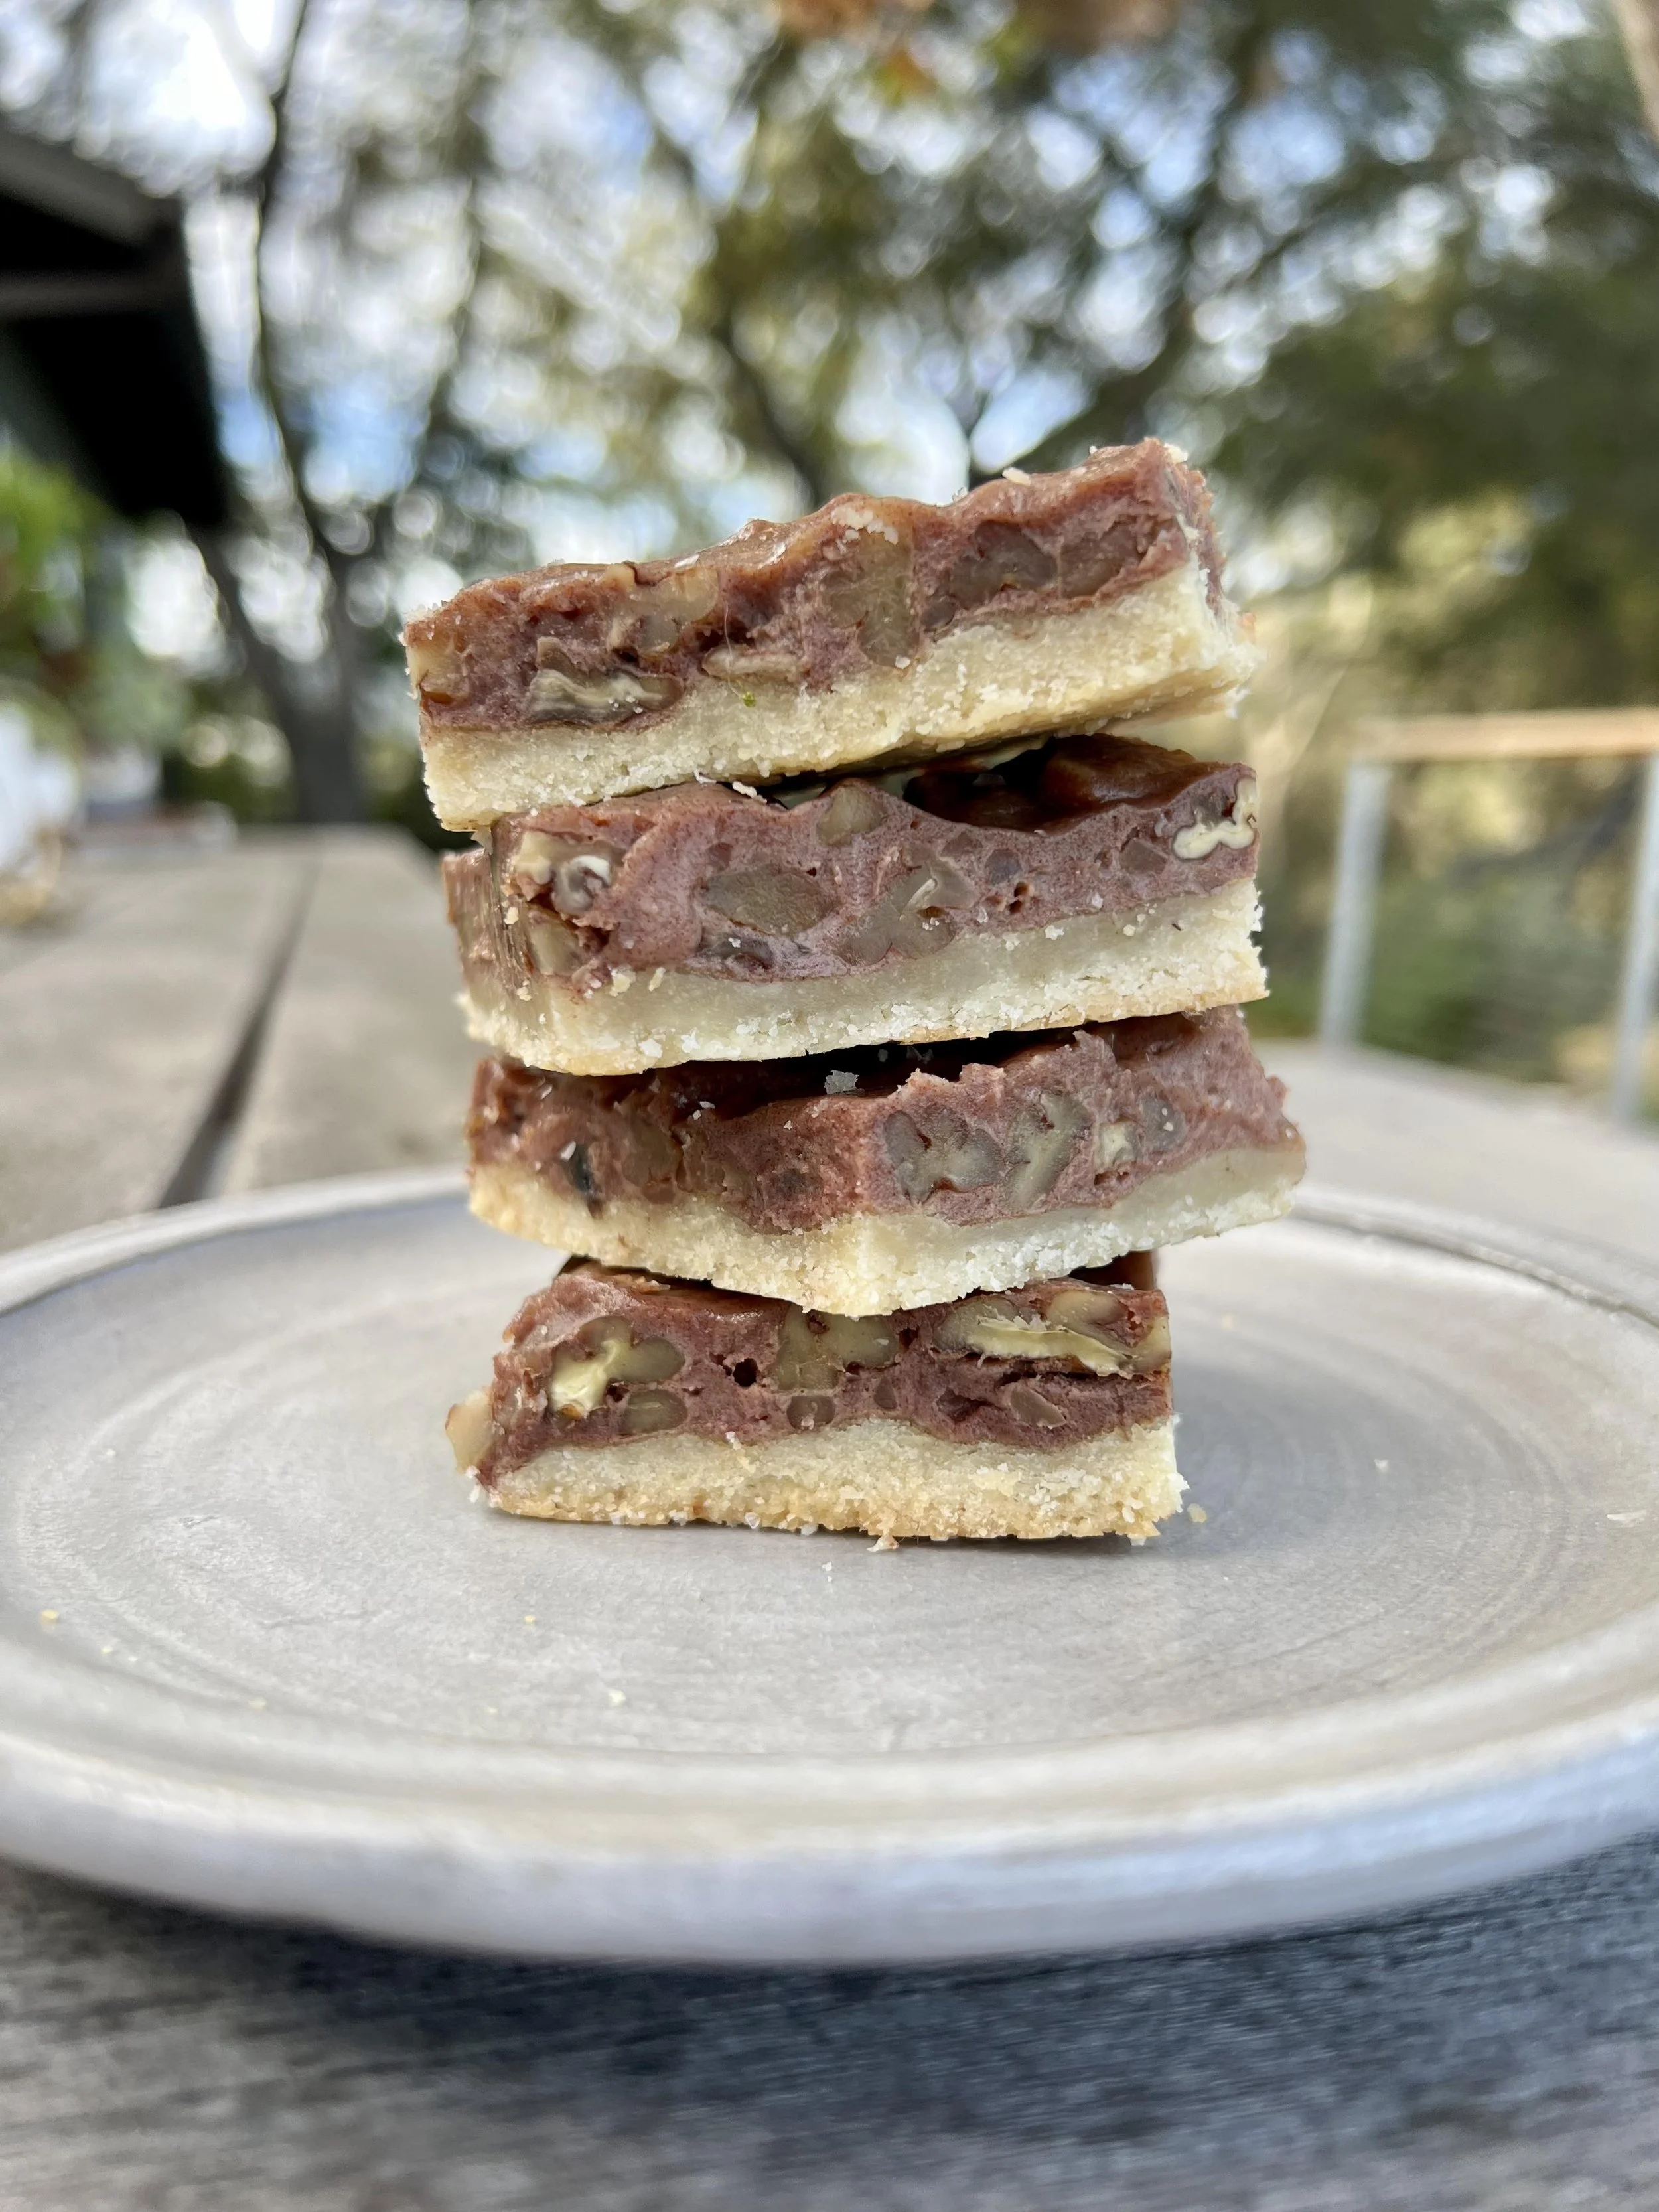
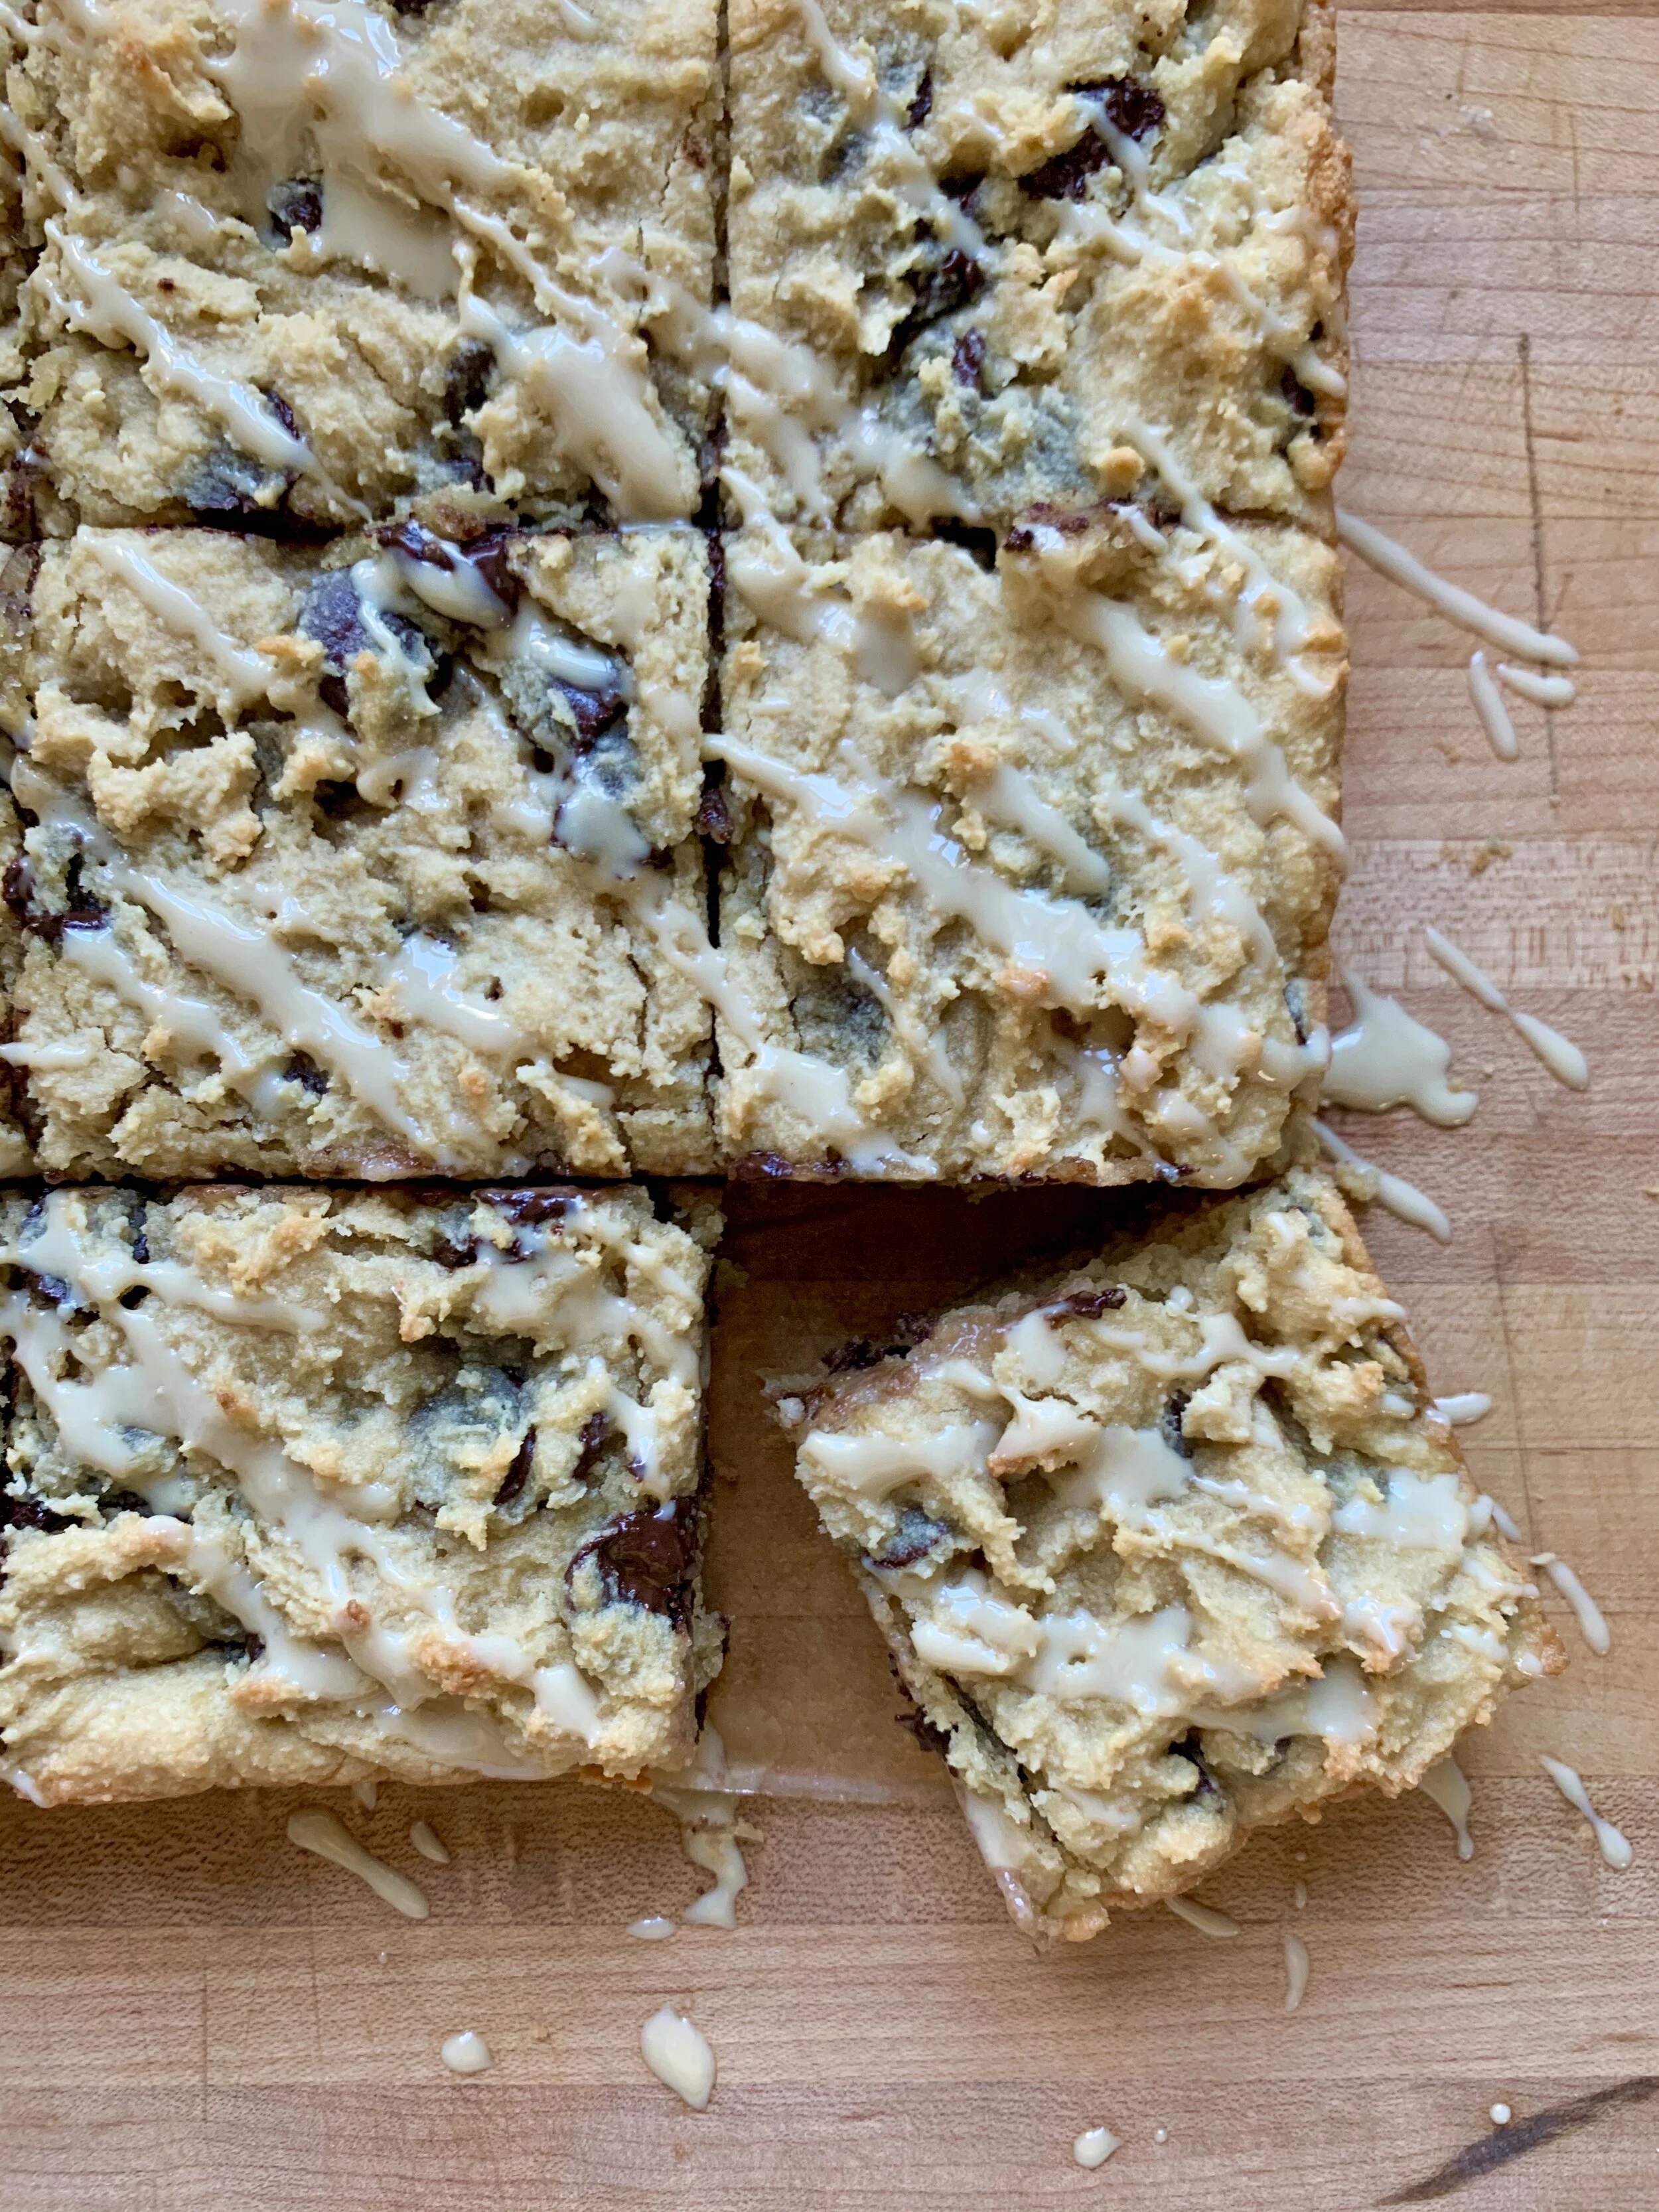
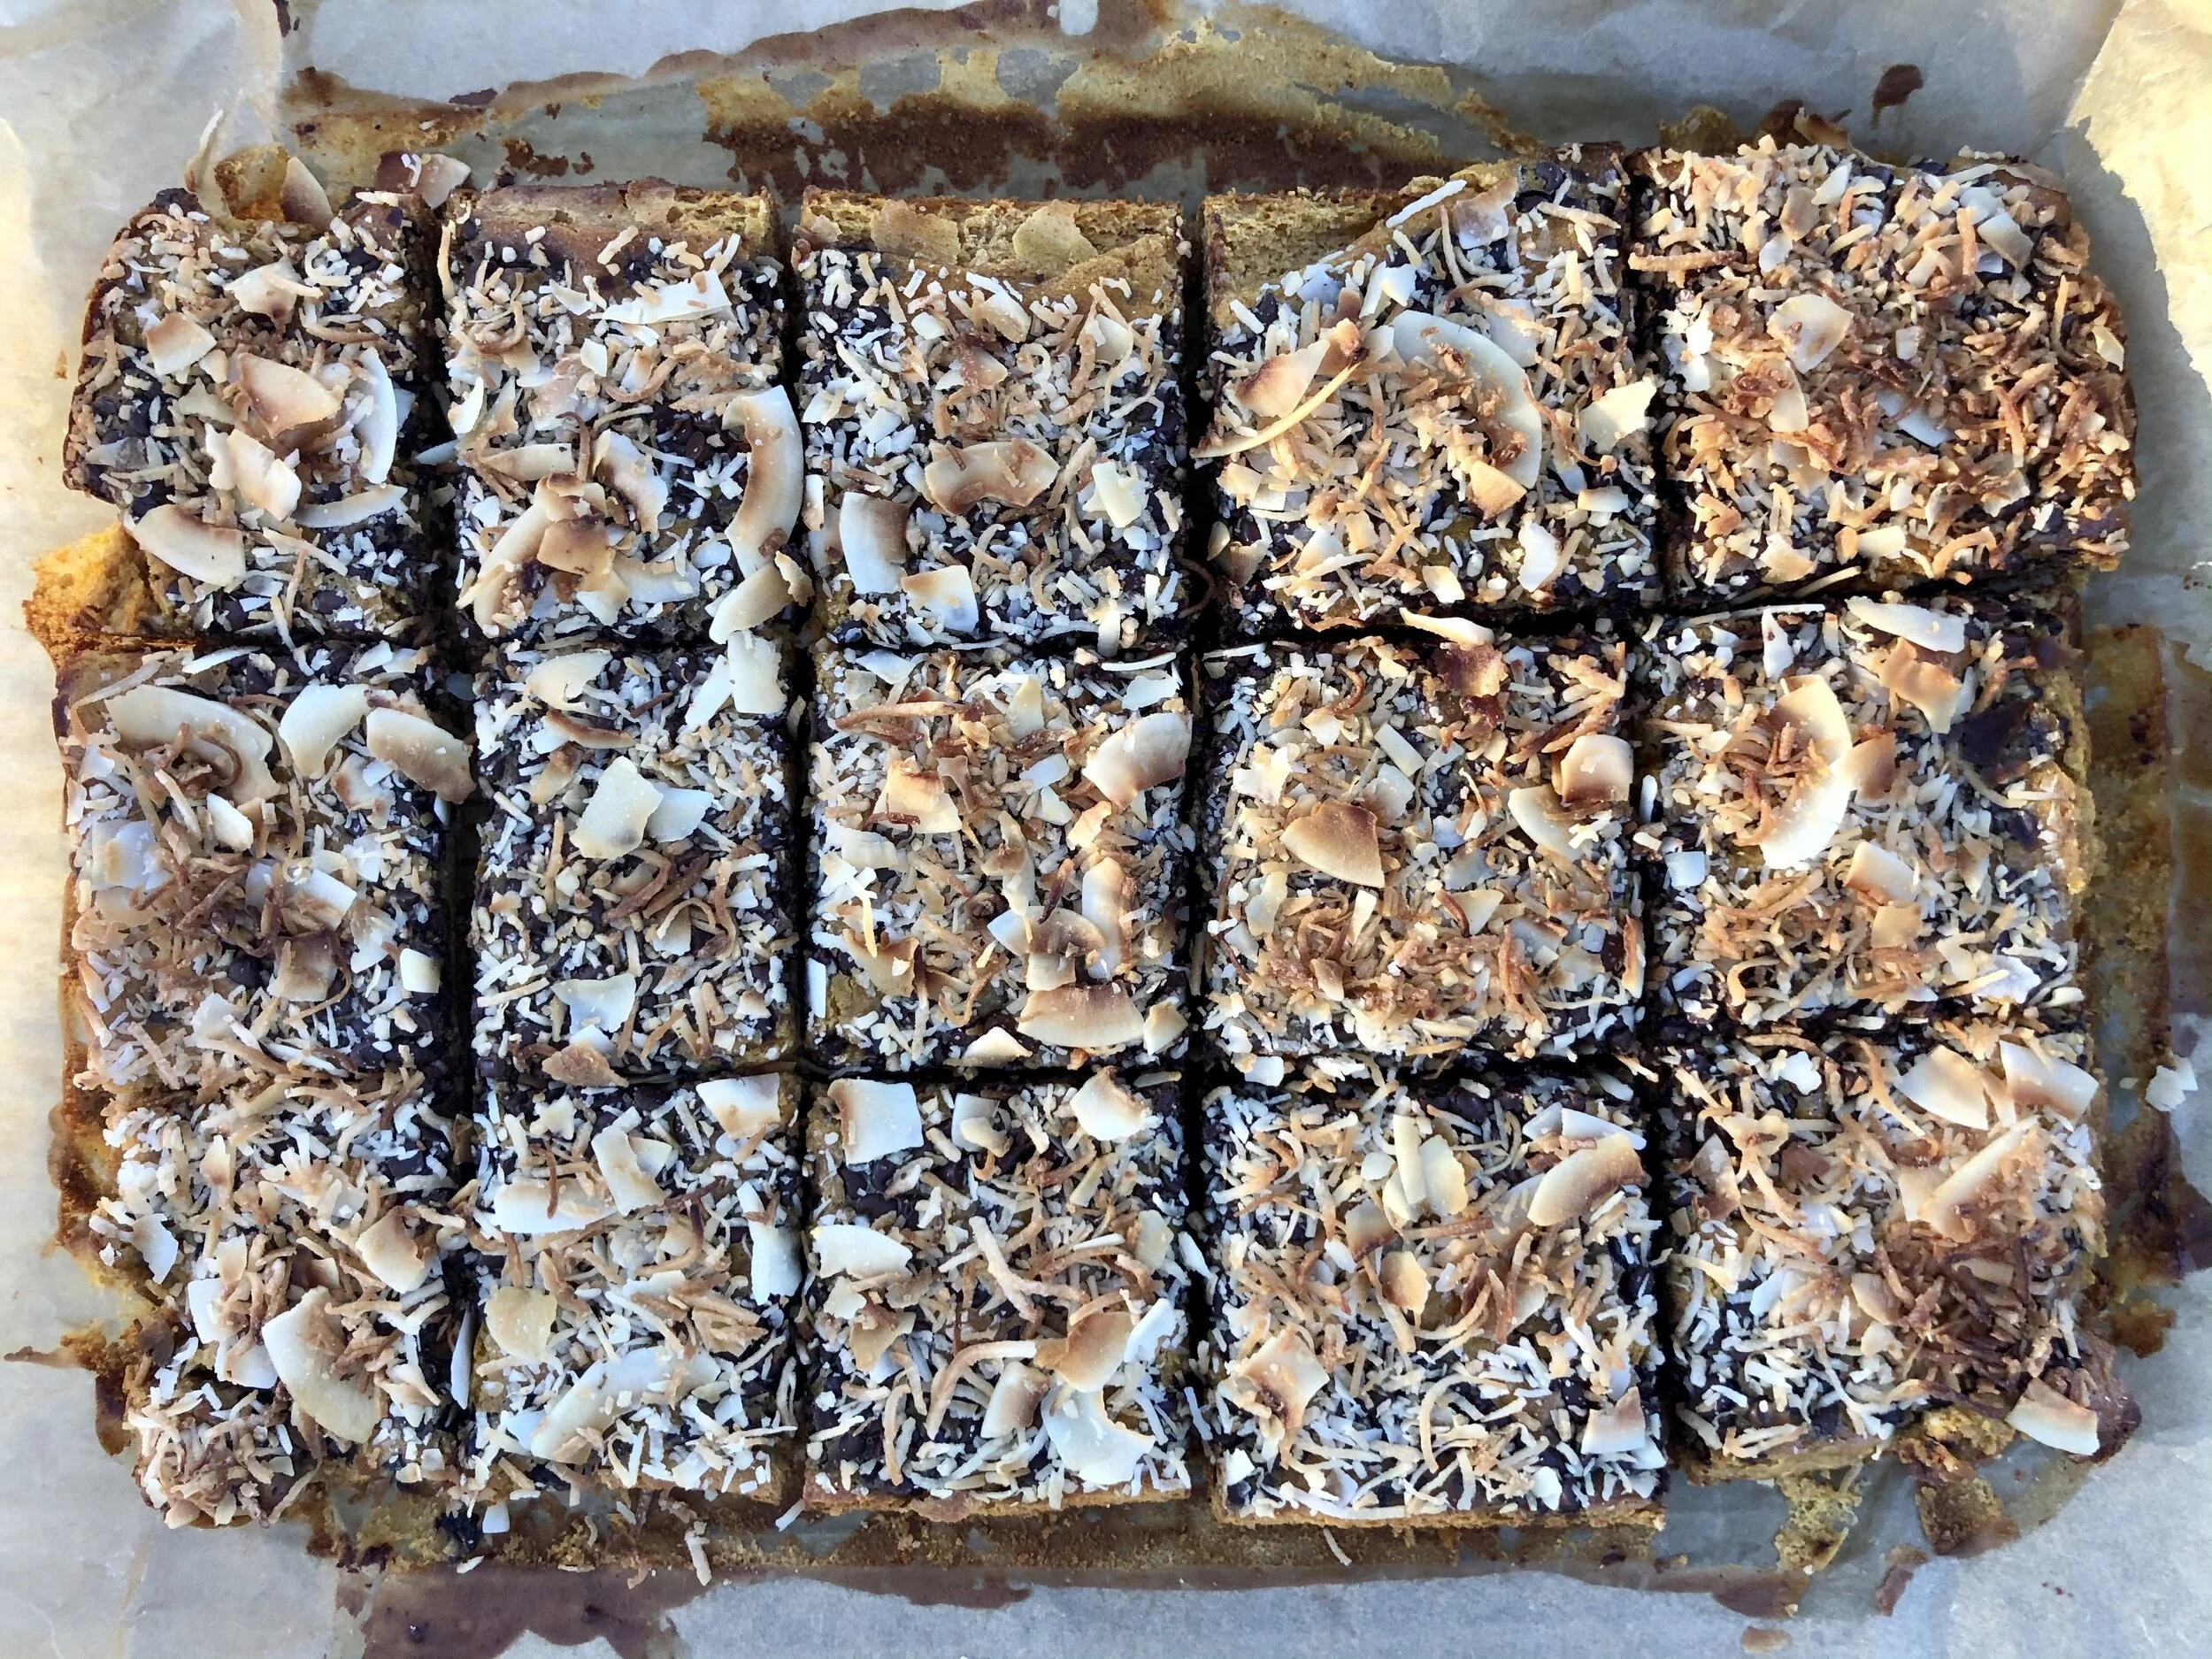
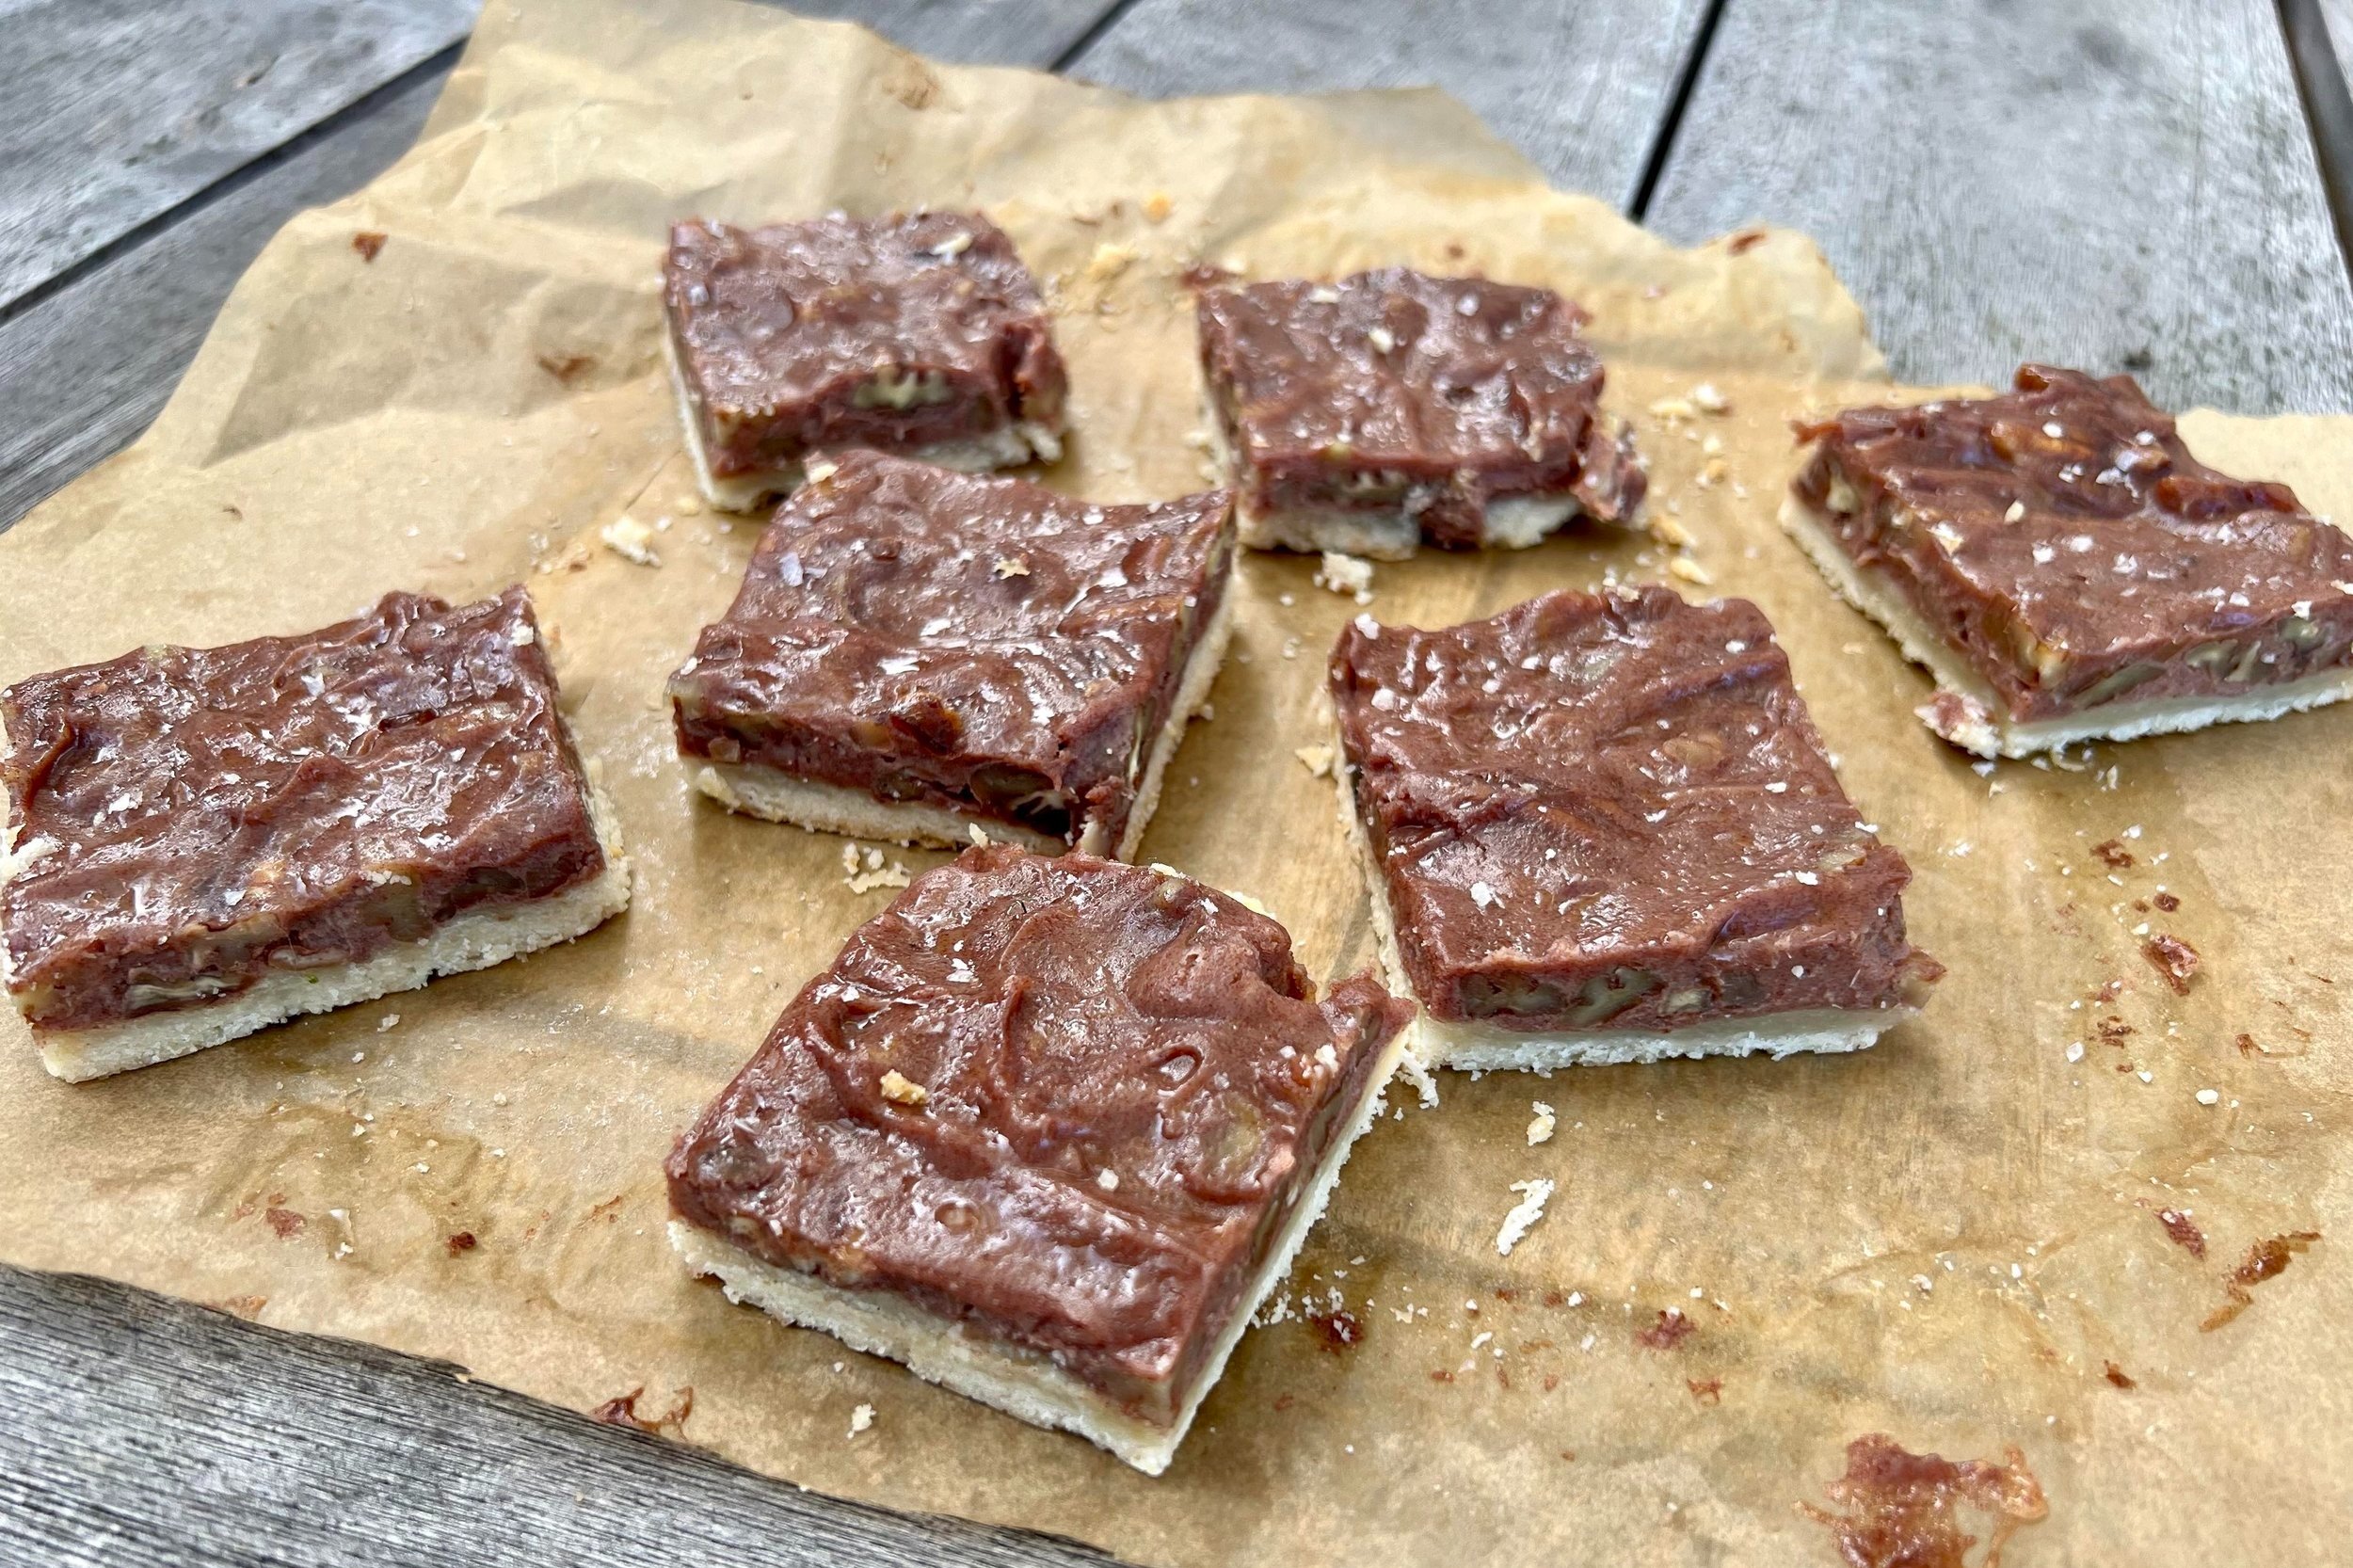
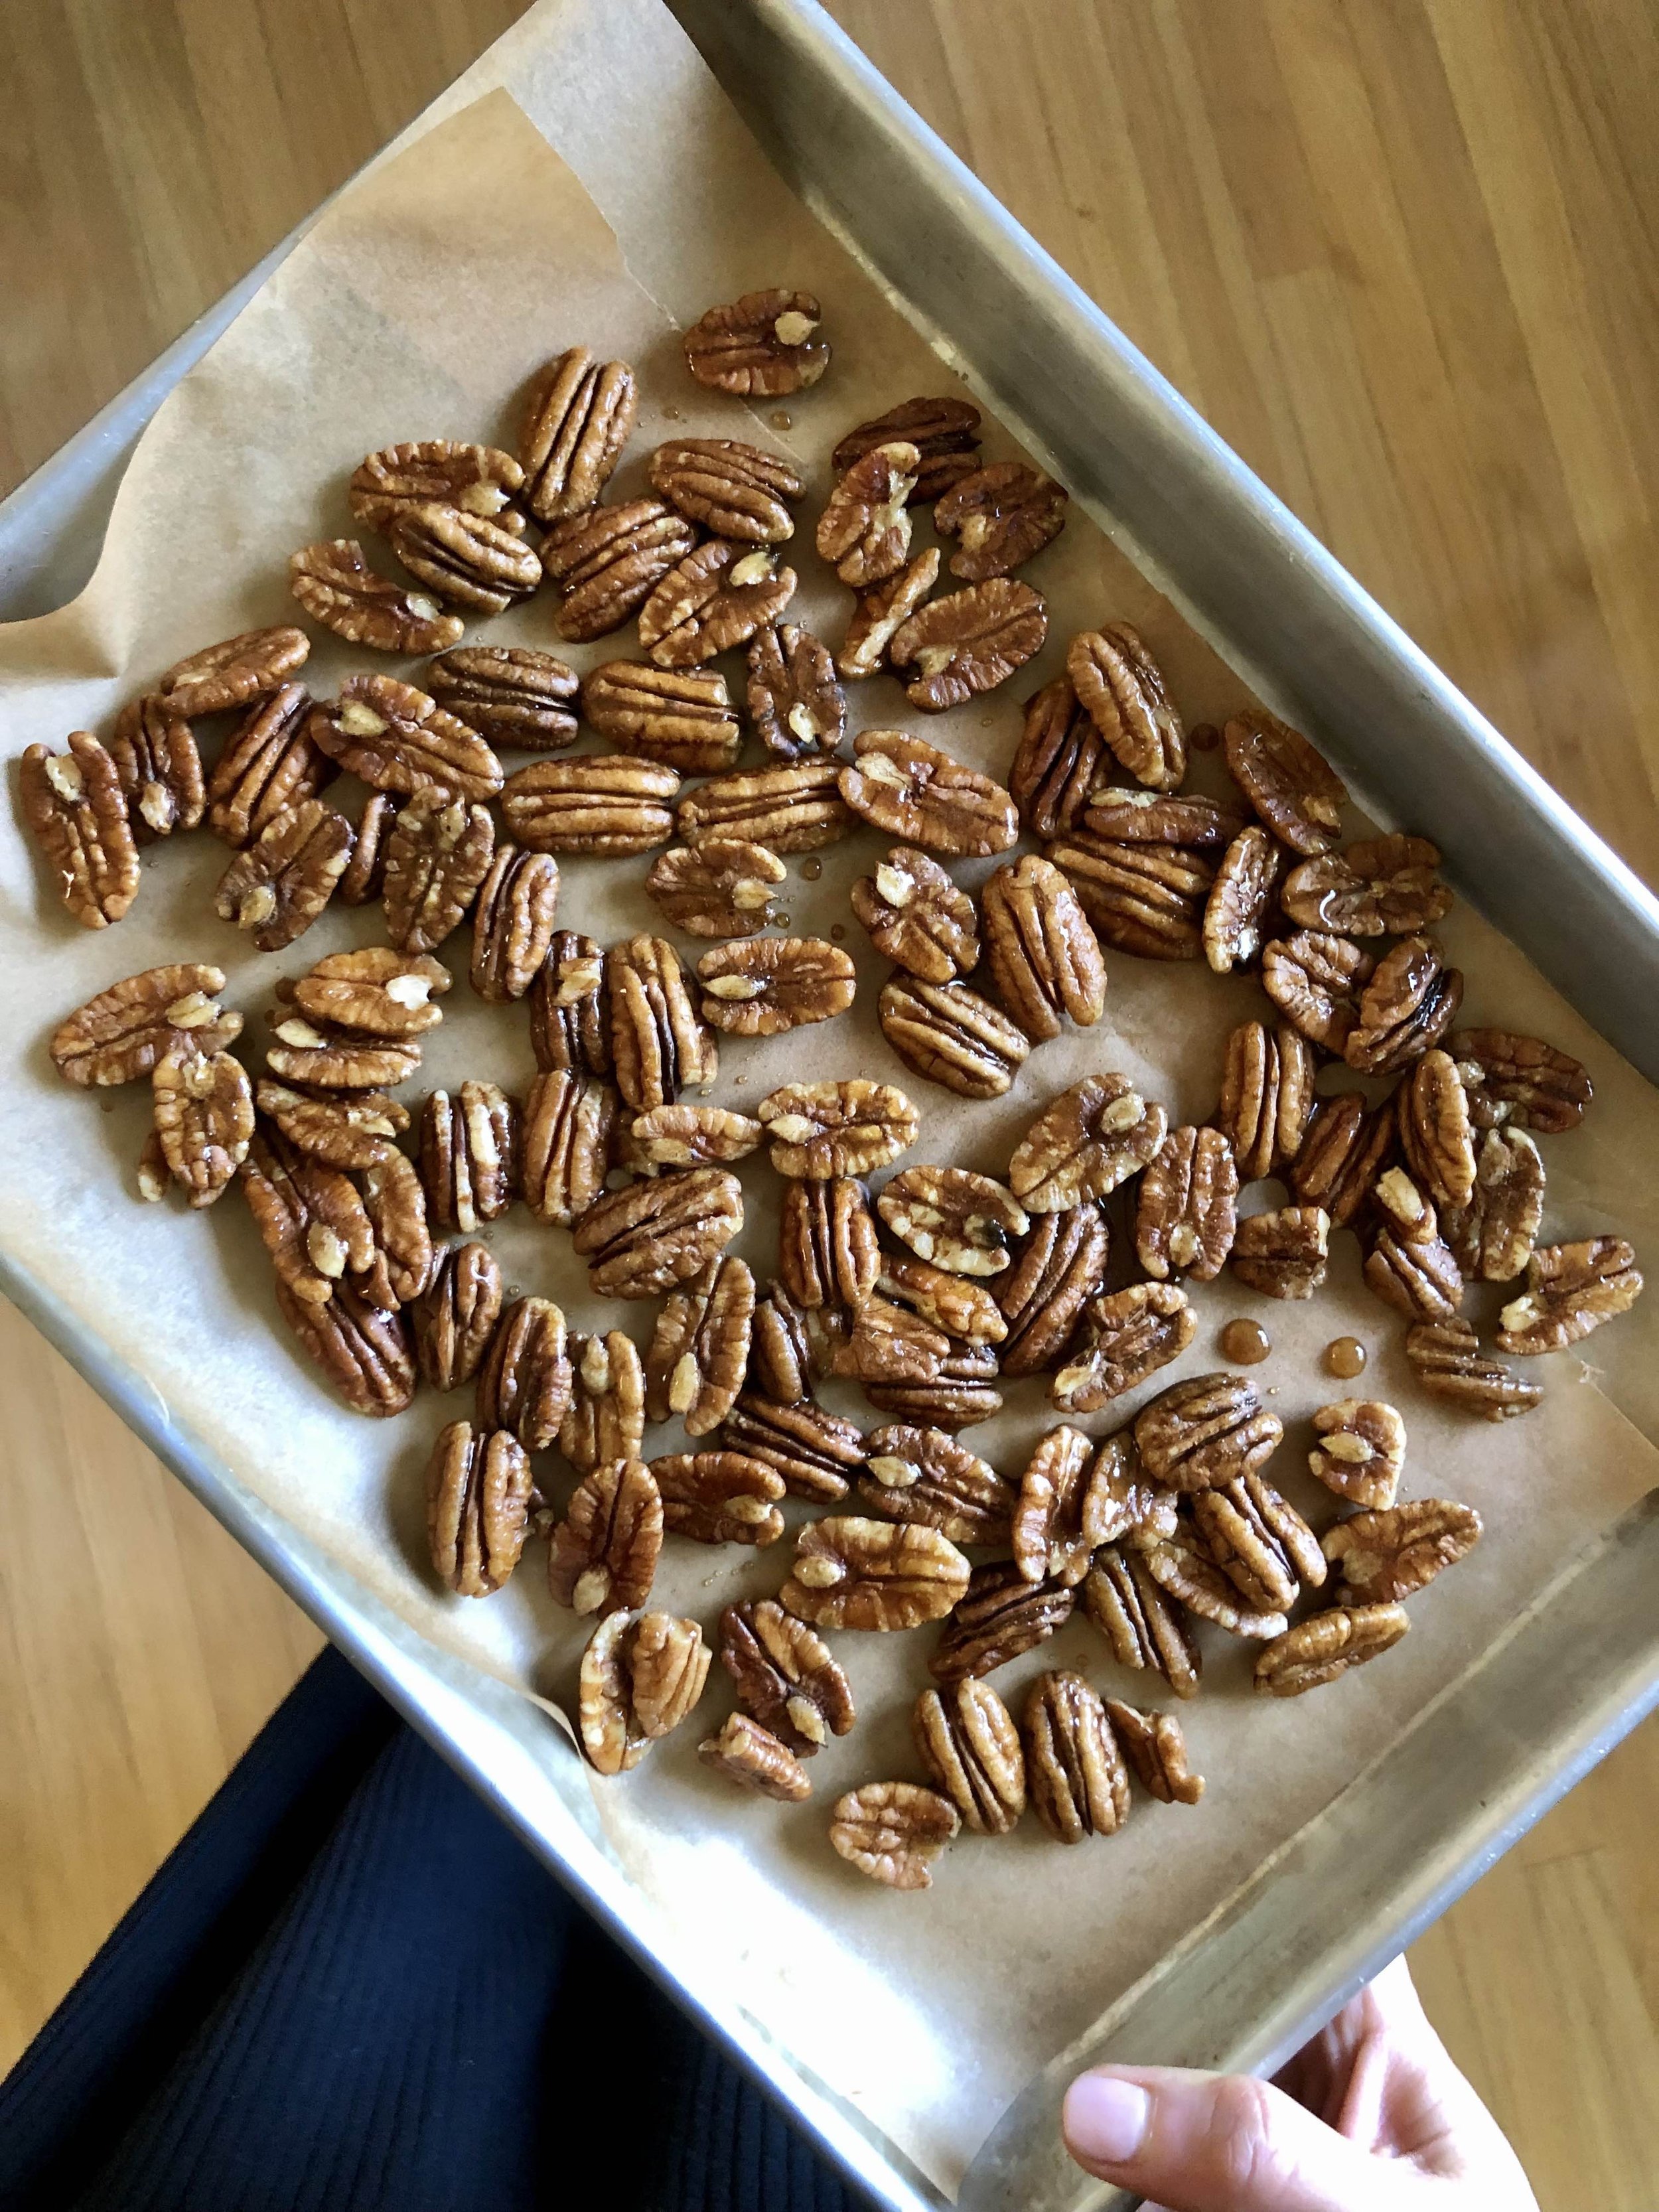
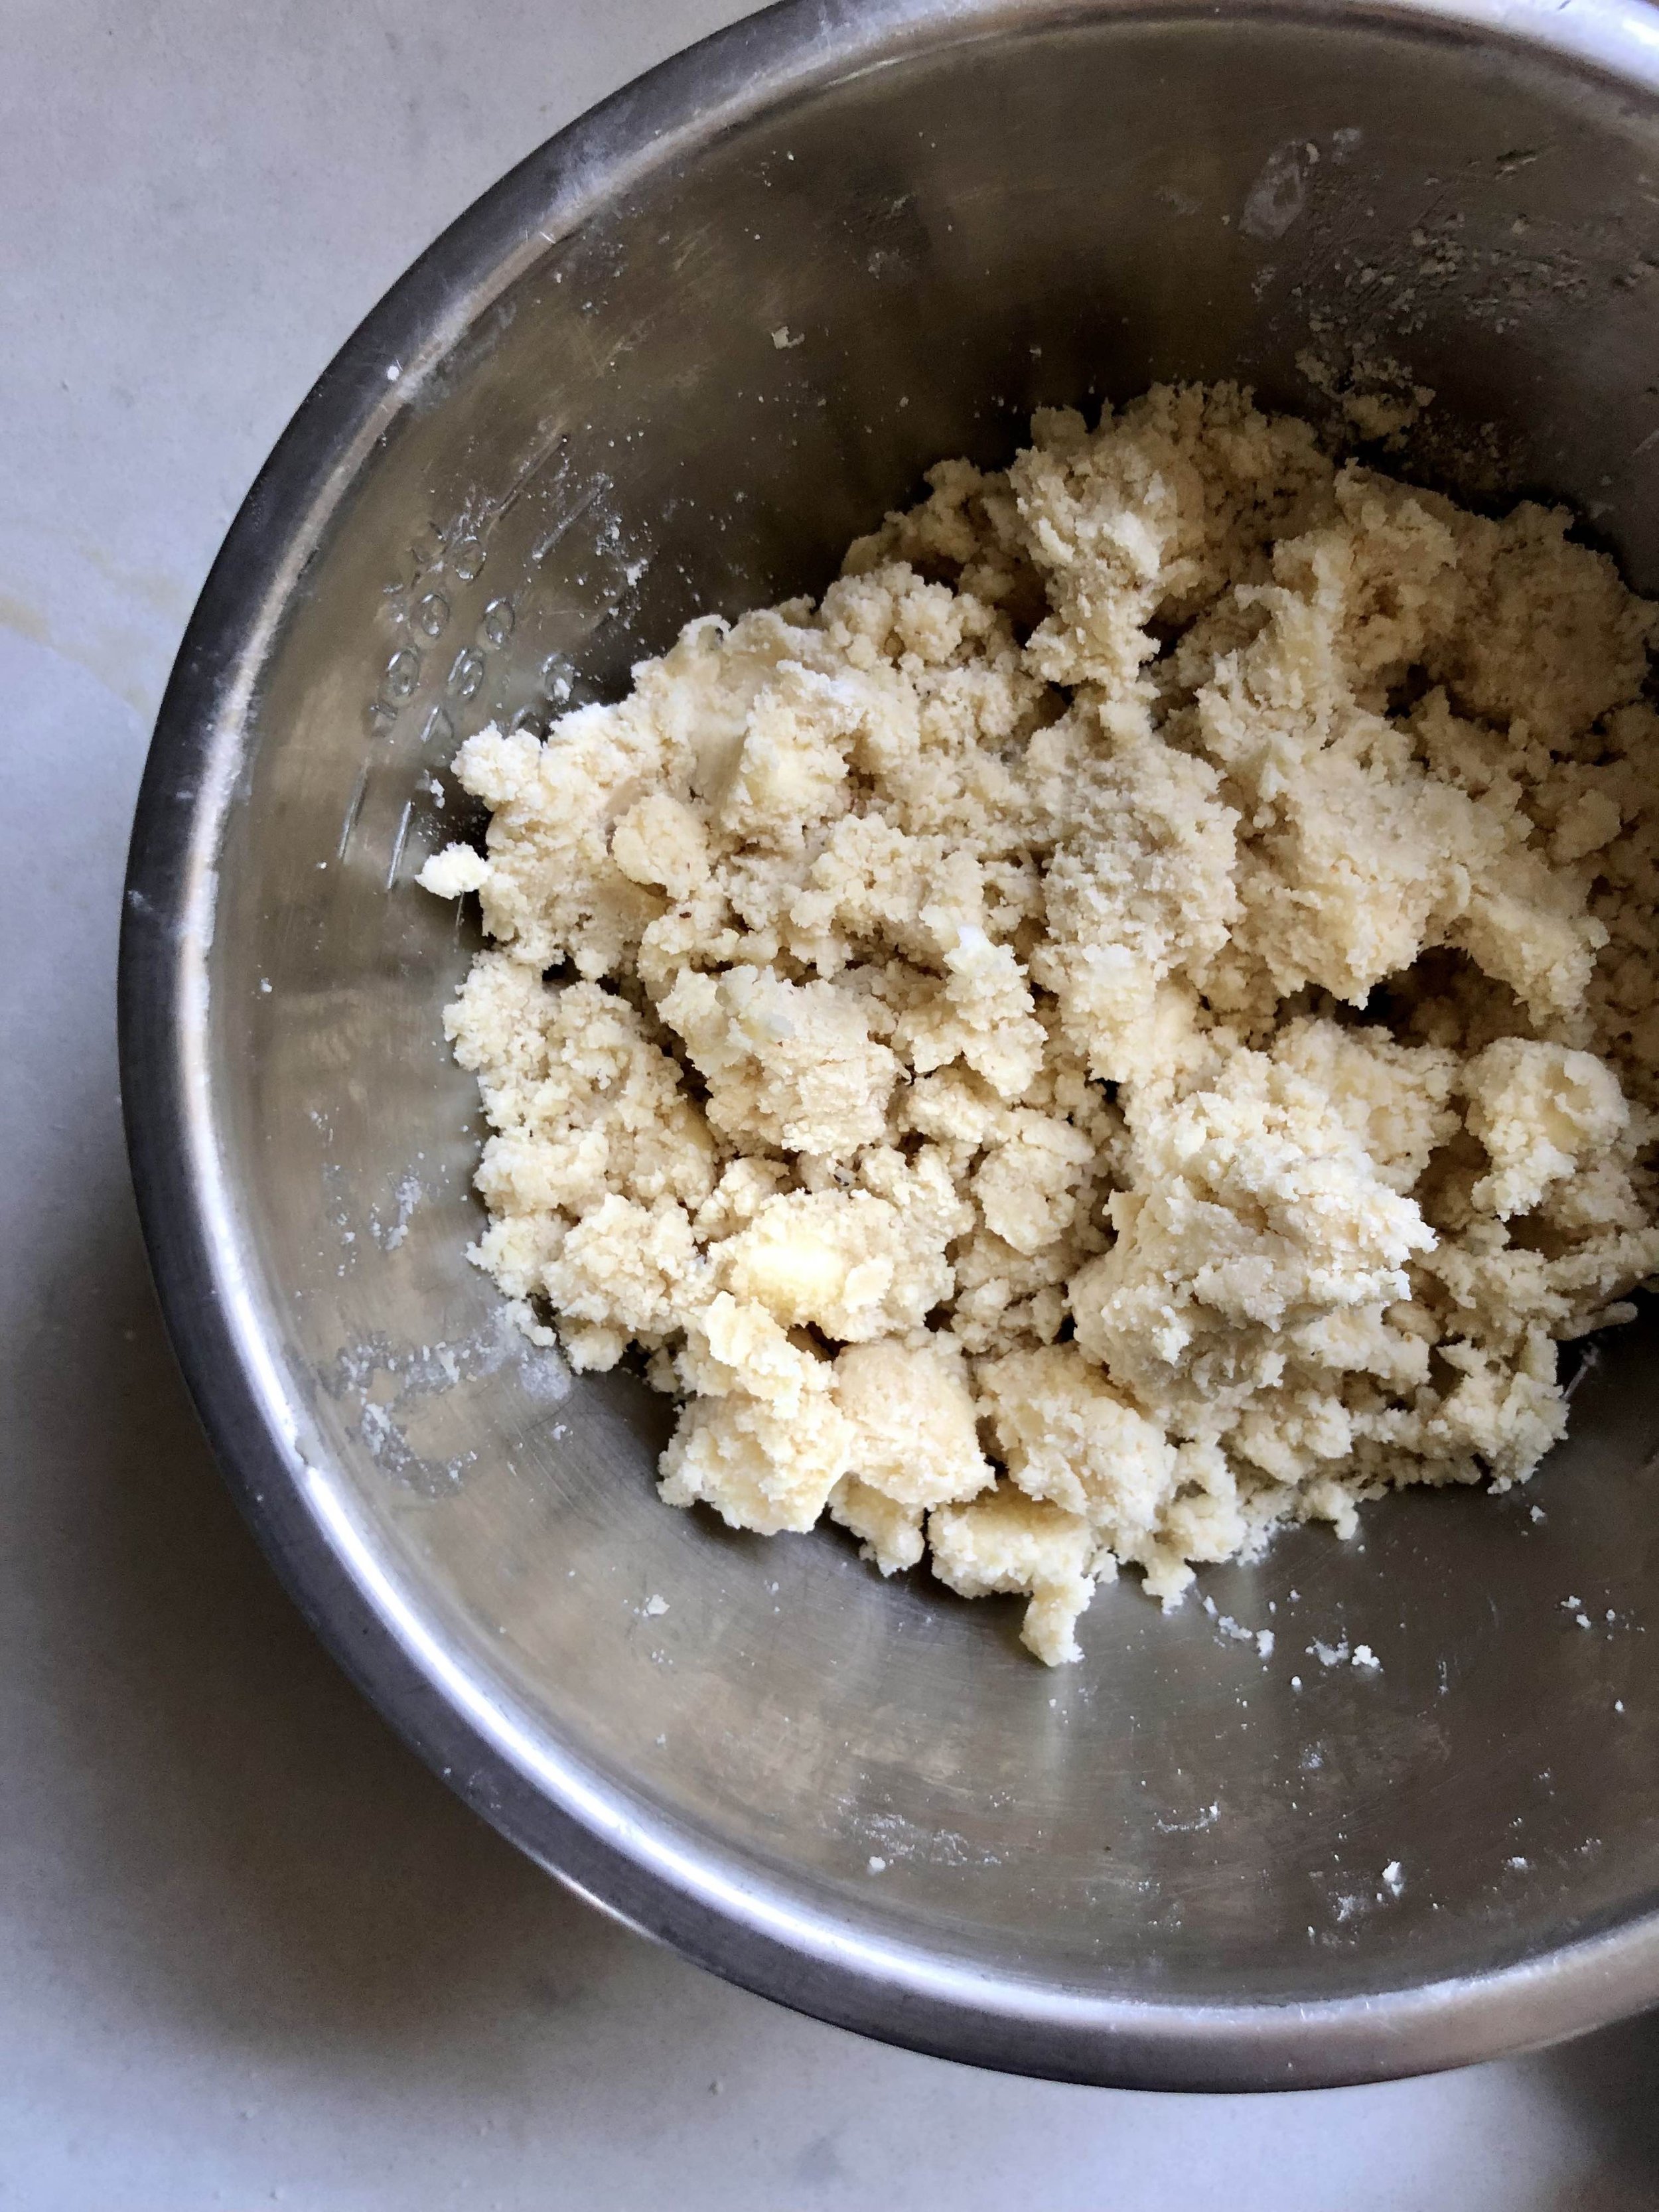
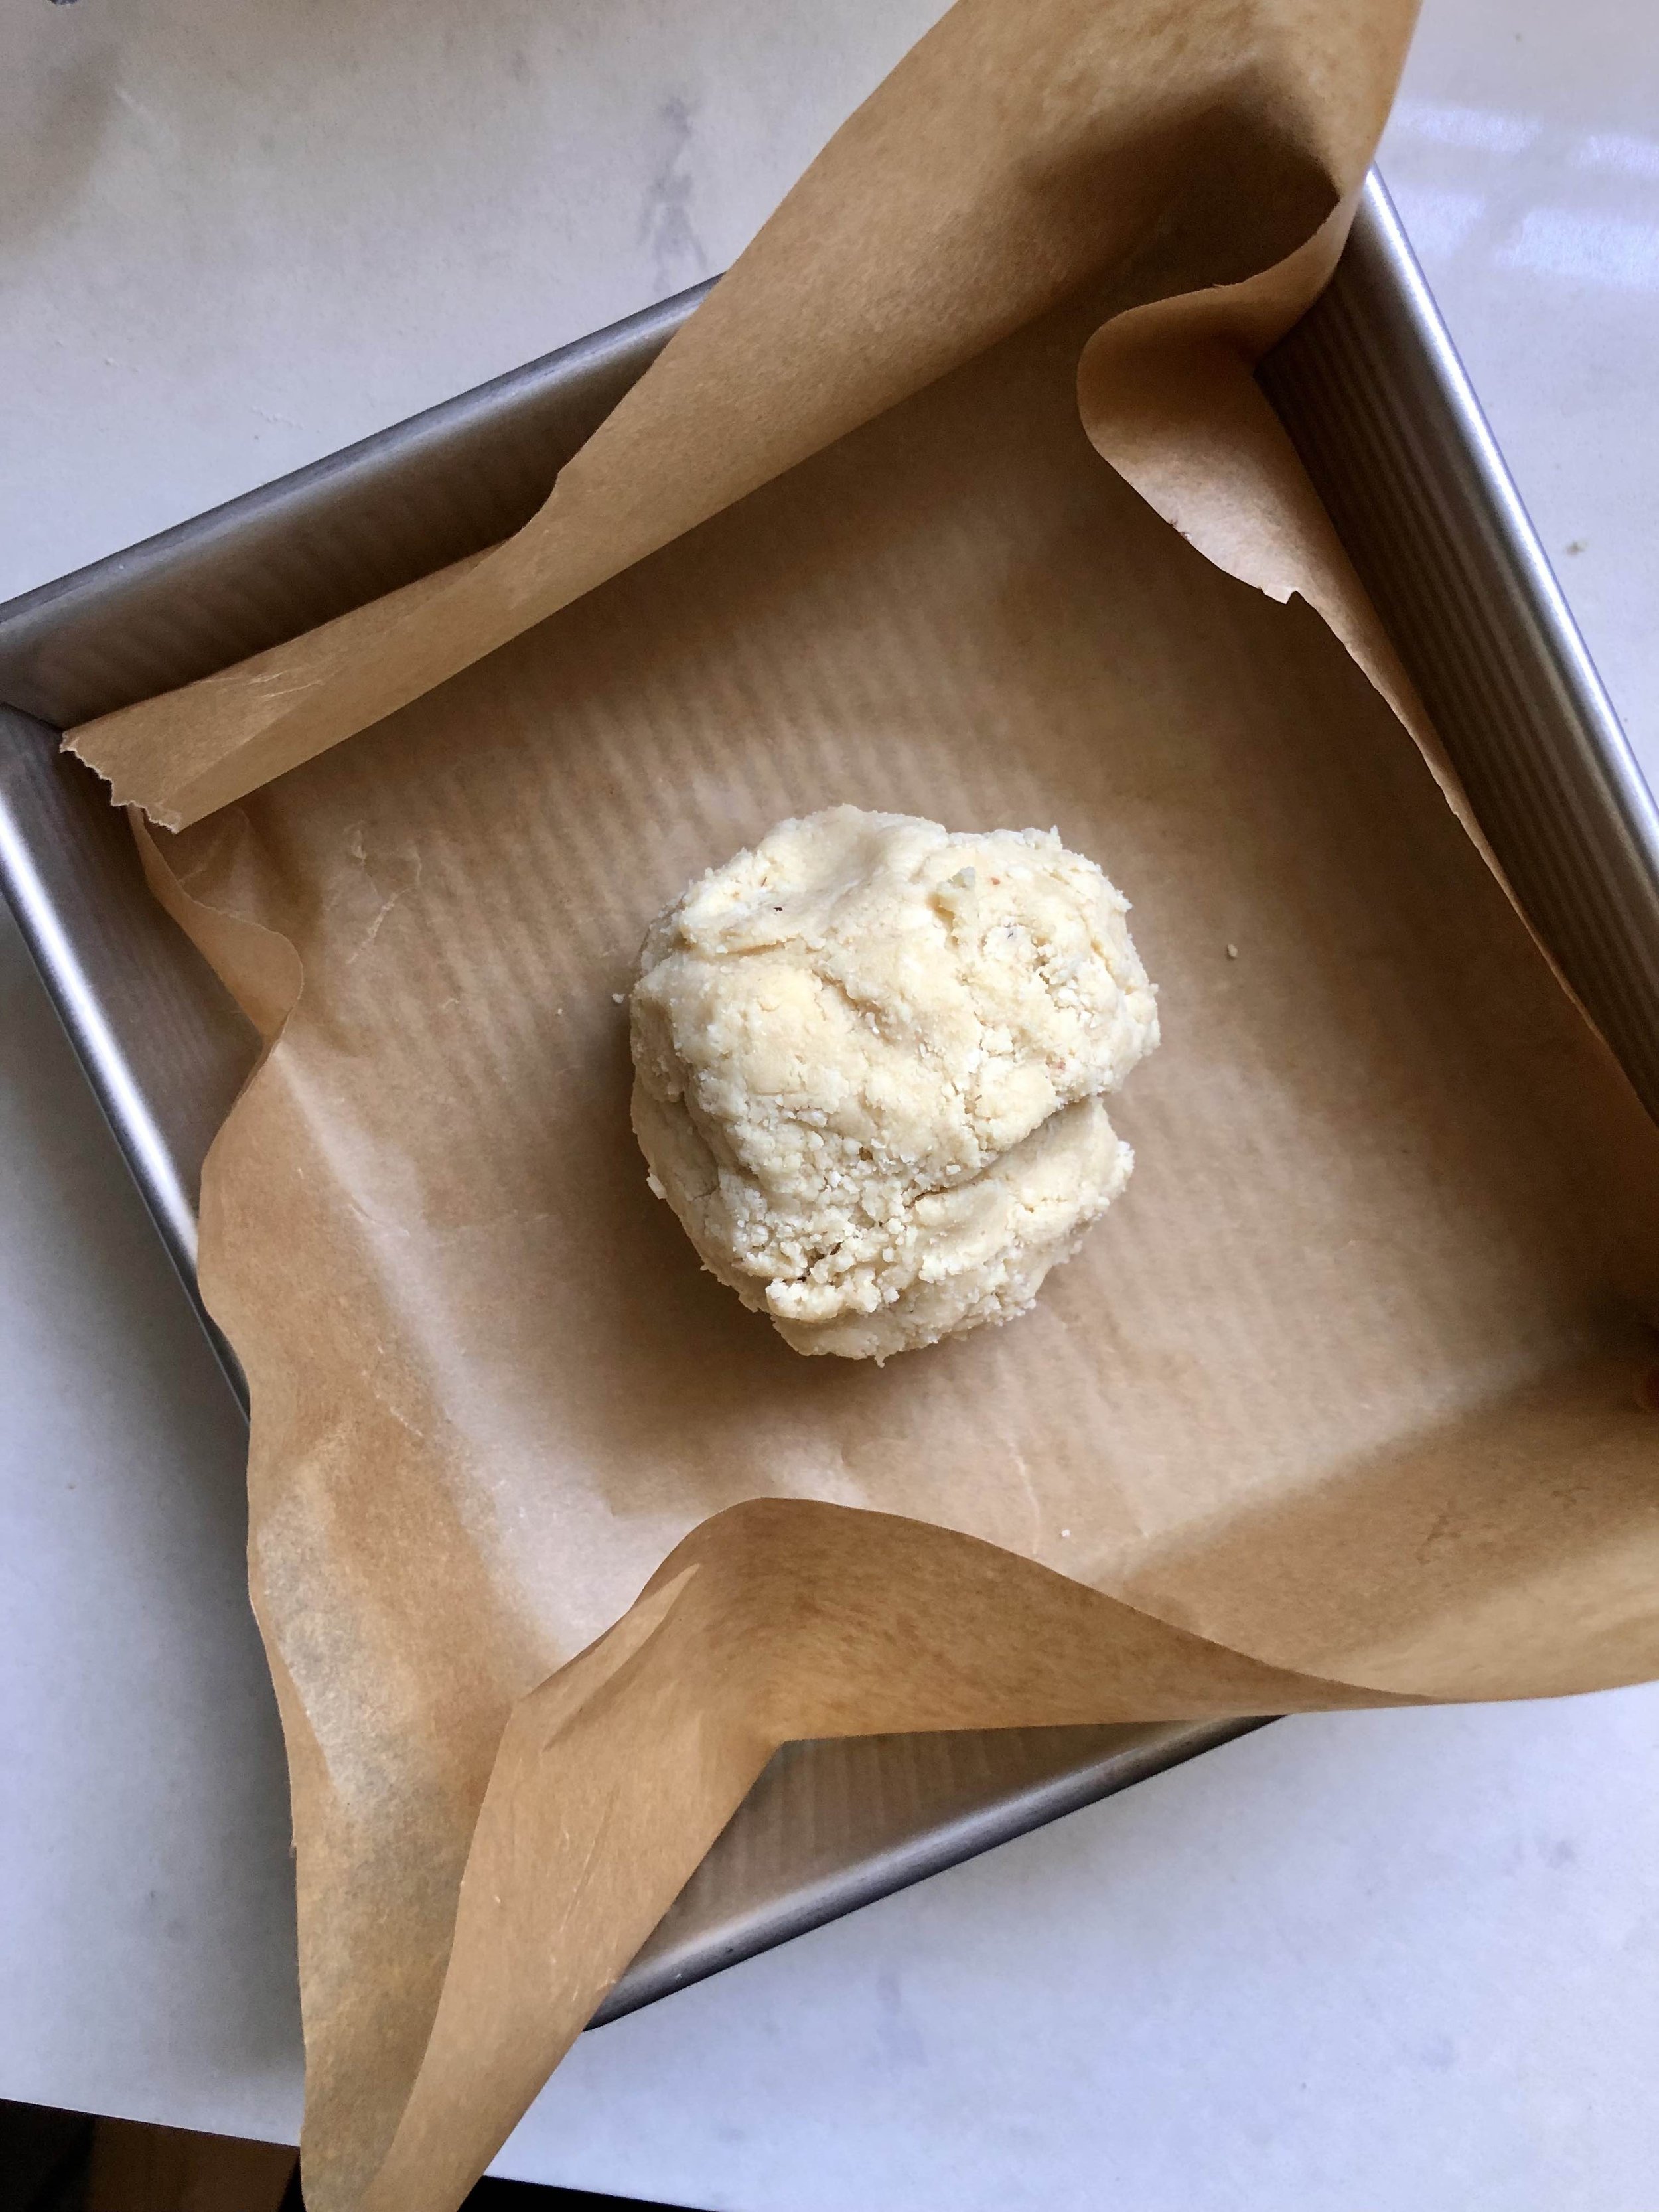
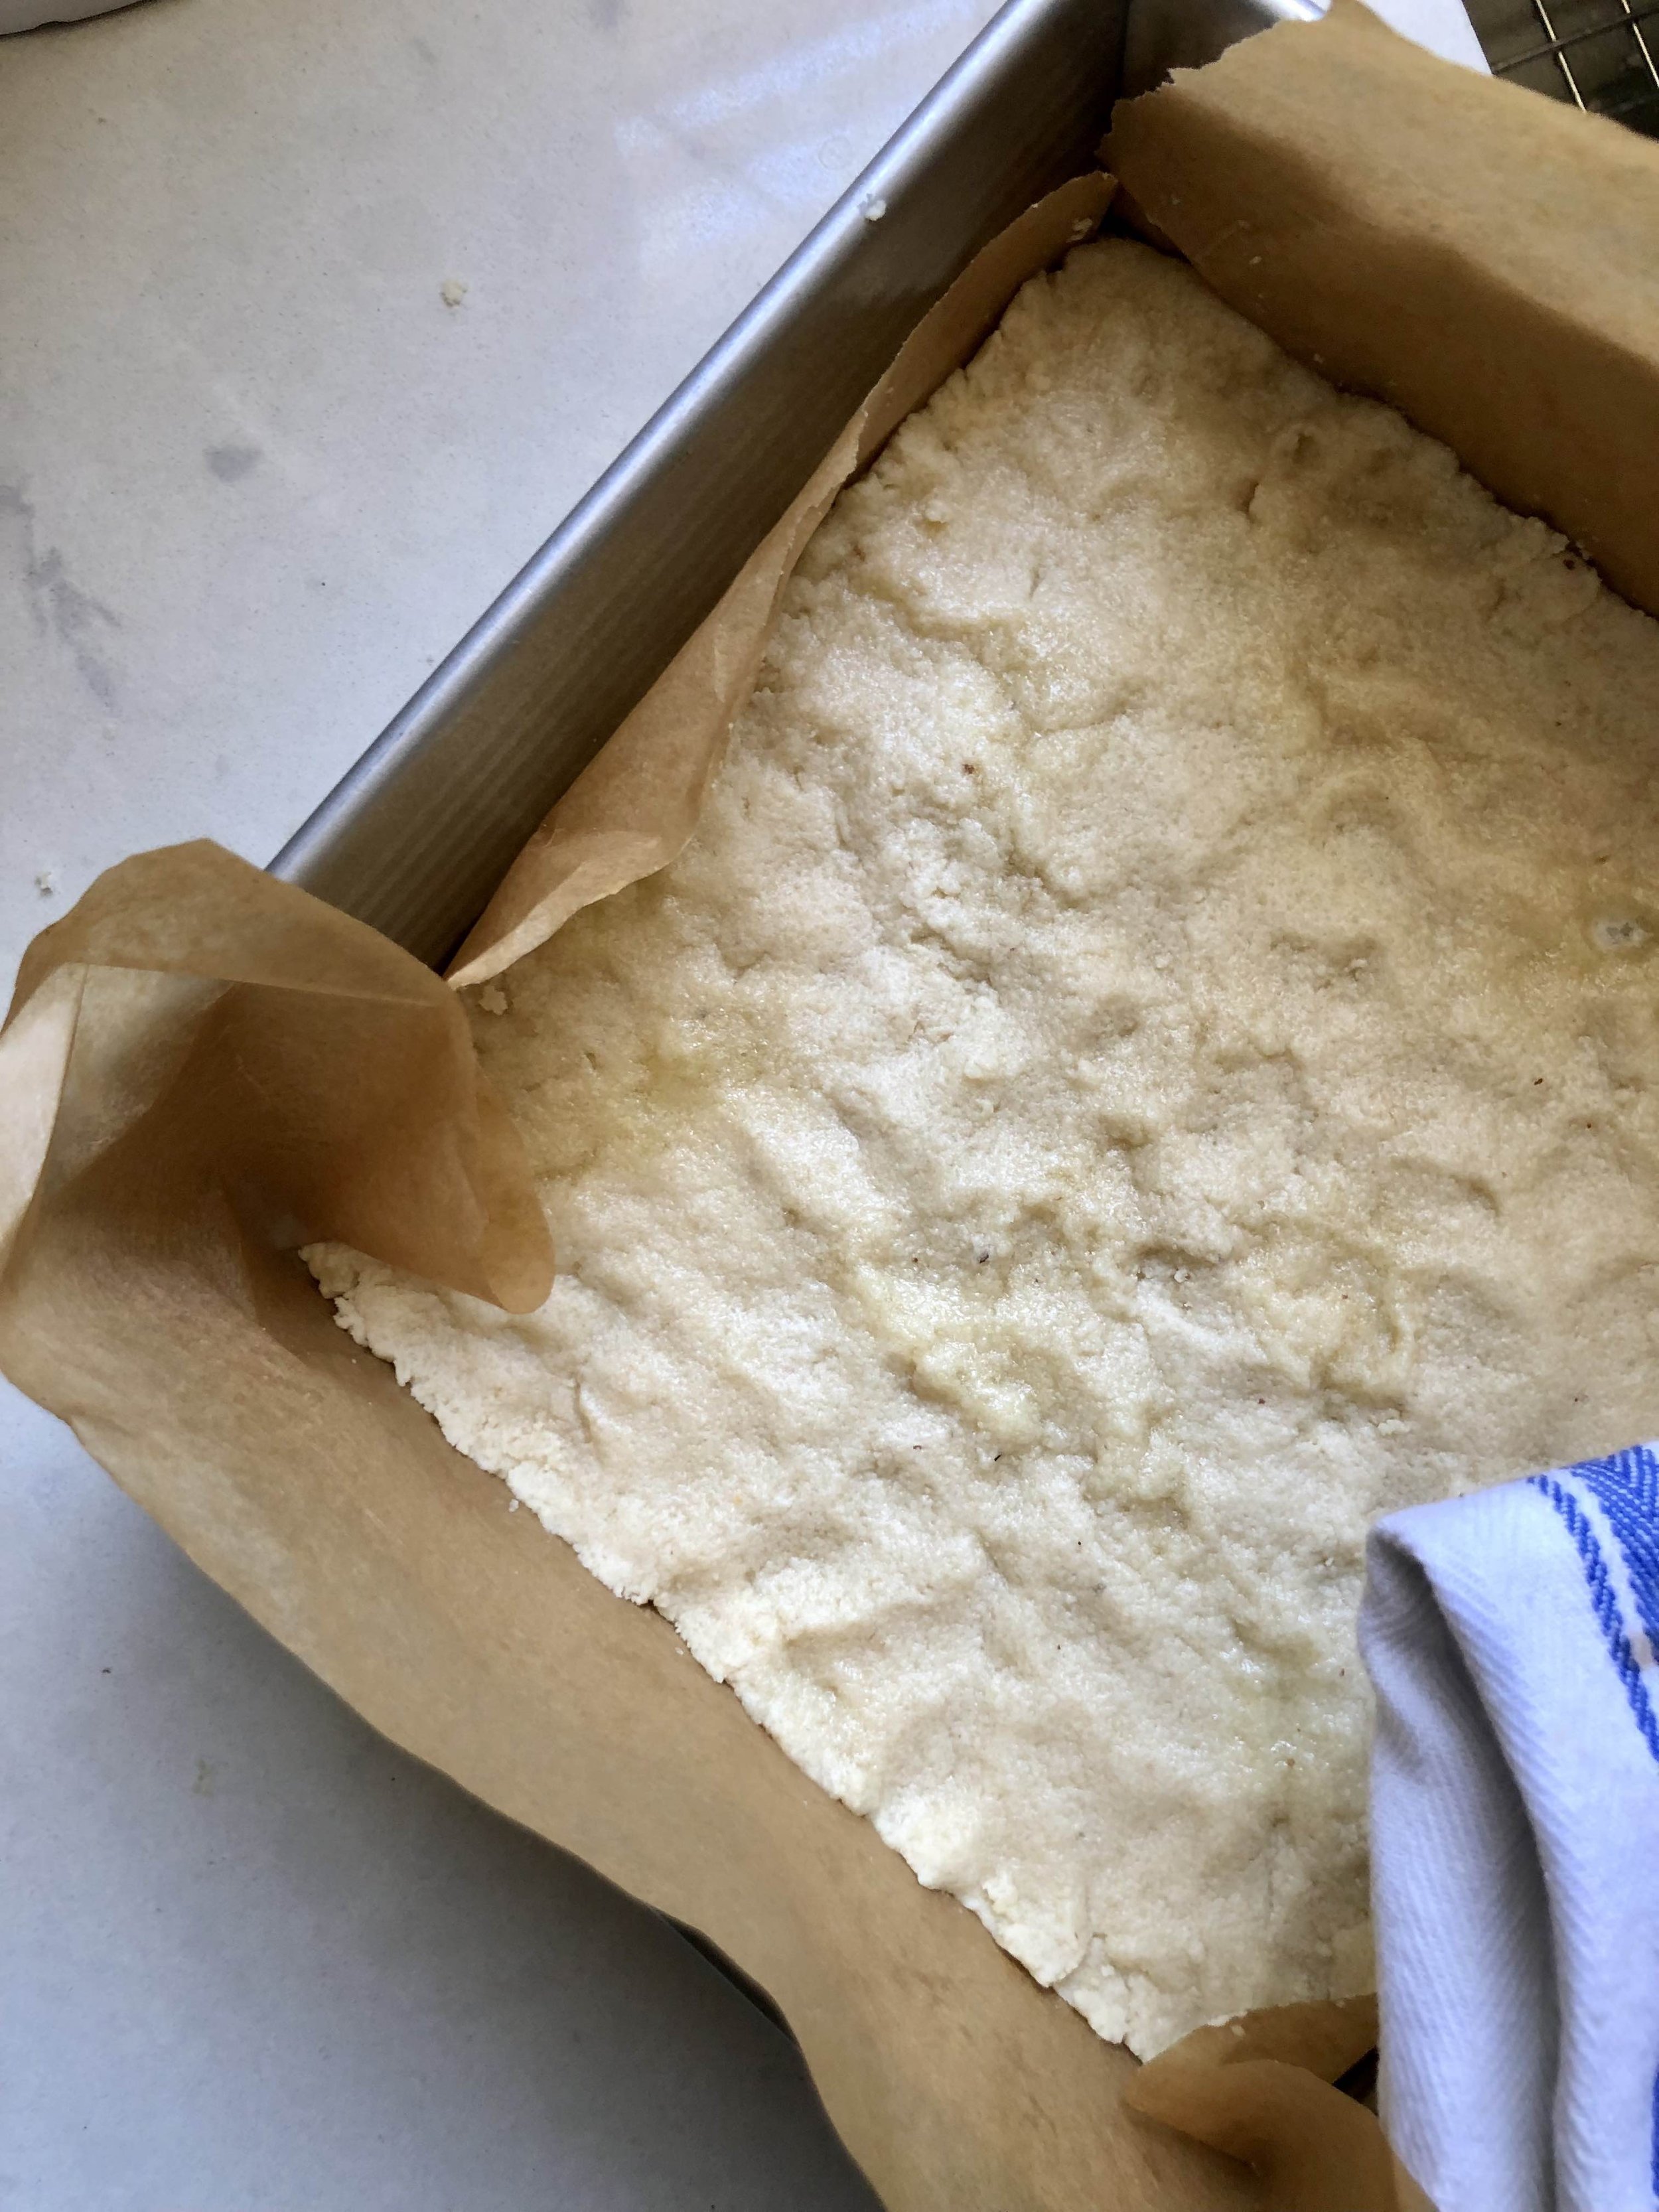
I can’t believe the holiday season is soon upon us. This year has really flown by! One of the first things that comes to mind when I think holidays is holiday baking! From festive pies at Thanksgiving to cookie exchanges at Christmas, I’m truly here for it all! Pecan pie is a southern fave for good reason- that gooey caramelized filling, with candied pecans, and a buttery shortbread crust is hard to beat. But to be honest, many pecan pies can be sickeningly sweet, and I’m not a huge fan of the corn syrup filling that is traditionally used. I also understand pies can be a bit of an overwhelming undertaking, and so I love the approach of somewhat more casual pecan pie bars! These in particular are made with a coconut milk and date filling, along with a butter and almond flour based crust. Plus lots of gooey pecans!

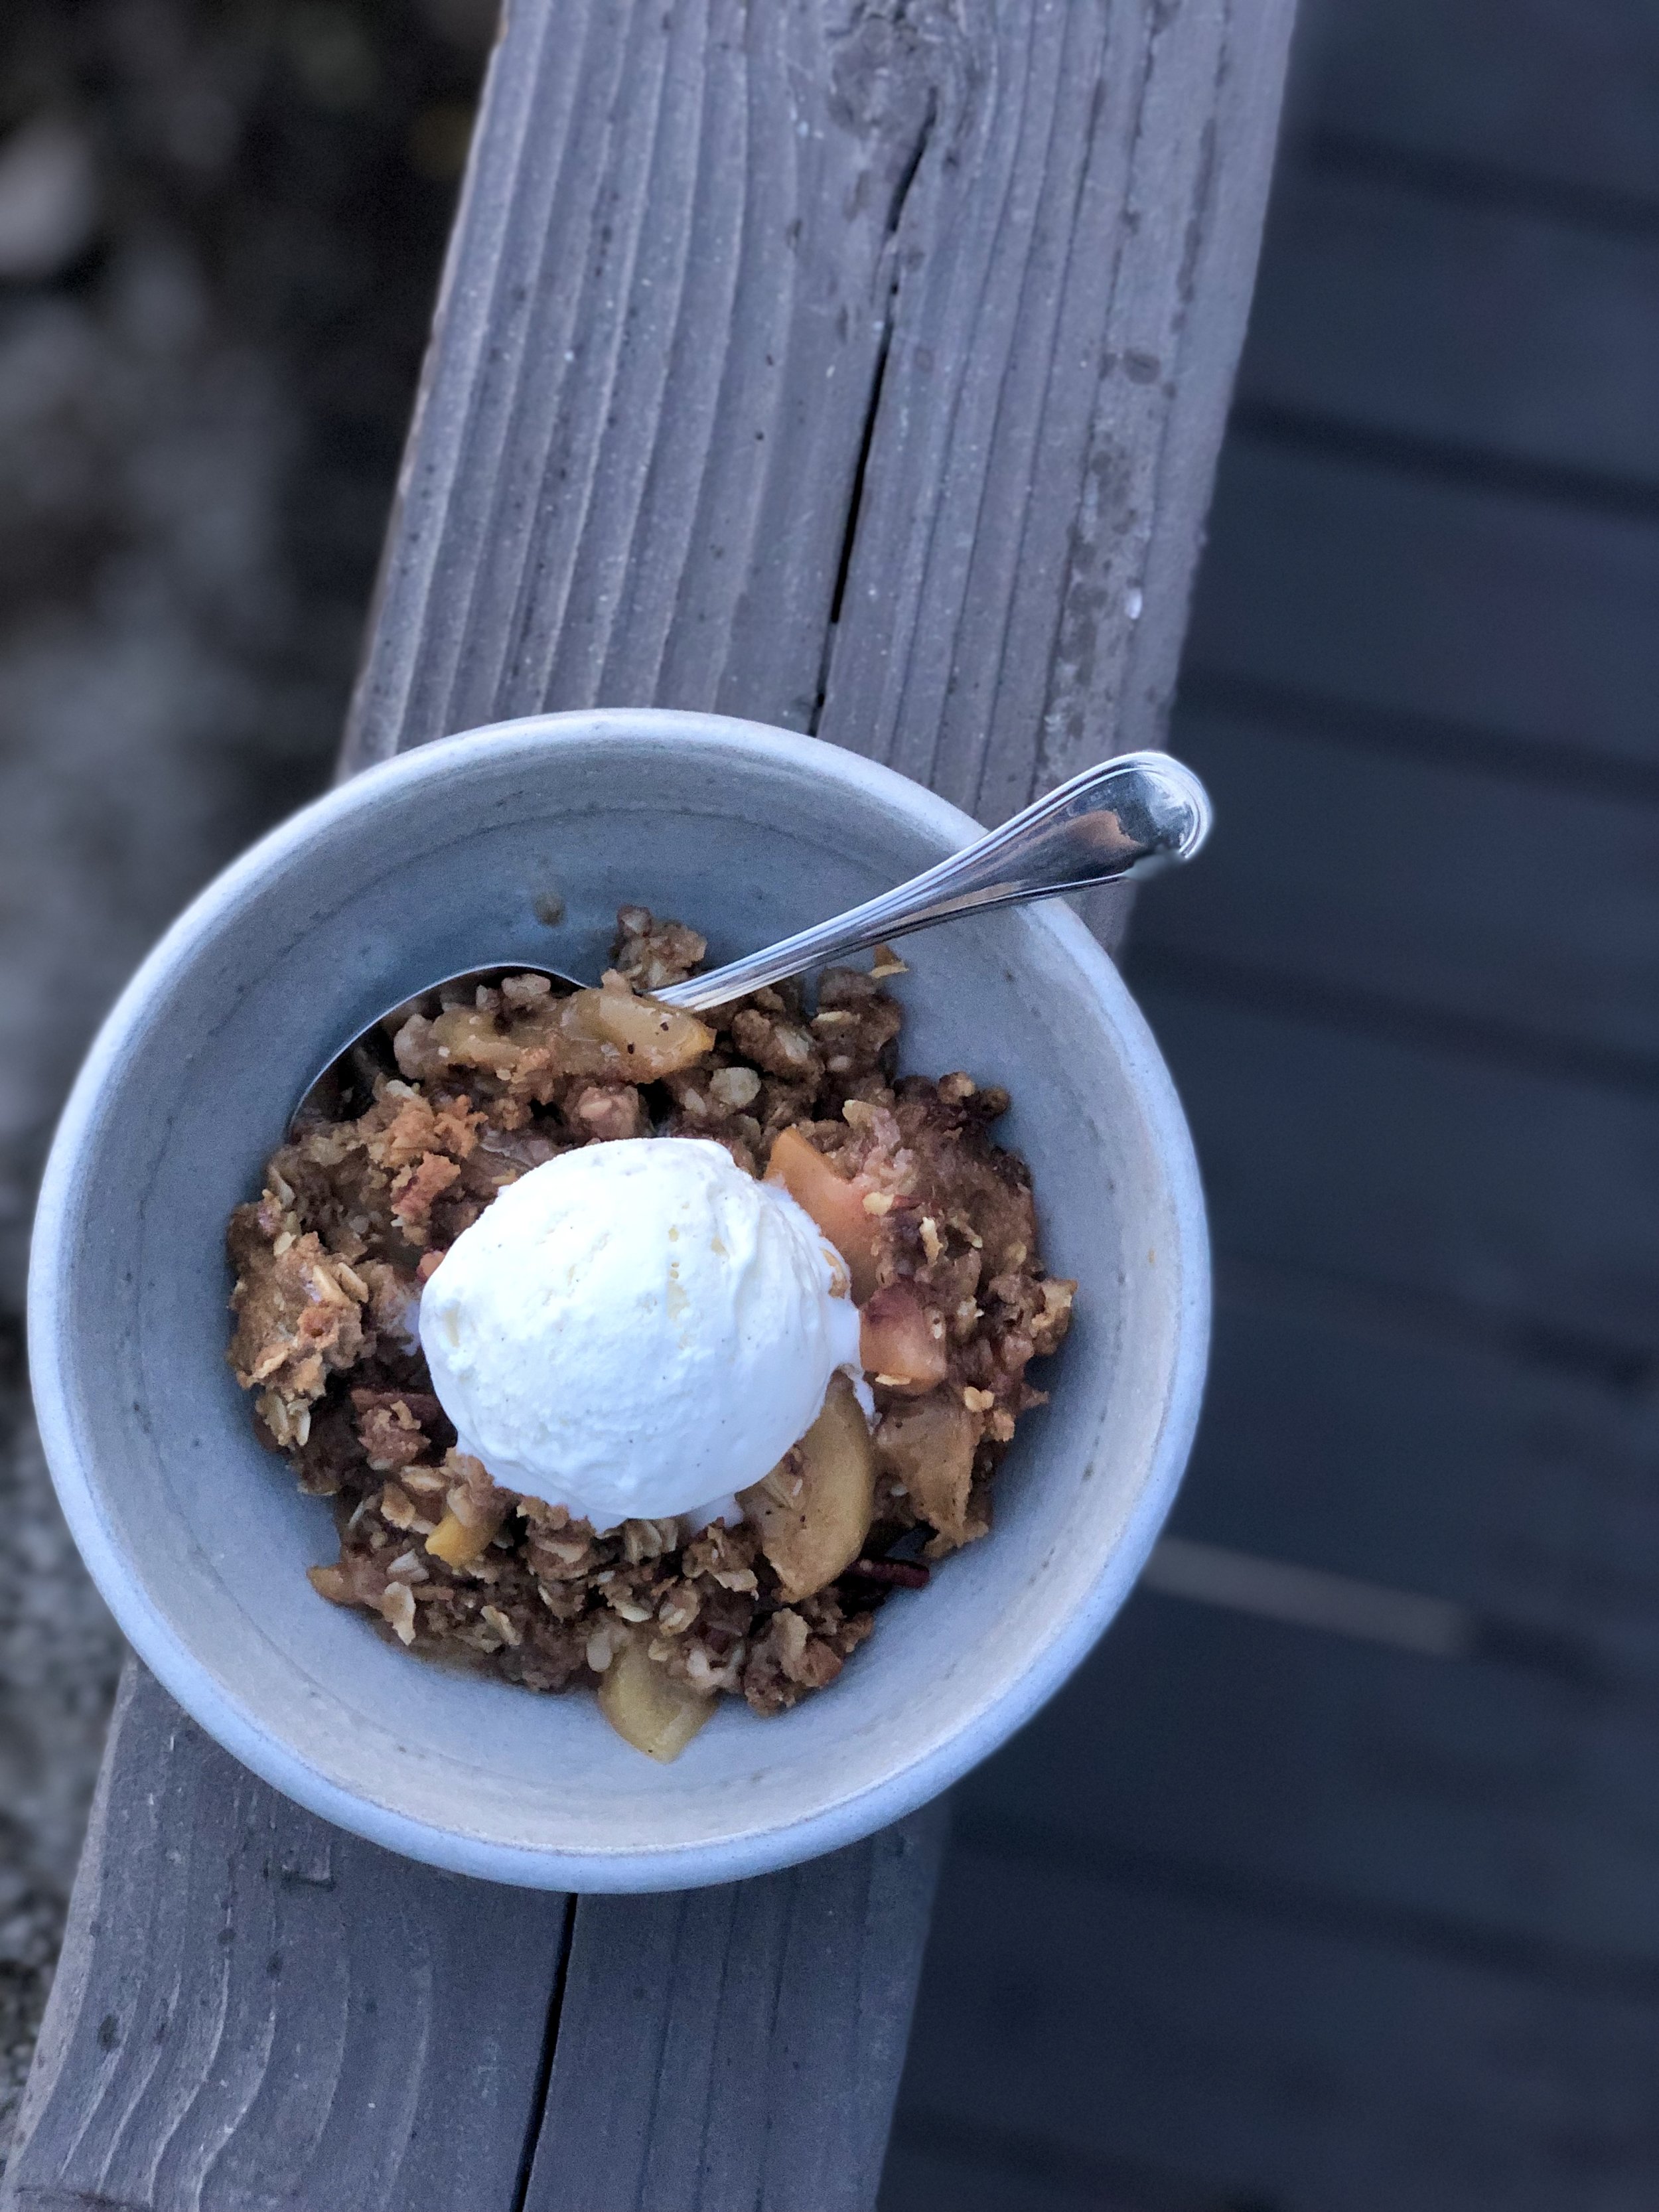
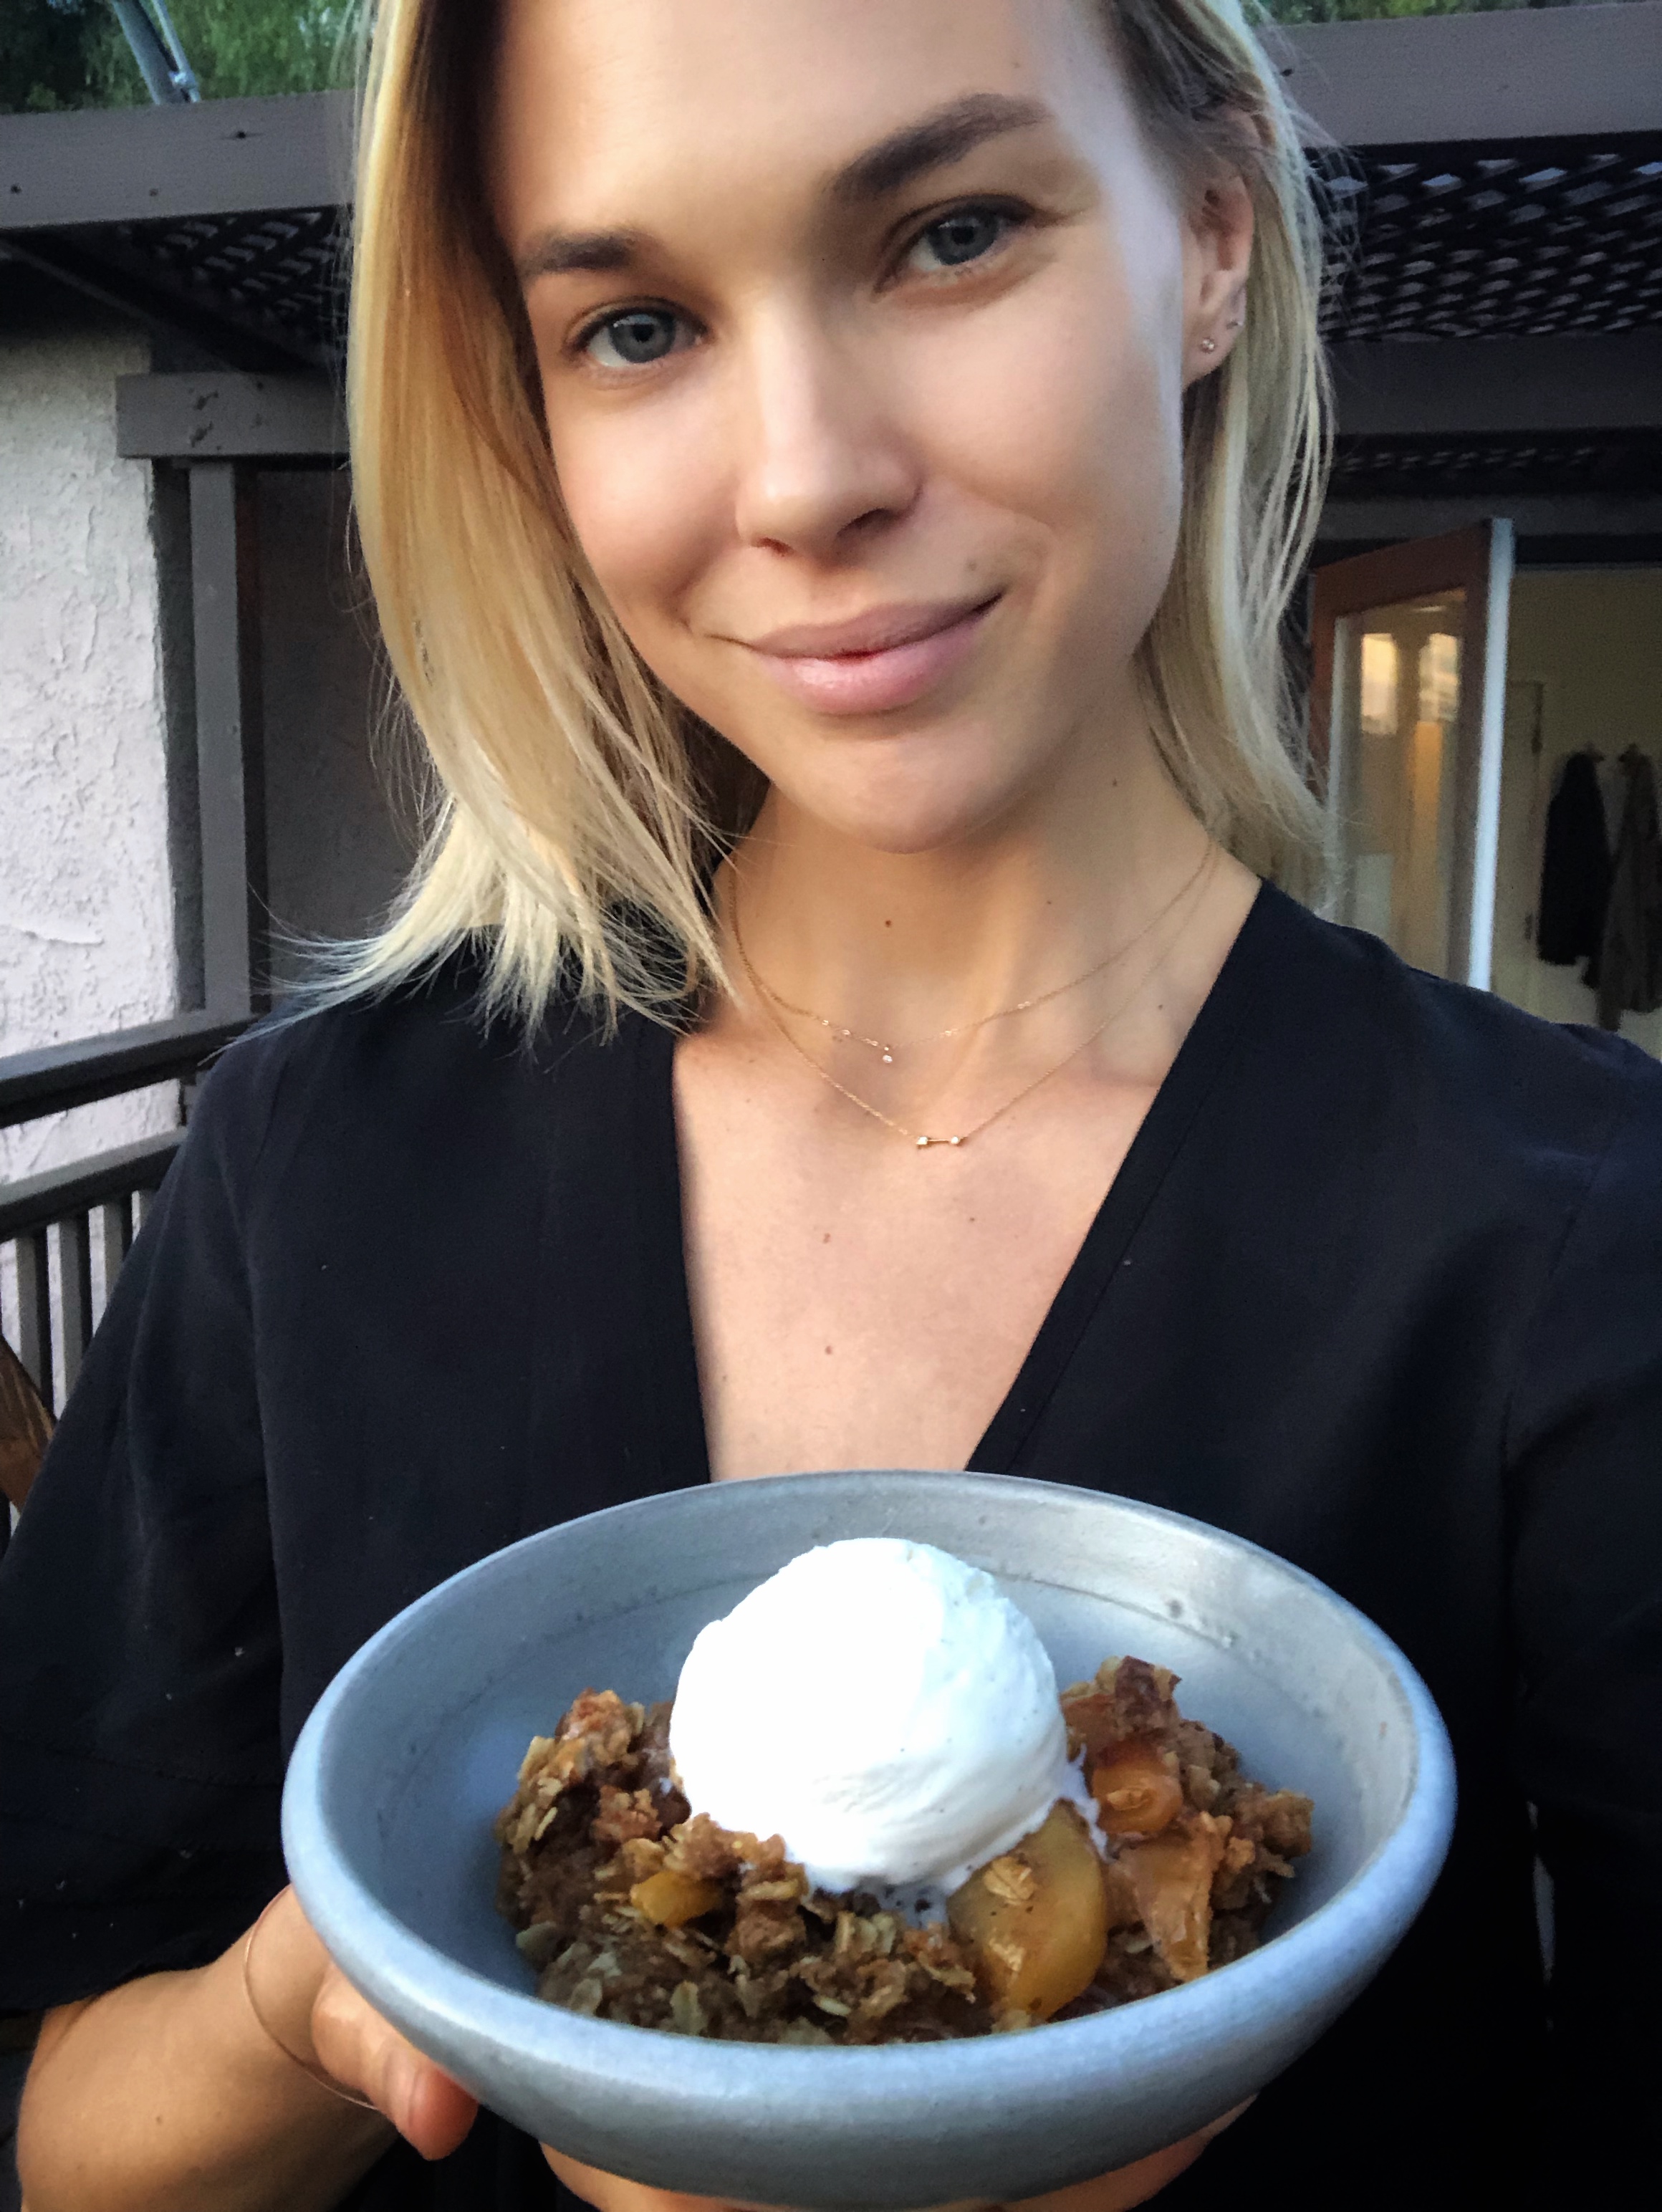
These are equally as delicious as their pie-counterpart, but can be eaten with your hands! Served in a bowl topped with a big scoop of ice cream ain’t bad either, just sayin’. My bestie Rachel Mcconn at Rachel Mcconn Wellness (who I’ve baked with before & also loves a good sweet treat) developed this grain, gluten, and refined sugar- free pecan pie bar recipe, and asked me to test out the recipe for her. Okay, fine, twist my arm ;) These turned out super tasty- not to mention made the house smell absolutely fantastic- and I think they’d make a perfect addition to any holiday table. She has offered to share the recipe with my readers- so head on over to her site for the recipe! As always with RMW recipes, these are free of all gluten, grains, and refined sugars, so those with any allergies or restrictions can still indulge freely as well. Hope you enjoy, and happy holidays!


ooey gooey pumpkin dream bars

I love baking seasonal desserts. This time of year, warmly spiced baked goods packed with pumpkin really just hit the spot, am I right? And yes- I know it’s now December, but fall weather is still upon us here in Cali, so I’m keeping that fall baking spirit alive! Just like my grain-free vanilla cake with pumpkin cream frosting, this tasty treat goes a bit beyond your regular ol’ pumpkin pie, and adds ingredients like cream cheese, chocolate, and coconut to the mix! Let’s just say it takes things to a whole other level ;) These ooey gooey pumpkin dream bars are reminiscent of those decadent seven layer bars everyone loves, but with a festive twist! A buttery graham cracker crust, layered with a rich, cinnamon-spiced pumpkin cheesecake filling, and topped with a generous amount of chocolate chips and toasted coconut? Yes please! Crumbly graham crackers, creamy pumpkin, and melty chocolate are quite the addicting combo, if I do say so myself. 

Pumpkin butter is easy to find in stores these days, but it’s also easy to make if you have an extra can of pumpkin purée lying around. Some toasted nuts would be great in these as well- perhaps crushed up into the crust or sprinkled on top? Pumpkin dream bars are delish served warm or cold, topped with ice cream of course! Happy baking, y’all :)

Ooey Gooey Pumpkin Dream Bars:

Preheat the oven to 350 degrees F. Line a 9x13 inch baking dish with parchment paper and grease with nonstick spray. Pulverize graham crackers in a food processor, or crush in a bag with a rolling pin, until you have a fine crumb mixture. In a large bowl, stir together the graham cracker crumbs and melted butter until well combined. Press the mixture into the bottom of the baking dish to create a crust, using the back of a measuring cup to flatten if needed.

In the base of a stand mixer fitted with a whisk (or use a handheld mixer), add the cream cheese and beat until creamy. then beat in the pumpkin butter, pumpkin puree, brown sugar, eggs, vanilla, cinnamon, ginger, nutmeg, and salt. Beat on medium speed until creamy and combined and no lumps remain. Pour the mixture on top of the graham crust.

Sprinkle the chocolate chips generously over the top. Bake for about 22-24 minutes, then remove the dish and sprinkle the coconut on top. Bake for another 28-30 minutes, until the coconut is golden, and the center of the bars is still just a bit underdone. If your coconut is toasting too quickly and getting brown, you may cover with foil for the last 10 minutes or so.

Let cool for about 15-20 minutes in the pan, and then use the parchment paper to remove the bars, allowing them to cool completely on a cooling rack before cutting so that they can set. These bake up super well ahead of time, and are equally delicious served warm or cold out of the fridge. Either way, top with ice cream, and extra chocolate chips and coconut. Enjoy!

*Adapted from Pumpkin Gooey Bars by How Sweet Eats.

IMG_5438 2.jpg

homestyle apple plum crisp

Apple crisp (or crumble, whatever you want to call it) is one of those good ‘ol classic desserts that always hits the spot. I love it come fall and winter, served warm with spicy notes of cinnamon and streusel topping. It’s super tasty alone, but even better topped with some vanilla bean gelato! Some apples, like Honeycrisp, Pink Lady & Fuji, are better for eating thanks to their crisp, sweet bite. Others, like Macintosh & Braeburn, are better for cooking, and get nicely stewed in a crisp. I like using a variety of apples for layers of flavor and texture that can’t be beat! This time I also decided to throw in some gorgeous, seasonal plums that I had on hand. Perfect combo! Don’t forget about crisps and crumbles during spring and summer- by switching up the fruit, you can enjoy a delicious bowl of goodness year-round!

Homestyle Apple Plum Crisp:

Fruit Filling:

  • 2 pounds apples (I like any combo of Macintosh, Granny Smith, Cortland, Braeburn & Fuji)

  • 1 pound plums

  • 1 lemon, zested & juiced

  • 1/3 cup cane sugar

  • 1/2 tsp pure vanilla extract

  • 1 tsp ground cinnamon

  • 1 tsp ground nutmeg

  • 2 tbsp cornstarch

Crumble Topping:

  • 1 cup all-purpose flour

  • 1 cup old-fashioned oats

  • 1 cup pecans, chopped

  • 1 tsp ground cinnamon

  • 1/2 tsp kosher salt

  • 1 cup brown sugar, packed

  • 1 cup unsalted butter, chilled and cubed

  • vanilla bean ice cream, for serving

Preheat oven to 350 F, and butter a large baking dish (9x13 or 2 qt oval). Peel, core & cut apples into 1/4-inch slices, and place into a large bowl. Add lemon zest, lemon juice, sugar, cinnamon, nutmeg, and cornstarch, and mix to combine. Pour apples into baking dish.

For the topping, add the flour, oats, pecans, cinnamon, salt, and sugars in a large bowl and stir well with a wooden spoon. Work the butter into the mixture with your fingertips until evenly distributed (you may also use a stand mixer if you prefer). Spread the streusel topping mixture evenly over the apples. Bake the crisp in the dish on a baking sheet on the center oven rack until the topping is crunchy and the apples are bubbling, about 55-60 minutes. Best served warm, topped with vanilla bean ice cream.

*Adapted from Sit & Stay Awhile Apple Crisp by Joy the Baker and Old-Fashioned Apple Crisp by Ina Garten.

Useful Tools:


mini speculoos pumpkin tarts with candied pepitas

I love all things seasonal, and therefore I love all things pumpkin! I will admit, however, that pumpkin pie can be a bit mundane at times.  I love to spruce it up by adding more textures and flavors, both in the crust as well as toppings. Speculoos (aka Biscoff) cookies make for a much more exciting crust than traditional dough in my opinion- I’m obsessed with their spicy flavor! I also prefer a high crust to filling ratio, so it’s not like you’re just eating a bowl of custard. Candied ginger adds a nice zingy complement to the creamy pumpkin filling, and candied pepitas top these babies off with the perfect crunch! By making them in individual tart shells (mine are technically crème brûlée dishes), everyone gets their own mini pie, and you don’t have to worry about the crust crumbling when trying to remove it from the dish. Just grab a spoon and dig in! I got to bake these with one of my fave bloggers, Camille Styles, when she was in town from my home state of Texas. We had such a blast and now I’m super pumped for all things holiday! If you’re still looking for the perfect Thanksgiving dessert, these tarts would be the perfect addition to your dinner table! Be sure to check out the feature on her blog as well! Enjoy :)

Mini Speculoos Pumpkin Tarts with Candied Pepitas:

Crust:

  • 12 oz. Speculoos or Biscoff cookies

  • 1 tbsp brown sugar

  • 1/2 tsp salt   

  • 1/2 cup butter, melted  

Pie: 

  • 1 can pumpkin puree

  • 1/2 cup dark brown sugar, packed

  • 1/4 cup cane sugar

  • 1 tsp ground cinnamon

  • 1 tsp ground ginger

  • 1/4 tsp ground nutmeg

  • 1/8 tsp ground allspice

  • 1/4 tsp salt

  • 1 can coconut milk

  • 2 large eggs, at room temperature

  • 1/2 cup candied pepitas (pumpkin seeds), for topping

  • 1/2 cup candied ginger, for topping

  • whipped cream, for serving

Preheat oven to 350°. Process cookies in food processor until fully crumbled. Add coconut oil and pulse until well combined, then spread the mixture evenly among the tart shells, making sure to push some up the sides as well. It should be nice and thick! Place tarts shells on a baking sheet, then bake for about 8 minutes. Set aside to cool. In a saucepan over medium heat, combine pumpkin, both sugars, spices, and salt, and cook for about 5 minutes until thick and smooth. Remove from heat, and add coconut milk and eggs, whisking until fully incorporated. Allow mixture to cool for a few minutes. Pour pumpkin mixture into prepared tart shells. Bake at 350° for about 25-30 minutes or until a toothpick inserted into the center comes out clean. Remove from baking sheet and cool completely on wire rack. Top with candied pepitas and ginger, and serve with whipped cream. Enjoy immediately or chilled.

*To make this dairy-free, sub coconut oil for the butter in the crust, and serve with whipped coconut cream.

All photos by Kristen Kilpatrick for Camille Styles. Check out the feature and recipe on her site as well!

Useful Tools:

 * This post may contain affiliate links. If you buy something through one of these links, it won’t cost you a penny more, but I’ll earn a small commission. This allows me to continue to generate content for you, and helps keep the site up and running. Thanks for your support!