sutra

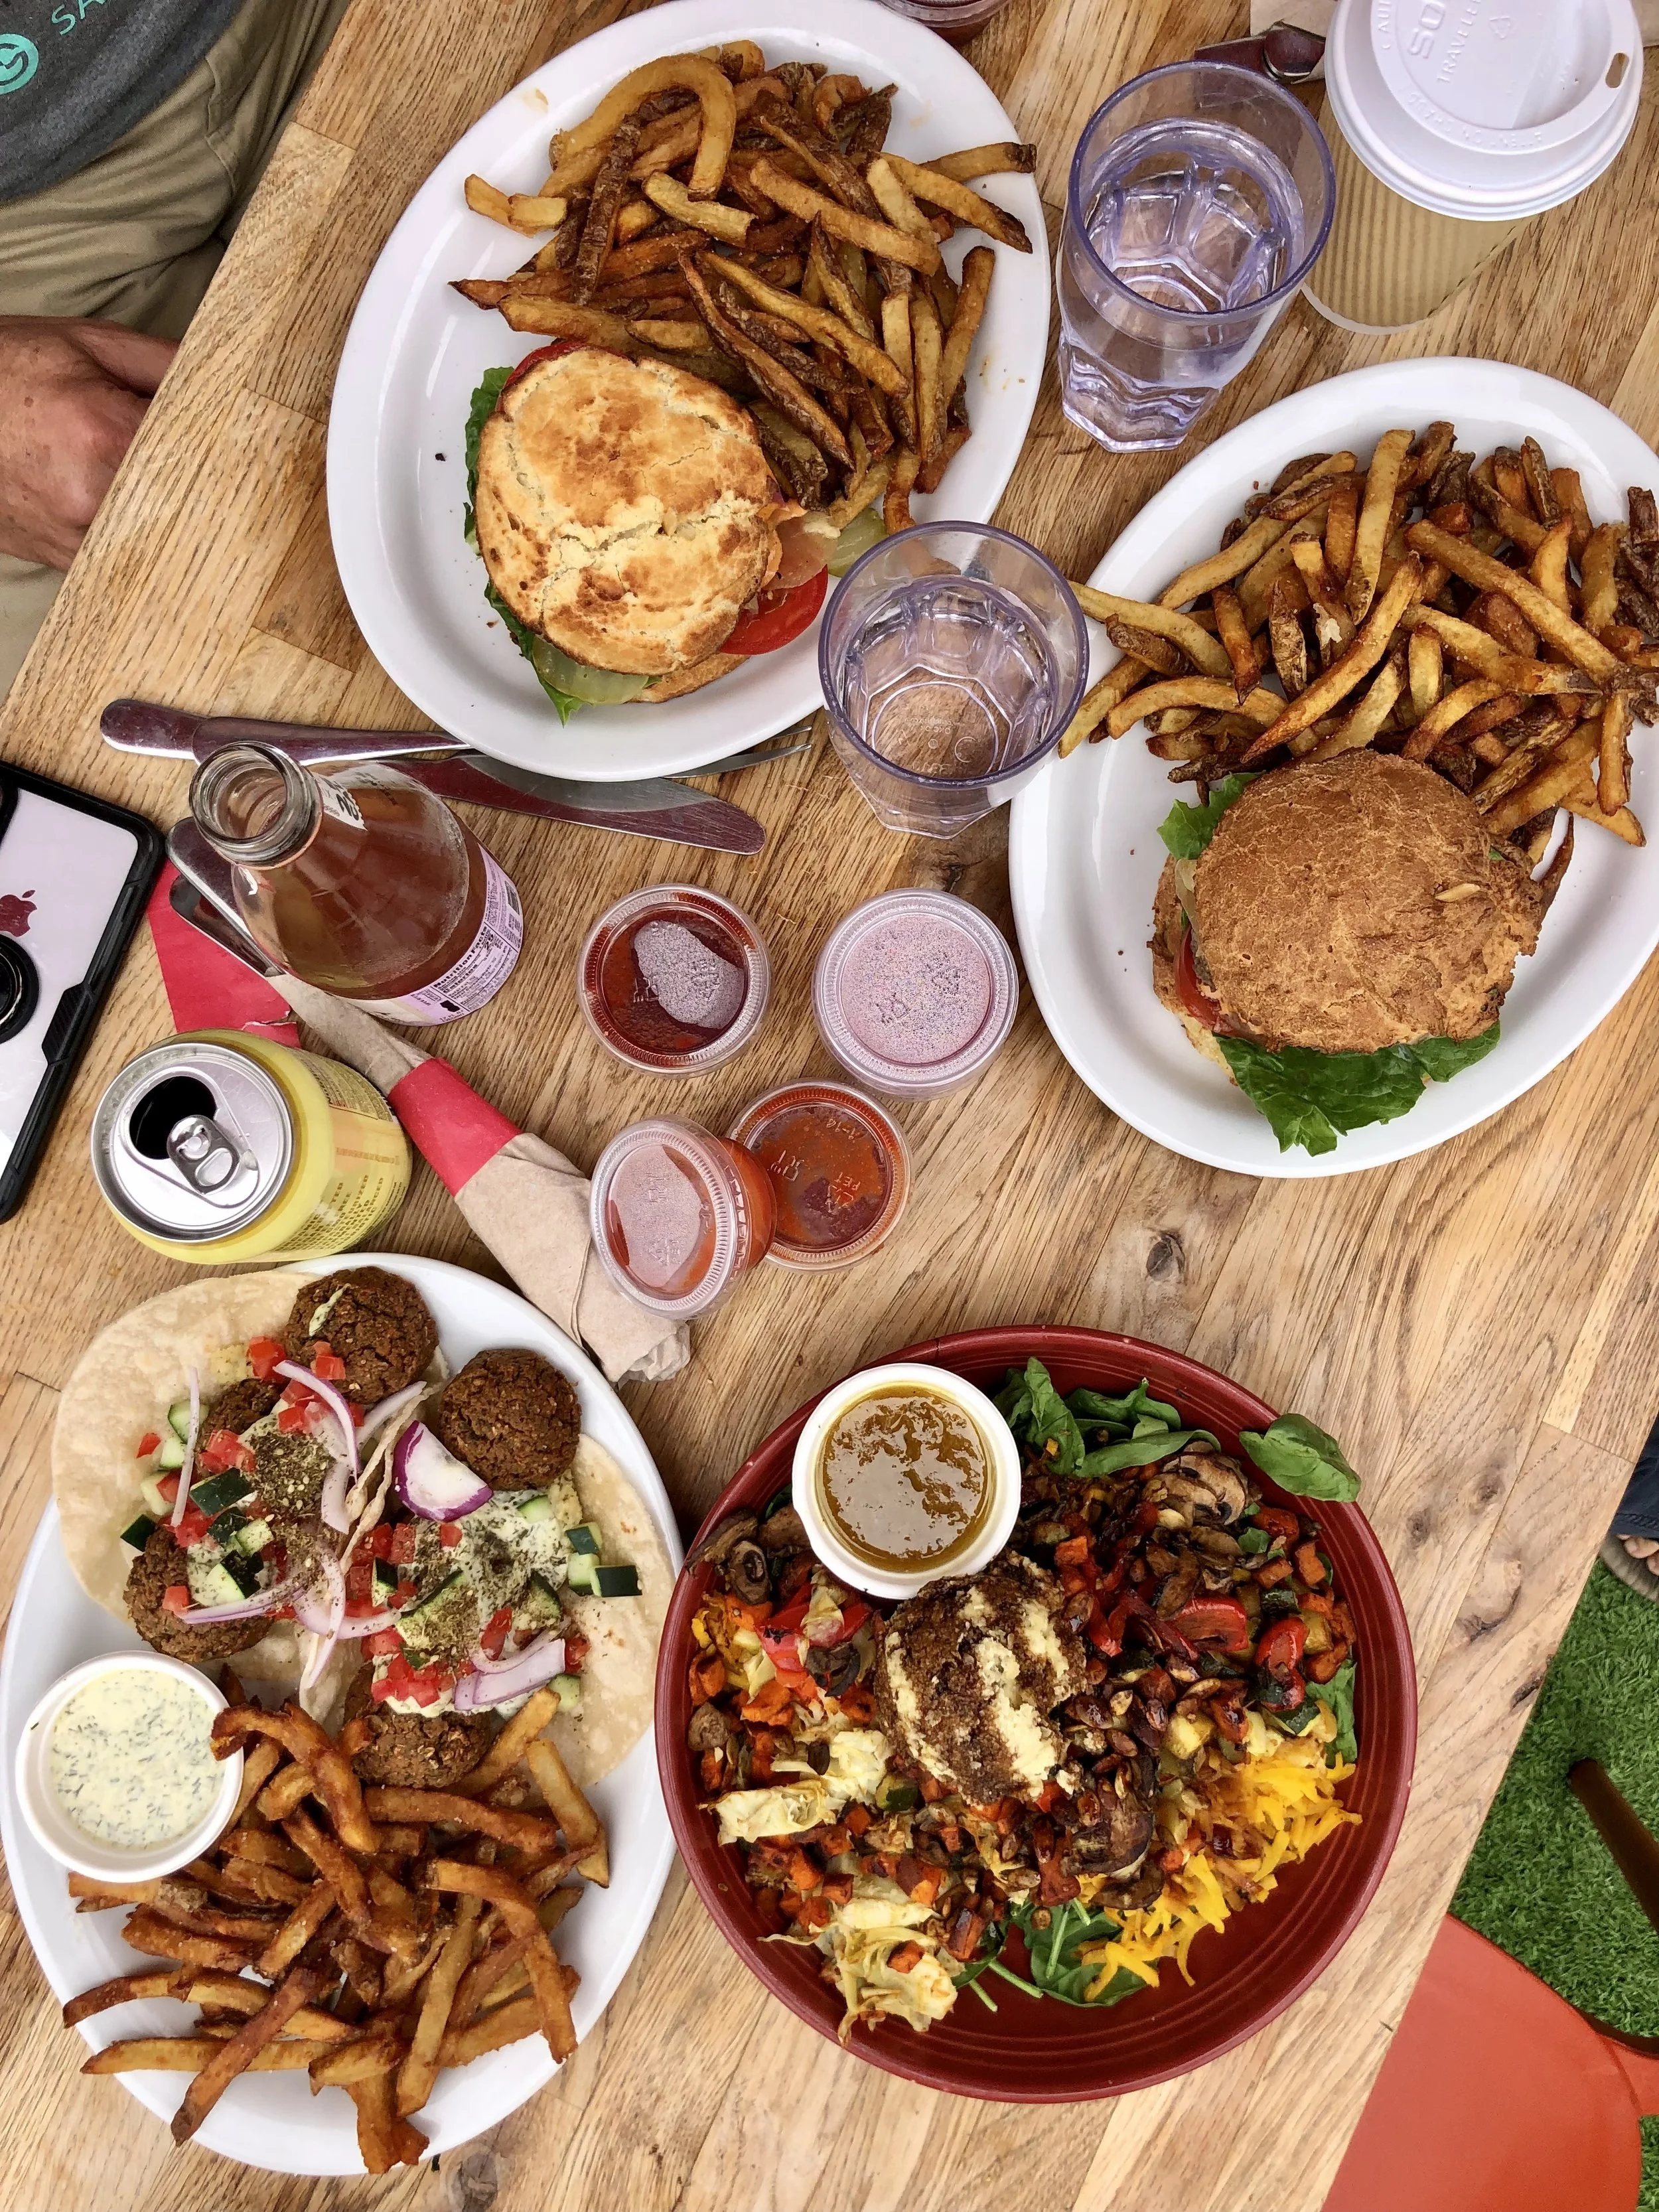
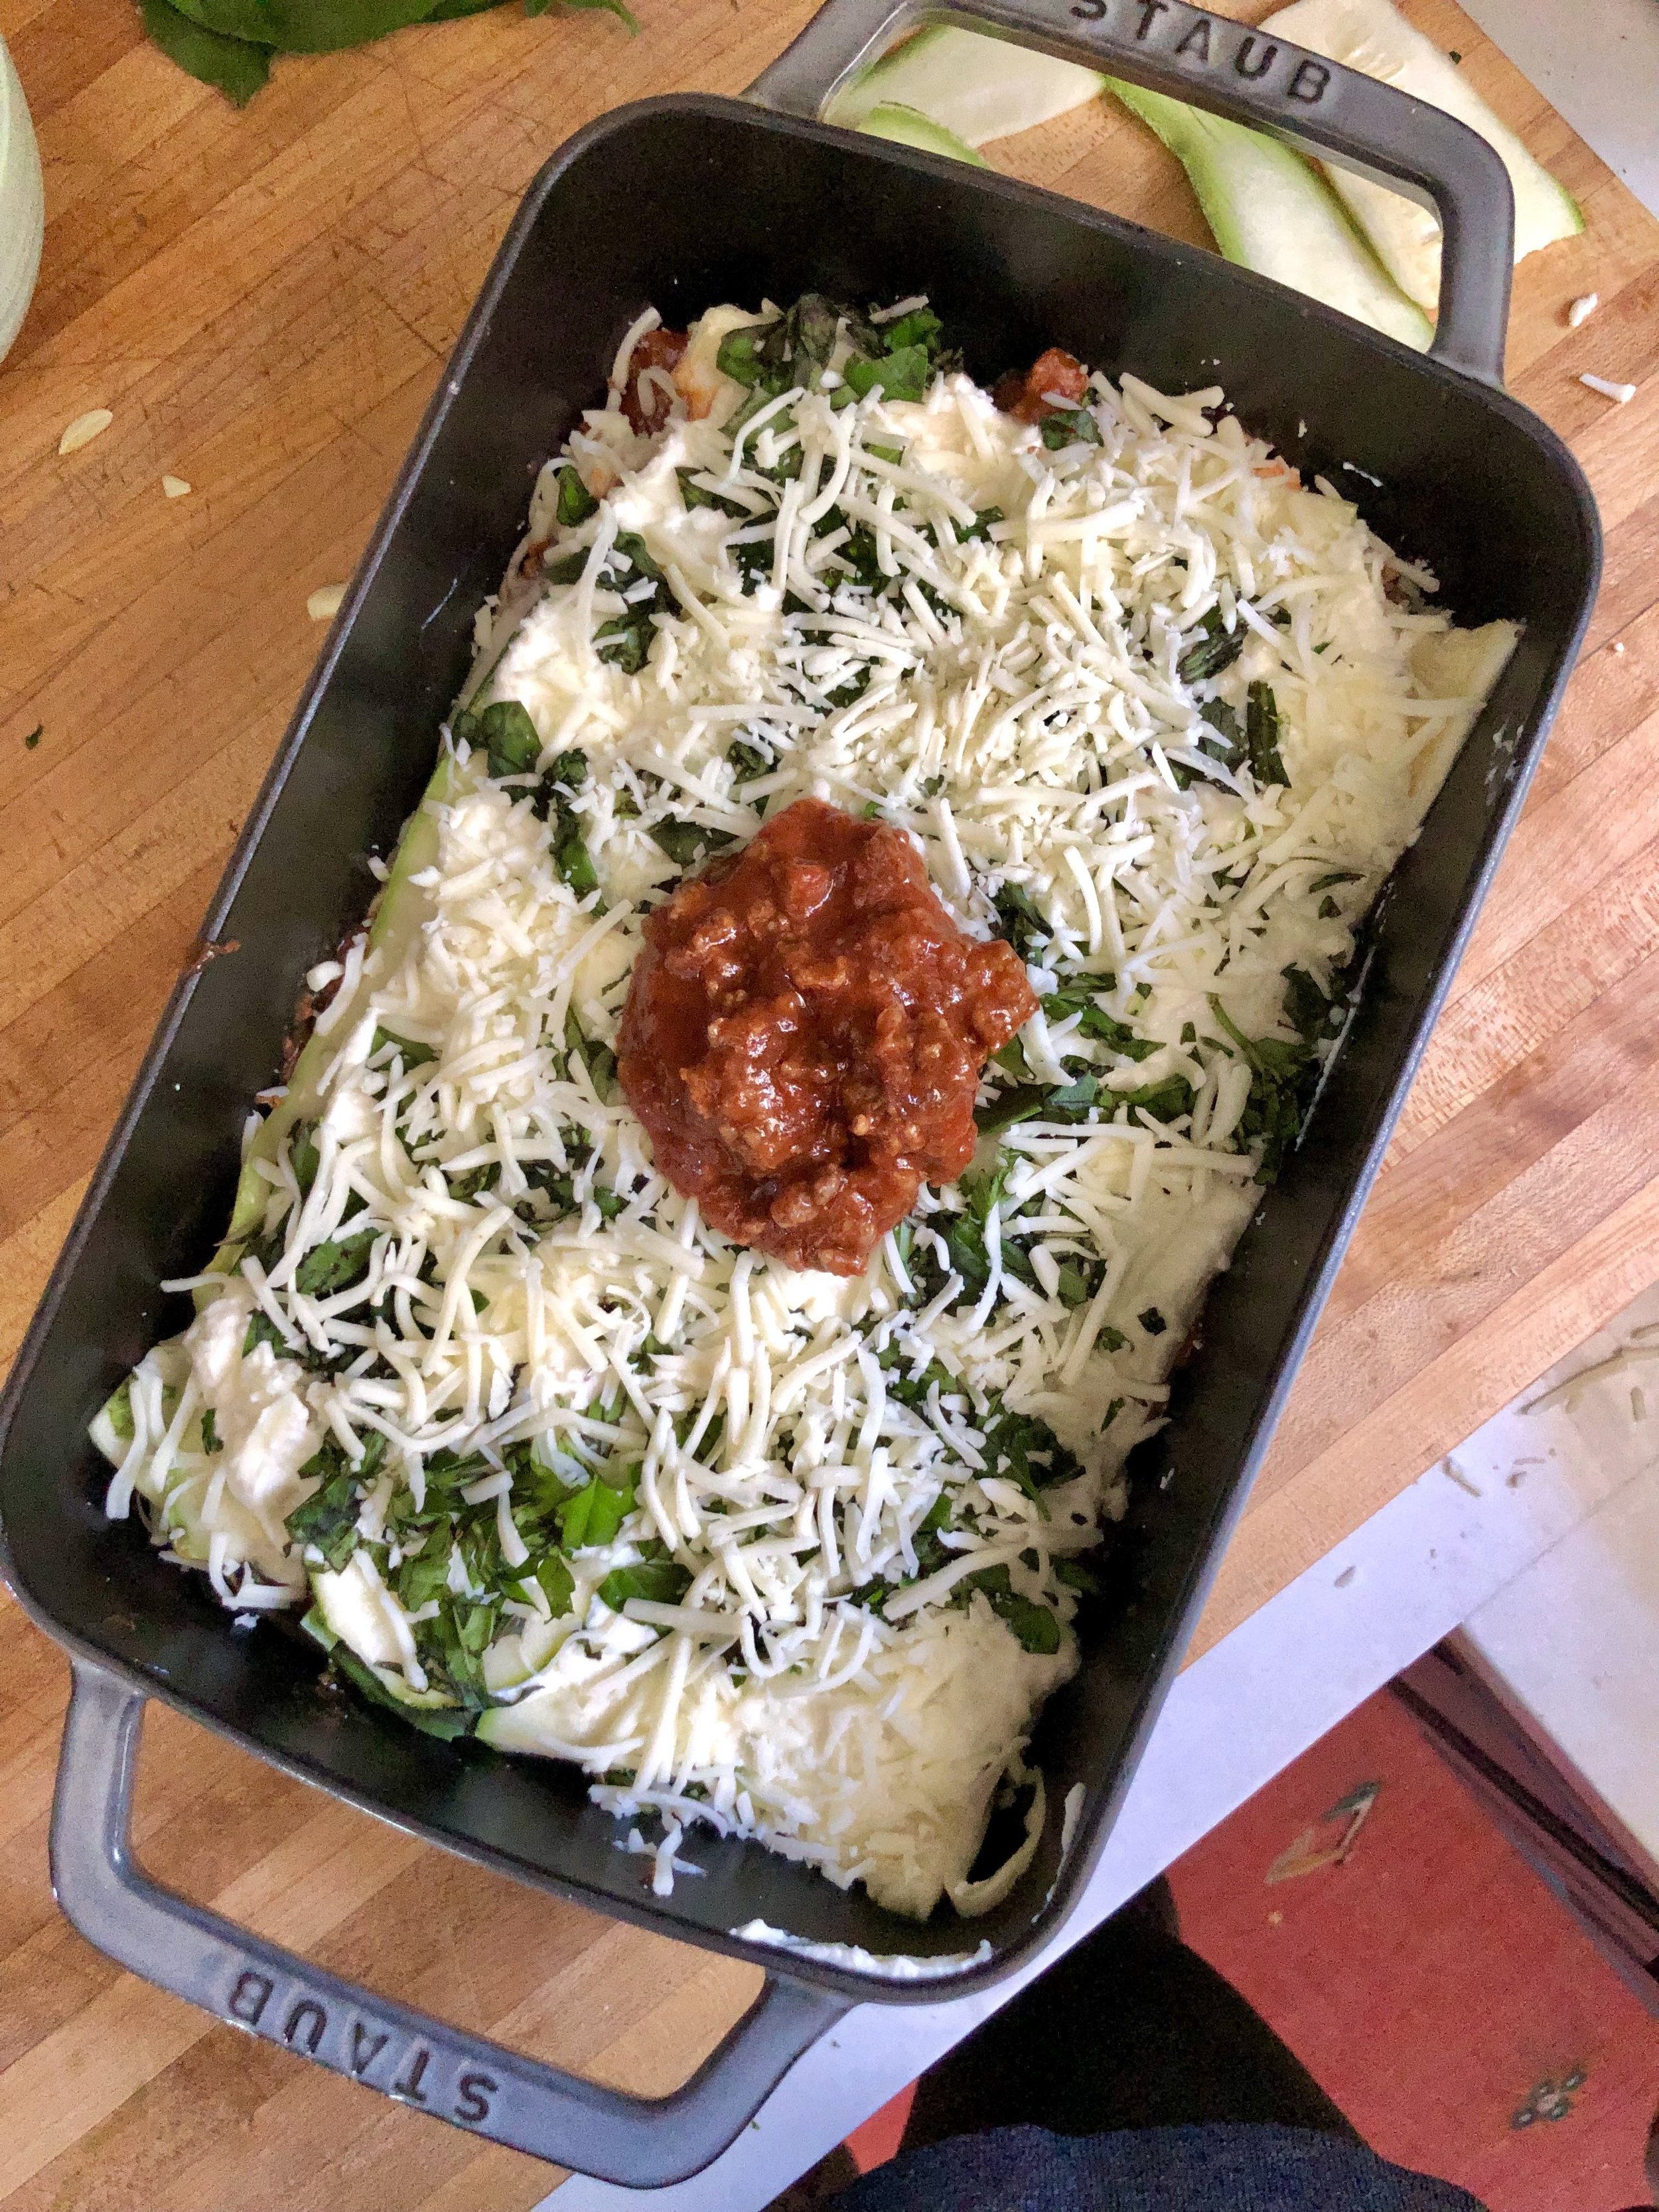
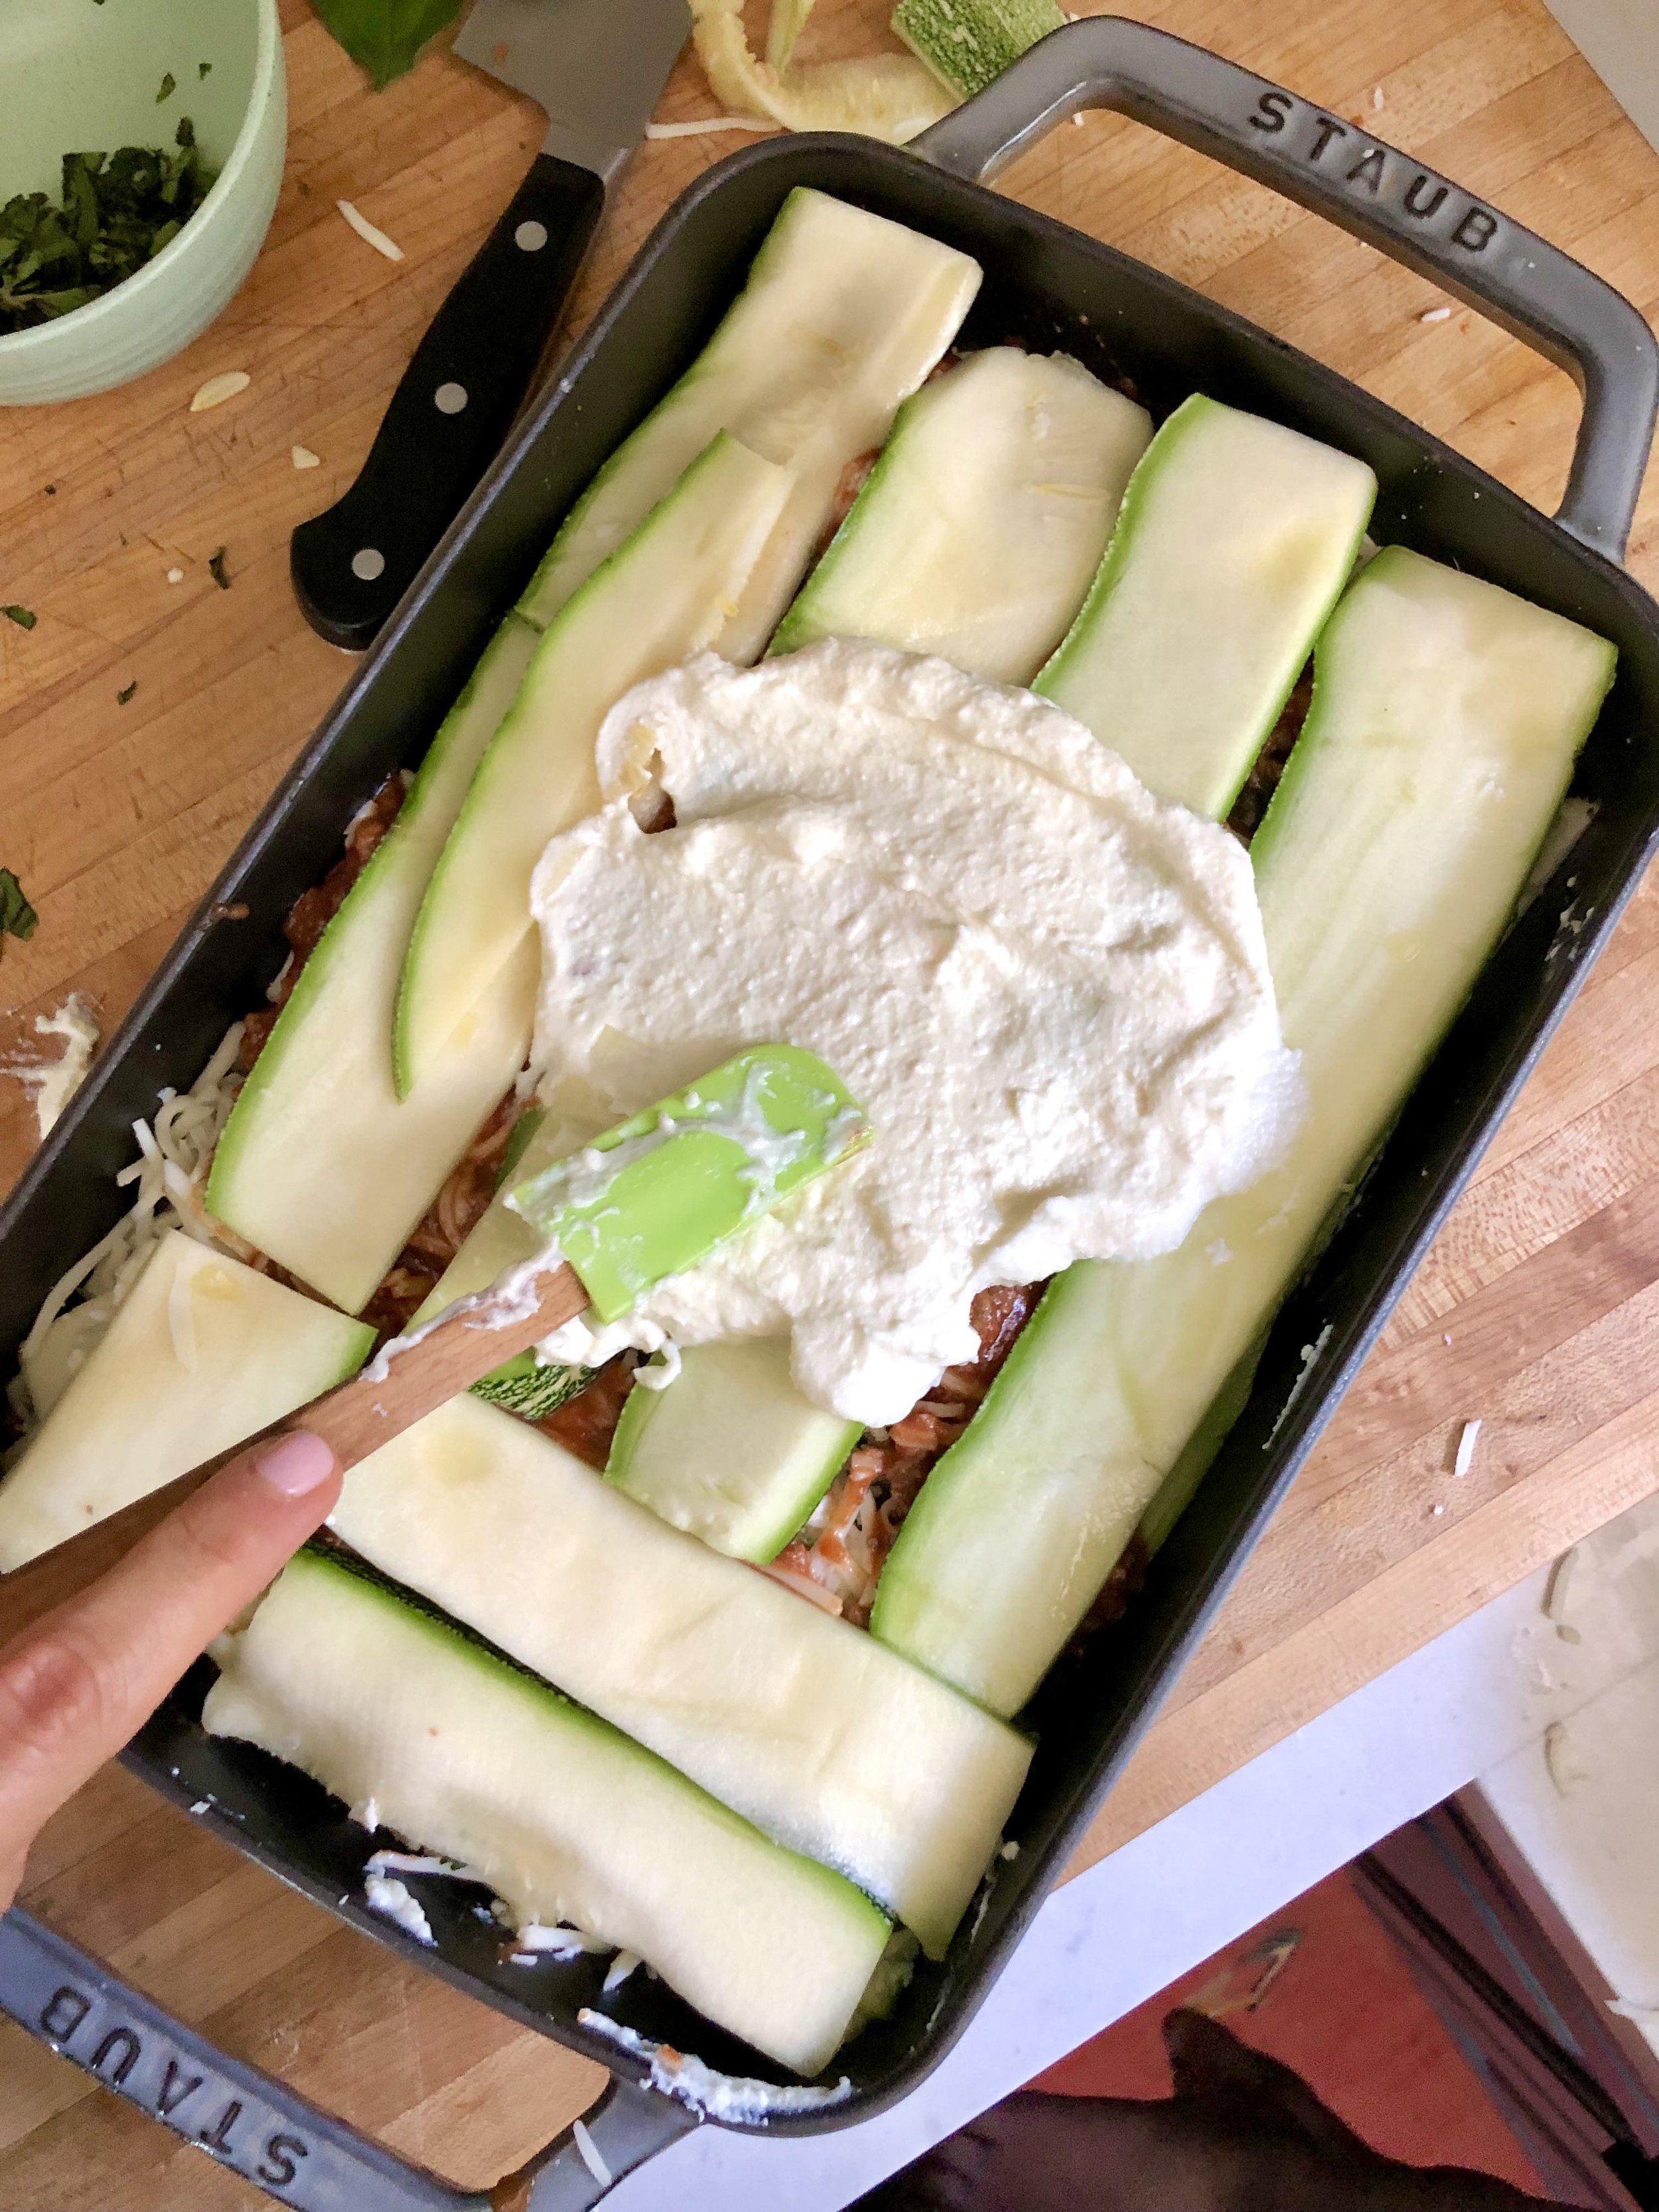
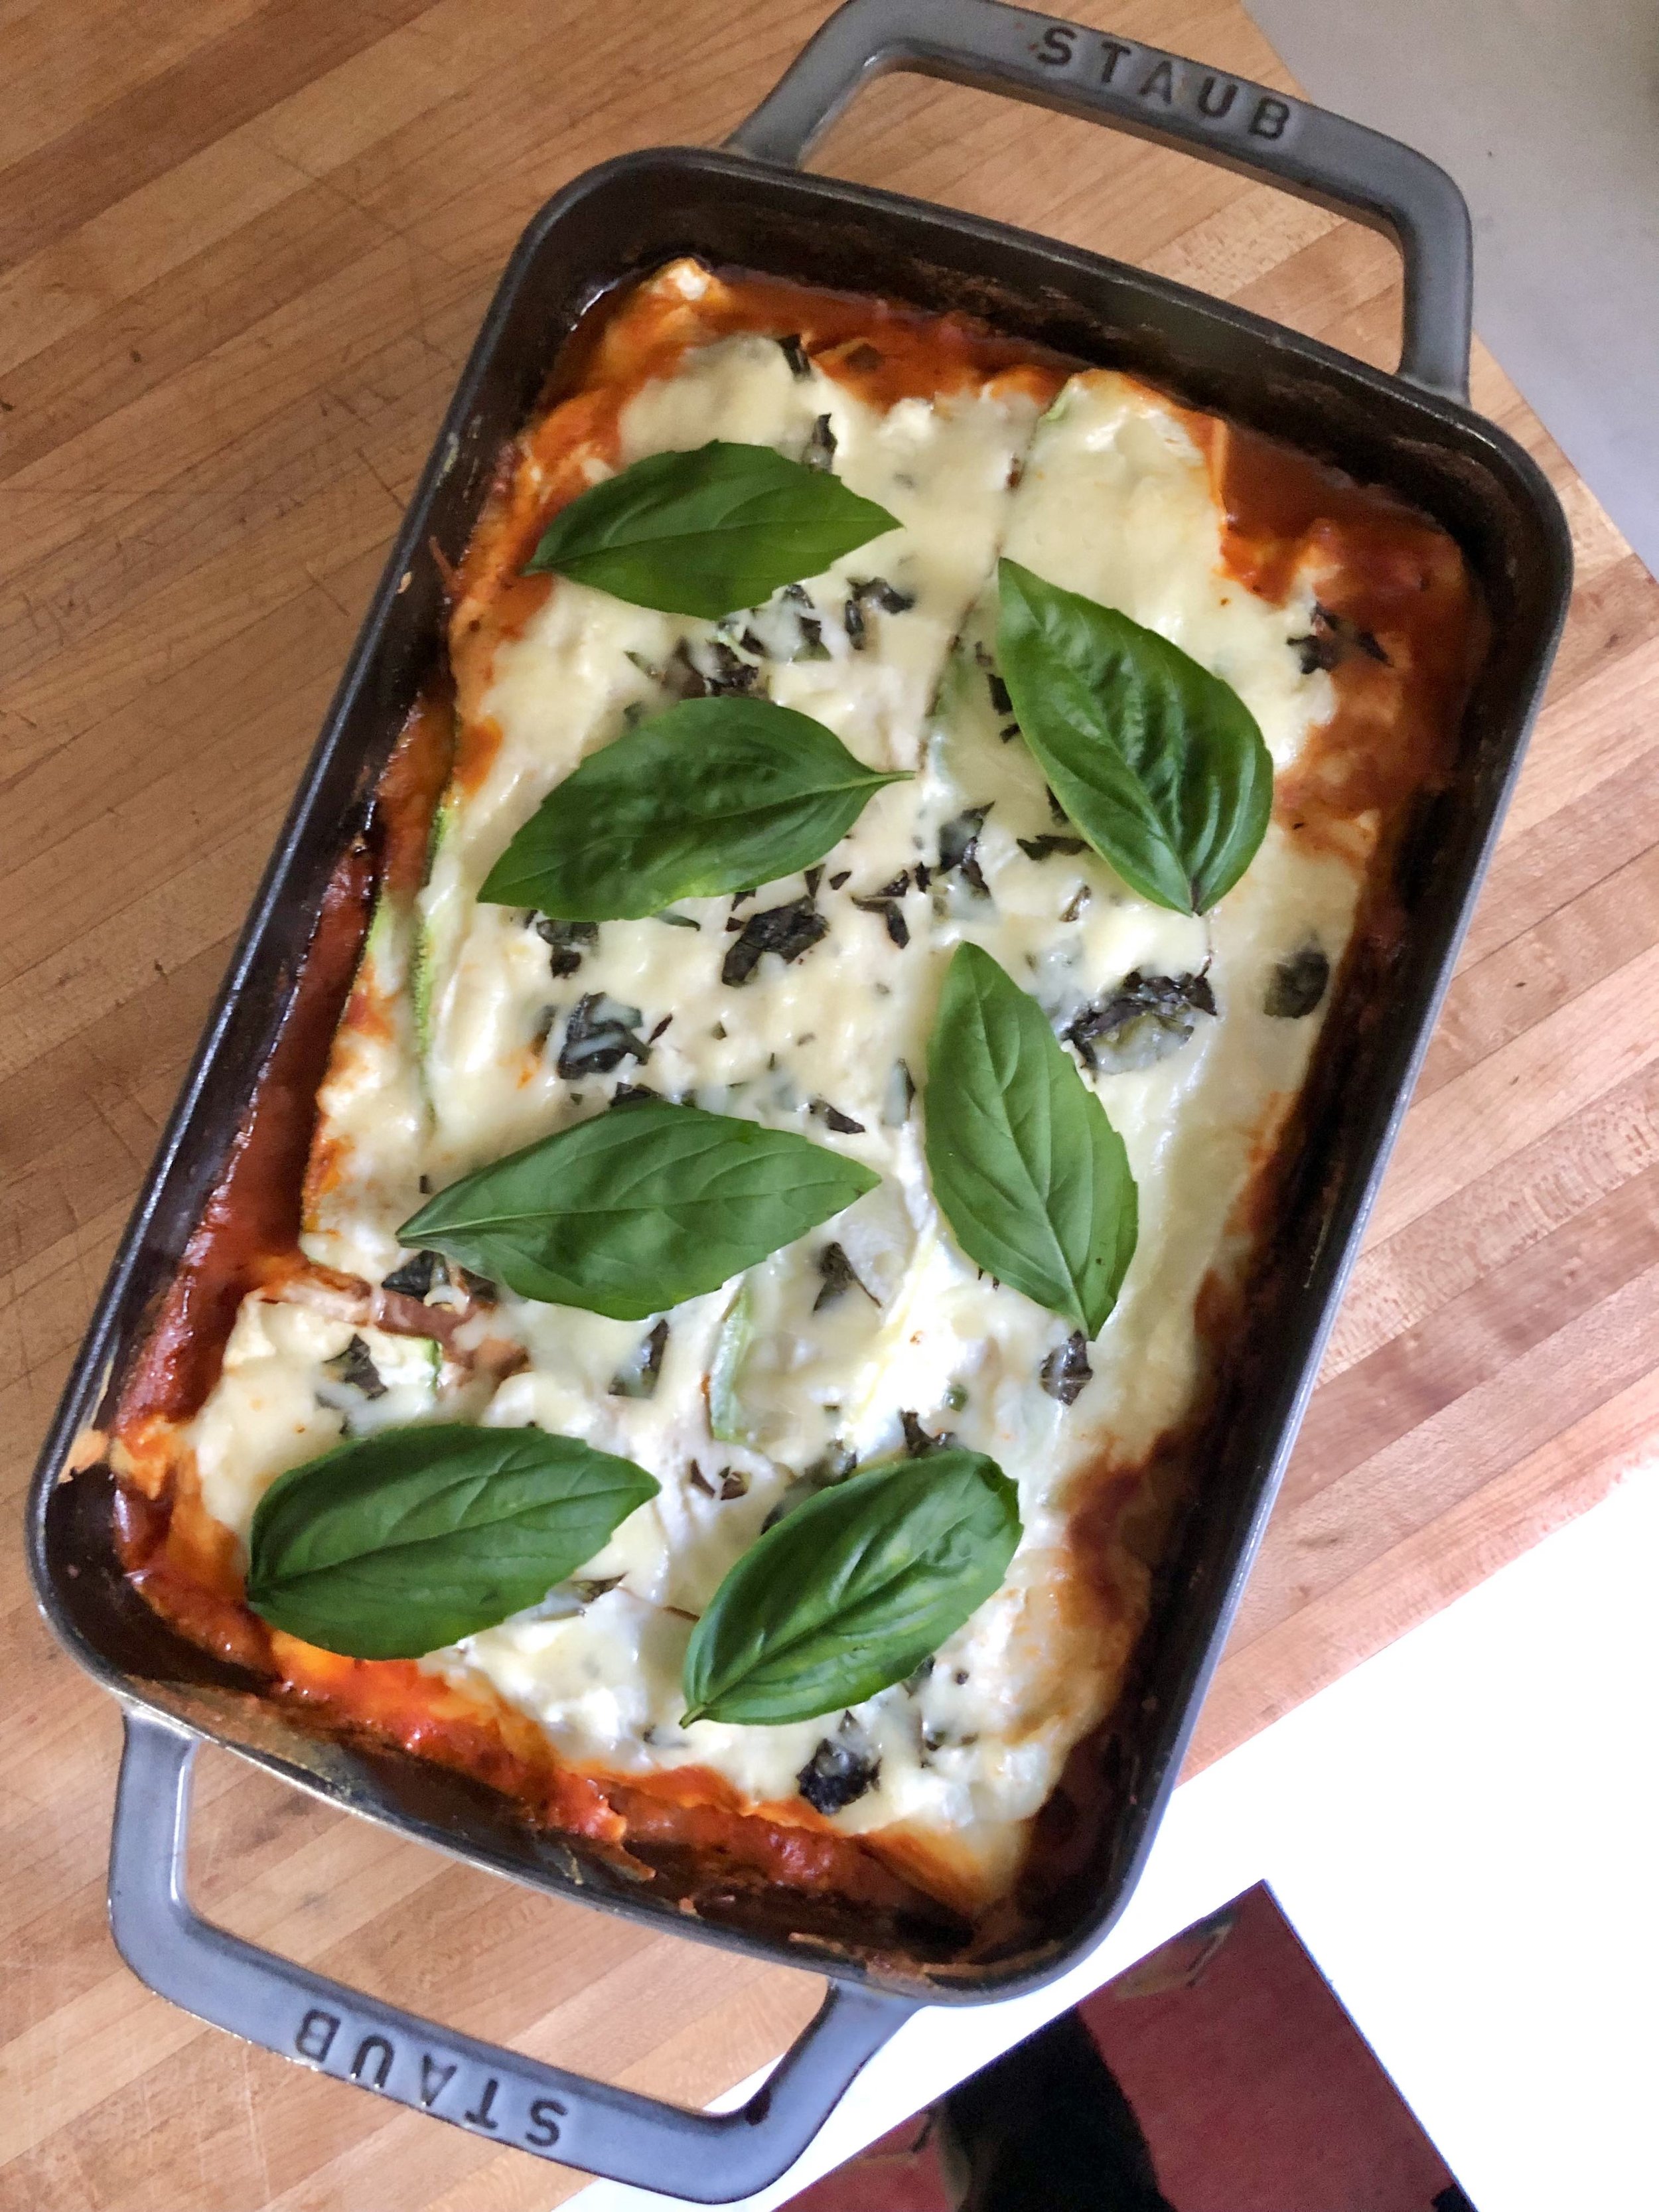
Although I’m not vegan myself, I’m always down for a tasty plant-based meal. I think everyone could eat more plants in their lives, and I make it a point to eat plenty! I’ve been a fan of Matthew Kenney restaurants for a while- the vegan pizza at Double Zero is super delish!- and was excited to try out one of his latest NYC openings, Sutra. I love the “modern yet mindful” approach to cuisine here, and was truly blown away by the variety of flavors in each dish. The creative menu focuses on elevated, refined, plant-based food, and sits atop the rooftop of the Alo Yoga store in NYC’s Flatiron district. It’s a beautiful urban oasis, and the perfect getaway from the hustle and bustle of Manhattan.

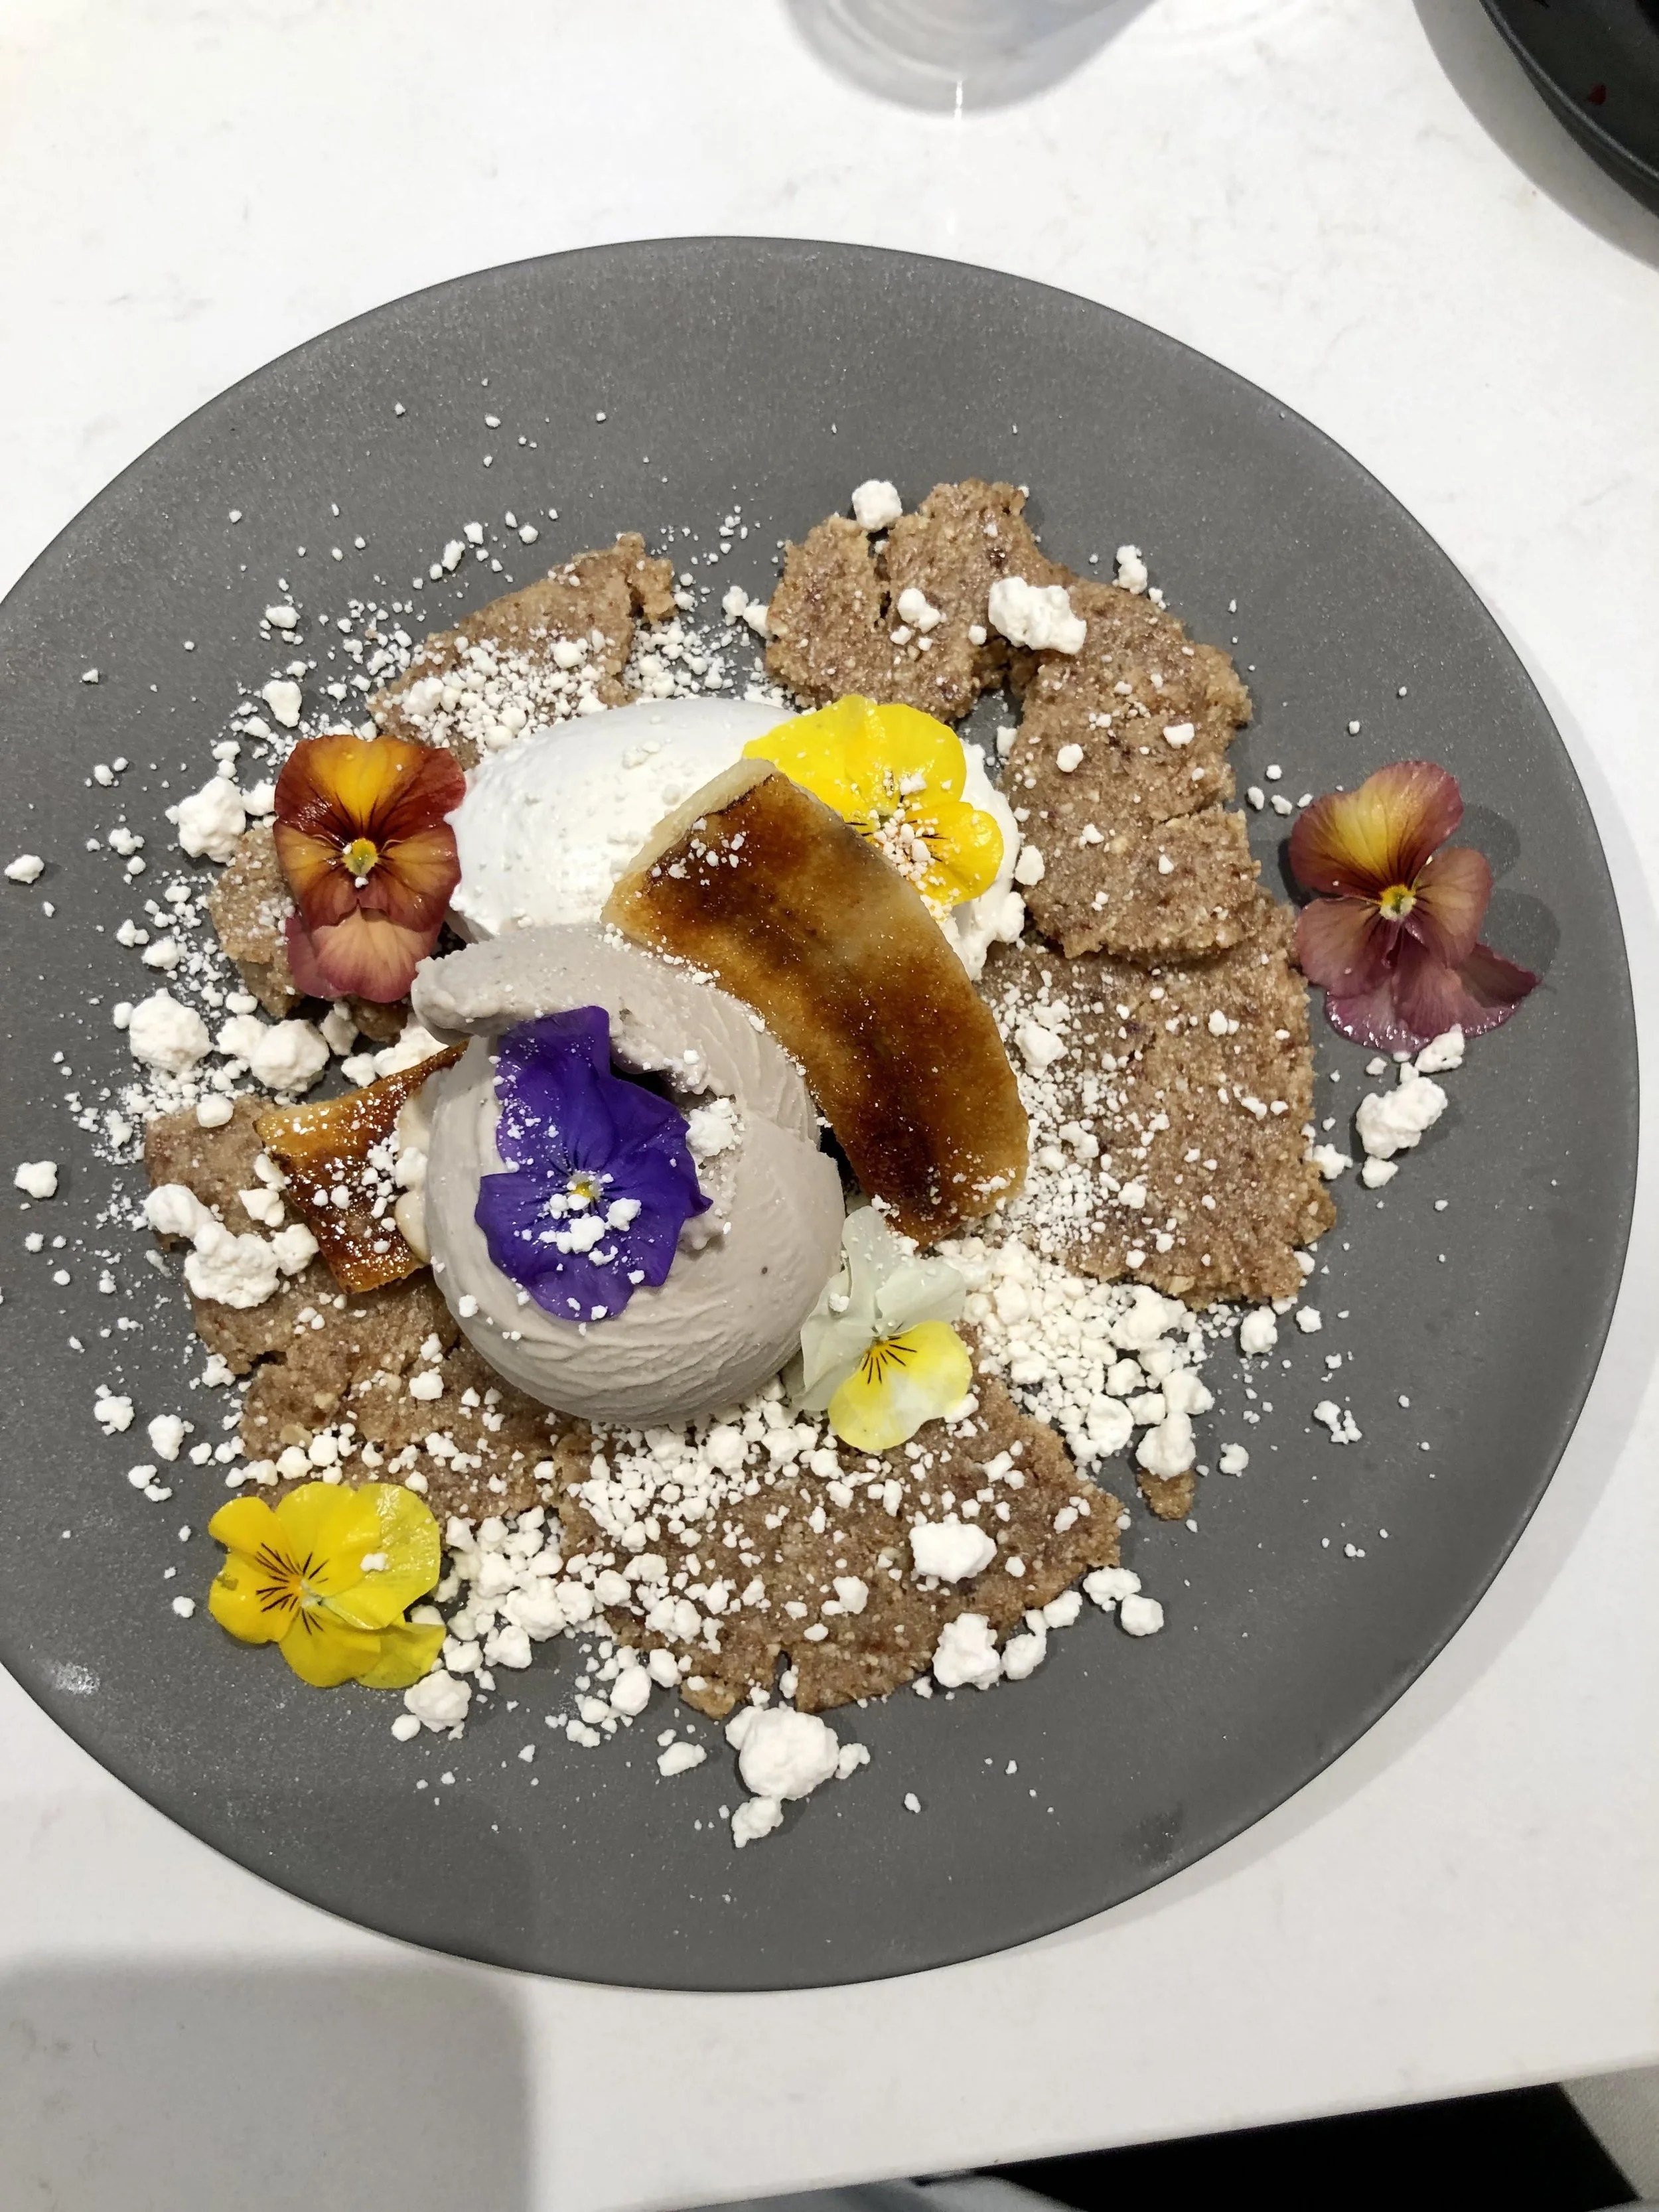
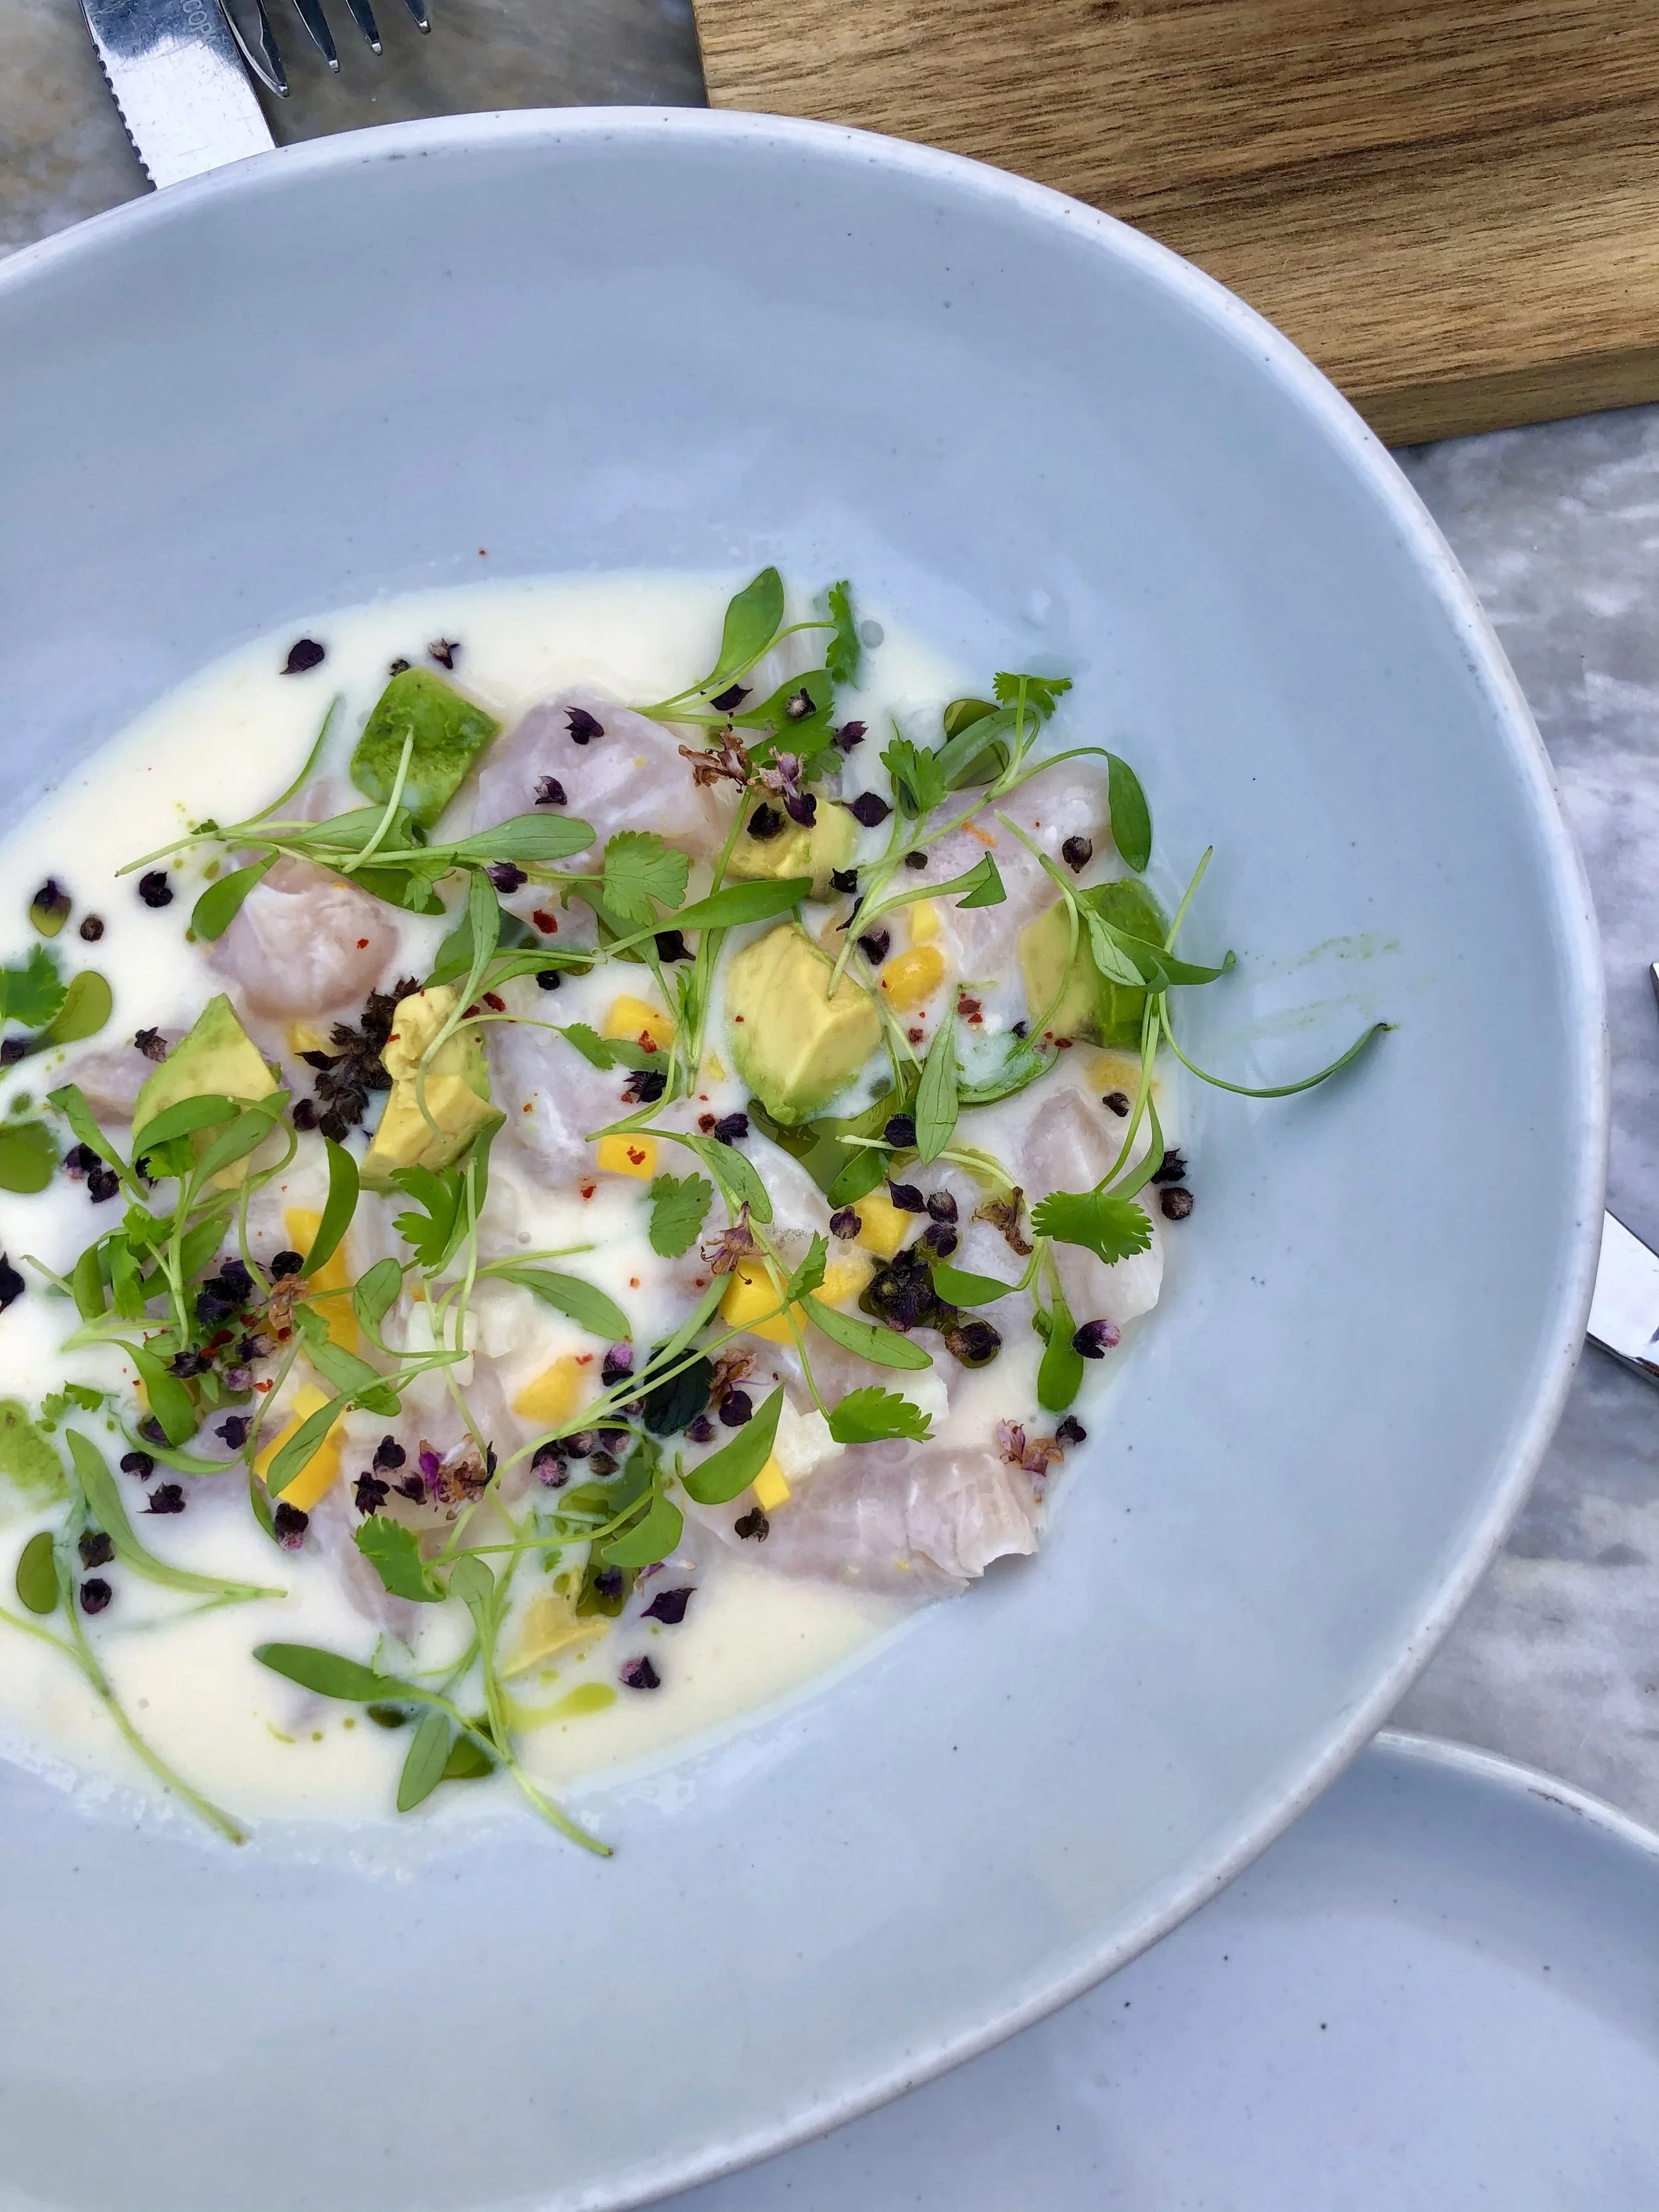
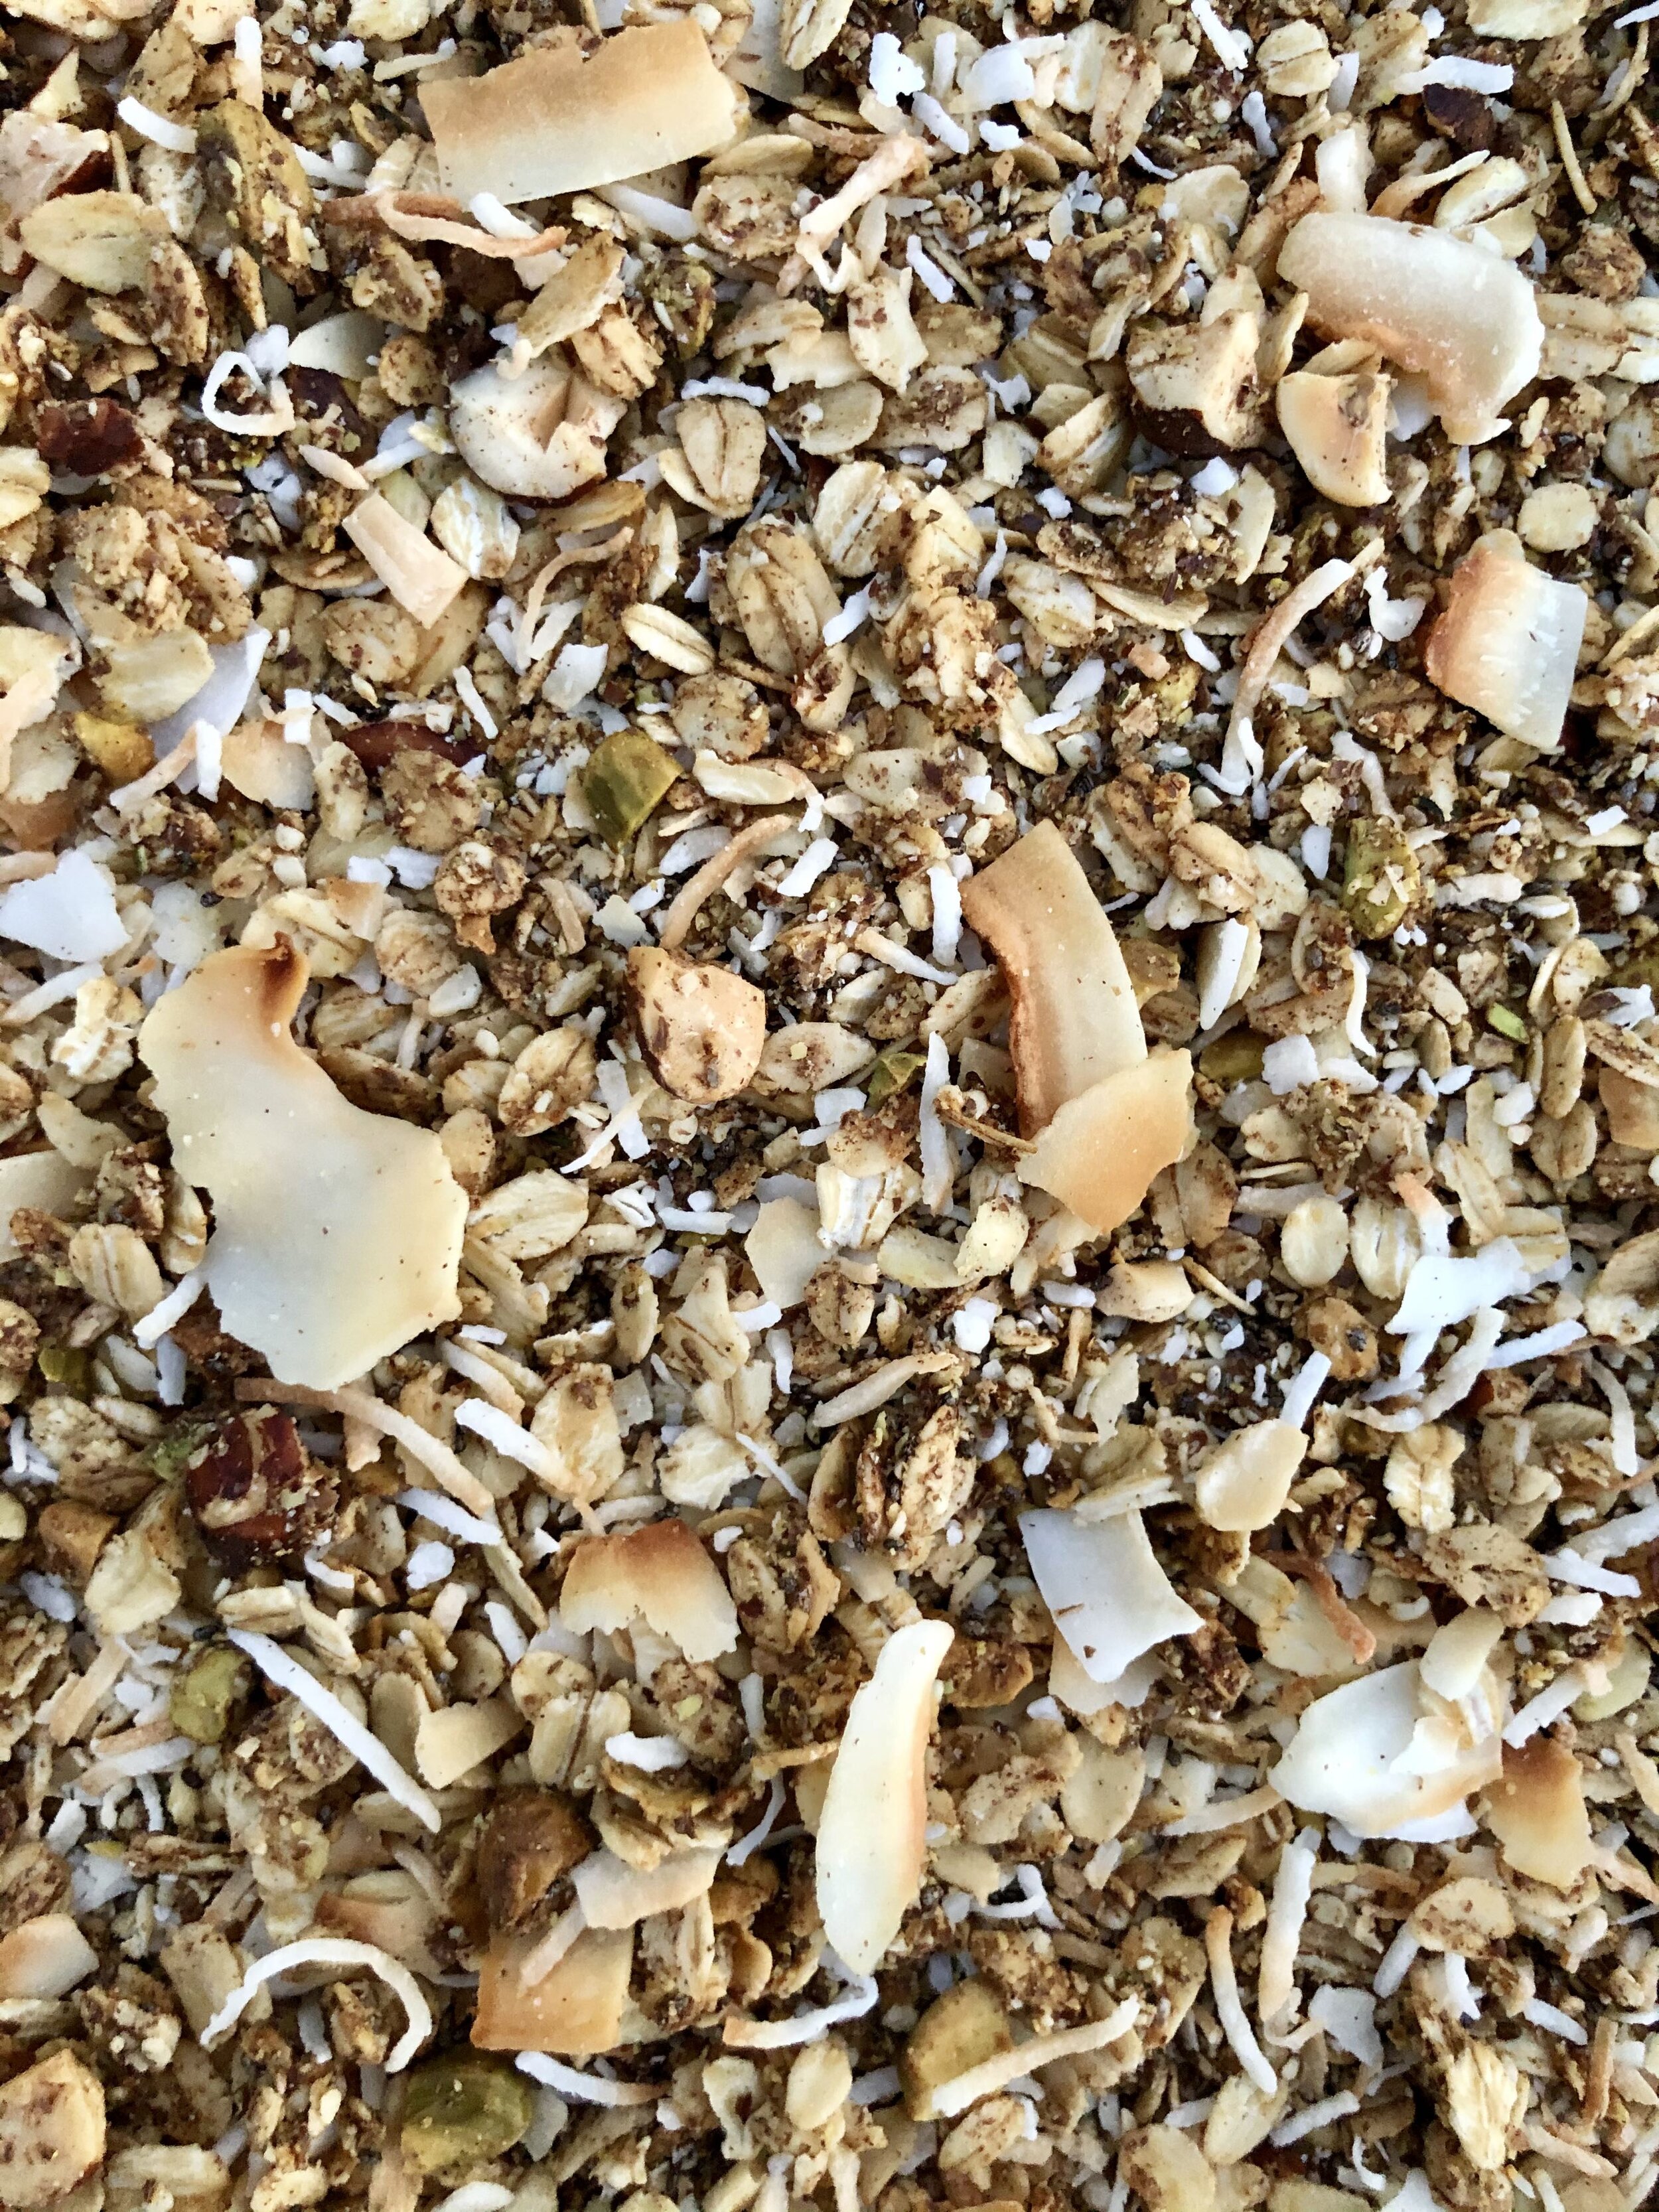
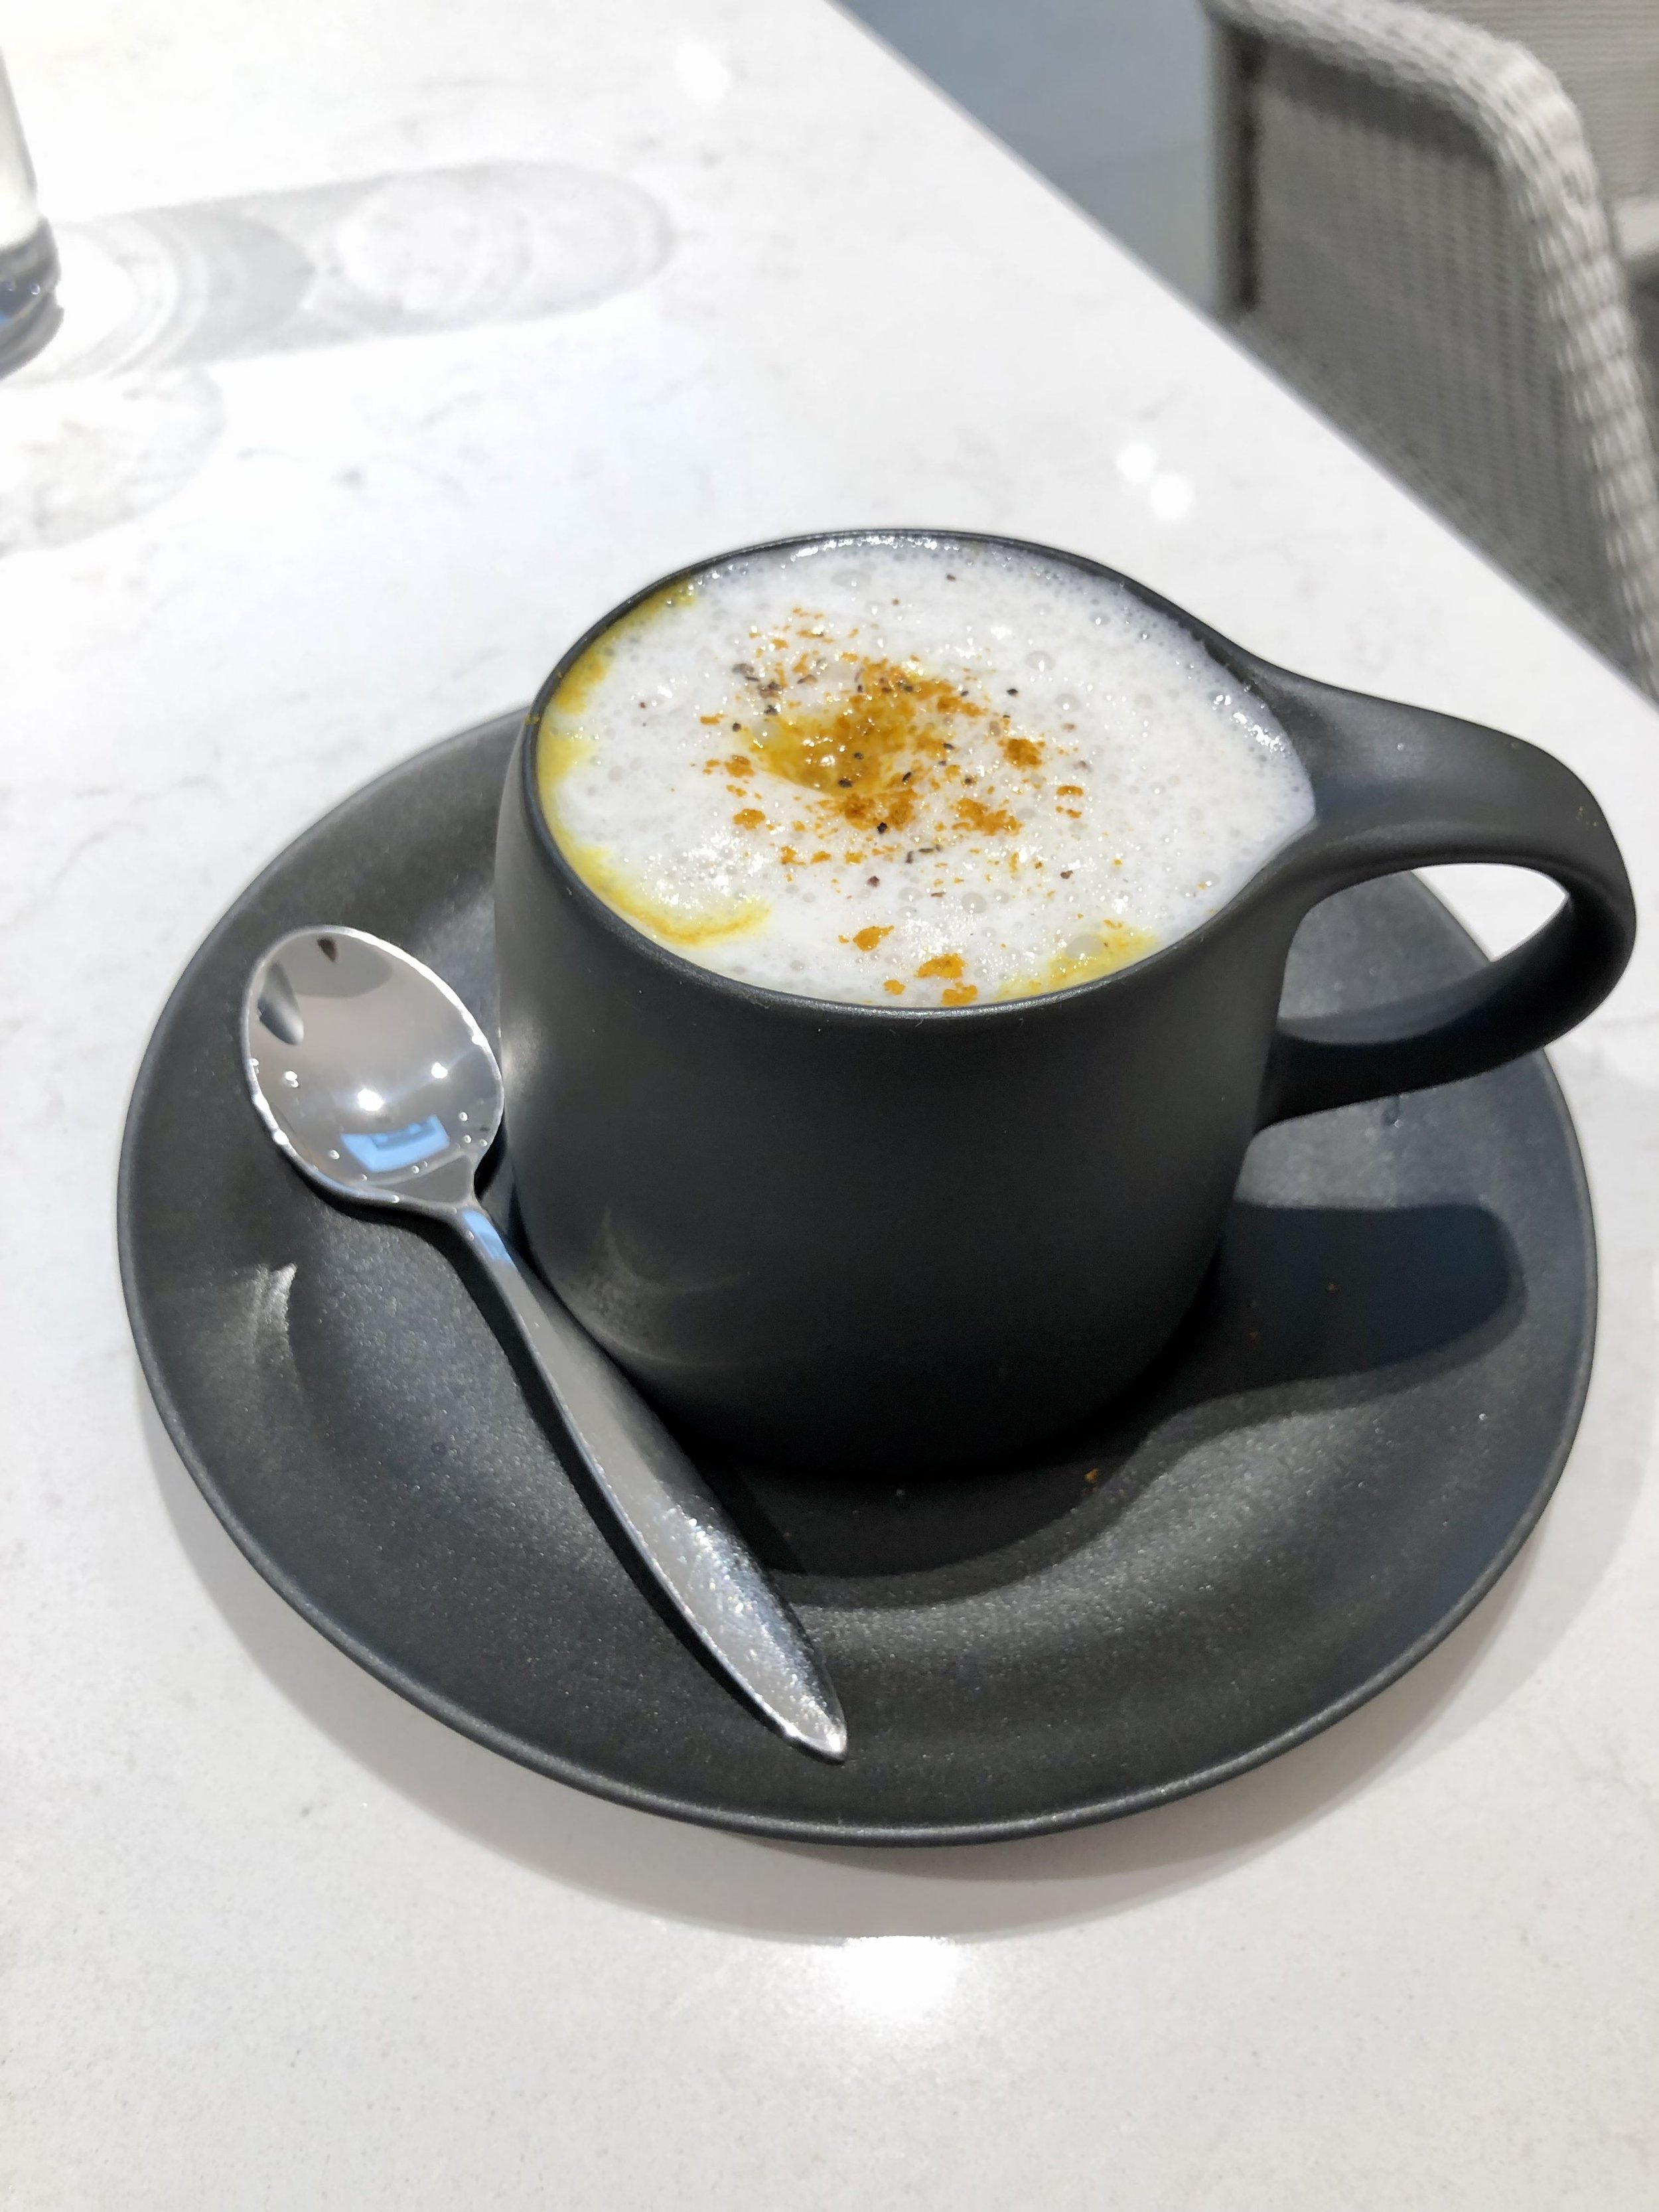
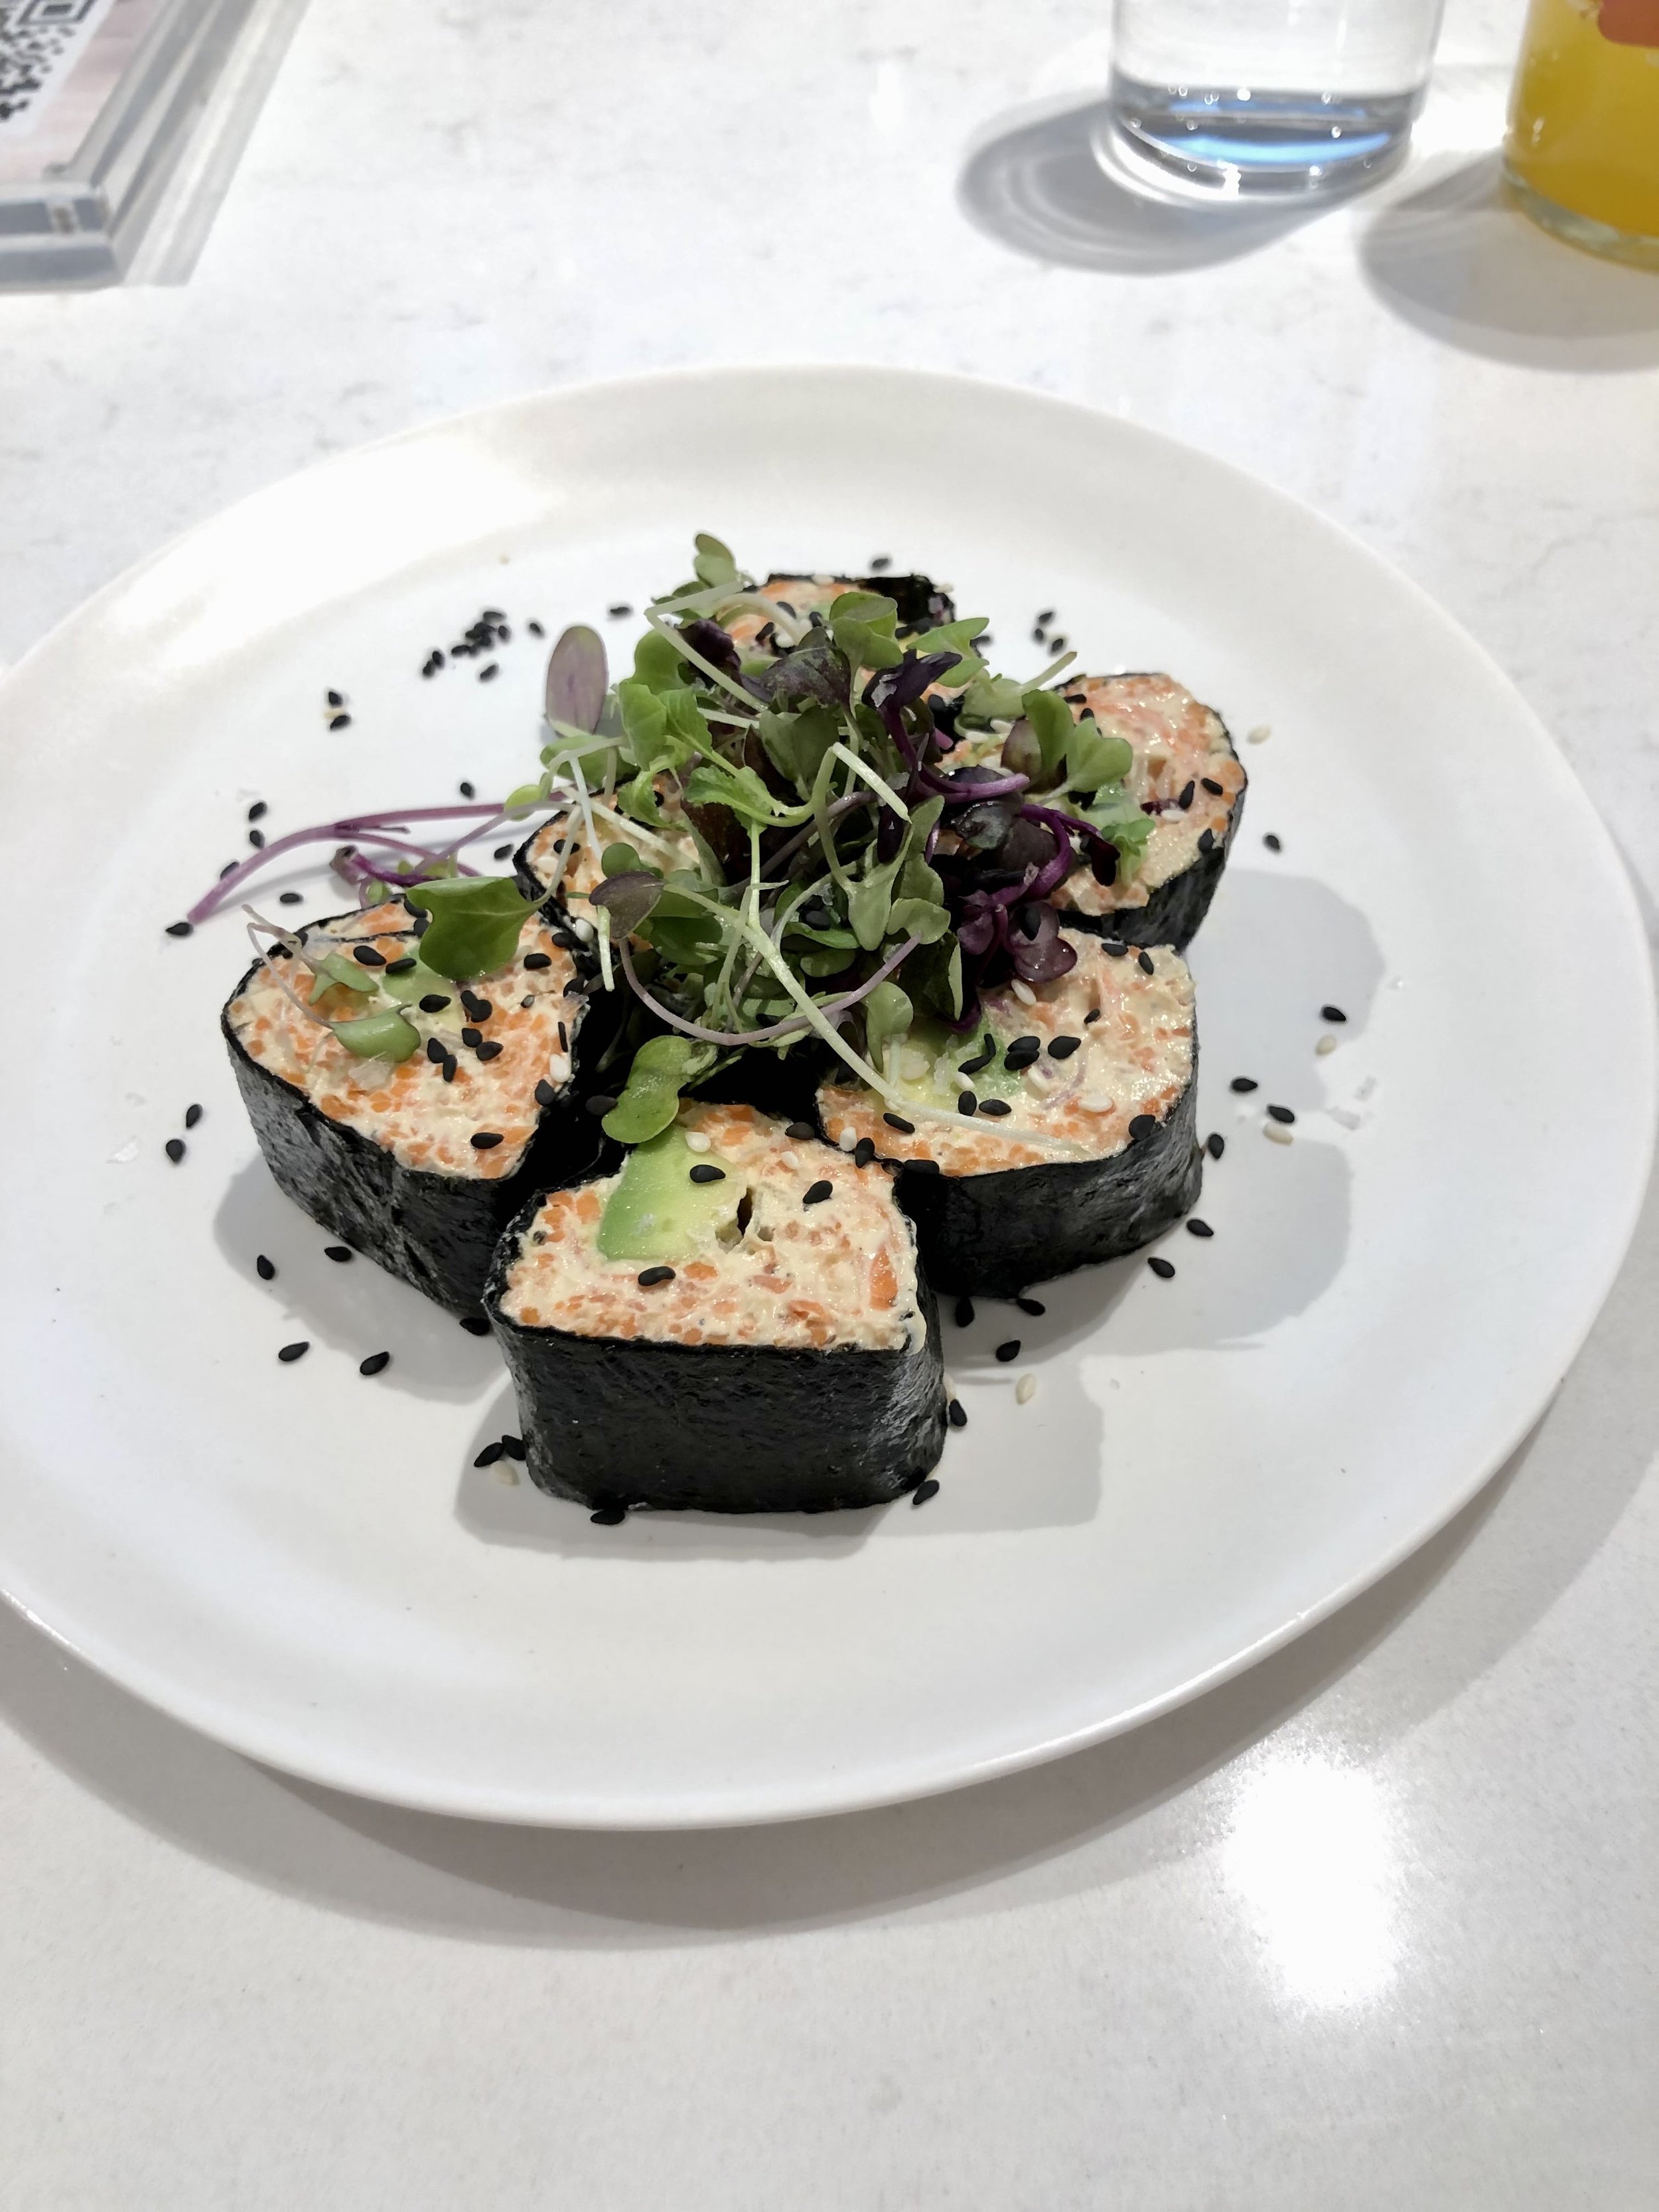
I got the pleasure of enjoying a solo three course lunch one afternoon, and really savored each and every bite. I started with a frothy and earthy turmeric latte, followed by the spicy carrot roll as my appetizer. The carrot pate and the jalapeno cream cheese nestled in nori wraps was so unique and tasty. For my entree, I went with the beet poke bowl, which featured avocado, wakame, macadamia nuts, edamame and cauliflower rice, and was both refreshing and satisfying. Never one to skip dessert, I had to try the deconstructed banana & coconut cream pie for dessert. Oh my glory- this was to die for. I was quite full by this point, but I just couldn’t help but going back to finish the entire plate. And how gorgeous was the presentation too?! If you’re in NYC, I definitely recommend stopping by for a nourishing, vibrant, and delicious meal.


zucchini lasagna

Before zucchini season was over, I just had to share a dish I’ve been making that’s both comforting and healthy. Zucchini lasagna has been pretty popular lately, and the idea is that you use thin slices of zucchini as opposed to pasta noodles. We have nothing against good ol’ pasta in this house- it’s very likely my husband’s favorite thing to cook- but I also love sneaking in extra veggies to our diets whenever I get the chance ;) This lasagna is still packed with homemade or store bought tomato sauce, lots of tasty cheeses, and fresh basil, so it’s super flavorful and delish! One important tip- make sure to salt your zucchini strips and let them set about 15 minutes to draw out moisture. Blot them dry before layering them into your dish as this will ensure you don’t end up with a soggy lasagna mess, but rather nicely cooked zucchini “noodles”! Enjoy!

Zucchini Lasagna:

  • 4 large zucchini, sliced thin lengthwise

  • 1 pound ground beef or pork (omit for vegetarian option)

  • 1 yellow onion, diced

  • 2 cloves garlic, minced

  • 2 28 oz cans San Marzano tomatoes (alternatively use store-bought pasta sauce)

  • 1 6oz can tomato paste

  • 1 tsp dried oregano

  • 1/2 cup red wine, optional

  • 15 oz ricotta cheese, whole milk or part skim

  • 1 large egg

  • 2 cups grated mozzarella cheese

  • 1-2 bunches fresh basil, chopped (leave some whole leaves for garnish)

Make your tomato/meat sauce- this can be done ahead of time, to allow it to simmer and develop flavor). Add the ground beef to a large pan over medium high heat, and season with salt & pepper. Brown the meat until no longer pink, and then remove it from the pan. Add a bit of olive oil to the pan if needed, and saute the onion for a few minutes. Then add garlic and cook for a few more minutes, making sure to season with salt & pepper at each step along the way. Add the stewed tomatoes, breaking them up a bit, along with the tomato paste, dried oregano and red wine (if using), and bring your sauce to a simmer. Return the ground beef to the sauce, and reduce the heat to low, allowing it to cook for a couple of hours if possible. Be sure to not let it reduce too much!

Preheat oven to 400 F. Slice your zucchini into thin slices lengthwise using a knife or mandolin, and lay them out on a paper towel. Sprinkle with salt and allow to sit for approximately 15 minutes to draw out the moisture. Blot them dry to absorb any excess moisture. Mix the ricotta cheese with an egg in a bowl. Start assembling your lasagna: ladle sauce in the bottom of the pan, add zucchini slices to cover it, spread ricotta & egg mixture evenly on top, sprinkle with fresh basil, and then top with shredded mozzarella. Repeat this process with all remaining ingredients (you may have extra meat sauce to freeze or use elsewhere!), reserving some fresh basil for garnish. Place the lasagna in the oven and cook for 40-45 minutes, broiling for a couple of minutes at the end to get a nice golden, bubbly top. Garnish with whole basil leave, pour yourself a glass of wine, and serve!


healthy blender waffles

Waffles are a family favorite in my household. My dad is obsessed, and that love has rubbed off on my toddler son as well. We are fans of everything from toaster waffles from the freezer, to classic homemade buttermilk or old fashioned waffles, to belgian waffles at restaurants, to healthy homemade! We do not discriminate, and topped with a healthy serving of pure maple syrup, they are all welcome on our plate :) Lately I’ve been making a somewhat healthier, more nutrient dense version packed with flax seeds, bananas, and rolled oats that are so easy to whip up in a blender (or using a and blender!). Since my son will easily down three waffles at once for breakfast (or anytime of day truly), it gives me a bit of comfort knowing that these are packed with a good dose of protein, fat, and fiber! They freeze well too, so feel free to double the batch and make extra for an easy and delicious breakfast that’s ready in minute! Top with pure maple syrup, and enjoy!

Healthy Blender Waffles:

  • 1/2 cup old fashioned oats

  • 2 tbsp ground flax seeds

  • 1/4 tsp kosher salt

  • 1 tsp baking powder

  • 1/4 tsp cinnamon

  • 1 egg

  • 1-2 bananas

  • 1/2 cup almond milk

  • 1 tsp pure vanilla extract

  • coconut oil or butter, for iron

Combine all ingredients in a blender and blend until combined. Heat a waffle maker, and spray lightly with coconut oil spray or grease with butter. Add the appropriate amount of batter for your waffle iron (likely less than you think), and cook to your desired level of “crispy outside, fluffy inside”, or according to the waffler maker’s directions. Enjoy with butter and pure maple syrup. Makes about 7-8 mini waffles.


nectarine grove

If you’re looking for fresh, flavorful, and healthy eats in the Encinitas or San Diego area, I definitely recommend checking out Nectarine Grove. Everything here happens to be gluten-free, in case that’s of interest to you. But after dining al fresco recently with my family, we found delish eats to meet please everyone’s palates. Nectarine Grove churns out food created with intent, love & your health in mind. Whether you’re paleo, vegan, keto, a health food enthusiast, or you just like good food, I bet you’ll find something up your alley. From grass-fed burgers to falafel tacos to roasted veggie bowls with butternut noodles, there were tasty eats for the whole fam to enjoy. I love that they use fresh, organic, local, and sustainable ingredients- that quality is really evident in each prepared dish. Everything was so tasty and flavorful! Nectarine Grove also has an impressive amount of beverages on tap- take your pick from nitro coffee and kombucha to biodynamic wines and gluten free beers! Yum! I can’t wait to go back and try some of their smoothies and baked goods soon- that cinnamon roll is calling my name!


healthy nut & seed granola

Granola makes for a delicious breakfast or snack anytime of day, am I right? I’ve been known to enjoy it dry on its own, in a bowl with almond milk or Greek yogurt & fresh fruit, and even sprinkled on top of chia pudding or açaí bowls! And I have to say, it always hits the spot! Although it’s easy to buy granola pre-made, many store-bought versions are loaded with sugar and other unhealthy and unnecessary ingredients. At our house we tend to go through Costco-size bags of grain-free granola at a pretty rapid pace (it’s so addicting), and as I was finishing one off the other day, I decided to make some myself for a change! 

This recipe is super adaptable, so feel free to swap out other nuts and seeds if you prefer, or use what you have on hand. But do make sure to use plenty of them since they are the star- and super important for that tasty crunch! No one in my household avoids grains, so I did include rolled oats as well, since they make such a good base for granola. If you’d like to keep things gluten free, just make sure your oats are certified GF! My healthy nut & seed granola boasts a pretty impressive nutritional profile thanks to superfoods like chia & flax seeds, fiber-rich oats, and an extra dose of healthy fats from coconut oil. Plus, it’s lightly sweetened with pure maple syrup, which is much lower on the glycemic index than regular sugar and corn syrup, so it won’t spike your blood sugar! I definitely recommend adding pure vanilla extract and ground cinnamon for some added depth of flavor, but feel free to skip these if you prefer. You can also toss in some dried or freeze dried fruit after baking, if that’s your jam, as well. The options are endless! Homemade granola is so easy y’all- I don’t know why I haven’t done this more often, but I definitely will going forward! Not to mention it leaves your house smelling oh so delicious and fragrant! Enjoy!

Healthy Nut & Seed Granola:

healthy nut & seed granola

Preheat the oven to 300 degrees F. Line a half sheet pan or large cookie sheet with parchment paper. In a large bowl, stir together oats, nuts, seeds, cinnamon and salt (keep coconut separate for now). Set aside. In a separate bowl, heat the coconut oil and maple syrup until melted. Stir in vanilla extract. Pour over dry ingredients and mix well until oat mixture is completely coated.

Spread the granola on the baking sheet in an even layer and press down evenly with a spatula. Bake for about 35 minutes, until golden brown. Sprinkle coconut flakes on top, and return to oven for a few more minutes, until just toasted. Granola should be nice and fragrant. Remove from the oven and allow the granola to cool on the baking sheet for 10-15 minutes to set. Feel free to break it into clumps or clusters if you prefer. Transfer to an airtight container or large mason jar.

Useful Tools:


sweet laurel bakery cake shop

I had been plotting my visit to the Sweet Laurel Bakery Cake Shop over in the Palisades for quite some time now. I’m a huge fan of Laurel herself (and her cottage is to die for), as well as her delectable baked goods! But as well all know, the pandemic hit, and so I really haven’t been out & about all that much. In the meantime, I’ve been baking up a storm from the cookbook, and boy are there some tasty recipes to be had! Sweet Laurel recipes are all gluten, grain, and refined sugar free, and many are also vegan as well, making them a great choice for anyone with allergies or dietary restrictions. My bestie Rachel McConn (an amazing nutritional therapy practitioner & natural foods chef, by the way) came up from San Diego to hang for a night, and since she has Celiac Disease, the bakery has been on her must-visit list as well. We headed out on a (safe & socially distanced) mission for sweets, and we were not disappointed.

The star of the show was the ice cream sandwich- snickerdoodle cookies with chocolate ice cream. This was so delicious, not to mention all vegan & gluten free! It totally hit the spot on a hot summer day. I can never say no to carrot cake, so had to get a slice of that as well. This one is lightly sweet, and studded with walnuts and raisins. The probiotic cashew cream frosting is super unique and provides such a nice tang! Even my one year old got in on the sampling, and he was definitely a fan. I can’t wait to return to try some of their super food lattes and keto frappes- yum! And lastly, don’t miss Laurel’s new savory cookbook, which is now available for preorder!