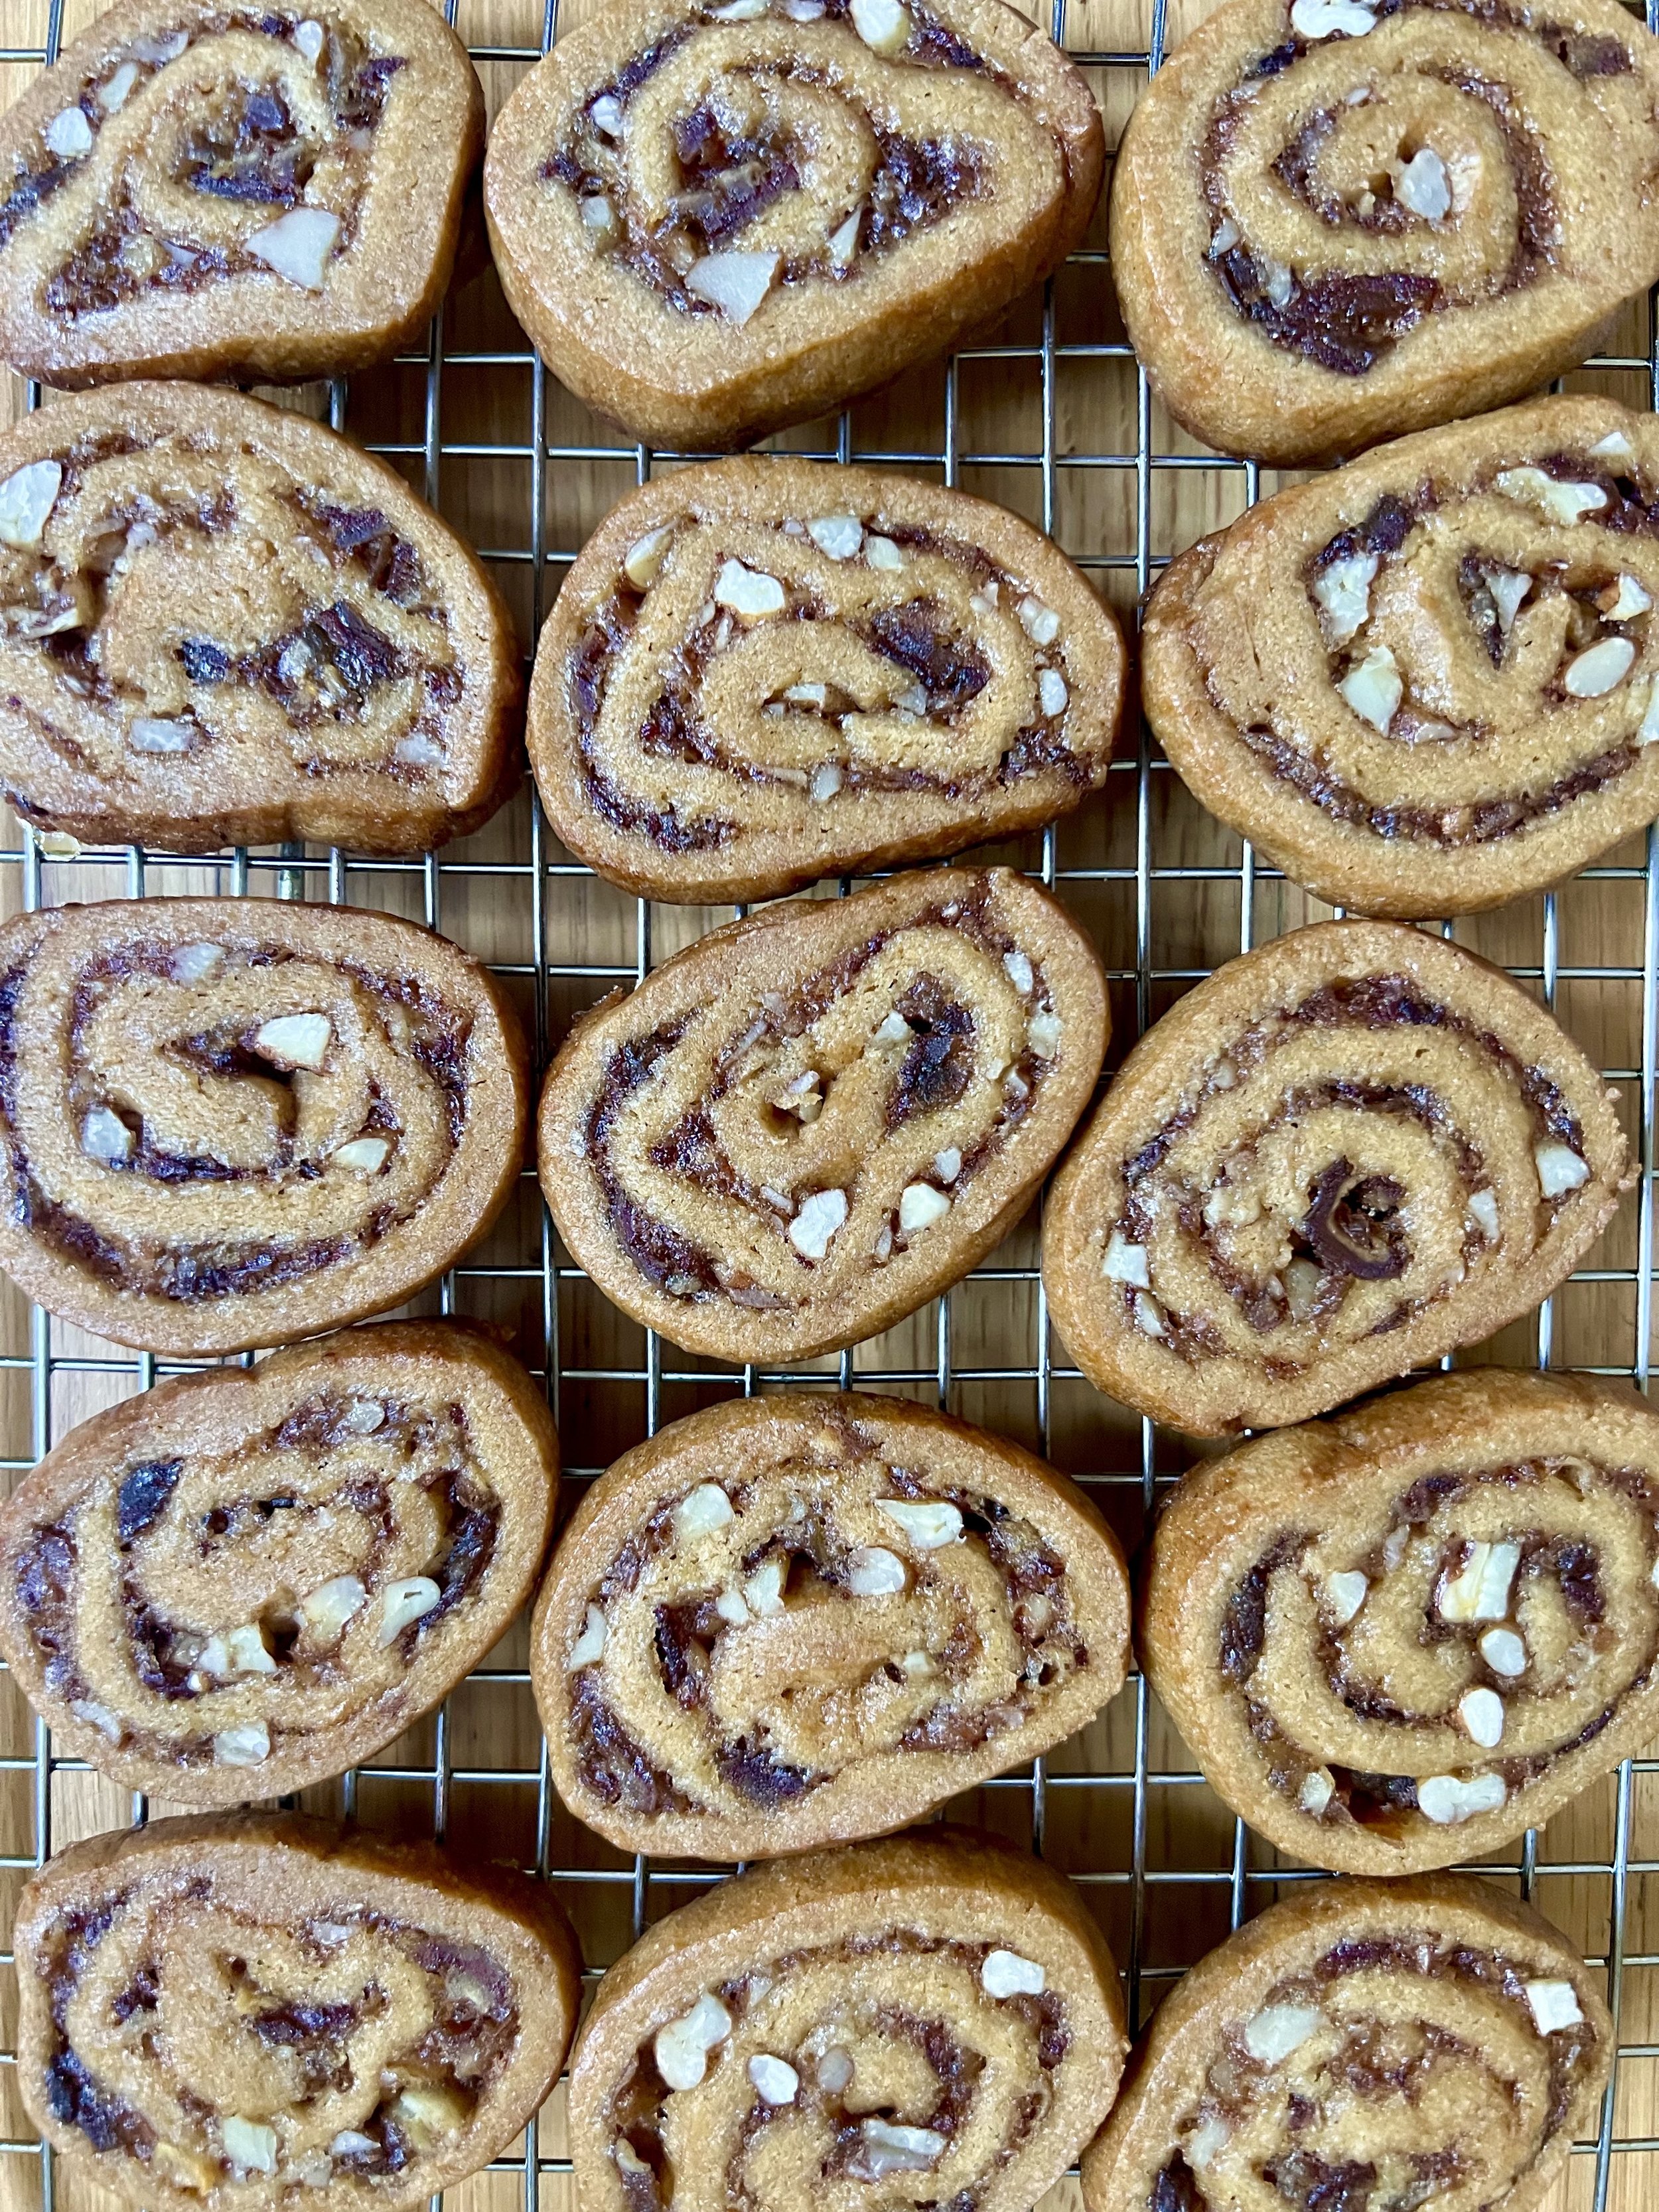
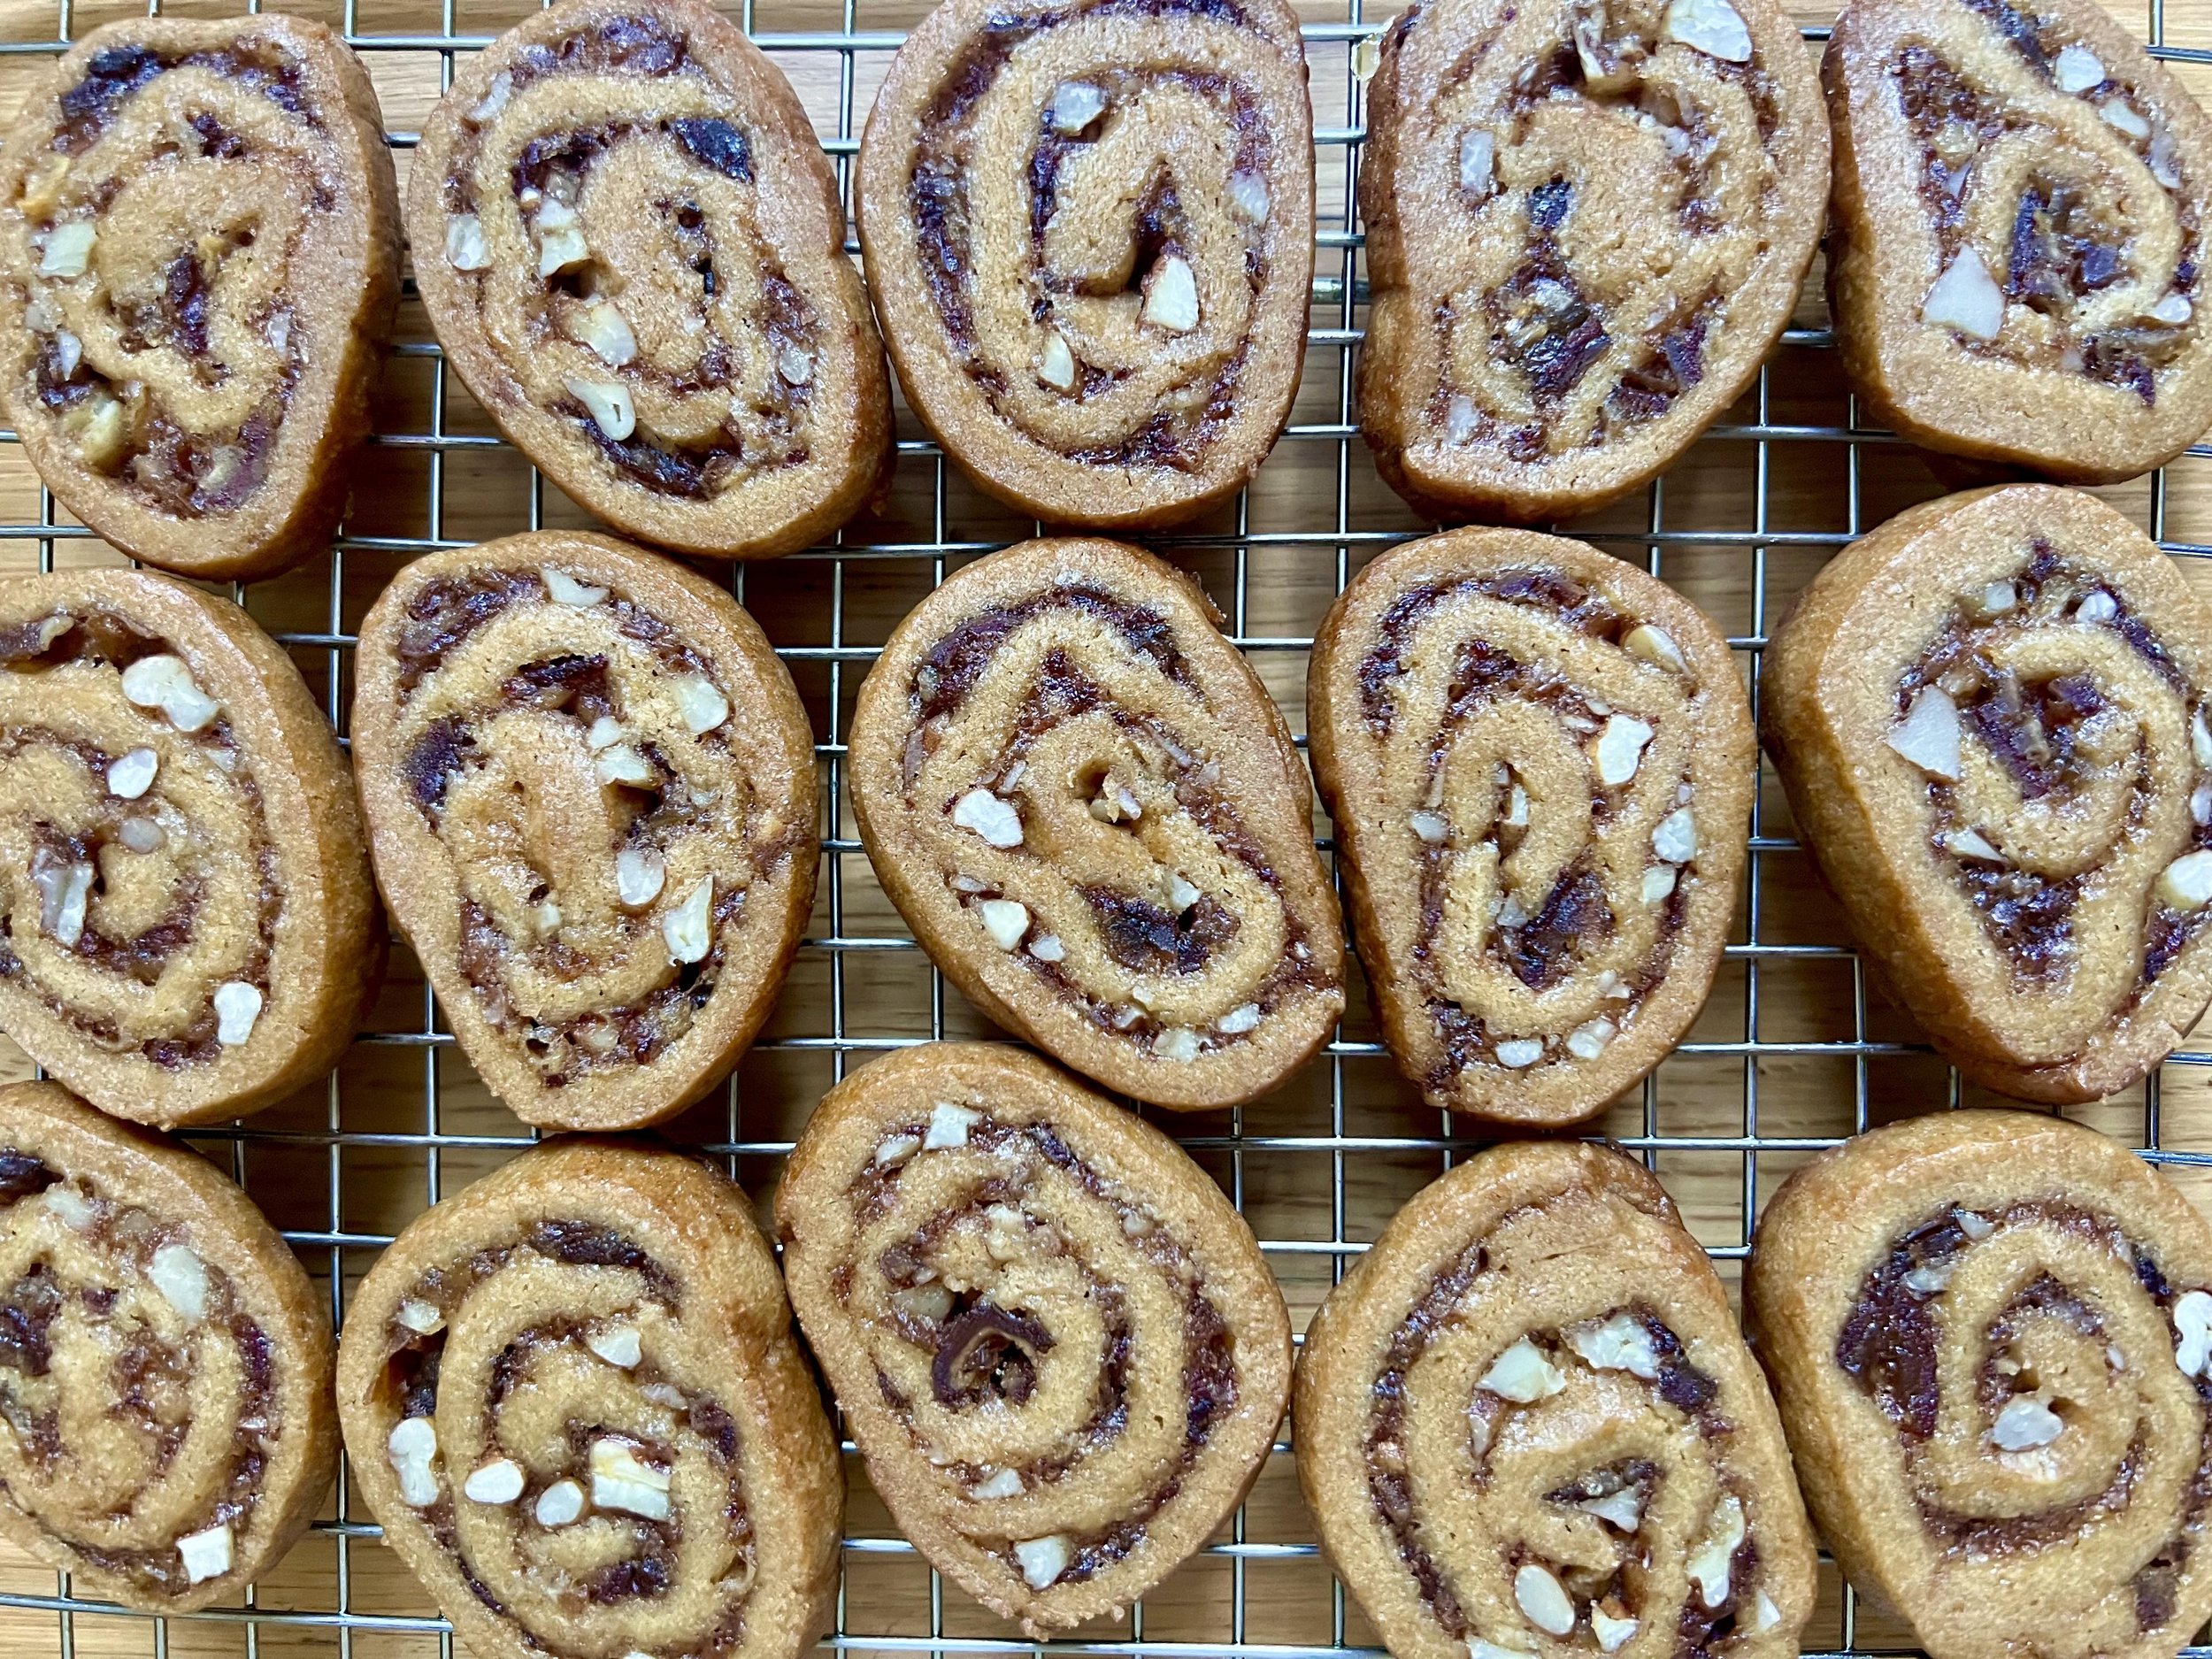
date pecan pinwheel cookies

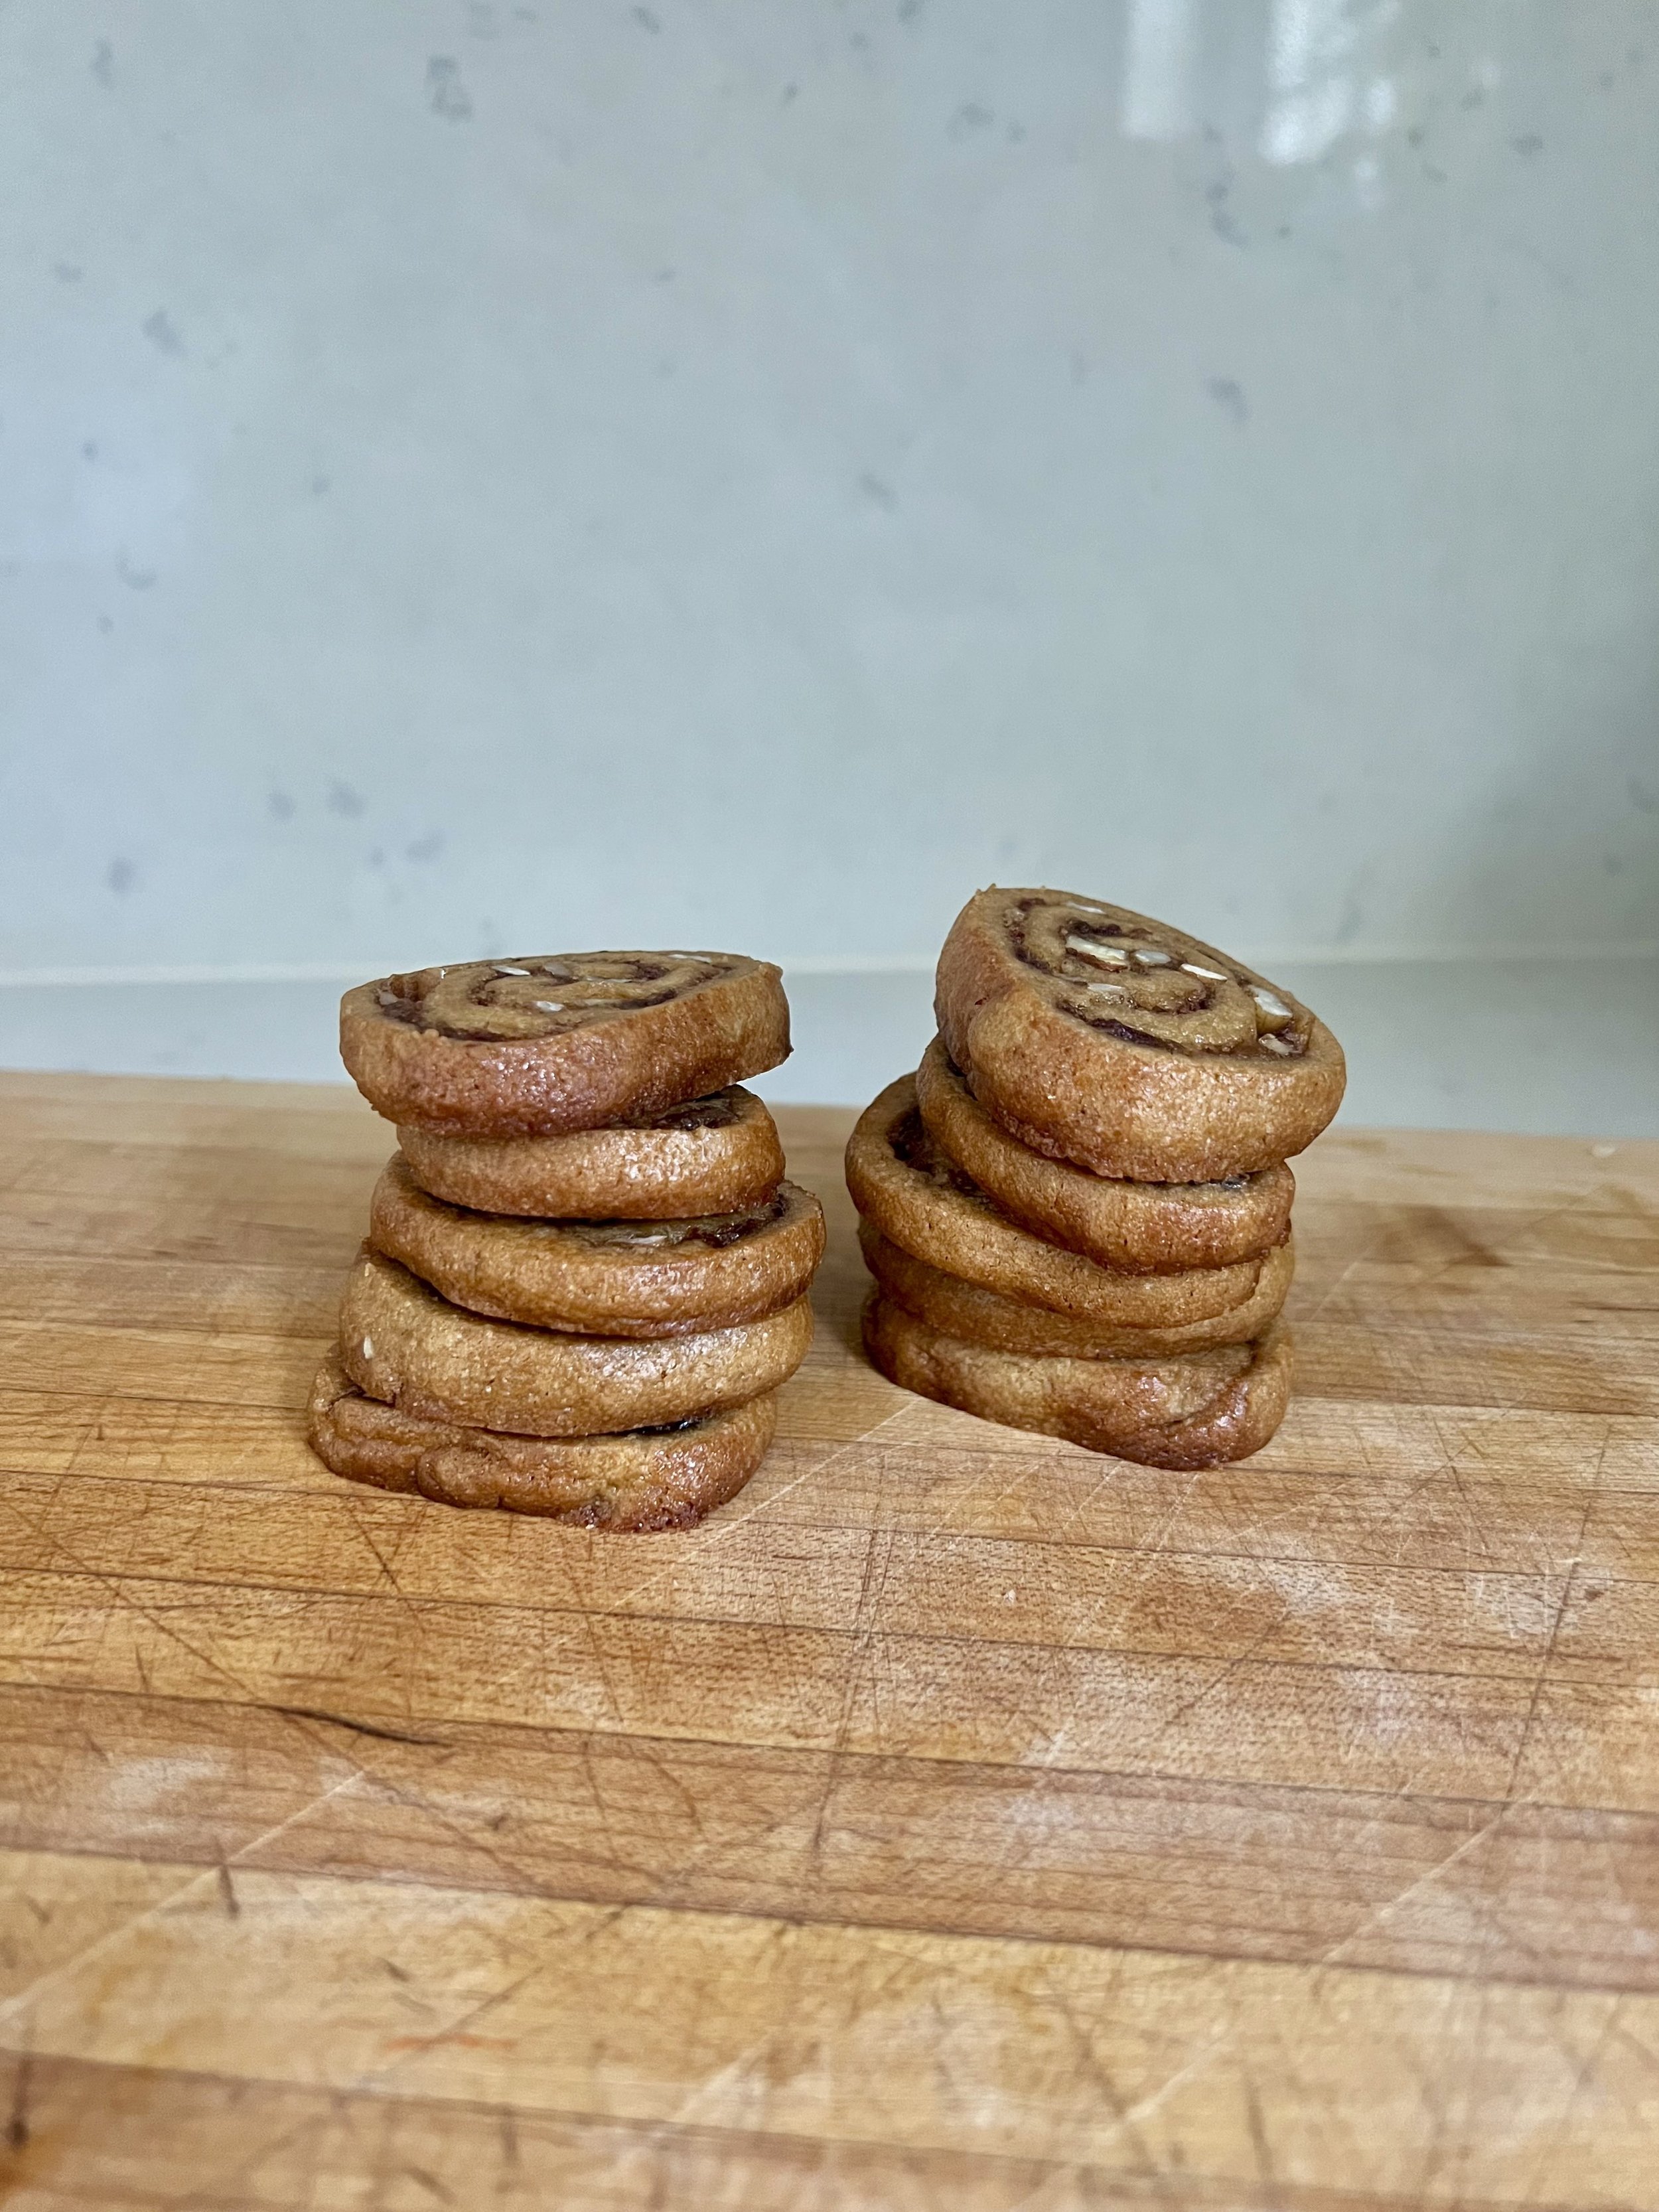
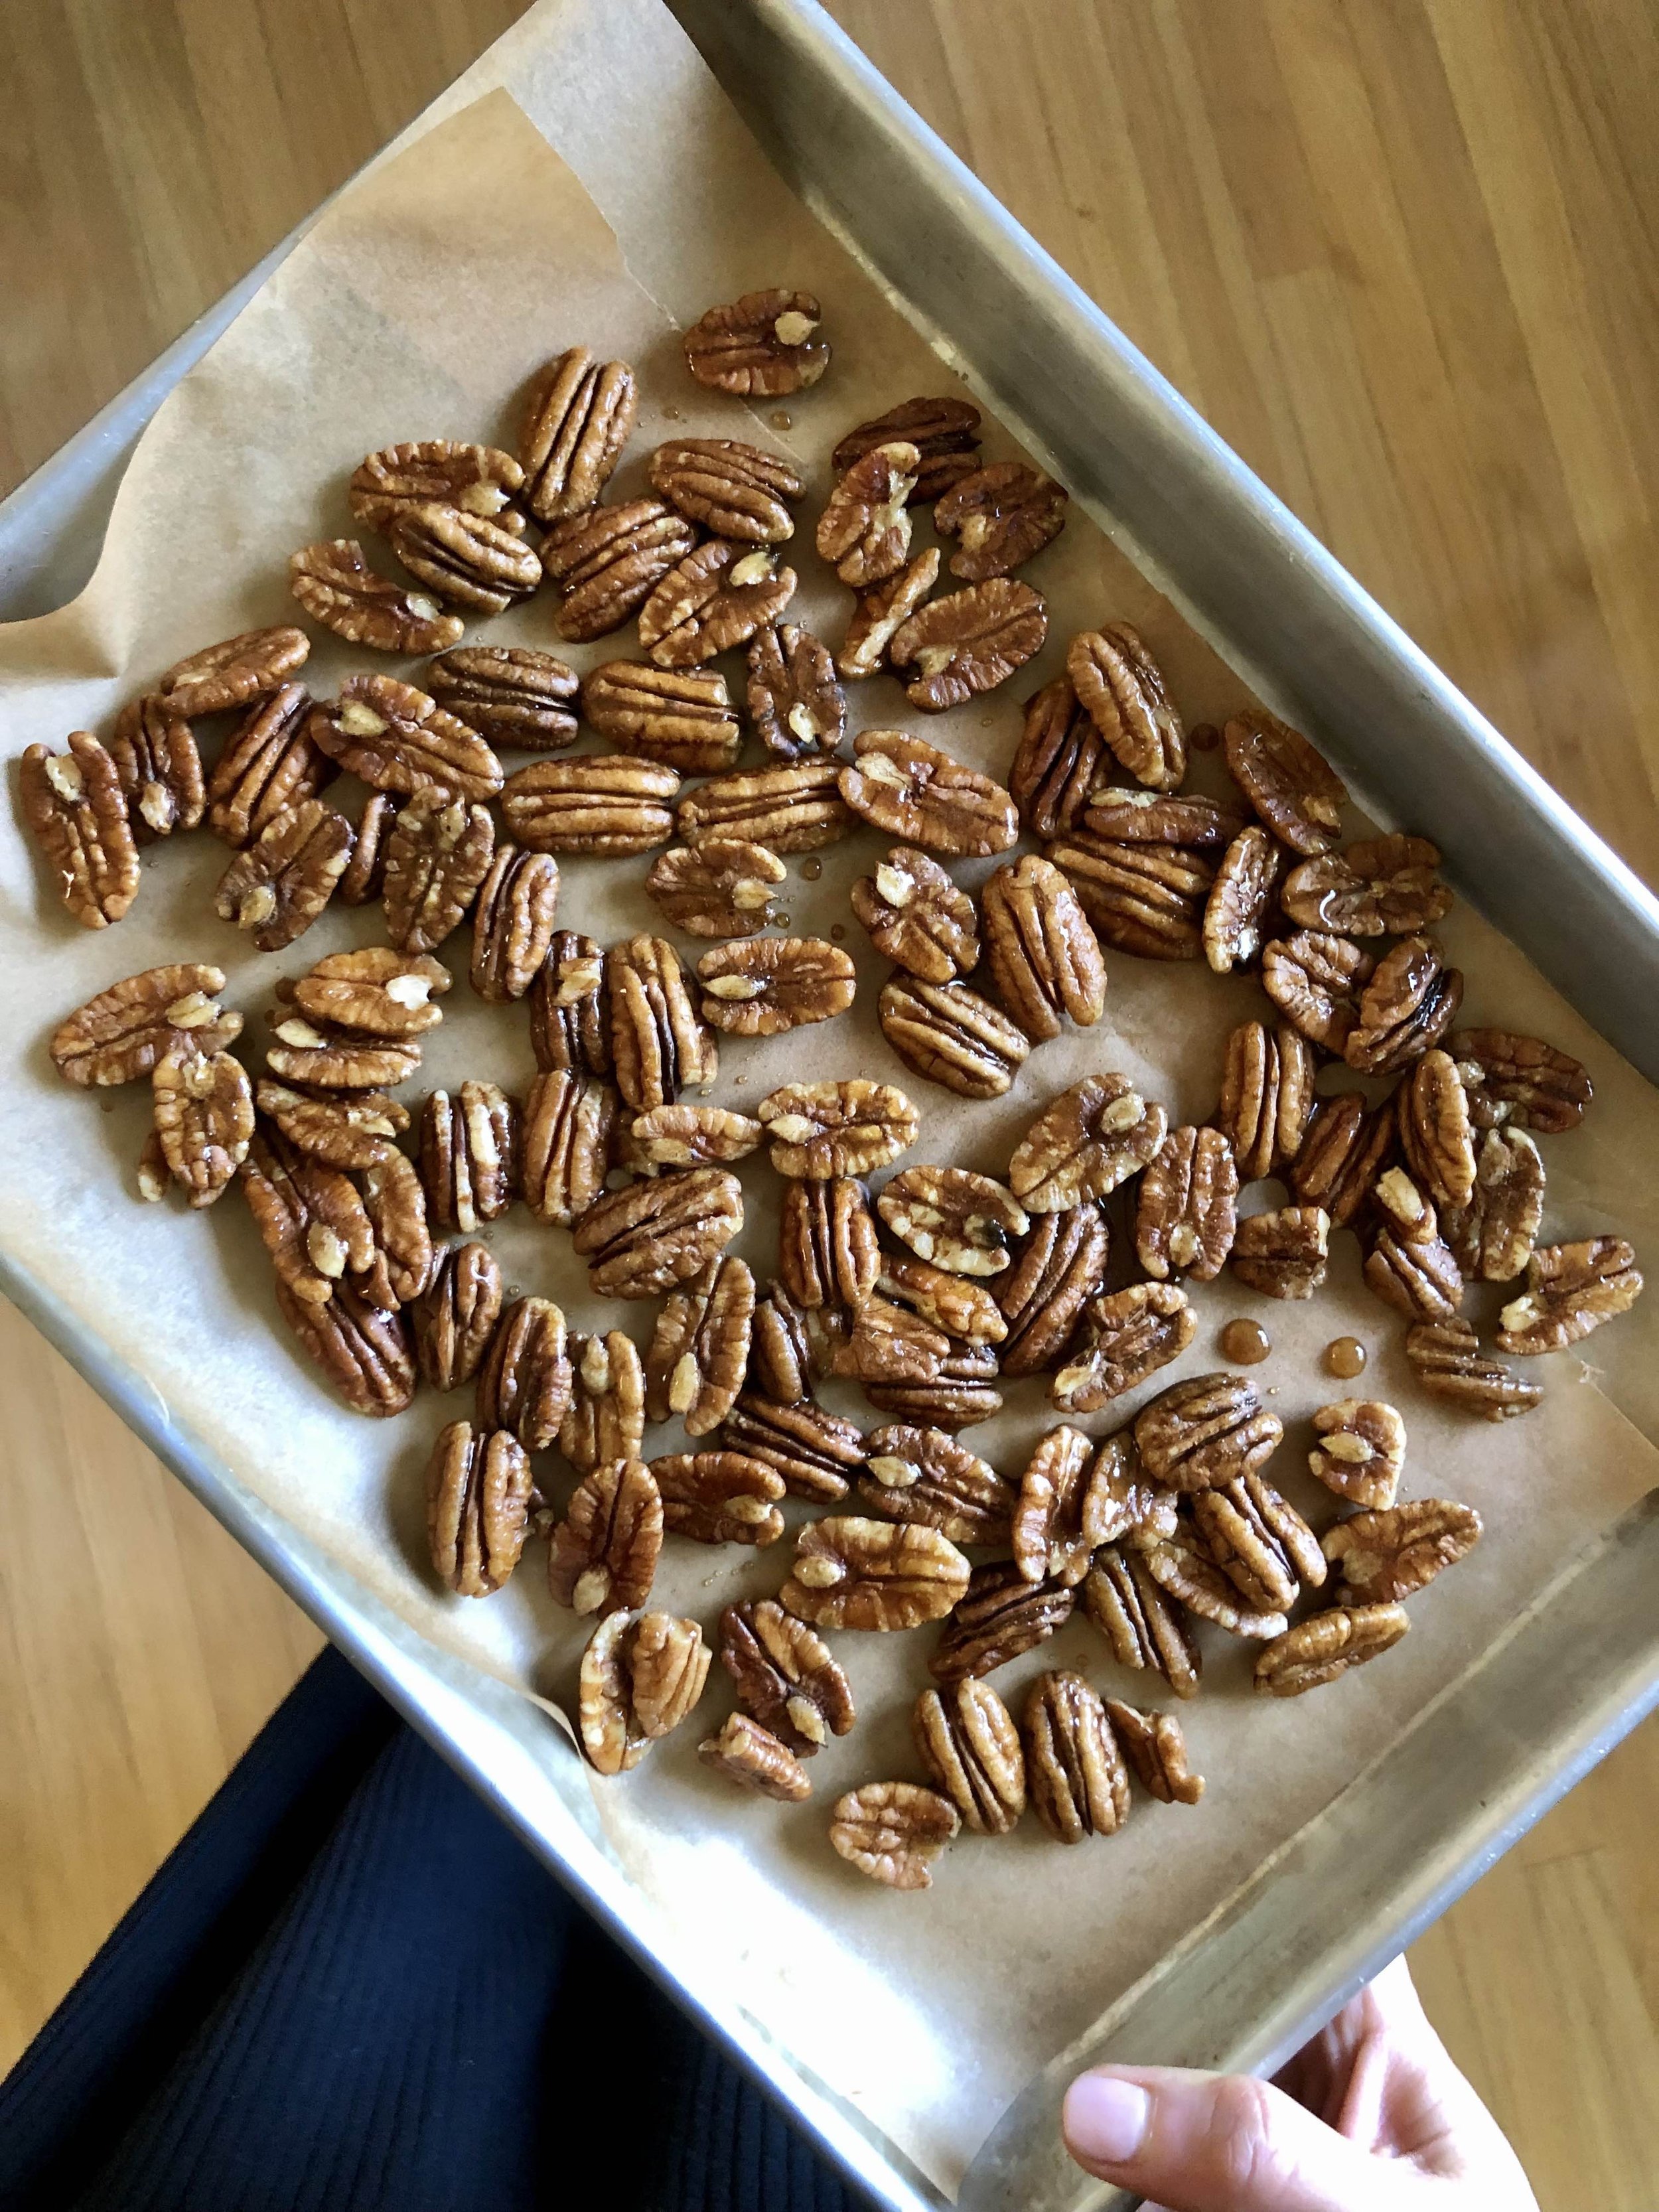
I love holiday baking. The family traditions, the comforting aromas, the delicious flavors. It gives me all the festive feels. These date pecan pinwheel cookies are the epitome of all of that for me. They remind me of my mom, who bakes them for us every holiday season, and they are a hit with the whole family. I love how unique they are- not your average holiday sugar cookie for sure. But they also come together easily, and look pretty fancy as well! My mom was kind enough to leave me a batch of this cookie dough in the freezer, so I could bake them up myself when the craving hits, which is what I’ve just done now. I love how they get nicely golden brown with a crisp edge, yet maintain a soft and gooey interior that is almost reminiscent of caramel! So heavenly. I highly recommend you add these to your holiday cookie rotation. They would make an excellent addition to a festive cookie swap as well. Happy Holidays, y’all!

Date Pecan Pinwheels:

  • Filling:

    • 8 oz medjool dates, chopped

    • ½ cup granulated sugar

    • ½ cup water

    • ½ cup pecans, chopped

  • Dough:

    • ½ cup unsalted butter, room temperature 

    • ½ cup brown sugar

    • ½ cup granulated sugar

    • 1 large egg

    • ½ tsp pure vanilla extract

    • 2 cups all purpose flour

    • ½ tsp baking soda

    • ½ tsp salt 

For the filling, add the chopped dates to a saucepan with sugar and water. Bring to a low boil, reduce heat and simmer, stirring and smushing frequently until the mixture is soft and creamy. It’s okay if it’s a bit lumpy. Set aside to cool. Finely chop pecans and reserve for later.

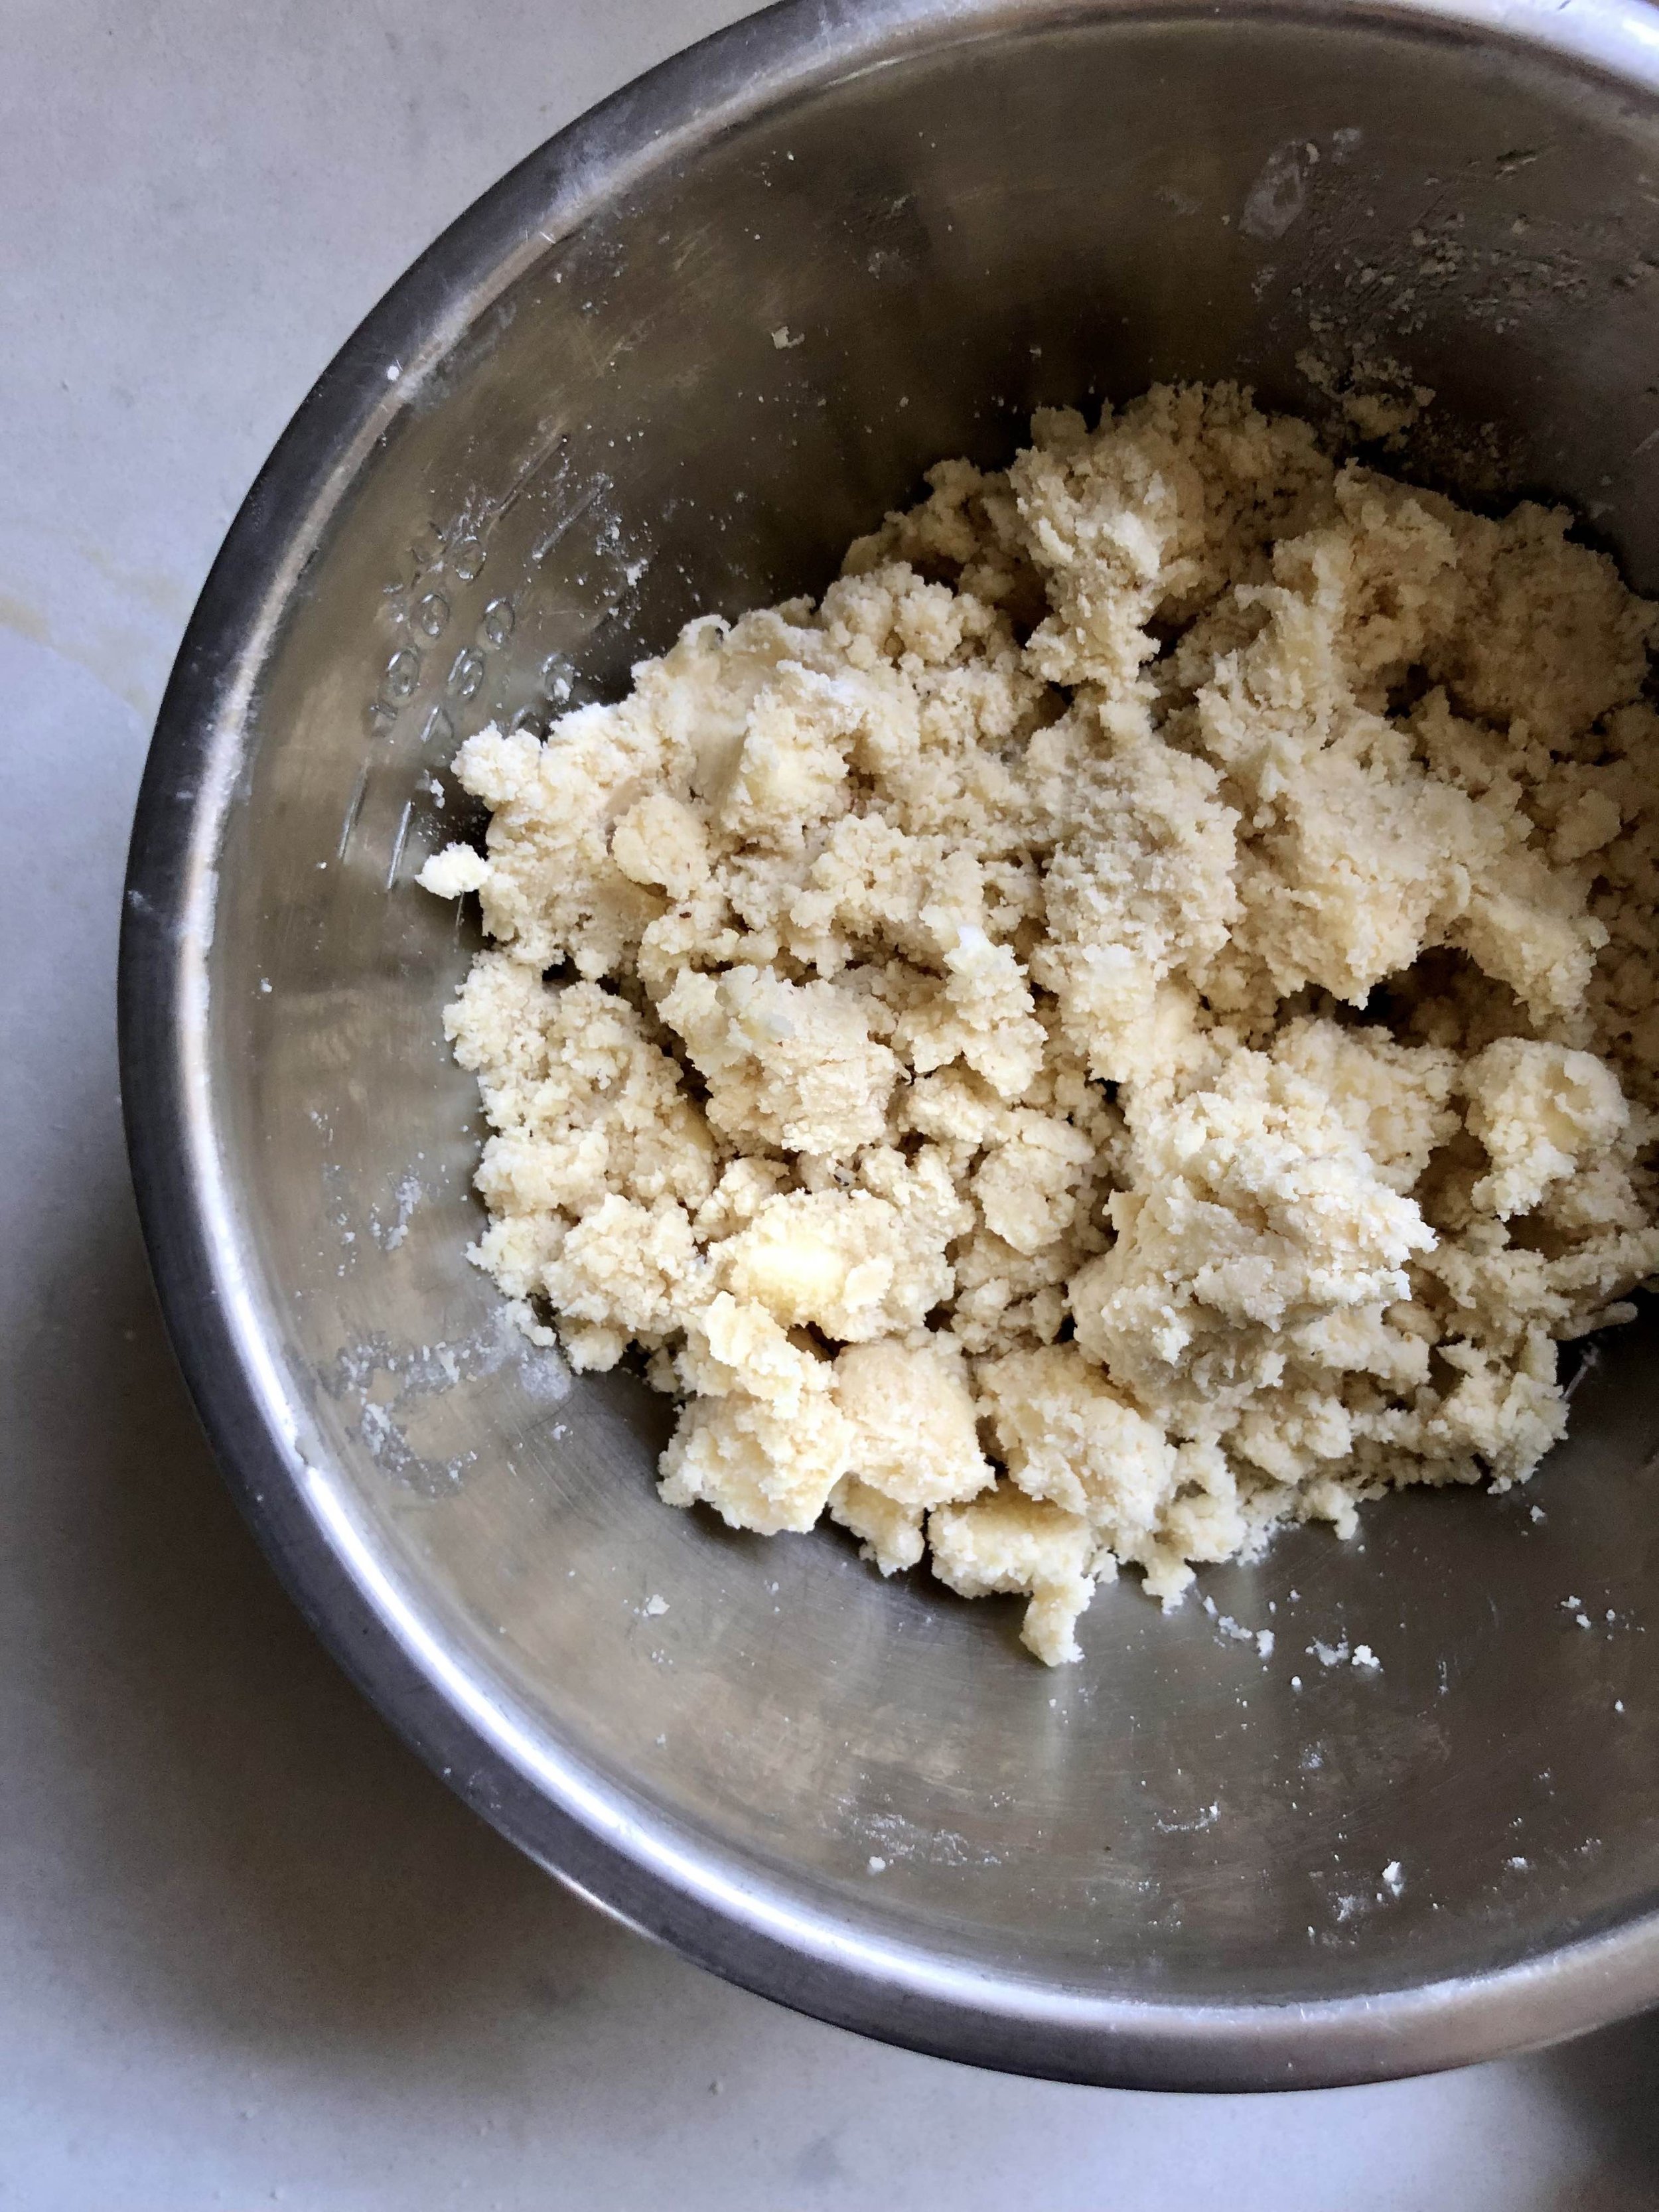
For the dough, cream together butter and sugars in a stand mixer or hand mixer until smooth, then add egg and vanilla until well combined. Sift together the flour, baking soda & salt, and then slowly incorporate the dry ingredients into the wet, careful not to over mix. The dough will be quite thick. Divide it into two rounds, and chill for a couple hours in the fridge. You can also refrigerate the dough overnight at this point, but just let it come to room temp a bit when you’re ready to assemble so that it’s easier to roll out.

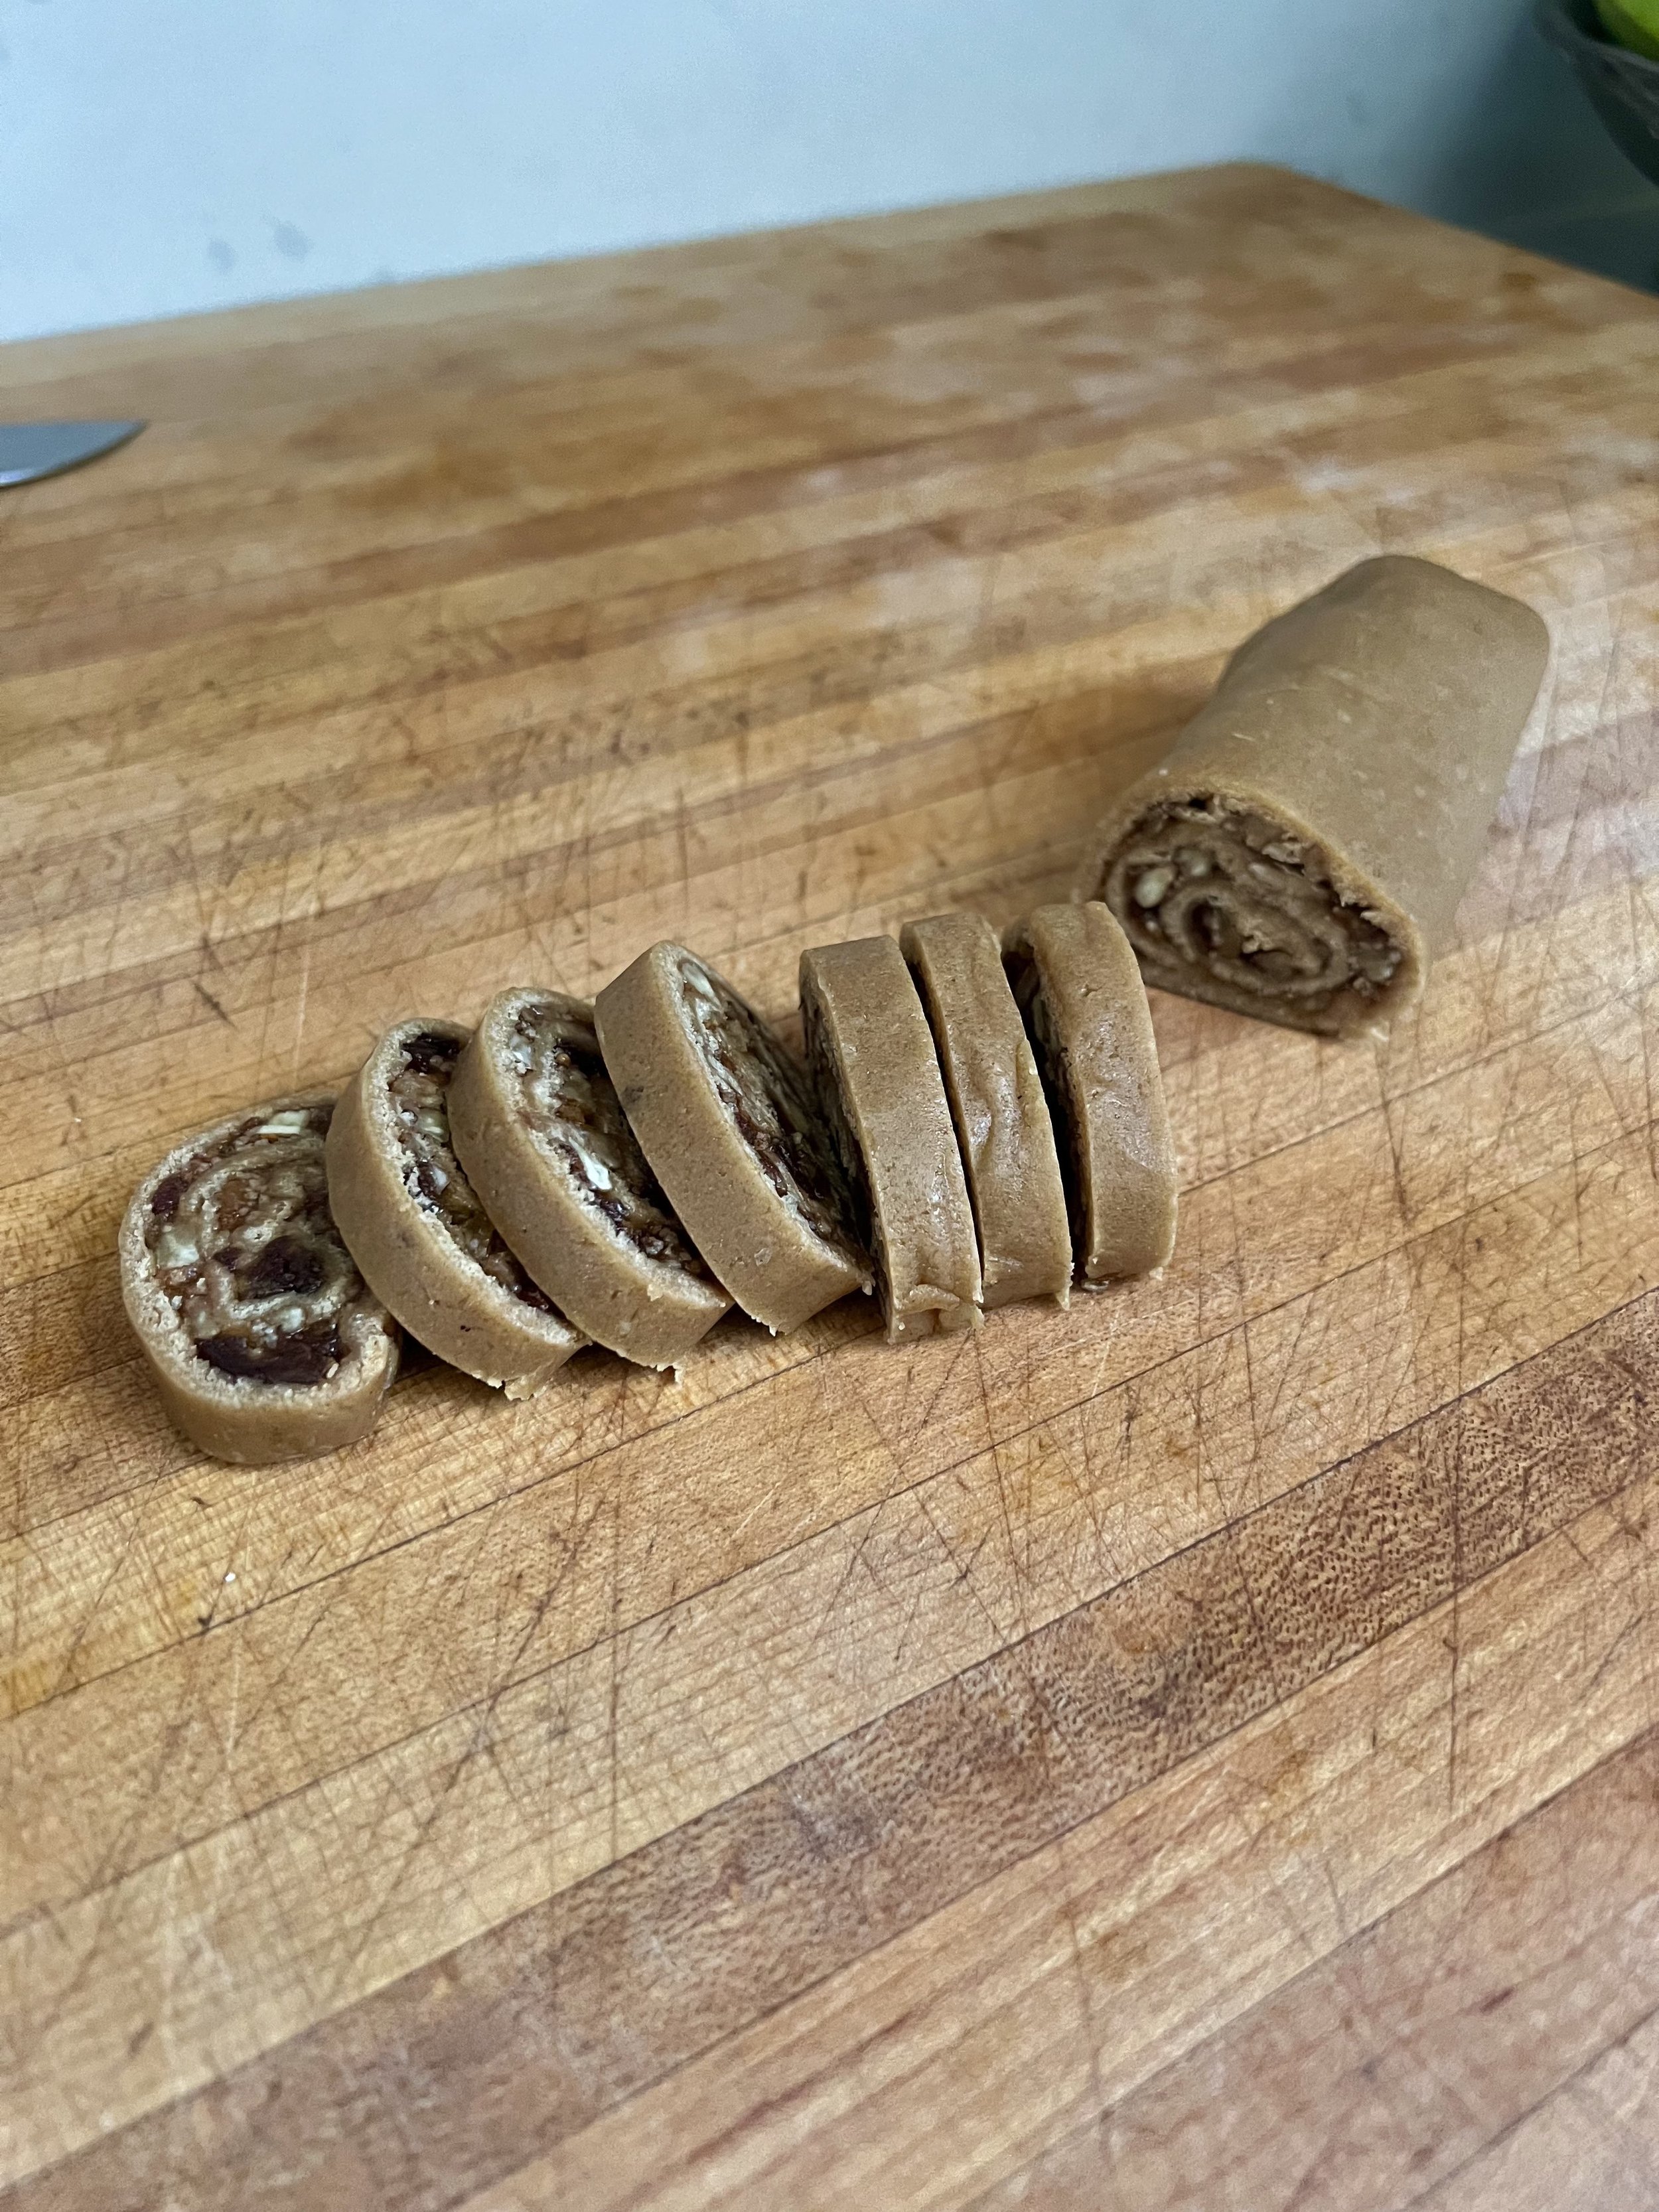
To assemble and prepare for baking, remove the dough from the fridge. Roll one part out on floured surface into a rectangle (about 5-6” x 11-12”), then spread half of the cooled date filling evenly on the dough. If filling seems too thick, add a little water to thin it out to get a more spreadable consistency. Sprinkle on ¼ cup chopped pecans. Carefully roll up into a log shape with wax paper or plastic wrap. Repeat process for second round of dough, then refrigerate both until they are well chilled through. You may also freeze them at this point until you are ready to bake.

Preheat oven to 350 F. Remove dough logs from fridge or freezer, and cut approximately 1/4-1/2" thick cookie slices. Lay on parchment-lined baking sheet, and bake for about 10-12 minutes, until they’re starting to get golden, which will yield a crispy edge and gooey interior. Cool cookies on baking sheet for a few minutes before moving them to a cooling rack to cool completely. Enjoy! These are best on the day they are made, as they maintain their crisp edges and gooey interior, but will remain deliciously soft & chewy for the next several days stored in an airtight container.
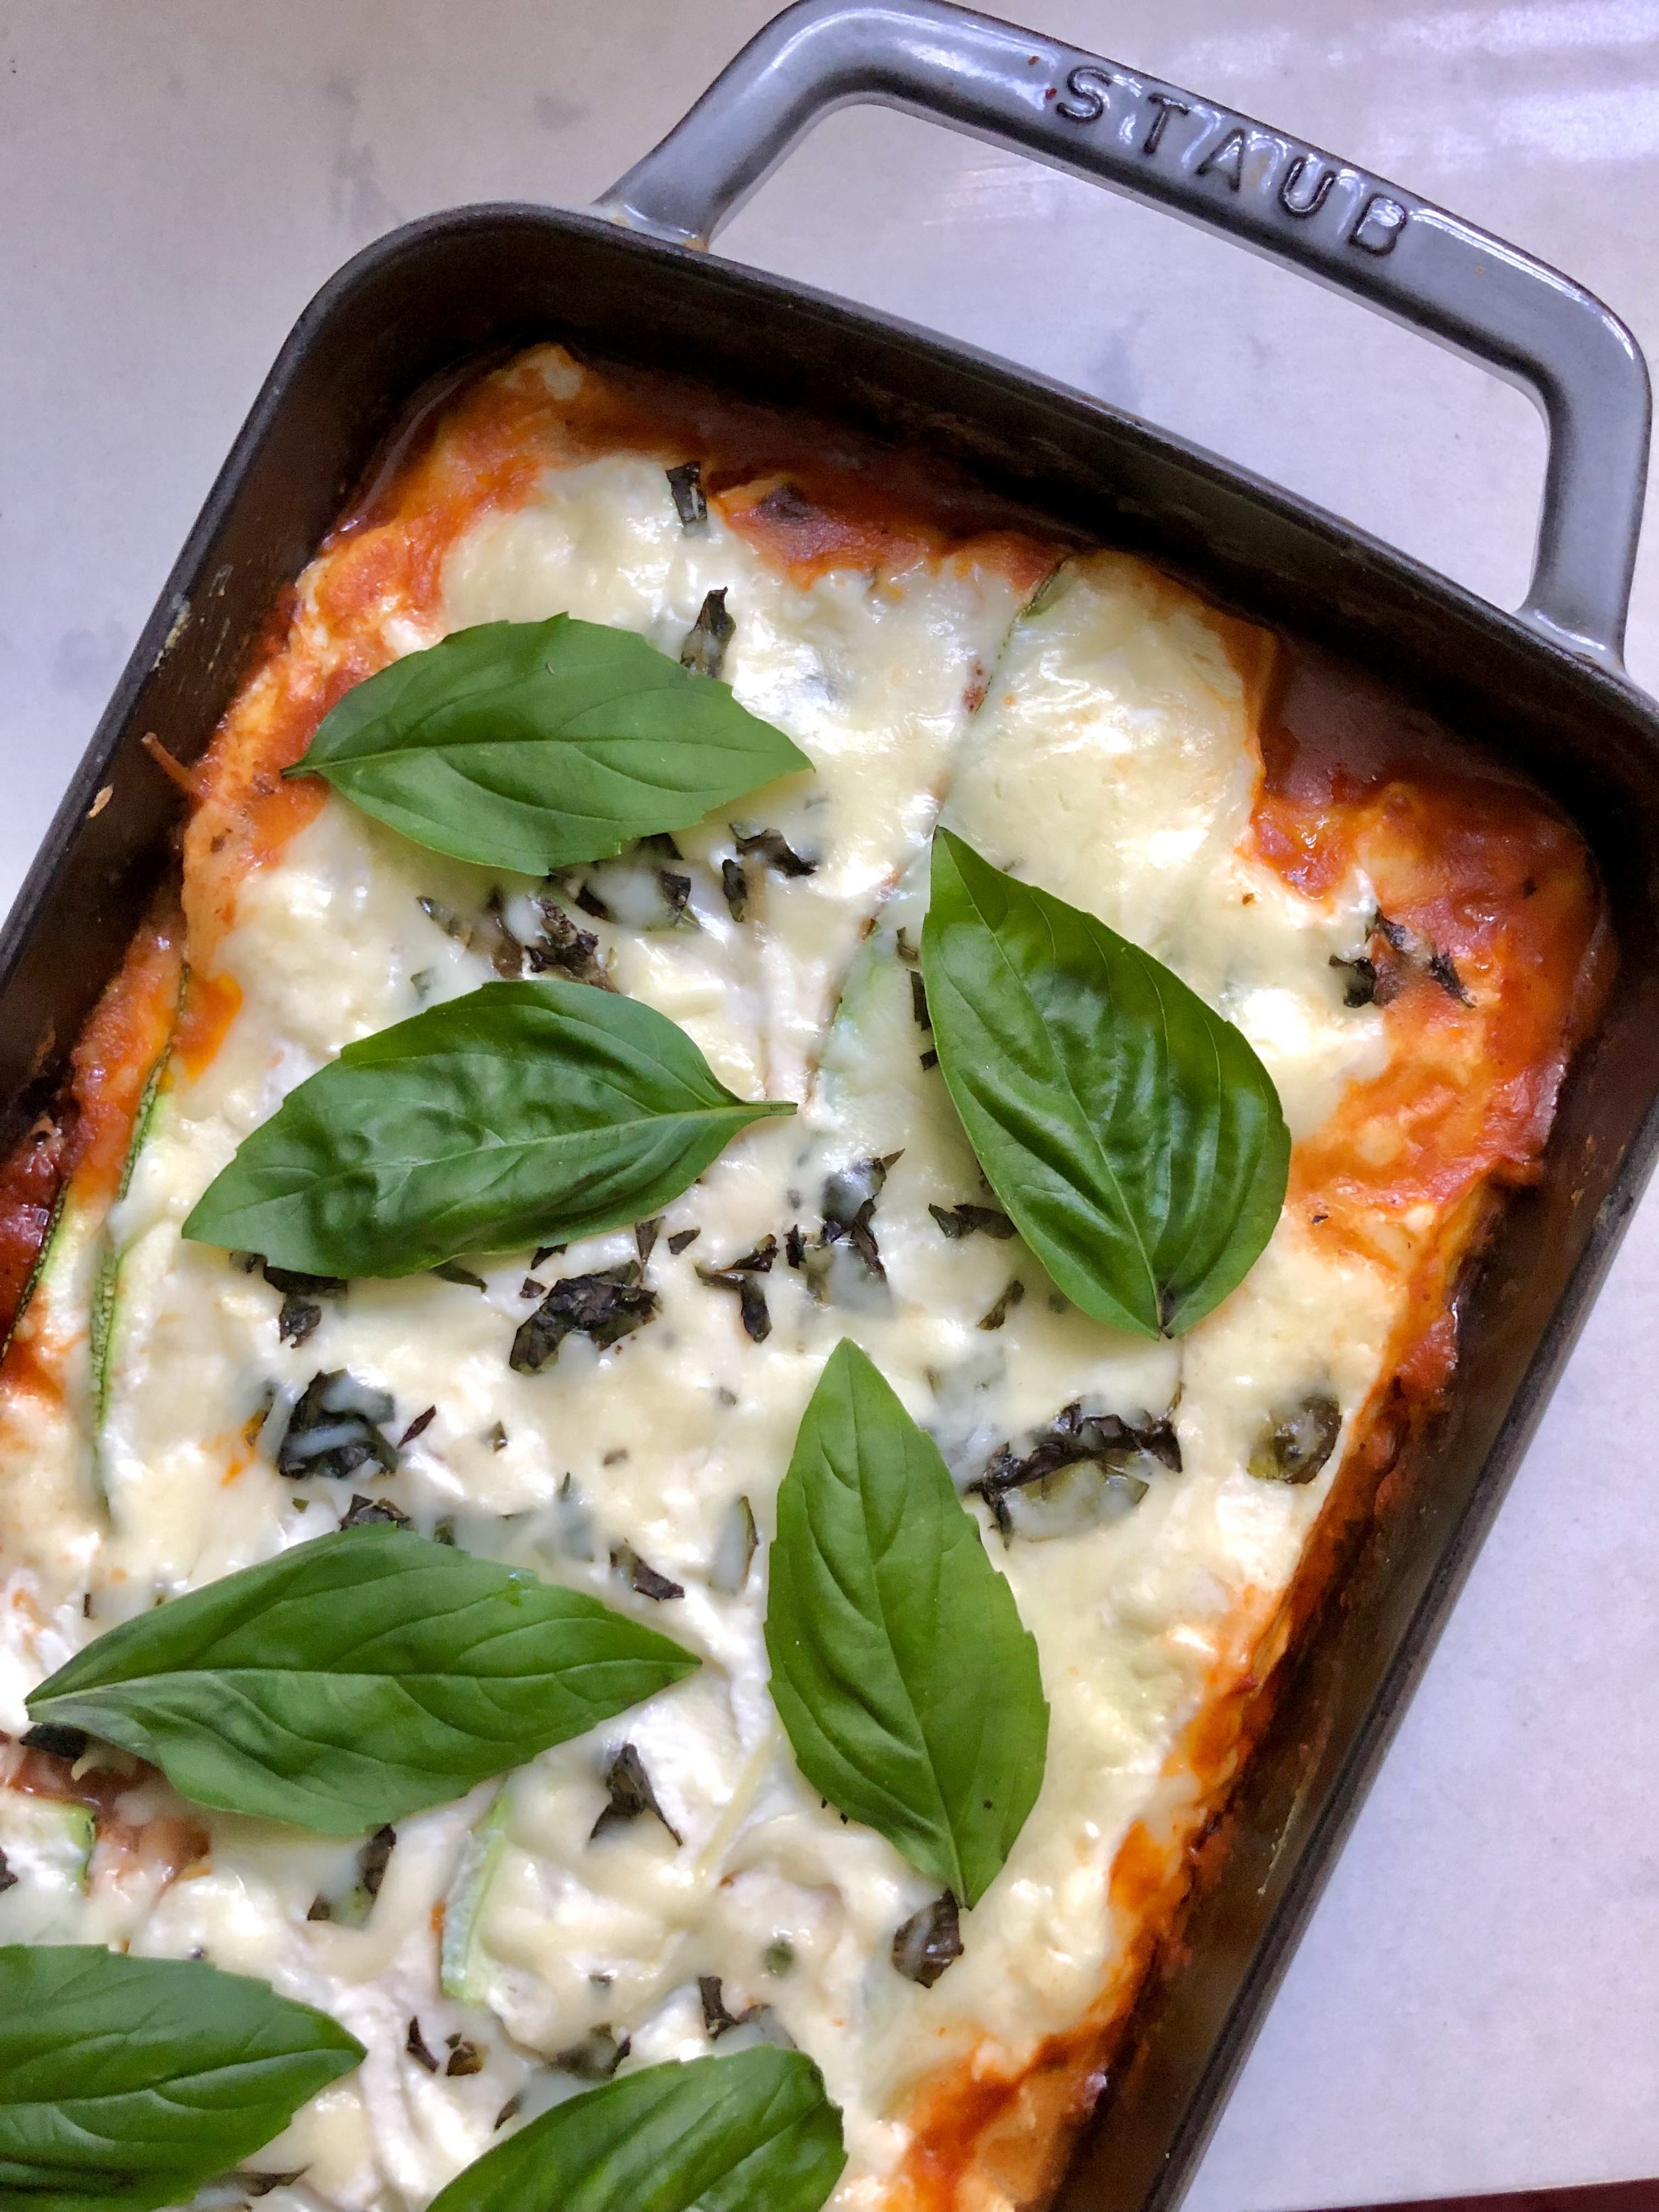
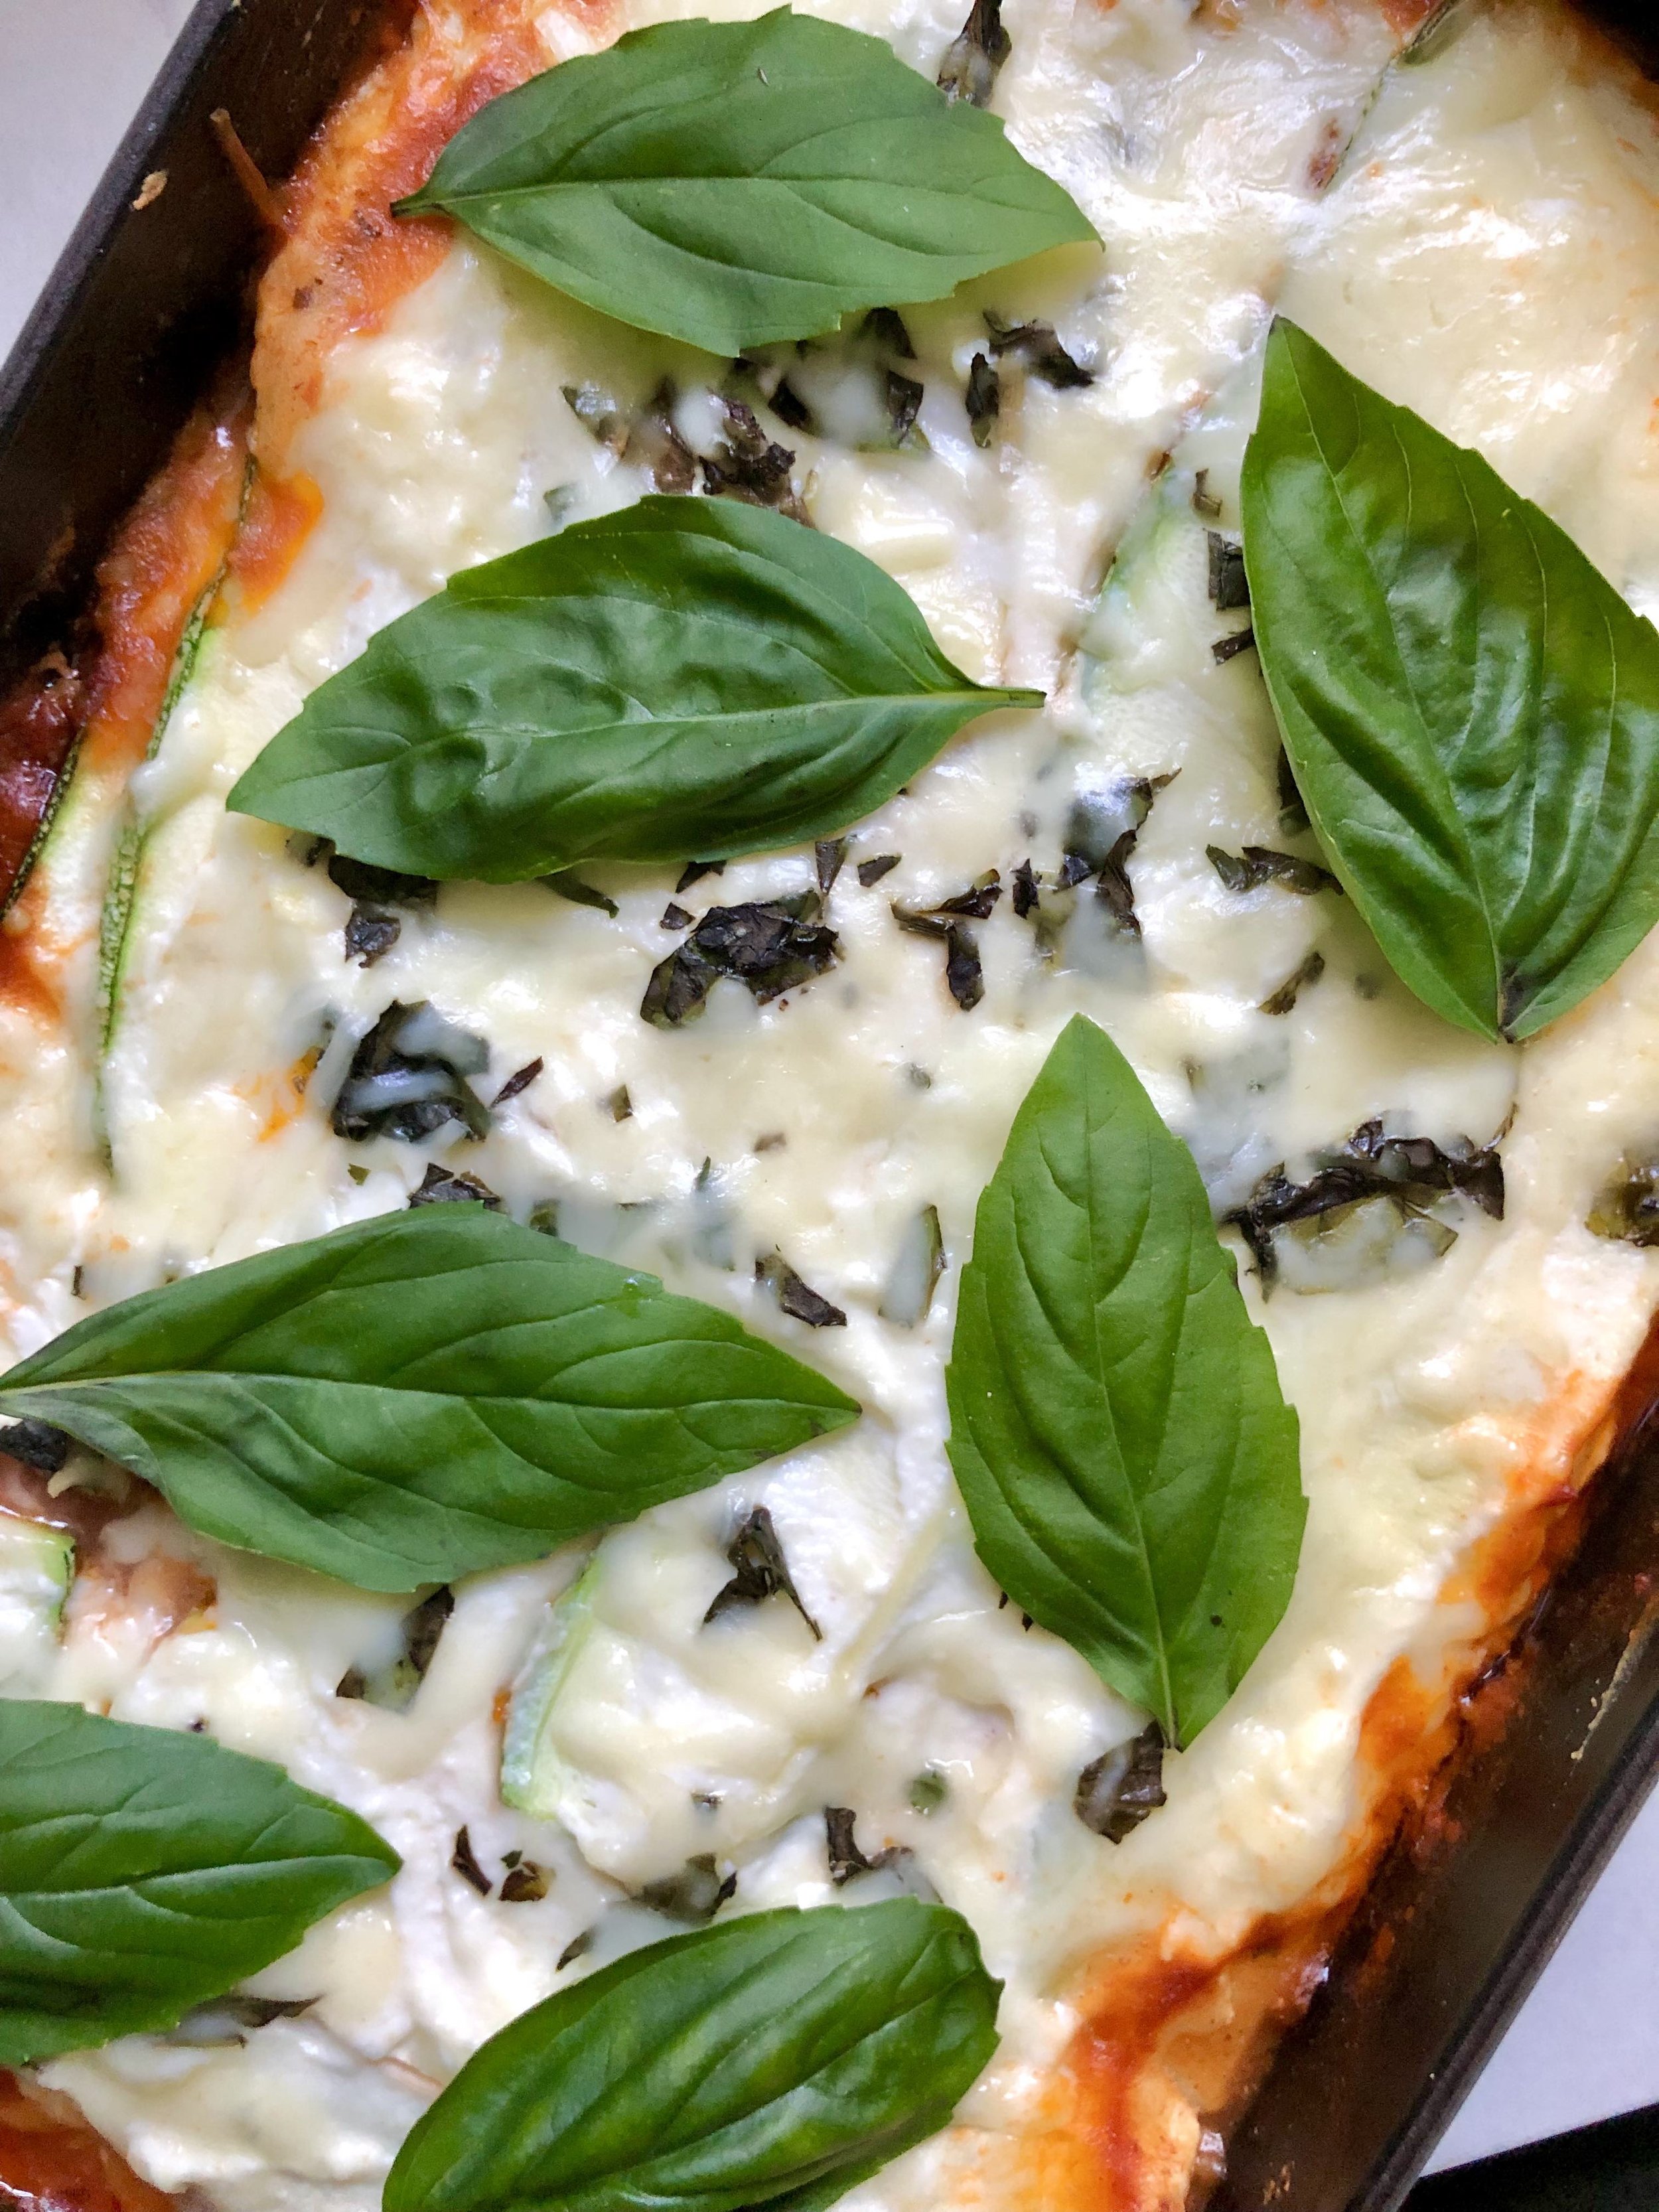
zucchini lasagna

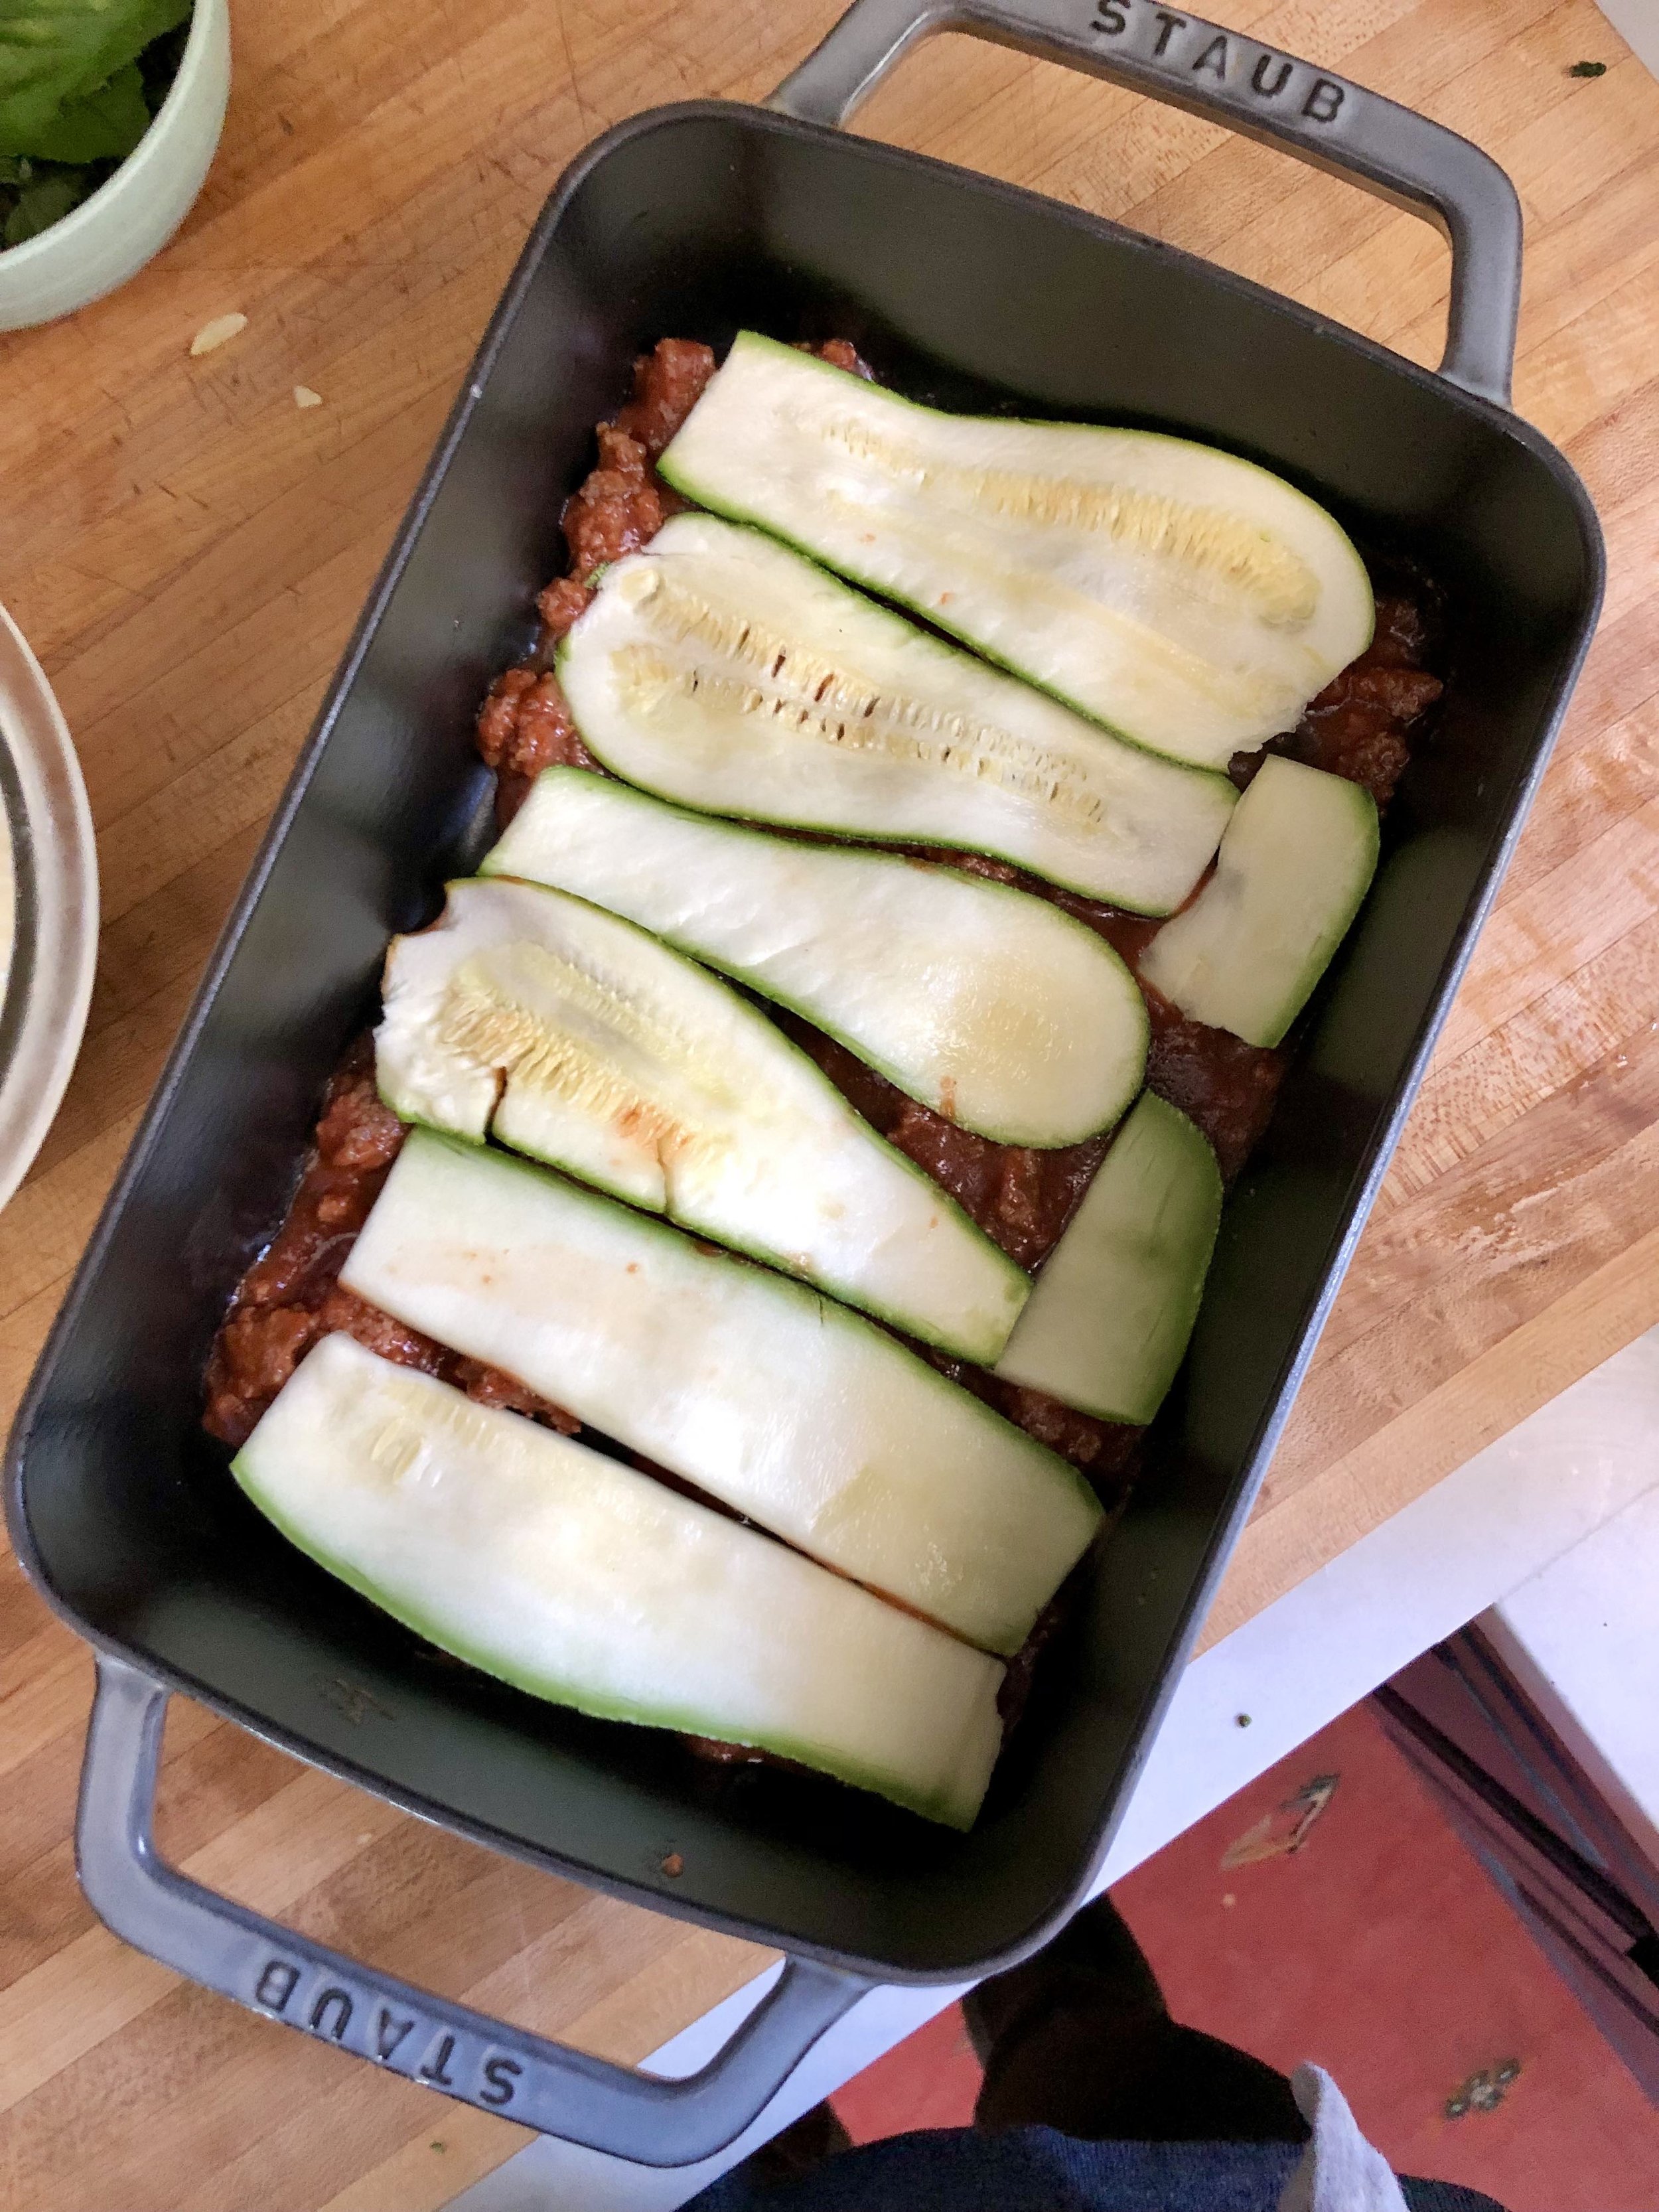
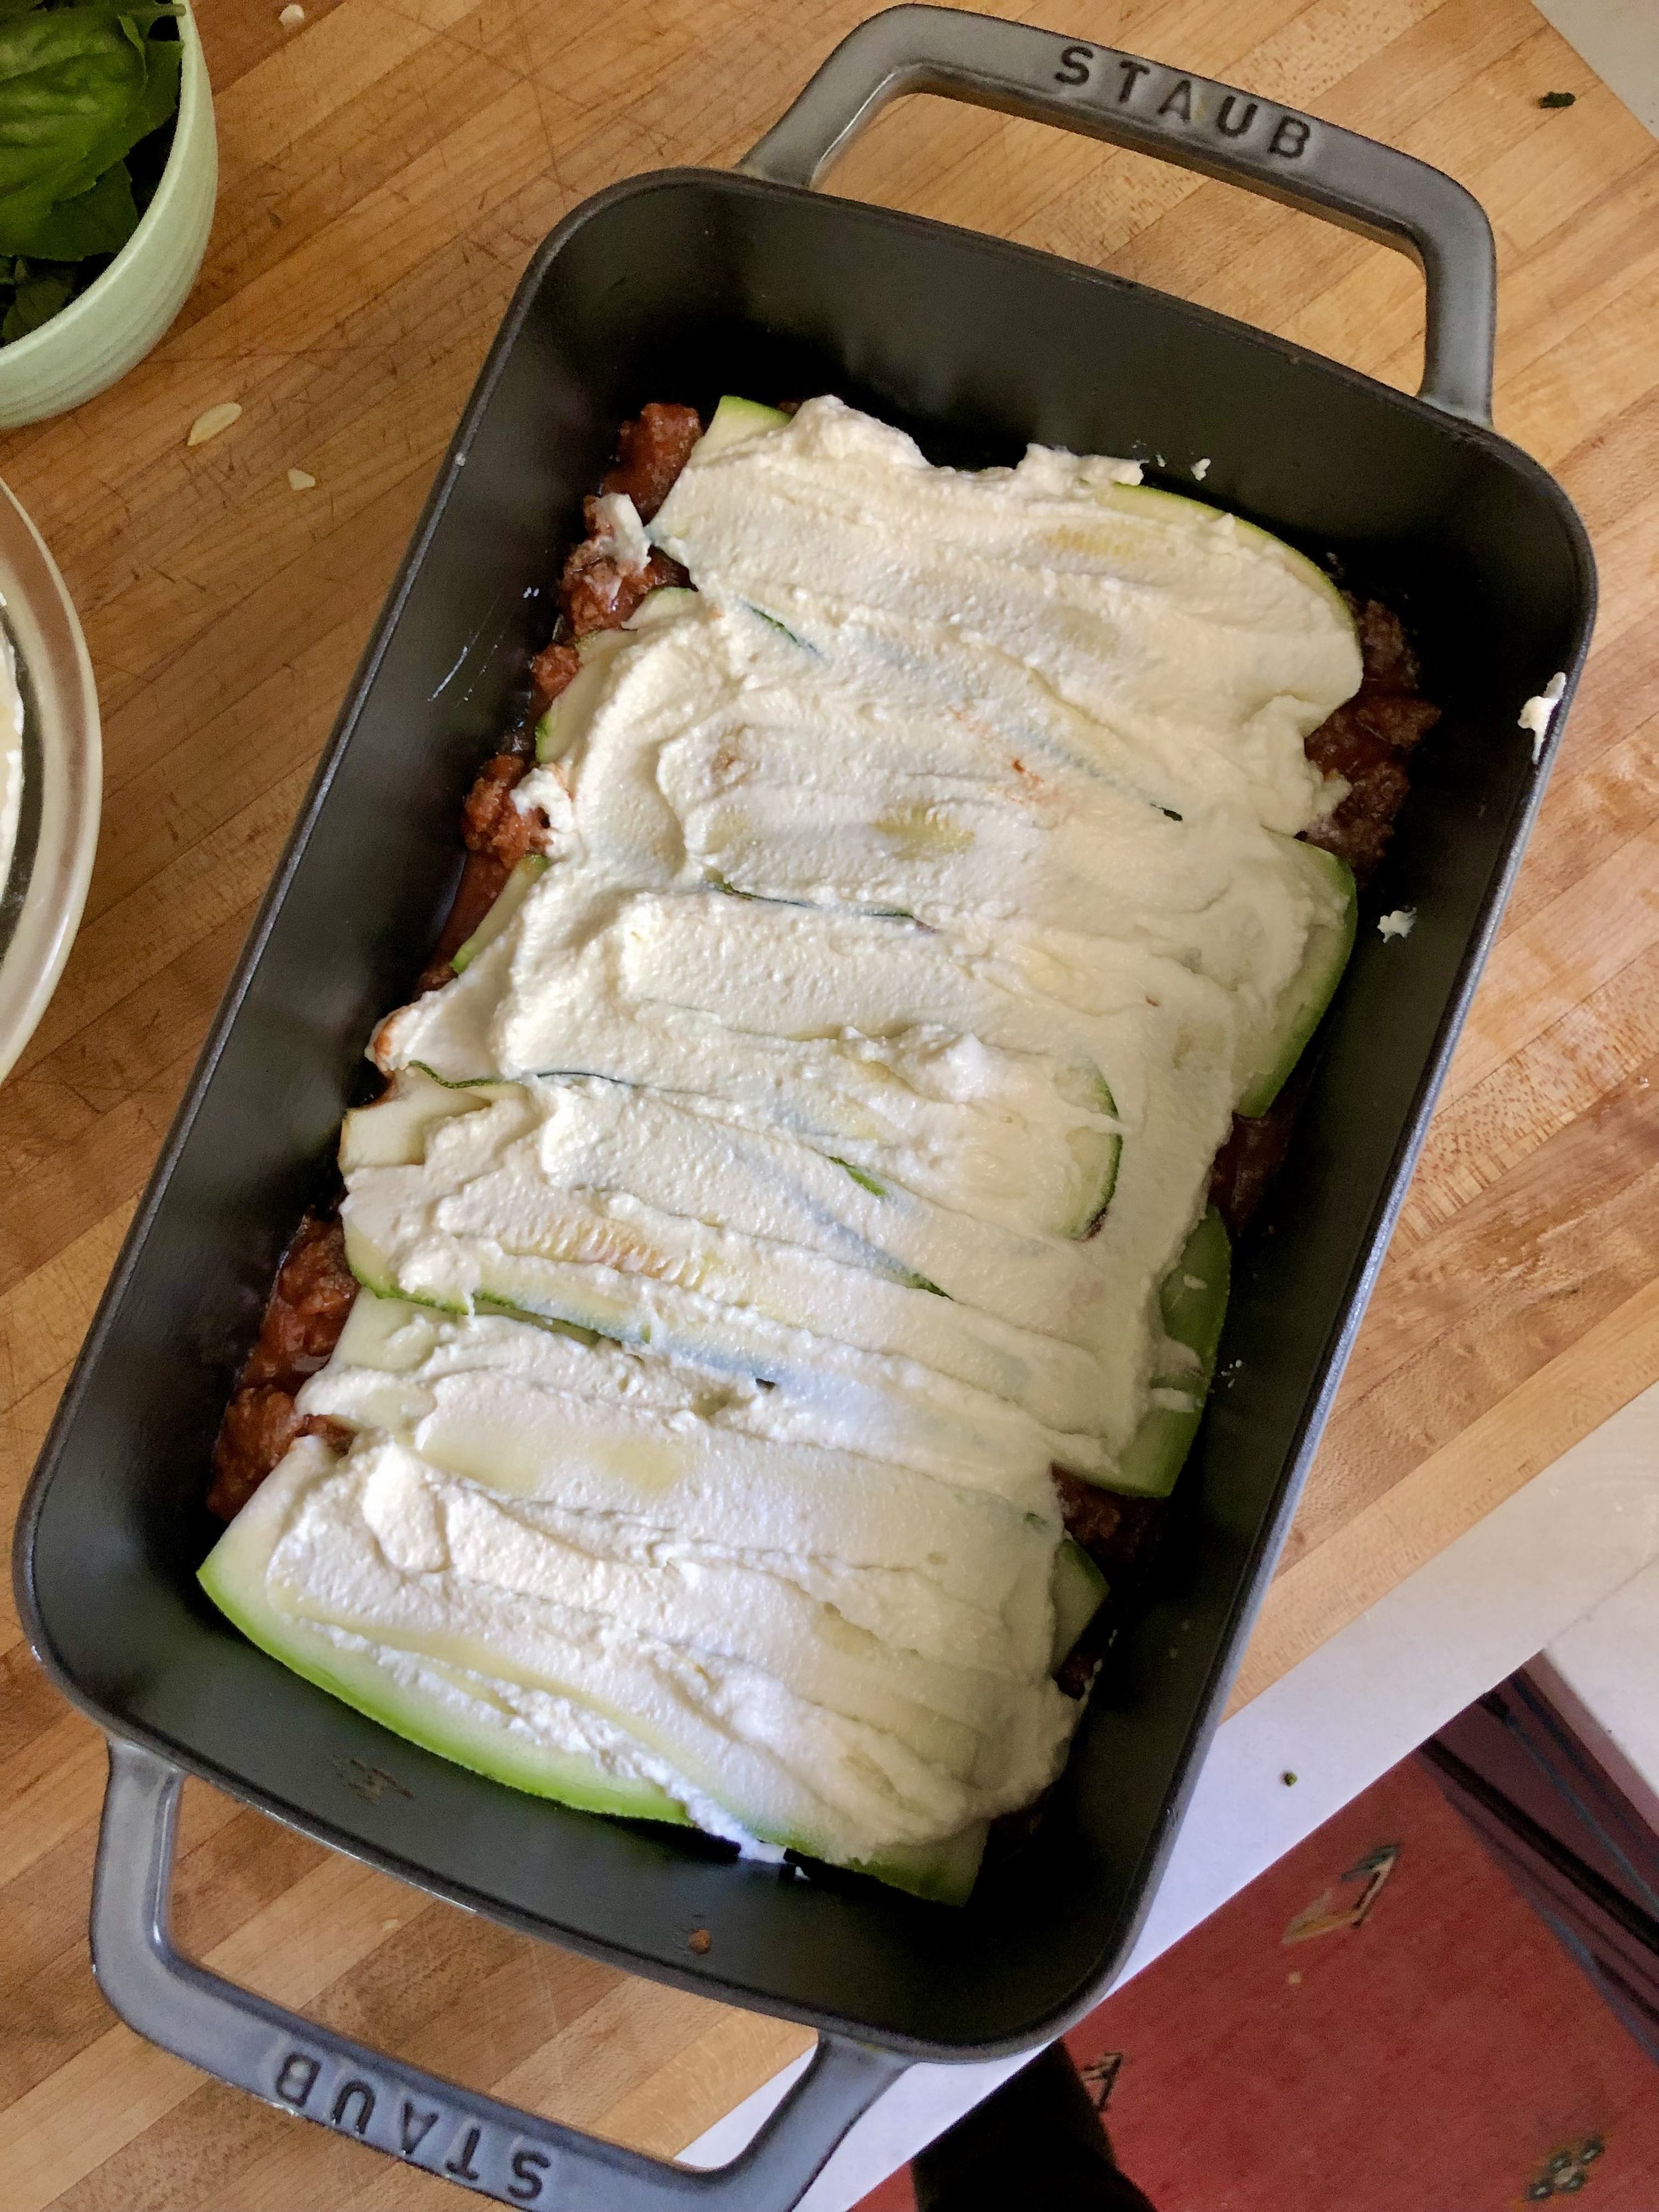
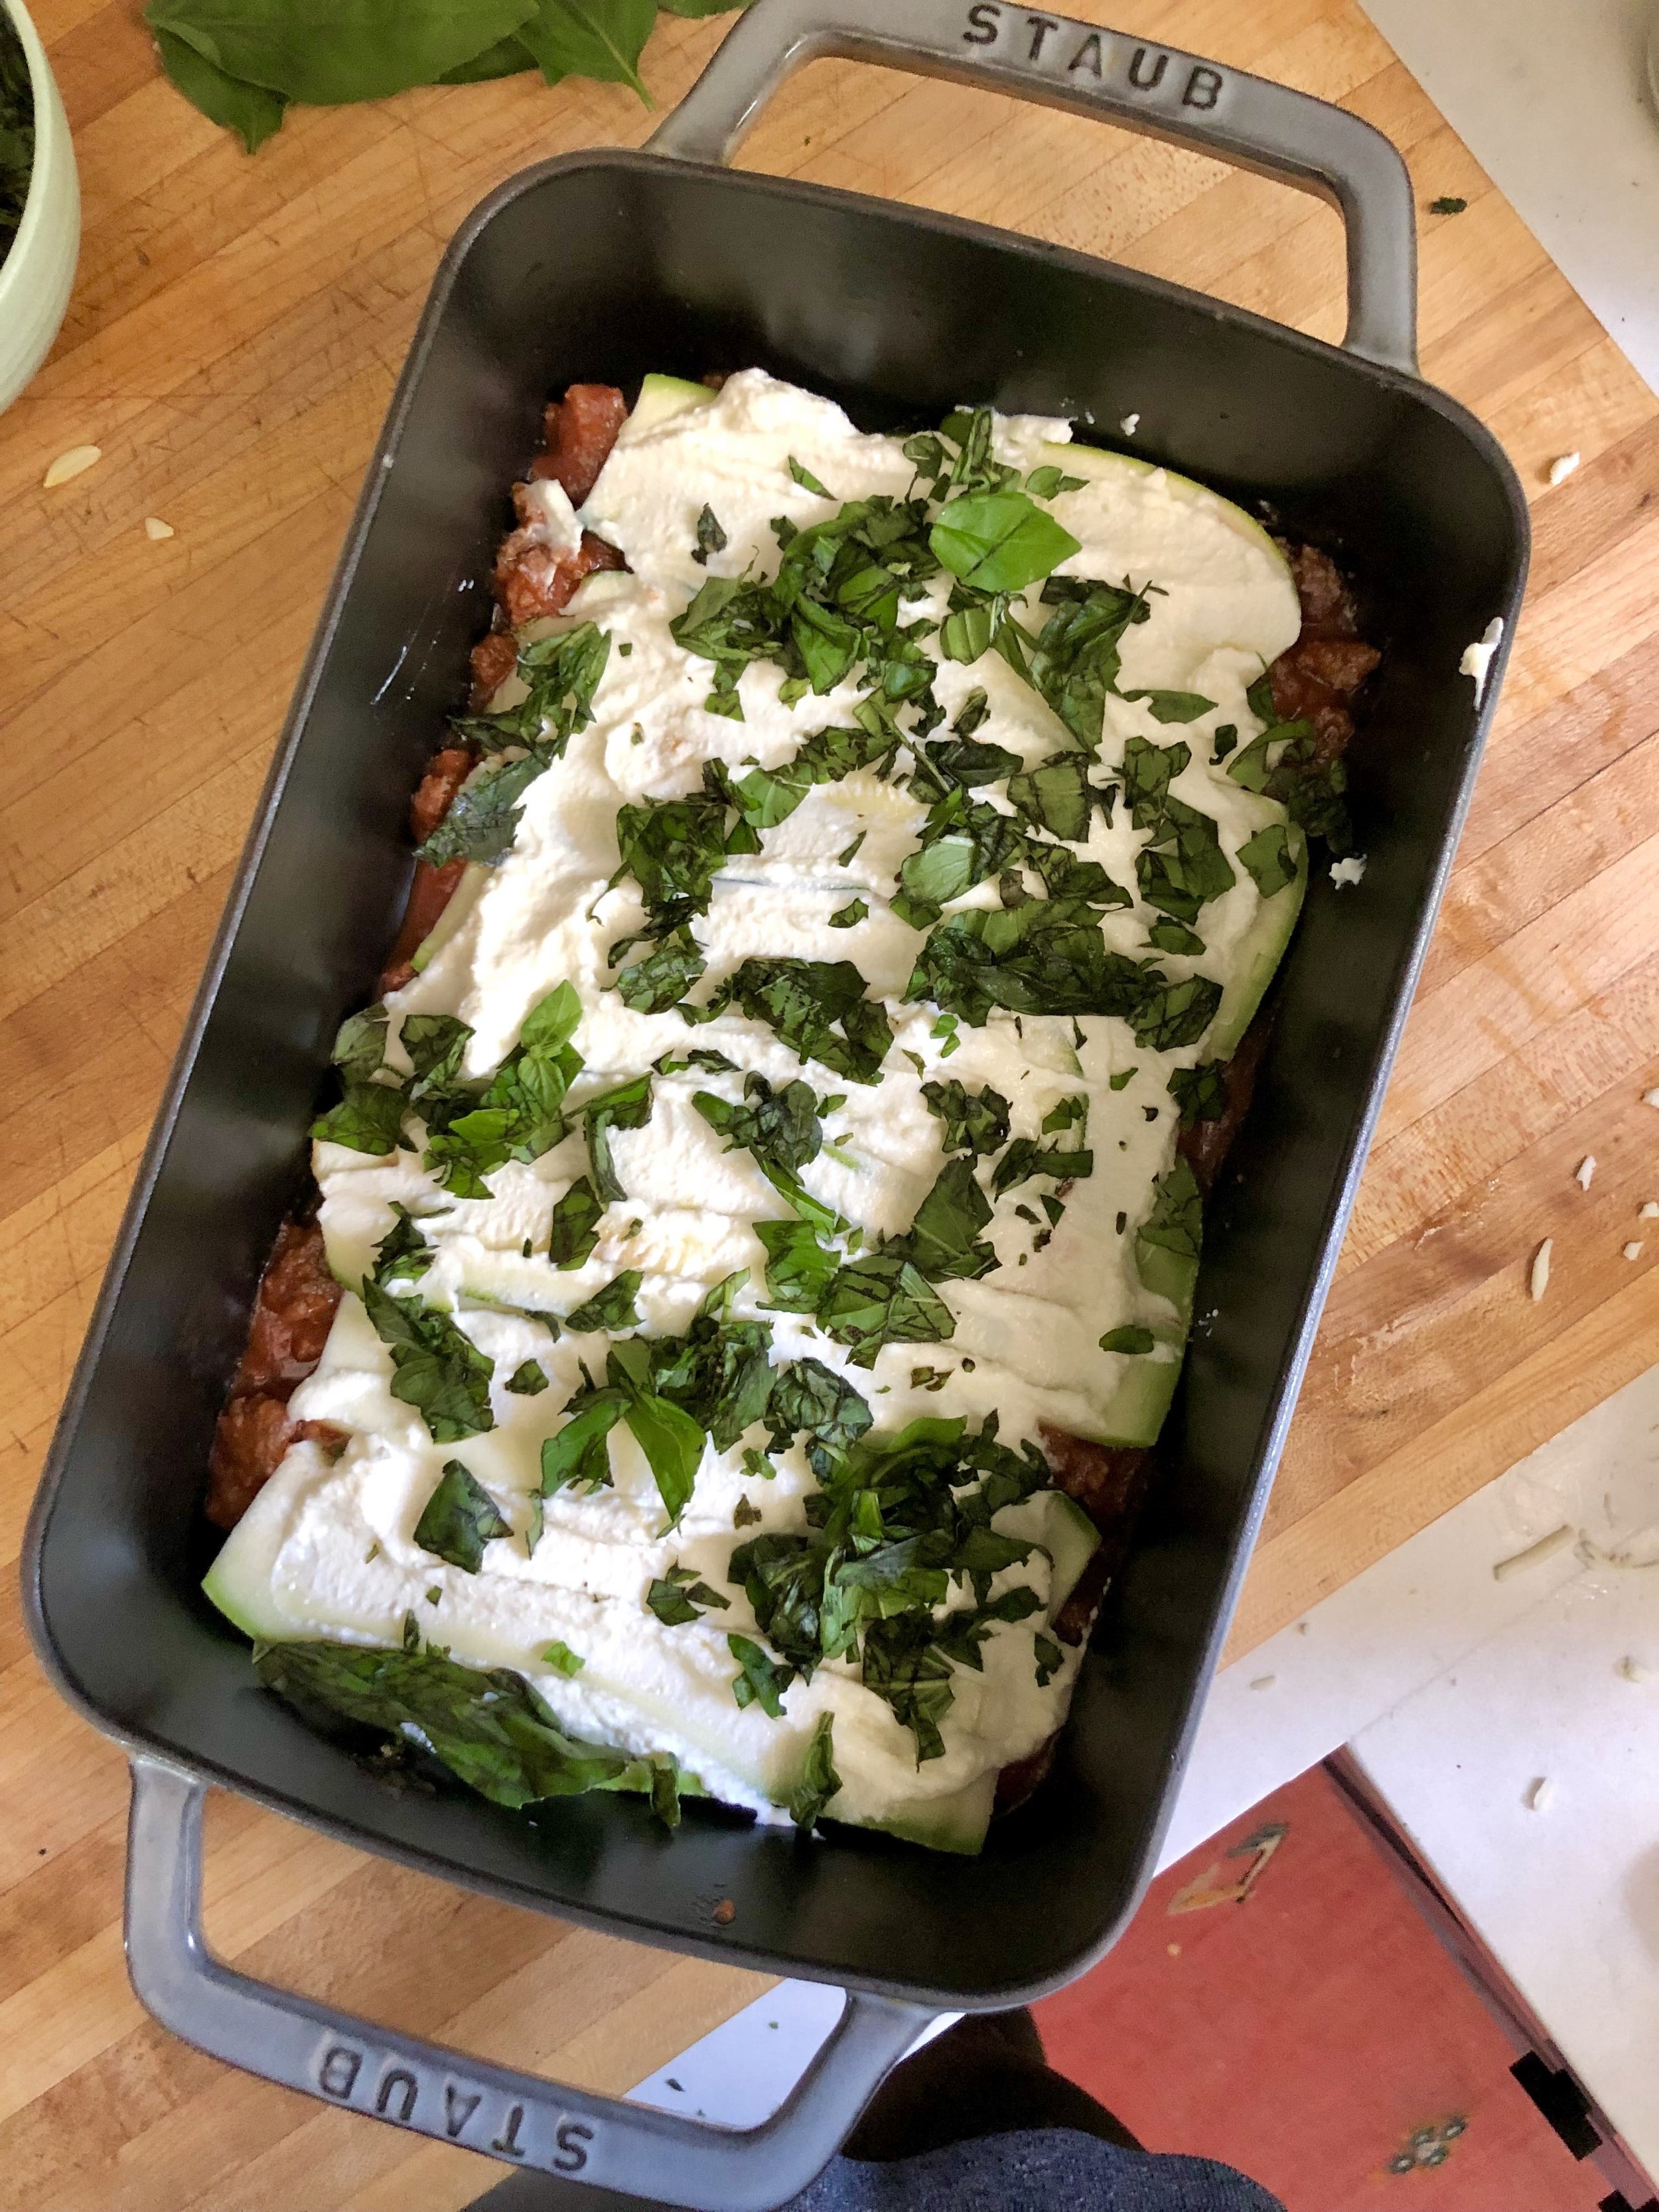
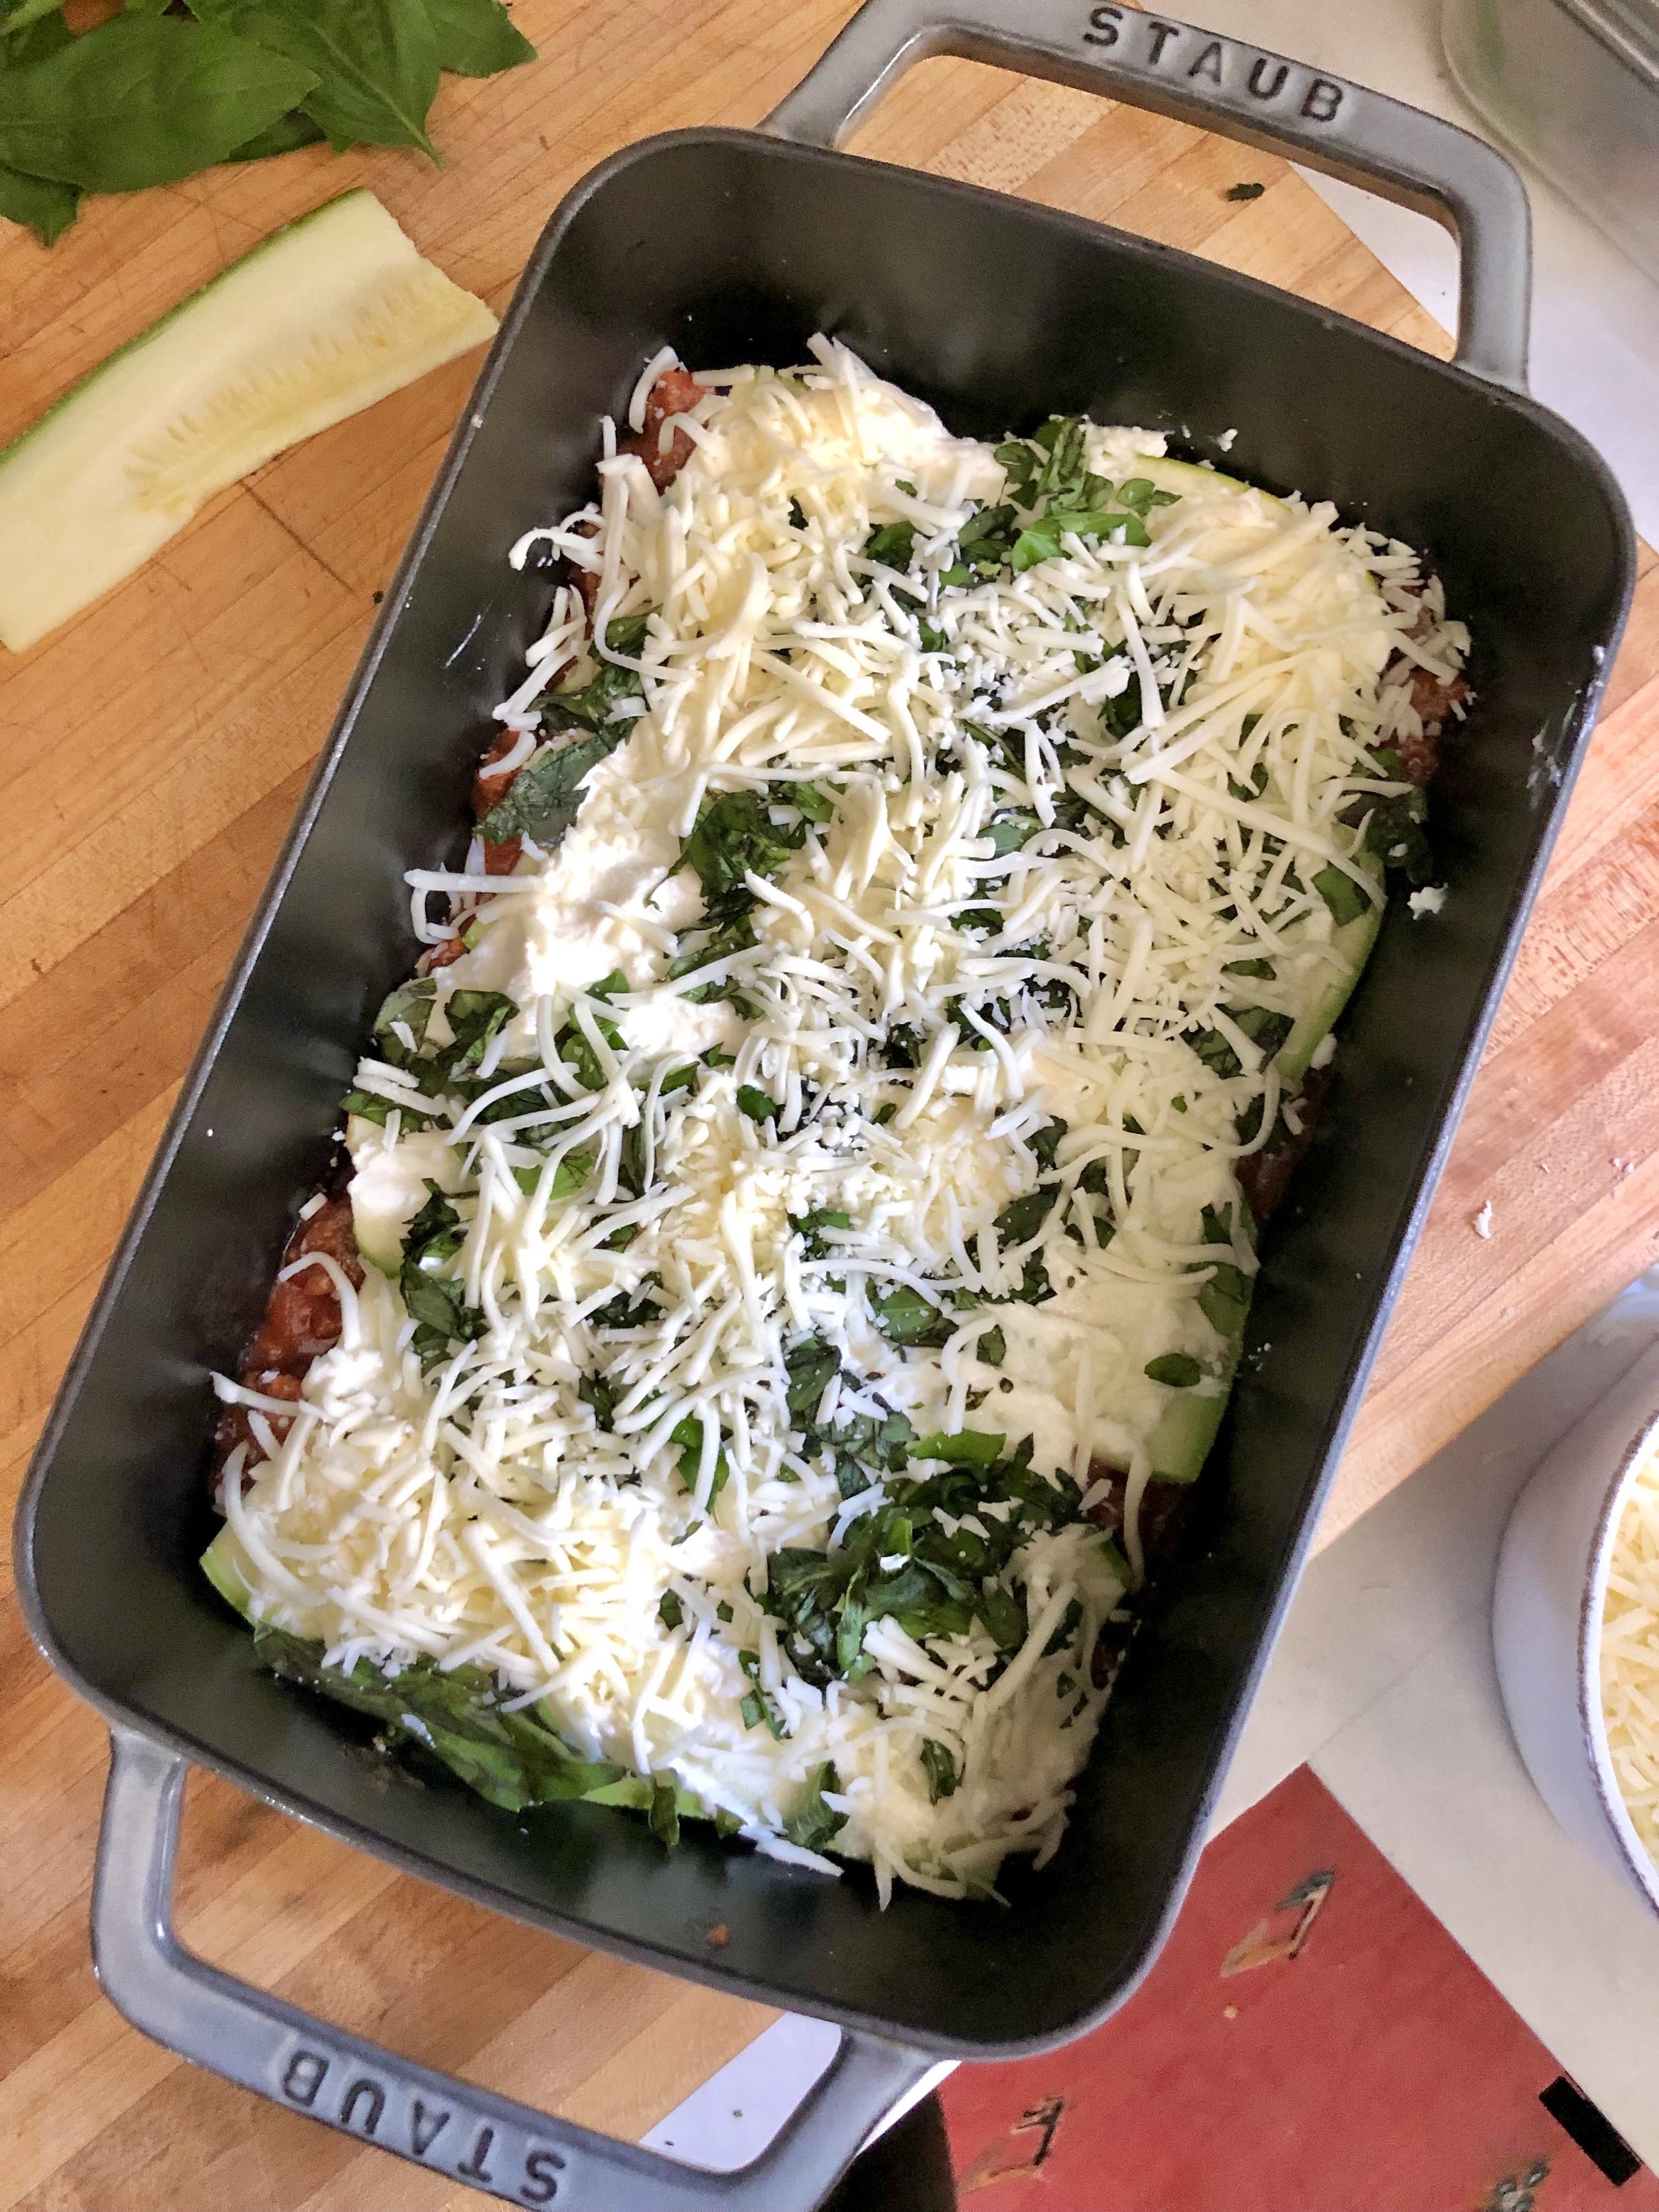
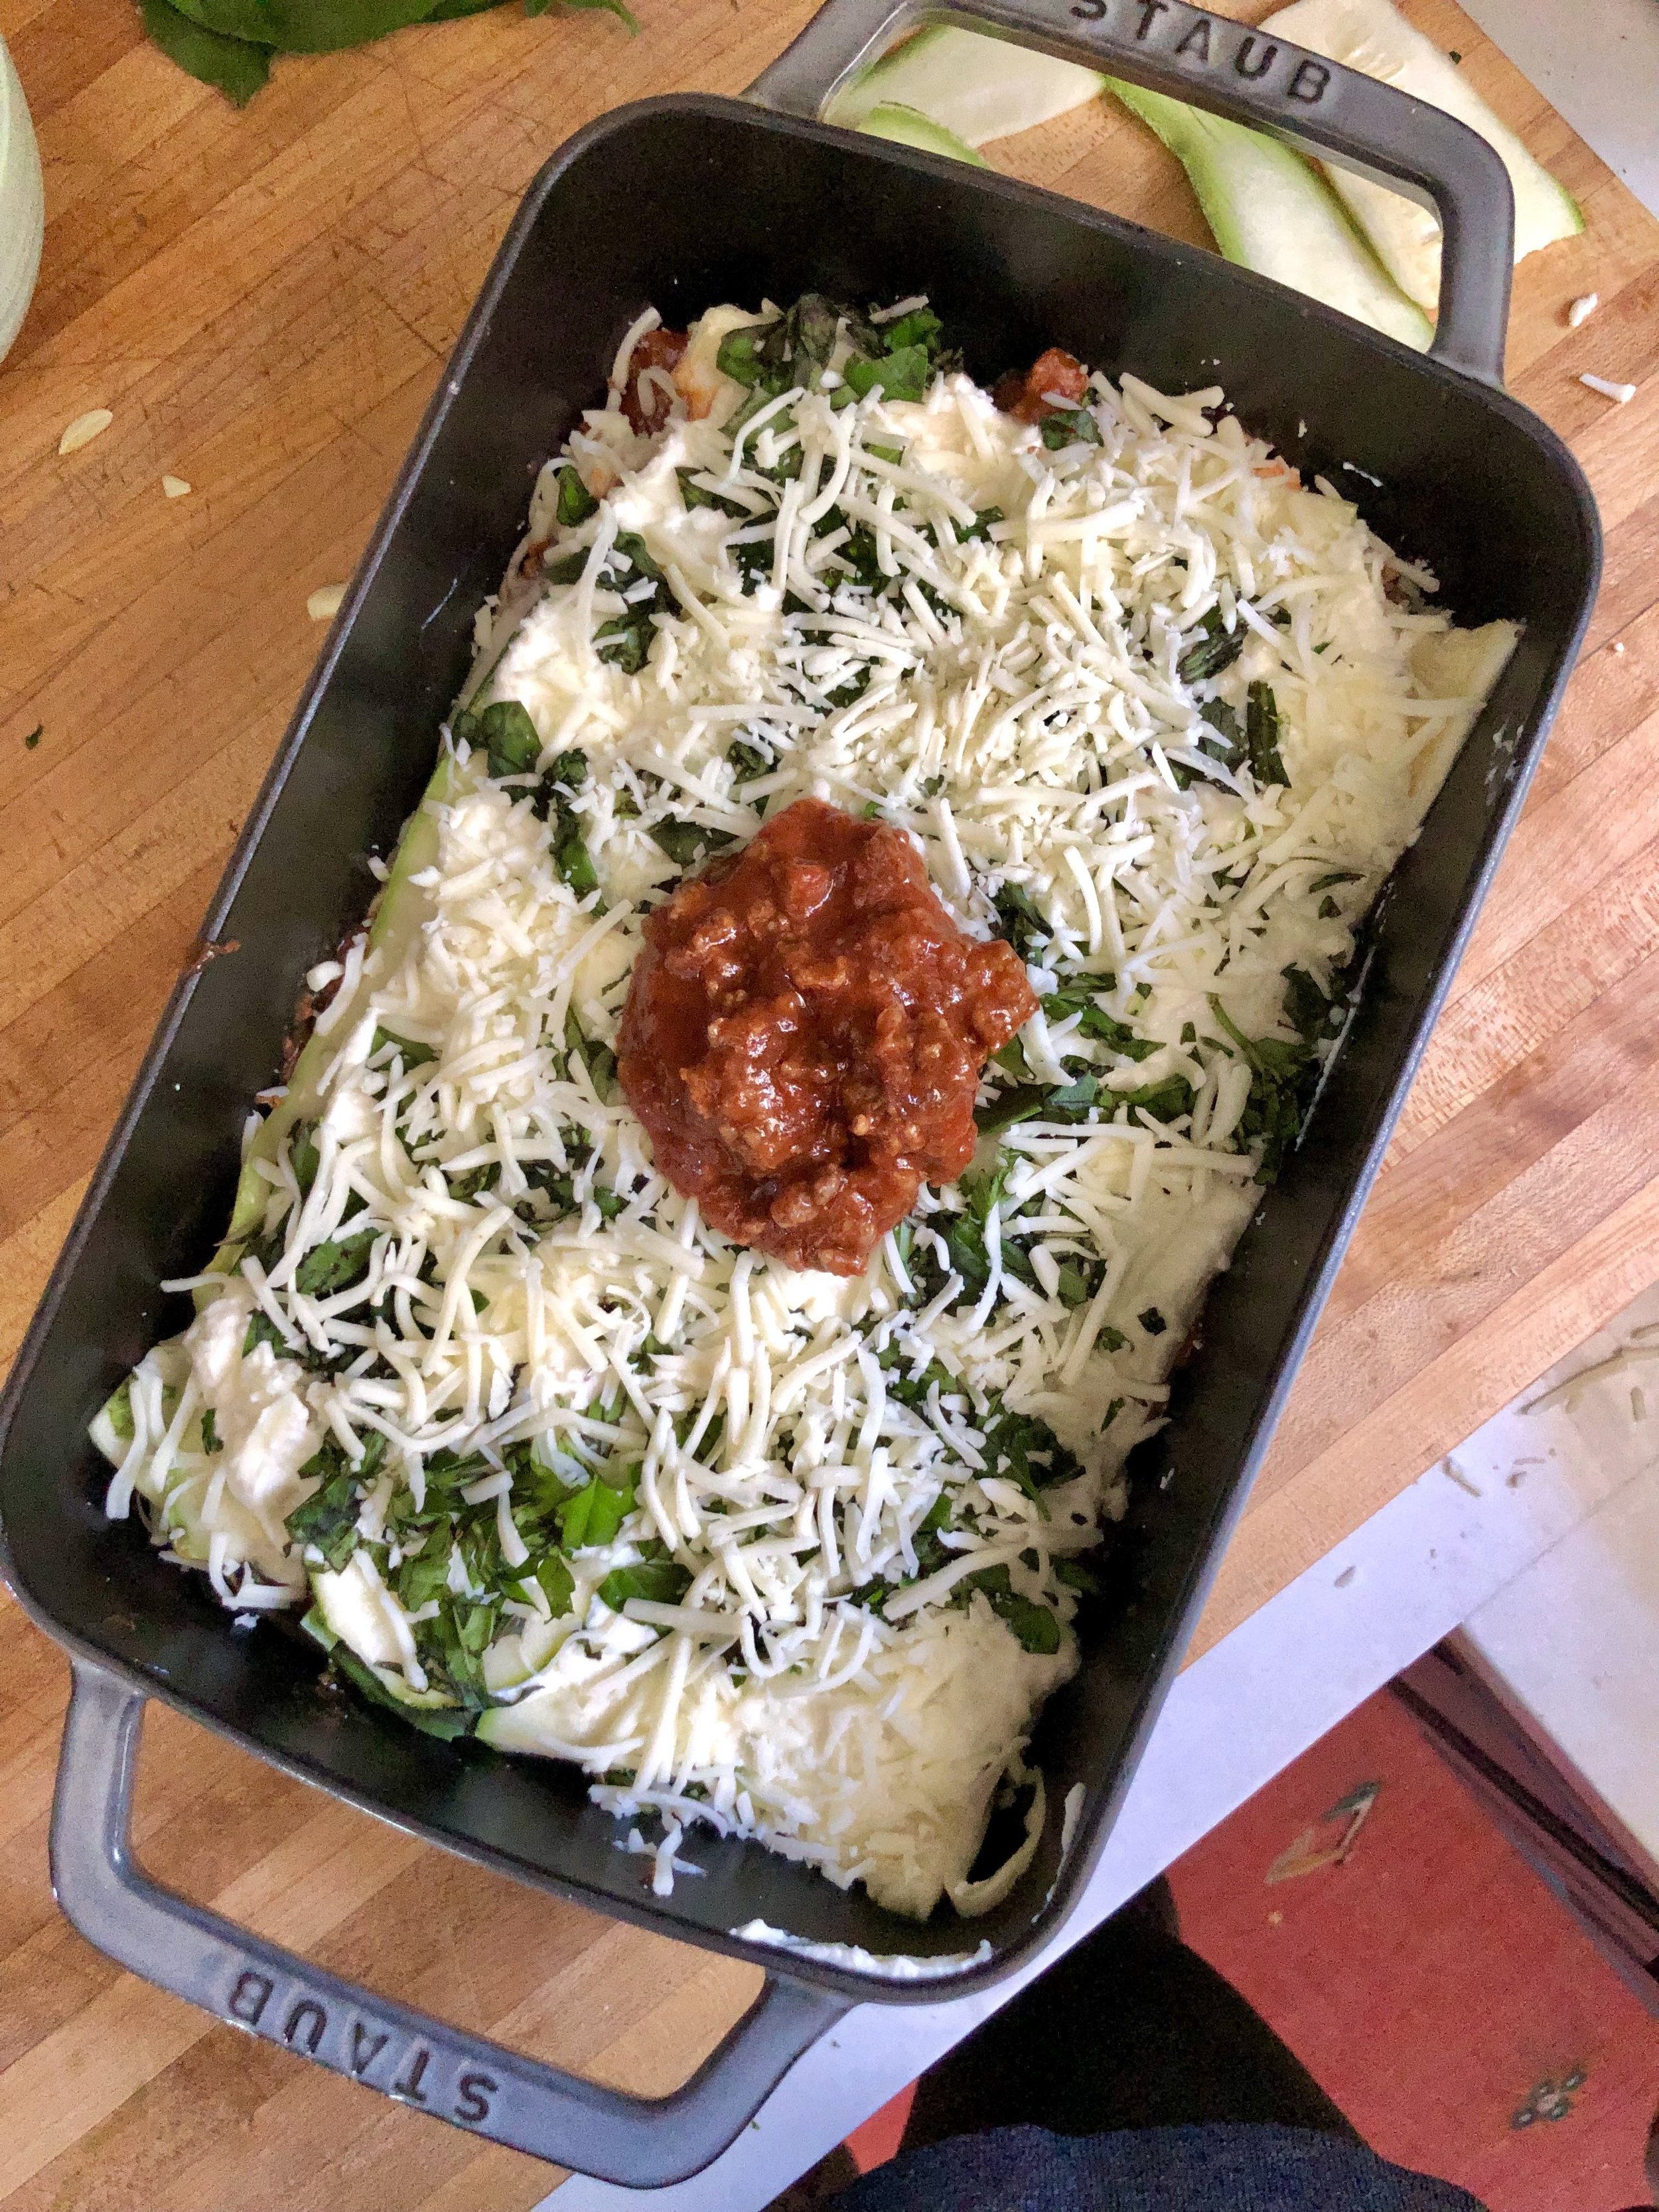
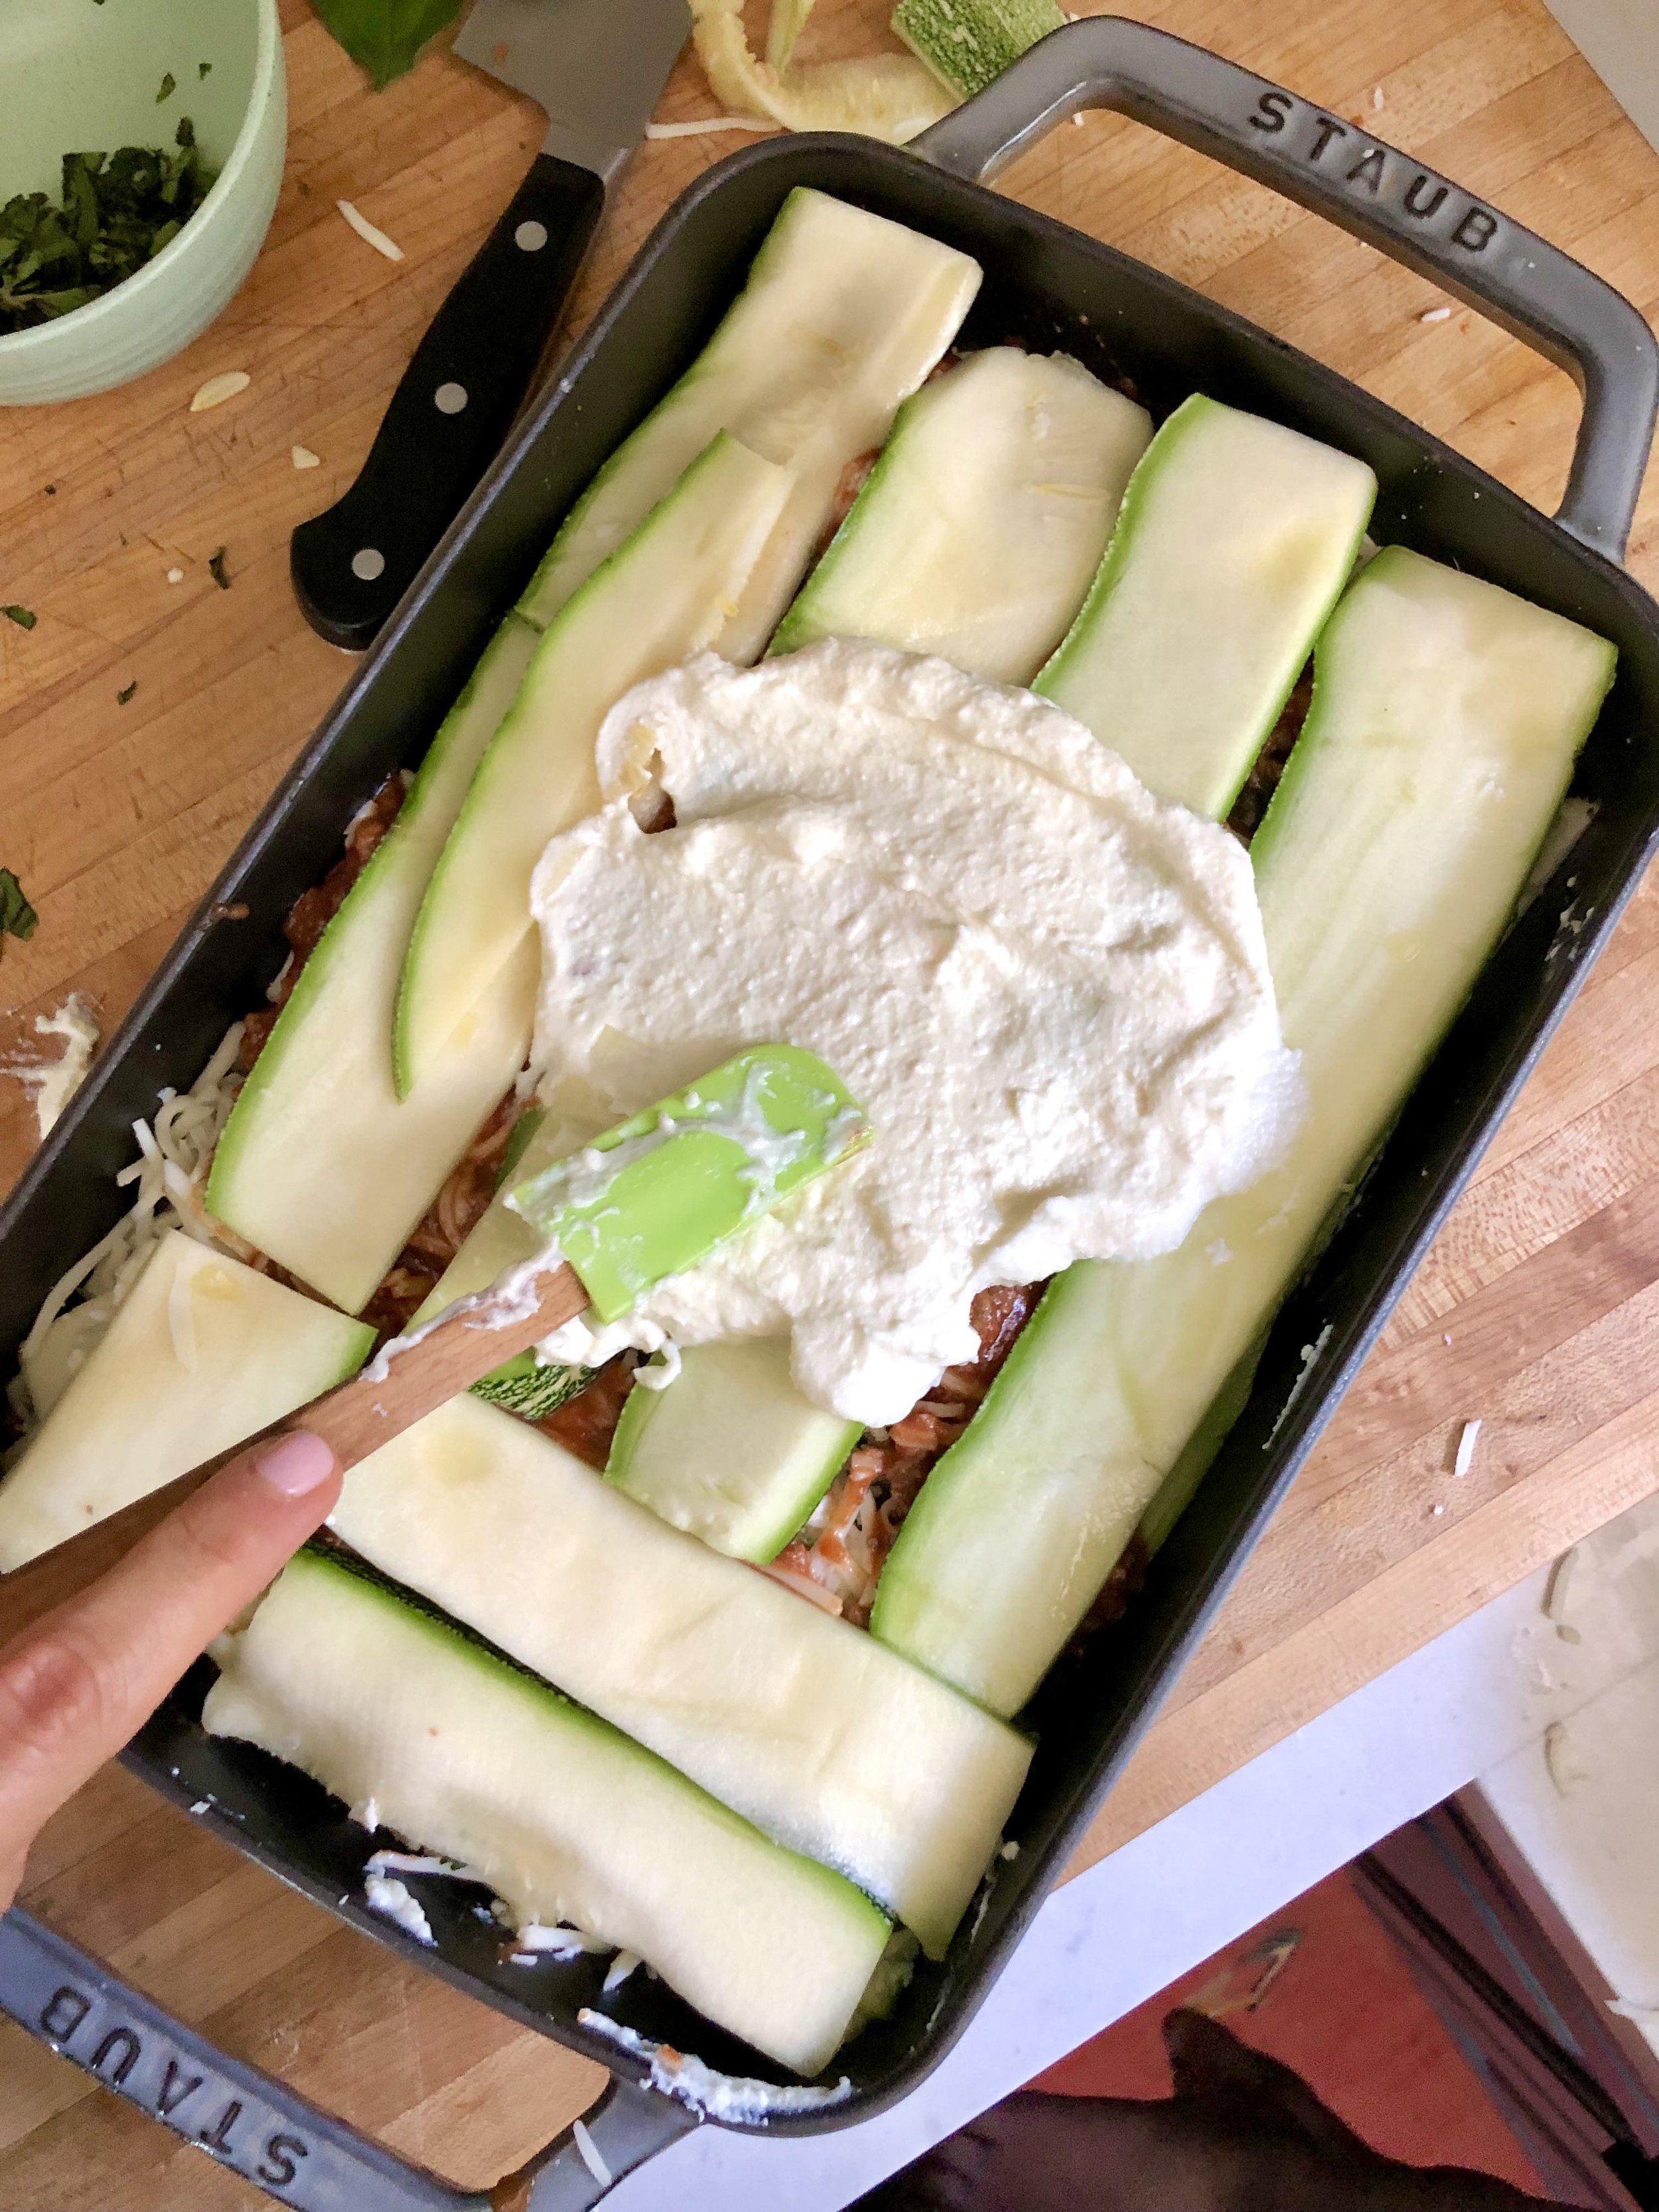
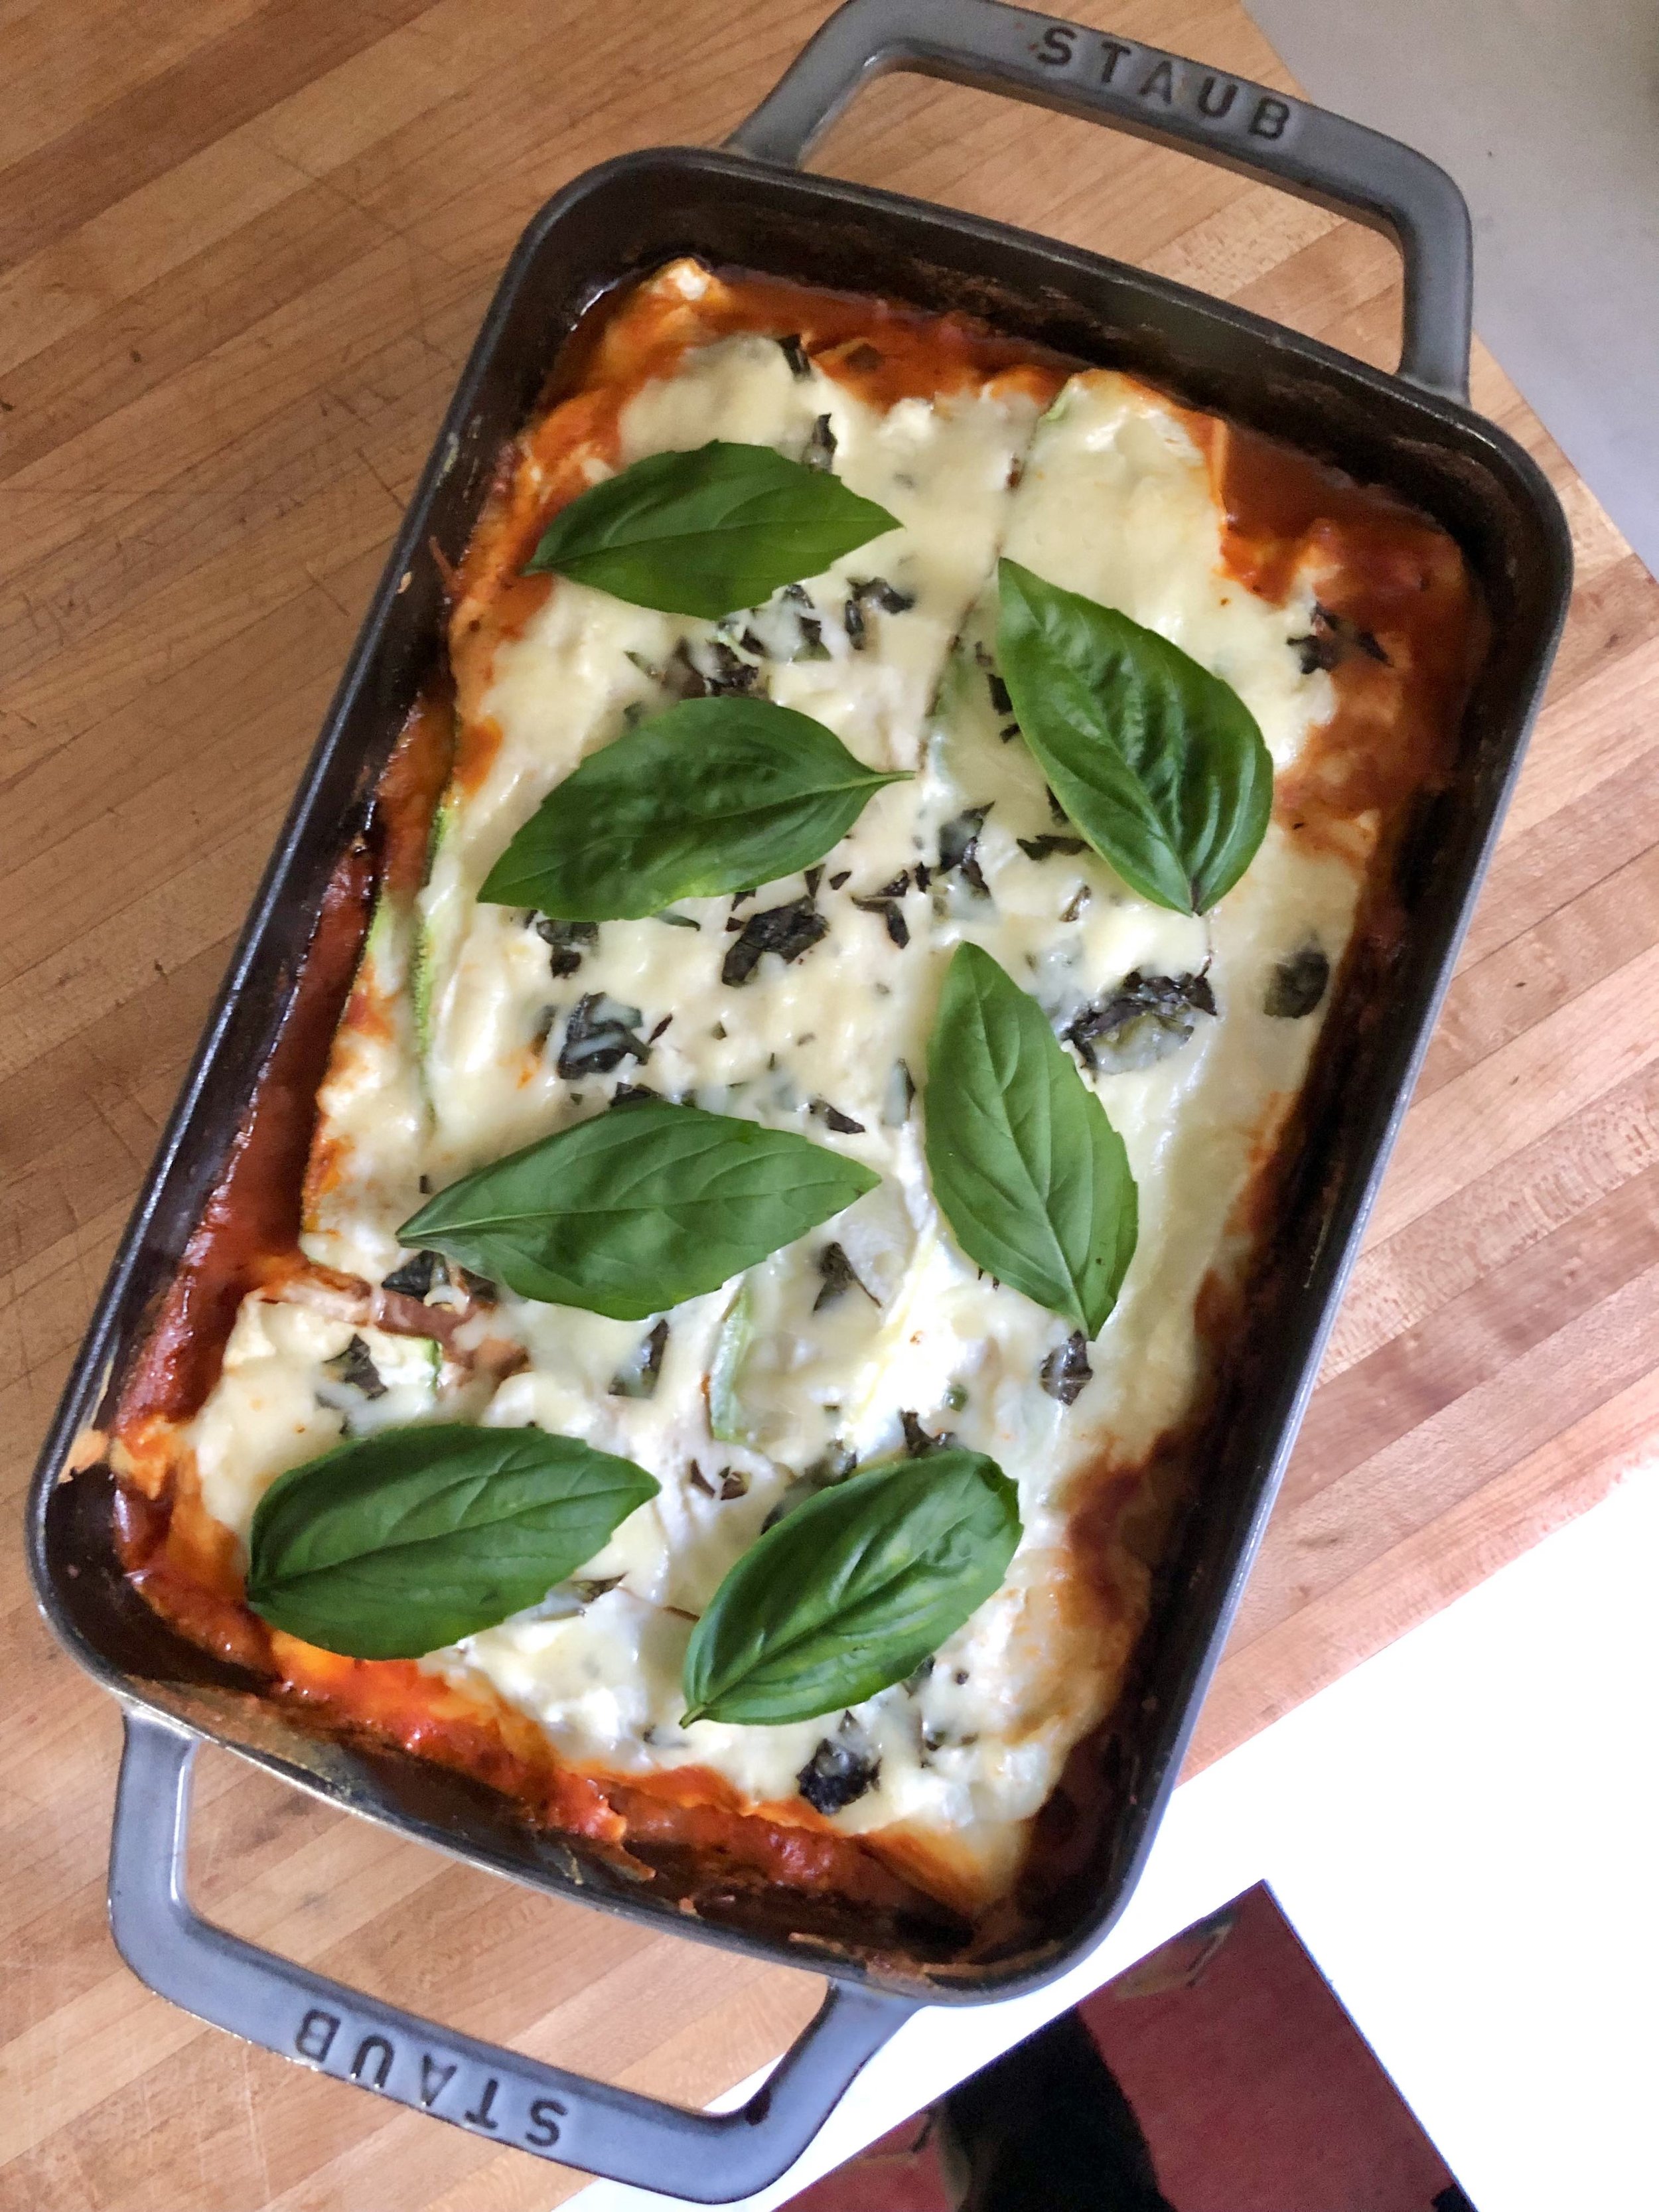
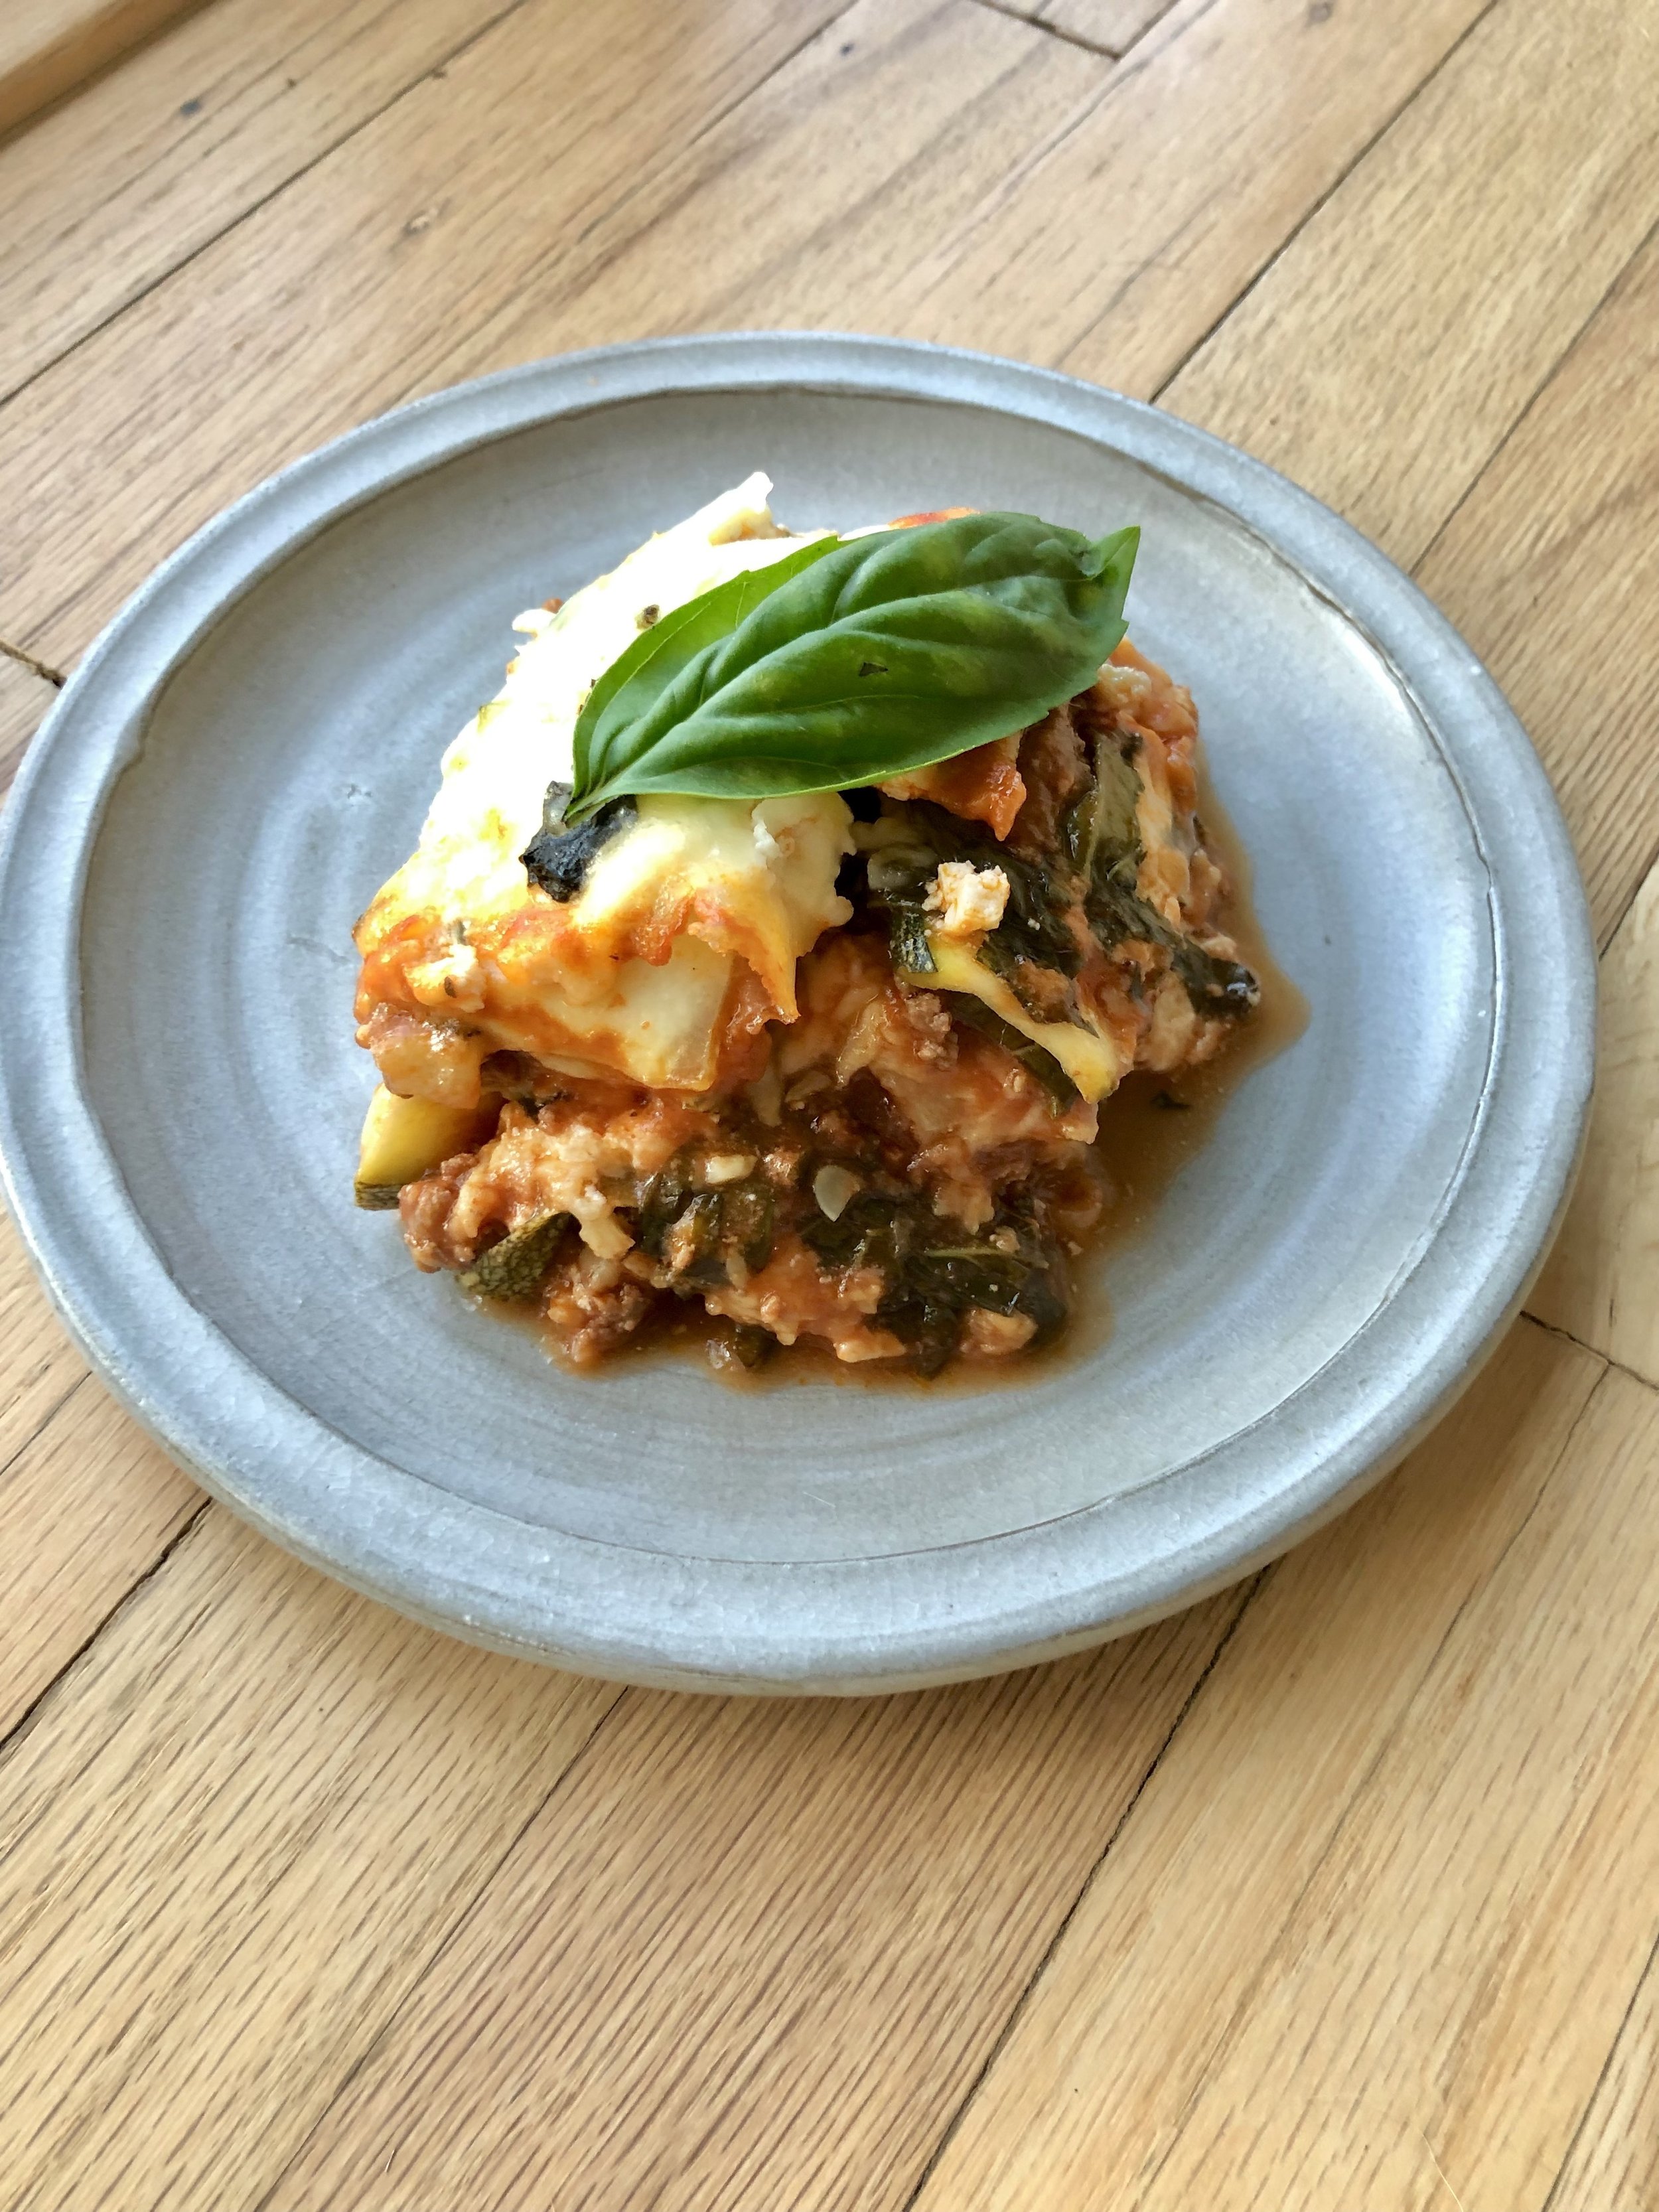
Before zucchini season was over, I just had to share a dish I’ve been making that’s both comforting and healthy. Zucchini lasagna has been pretty popular lately, and the idea is that you use thin slices of zucchini as opposed to pasta noodles. We have nothing against good ol’ pasta in this house- it’s very likely my husband’s favorite thing to cook- but I also love sneaking in extra veggies to our diets whenever I get the chance ;) This lasagna is still packed with homemade or store bought tomato sauce, lots of tasty cheeses, and fresh basil, so it’s super flavorful and delish! One important tip- make sure to salt your zucchini strips and let them set about 15 minutes to draw out moisture. Blot them dry before layering them into your dish as this will ensure you don’t end up with a soggy lasagna mess, but rather nicely cooked zucchini “noodles”! Enjoy!

Zucchini Lasagna:

  • 4 large zucchini, sliced thin lengthwise

  • 1 pound ground beef or pork (omit for vegetarian option)

  • 1 yellow onion, diced

  • 2 cloves garlic, minced

  • 2 28 oz cans San Marzano tomatoes (alternatively use store-bought pasta sauce)

  • 1 6oz can tomato paste

  • 1 tsp dried oregano

  • 1/2 cup red wine, optional

  • 15 oz ricotta cheese, whole milk or part skim

  • 1 large egg

  • 2 cups grated mozzarella cheese

  • 1-2 bunches fresh basil, chopped (leave some whole leaves for garnish)

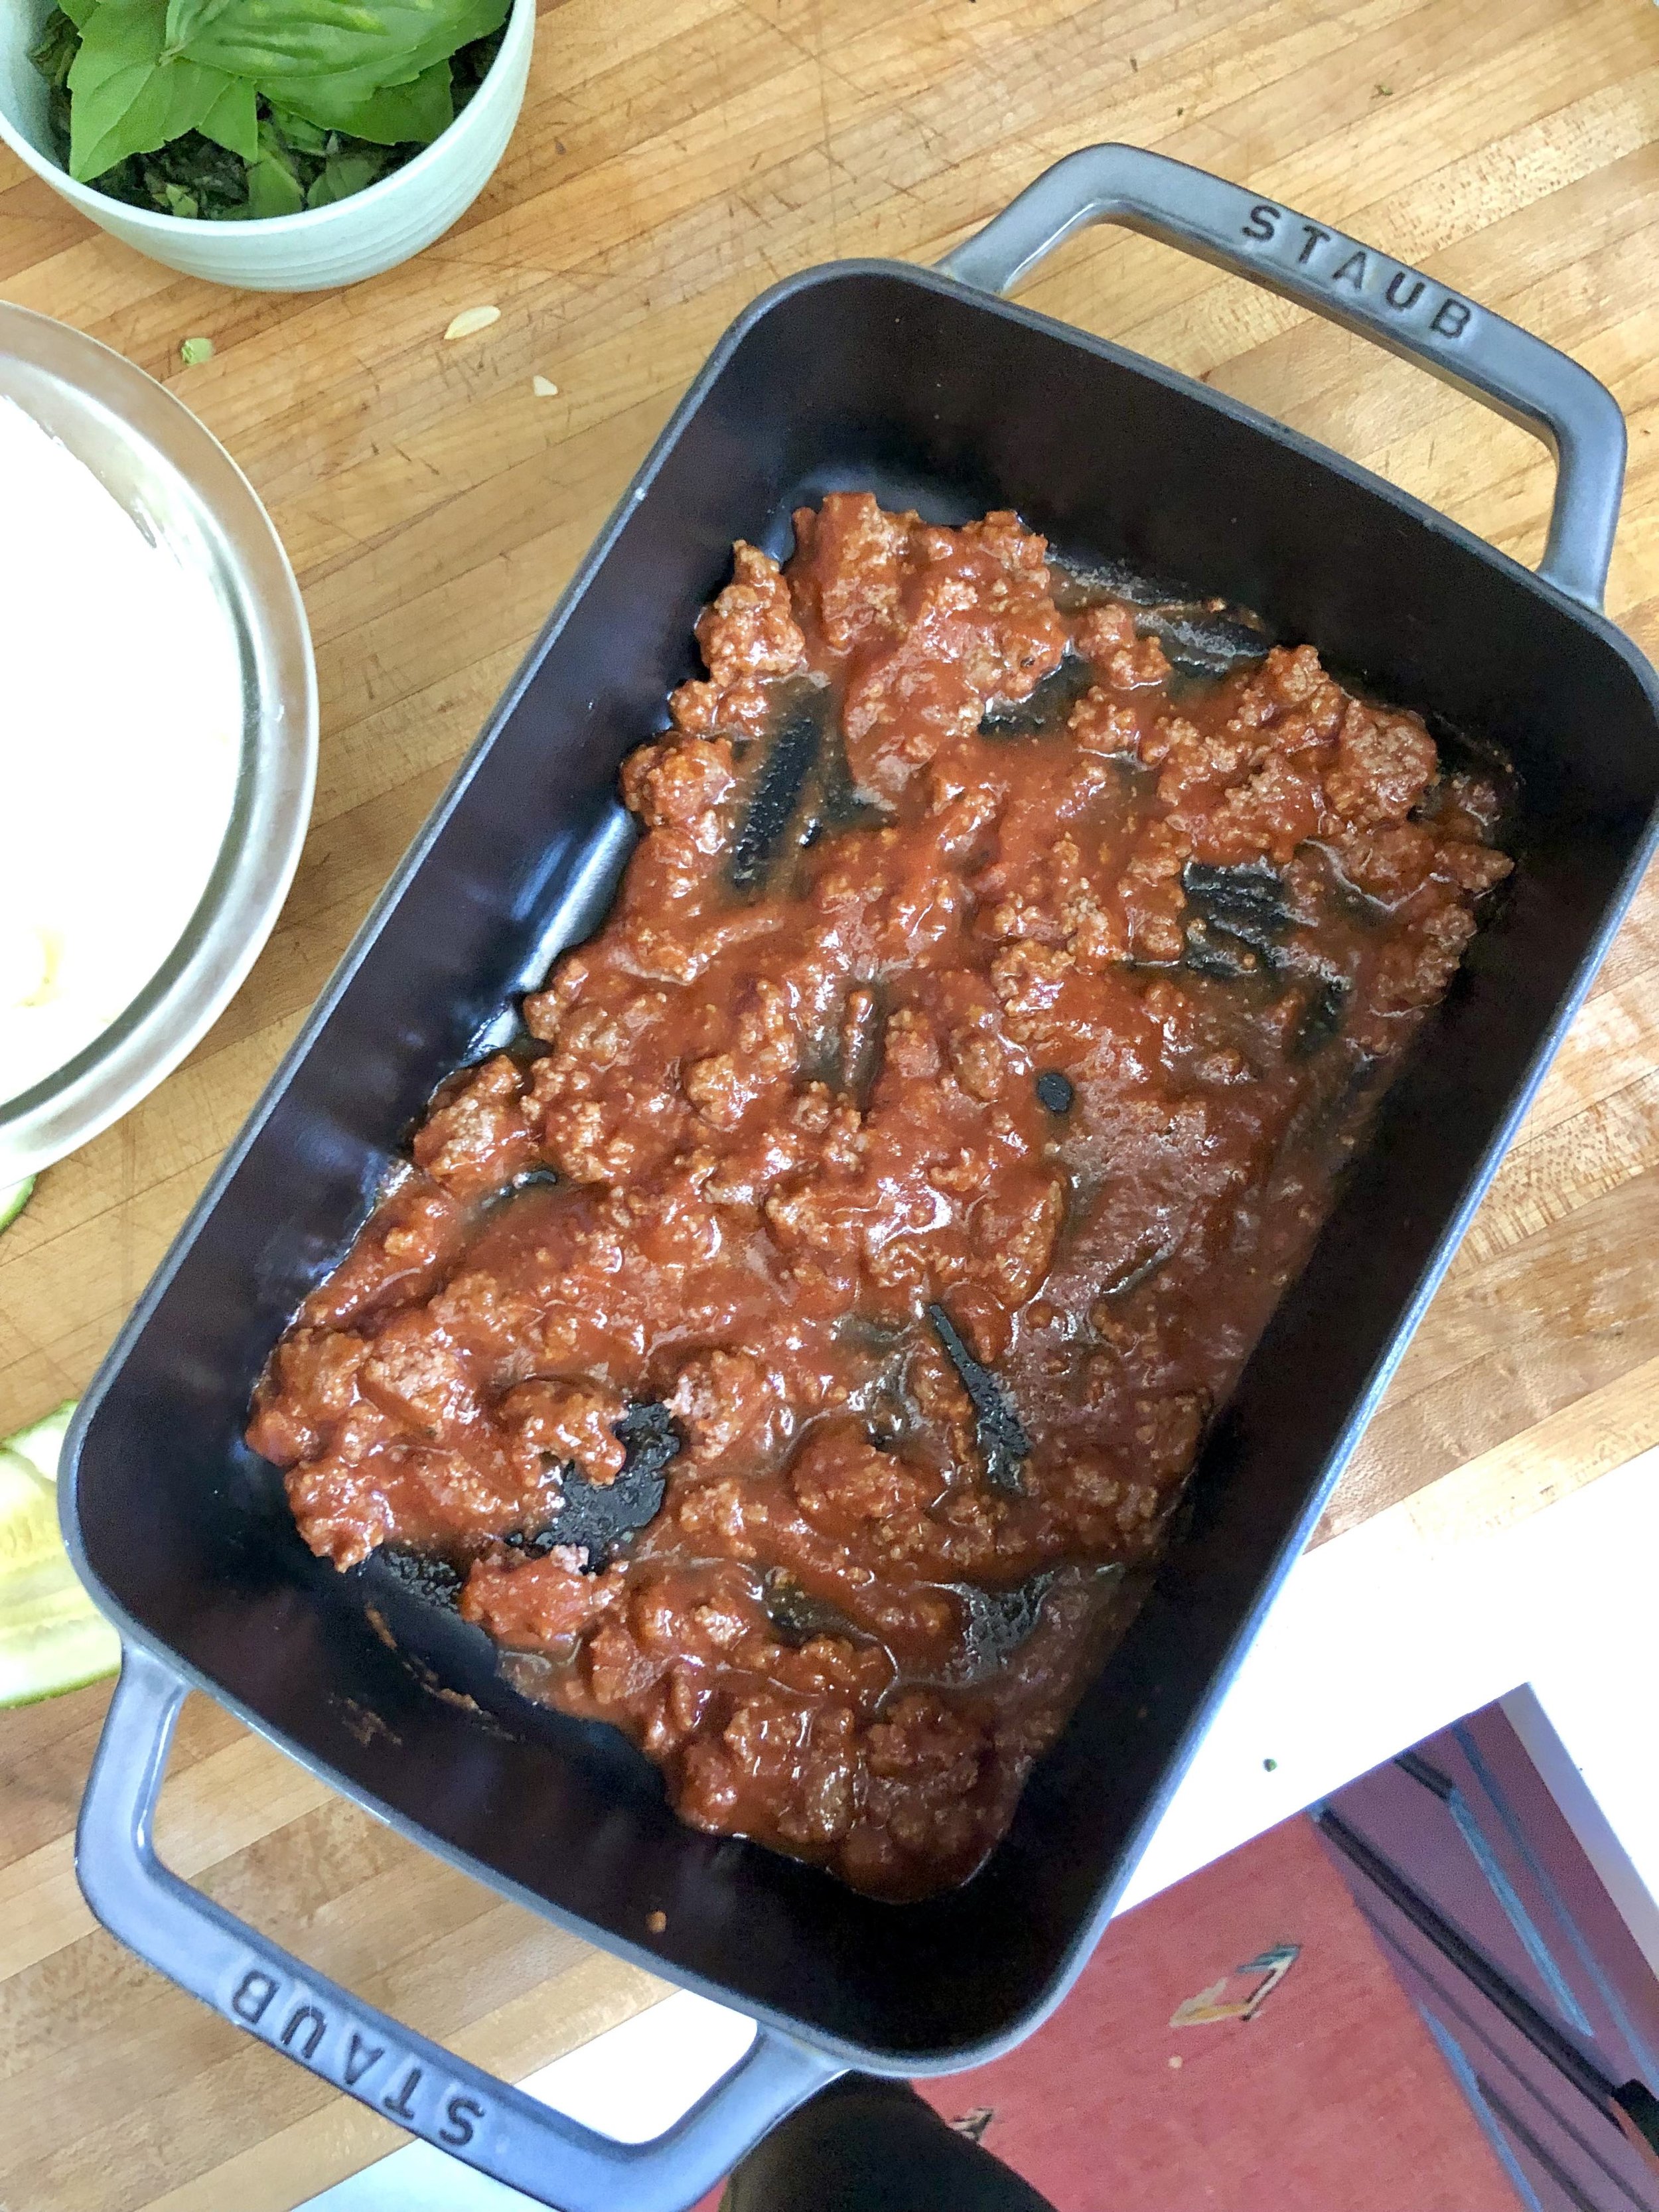
Make your tomato/meat sauce- this can be done ahead of time, to allow it to simmer and develop flavor). Add the ground beef to a large pan over medium high heat, and season with salt & pepper. Brown the meat until no longer pink, and then remove it from the pan. Add a bit of olive oil to the pan if needed, and saute the onion for a few minutes. Then add garlic and cook for a few more minutes, making sure to season with salt & pepper at each step along the way. Add the stewed tomatoes, breaking them up a bit, along with the tomato paste, dried oregano and red wine (if using), and bring your sauce to a simmer. Return the ground beef to the sauce, and reduce the heat to low, allowing it to cook for a couple of hours if possible. Be sure to not let it reduce too much!

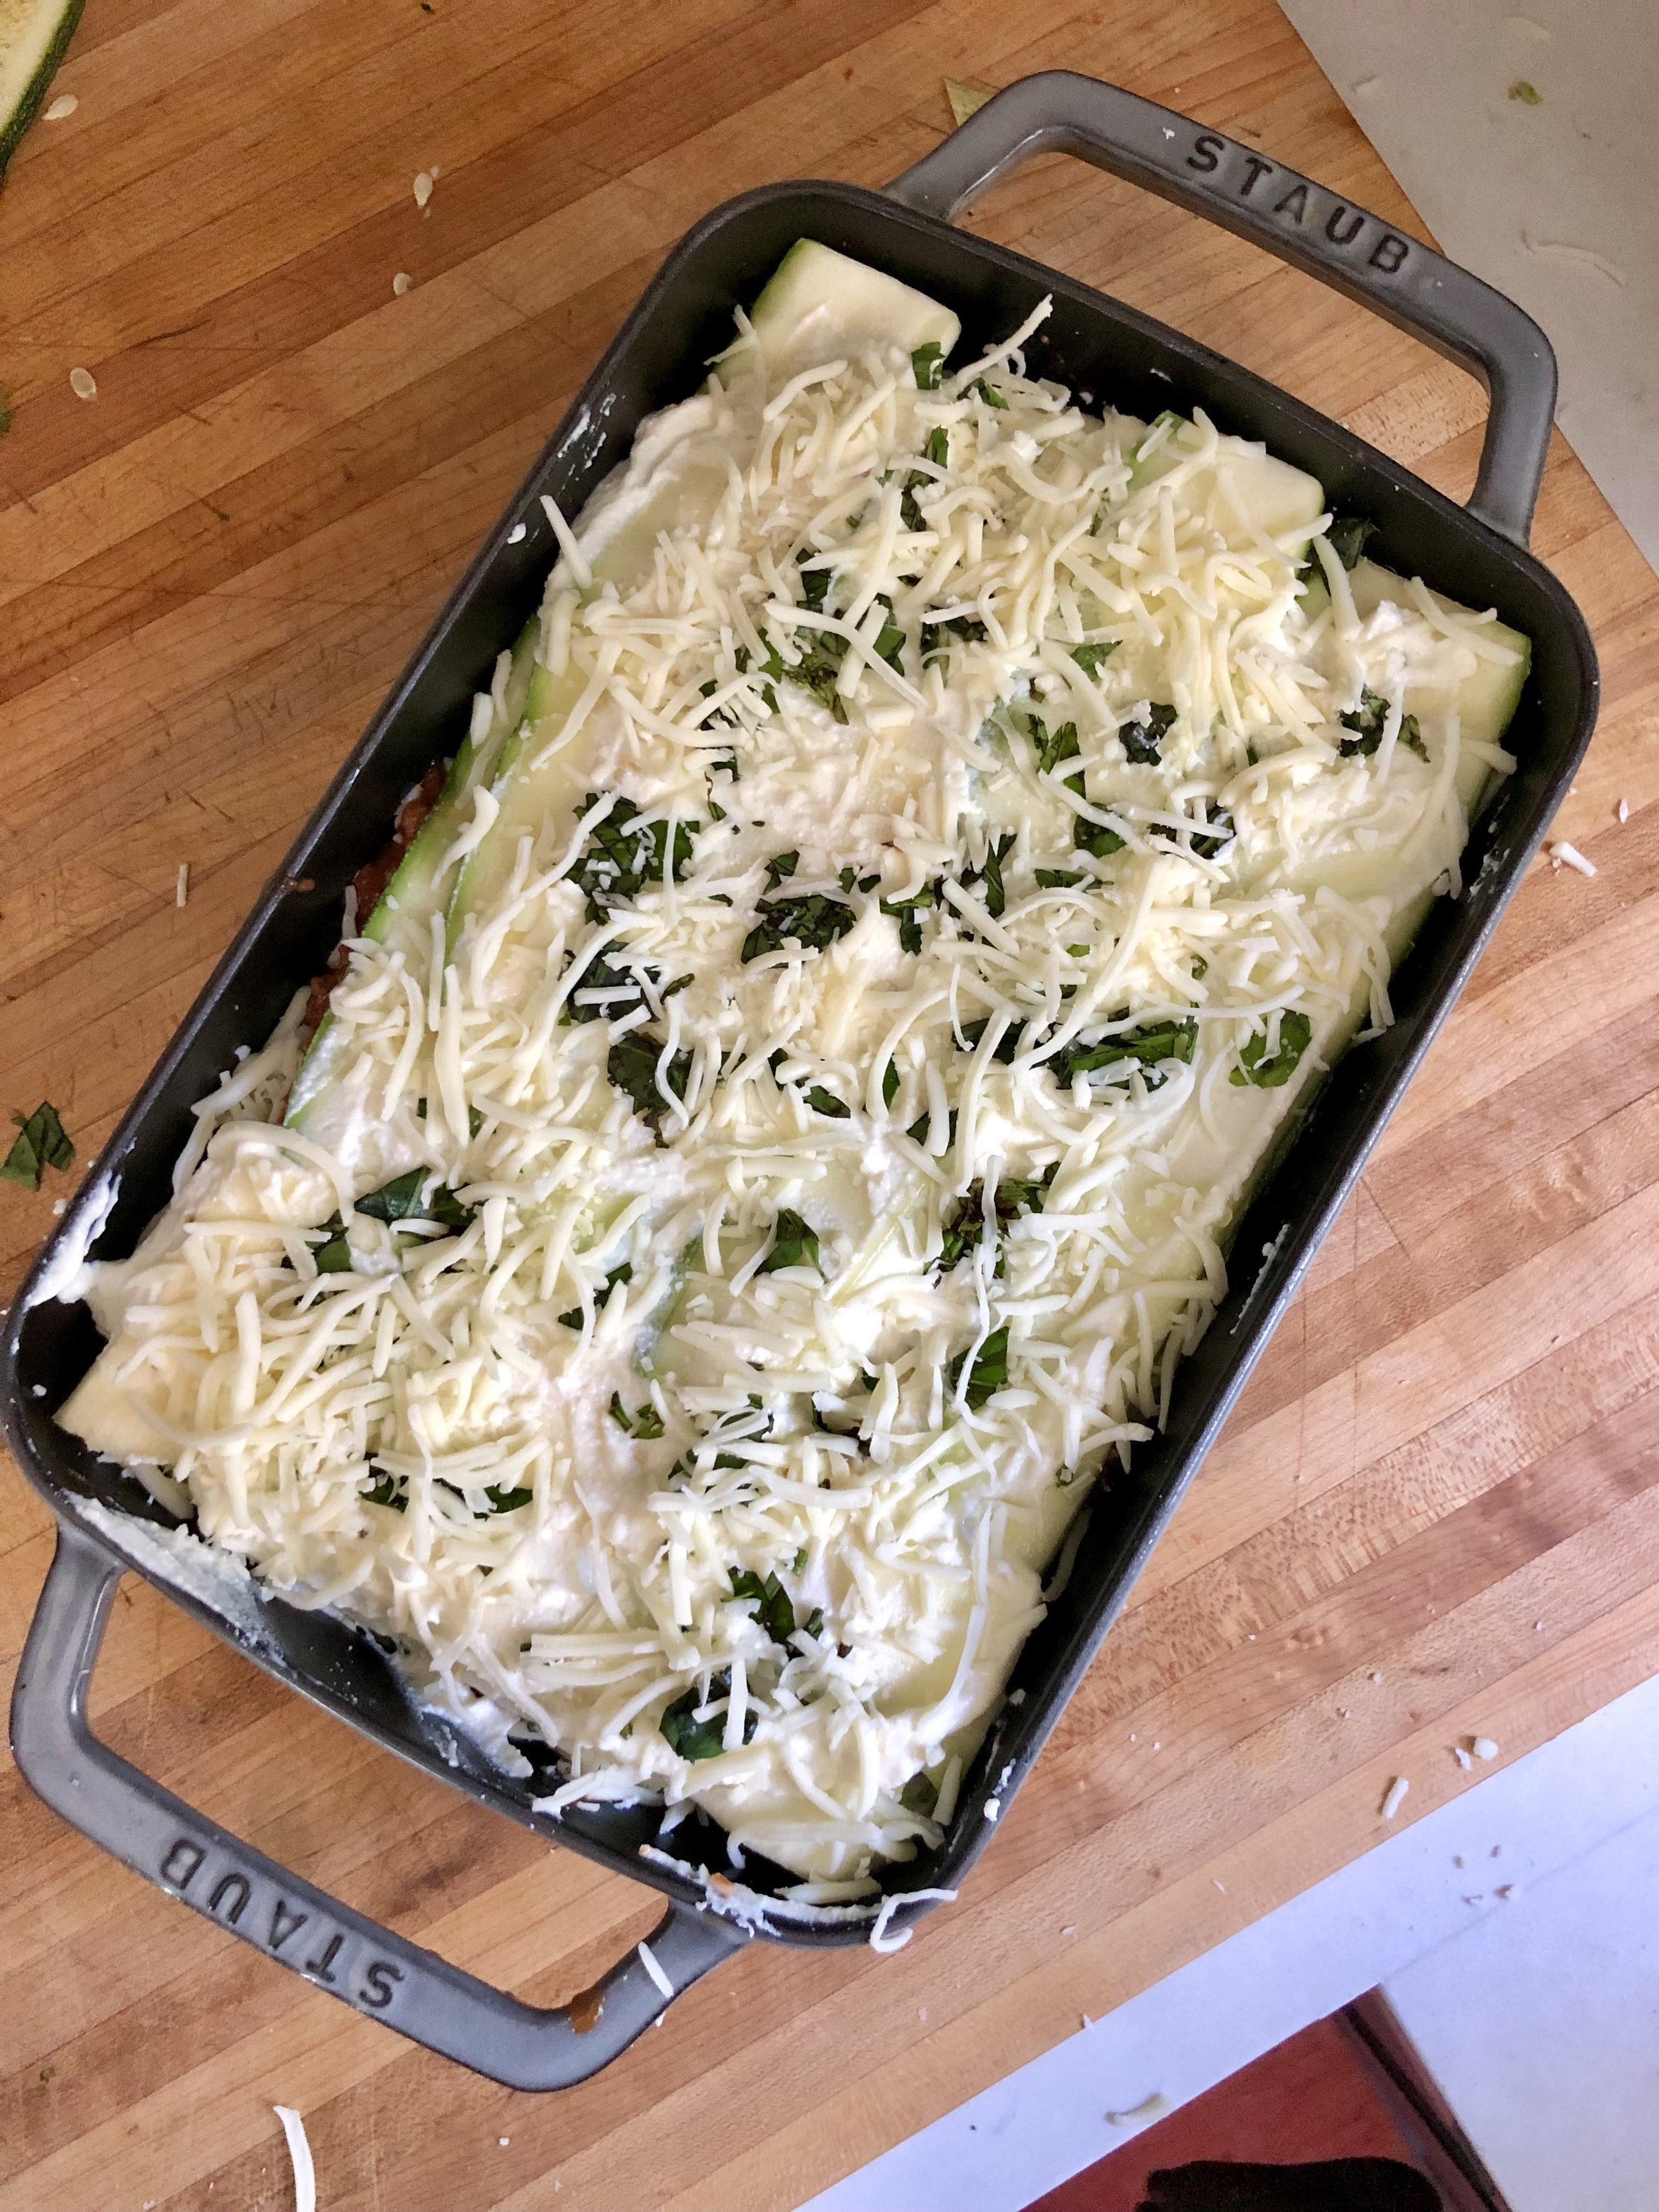
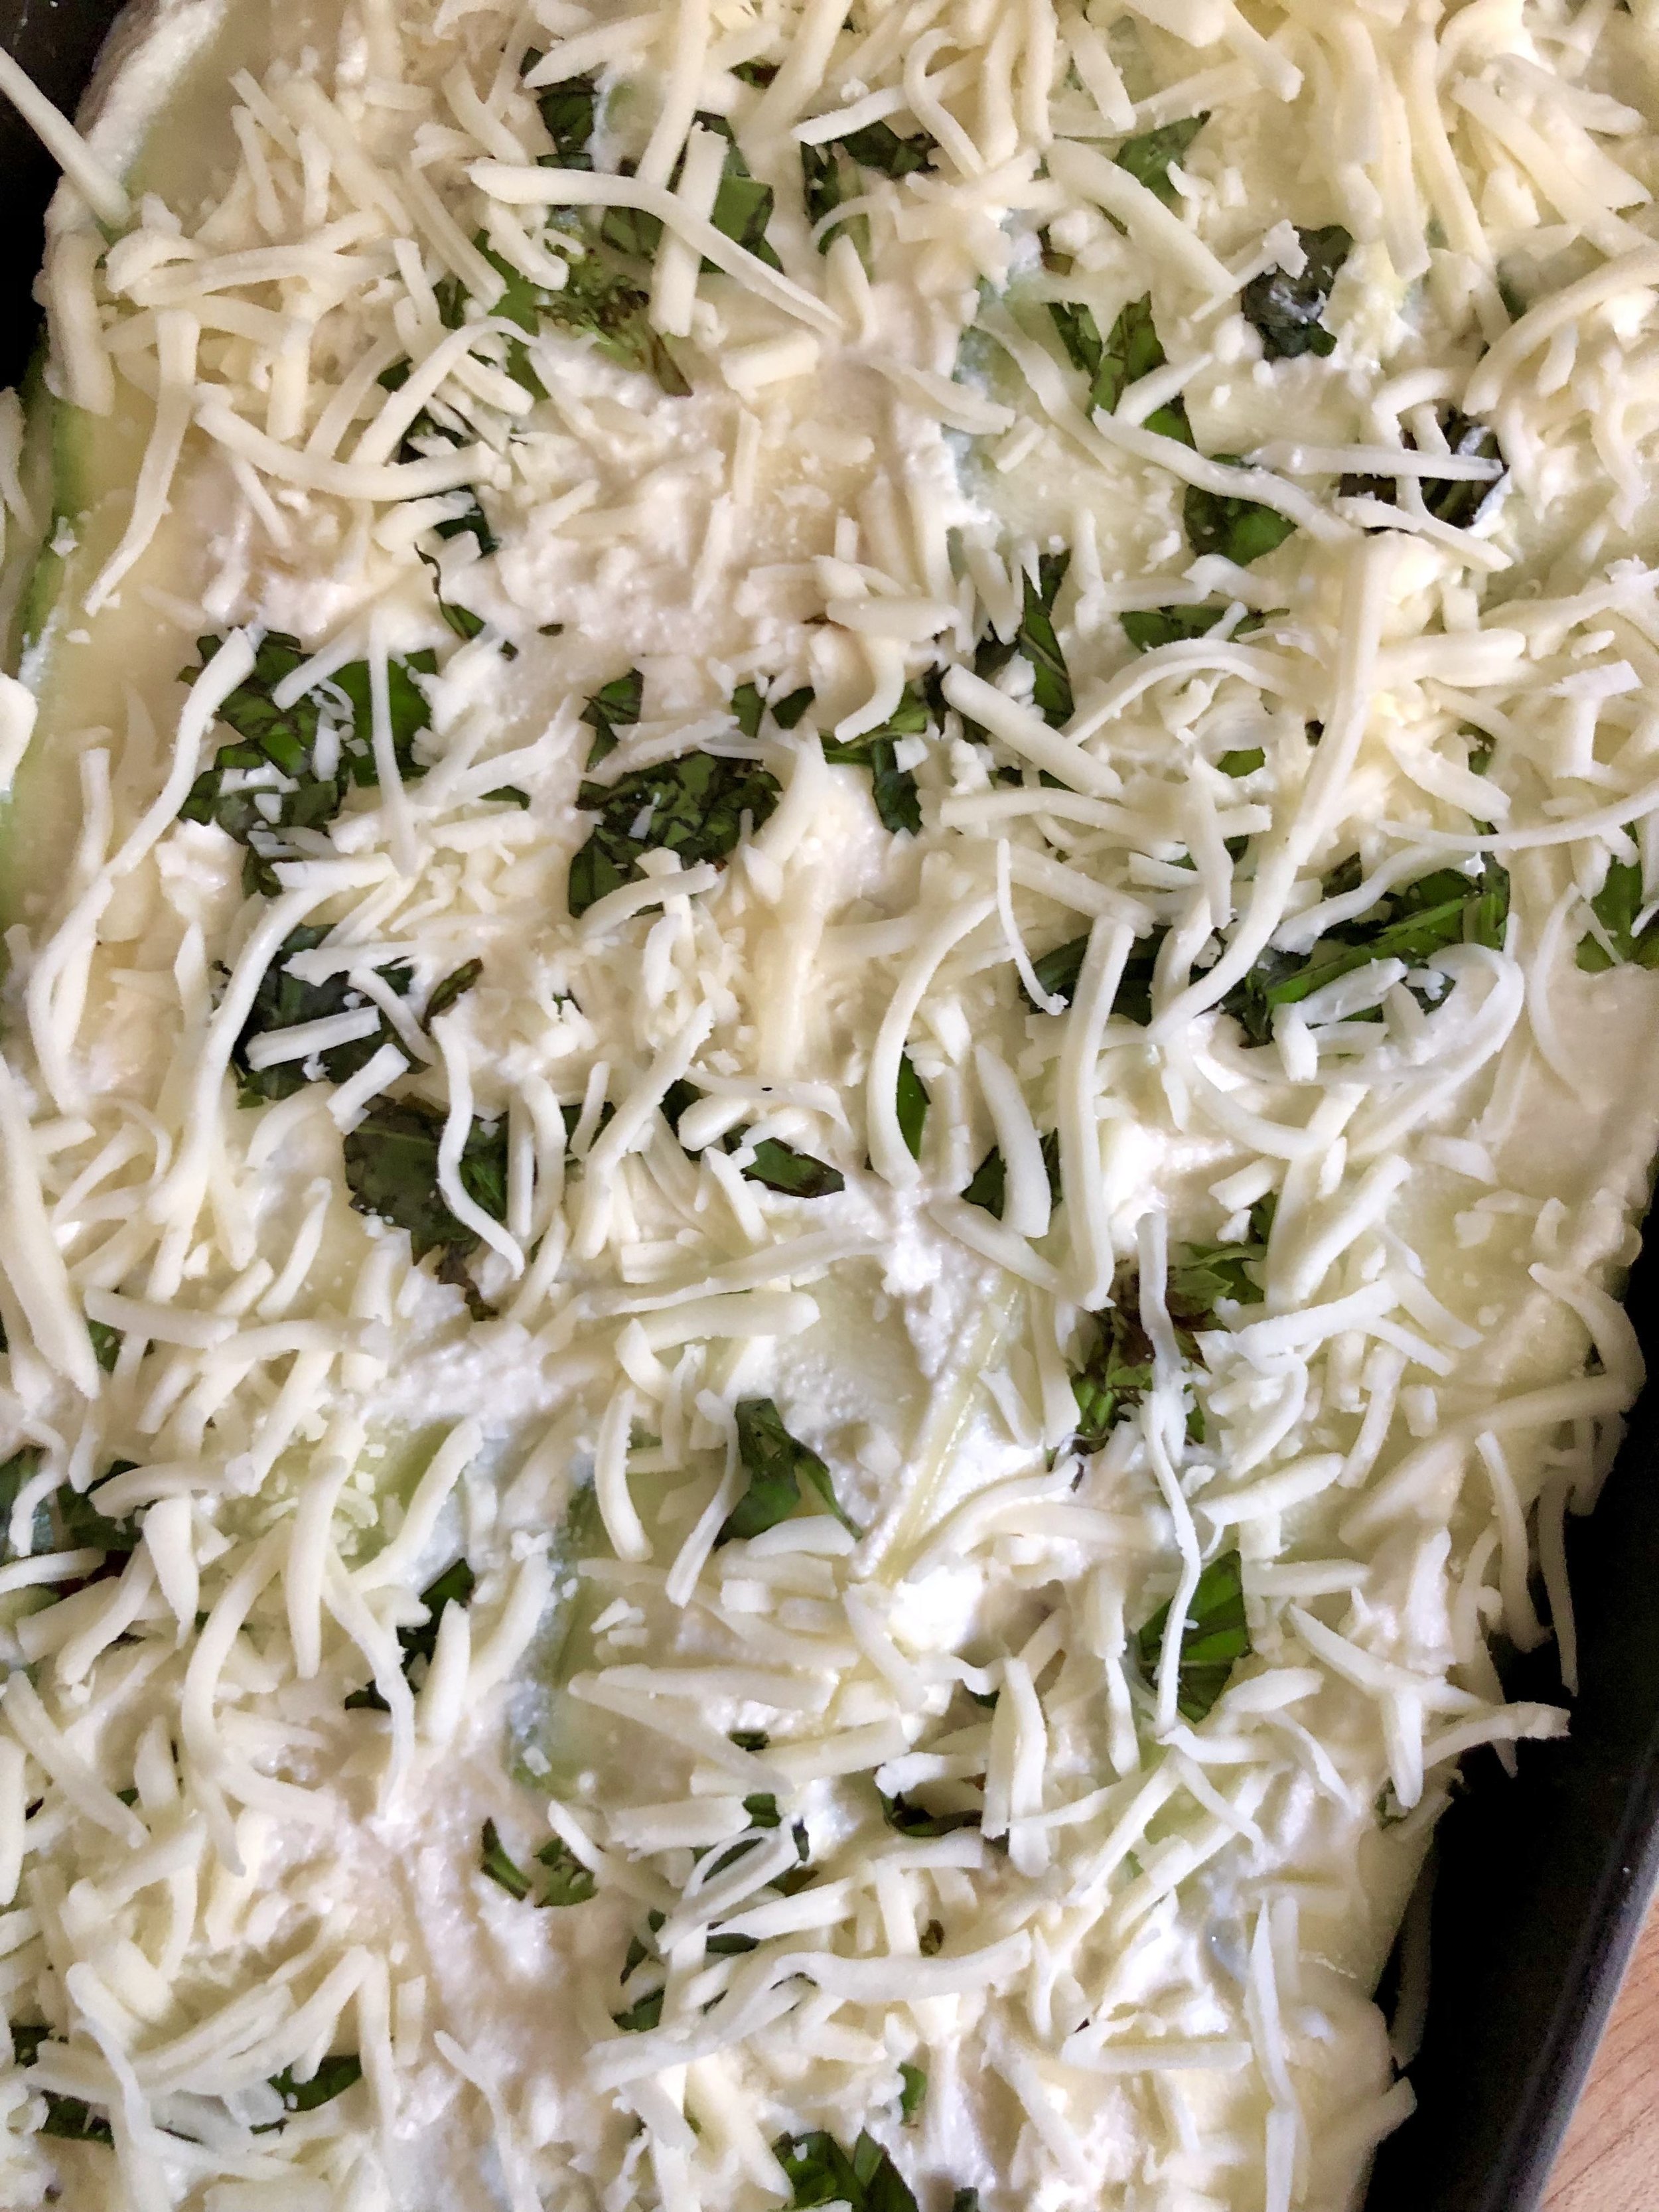
Preheat oven to 400 F. Slice your zucchini into thin slices lengthwise using a knife or mandolin, and lay them out on a paper towel. Sprinkle with salt and allow to sit for approximately 15 minutes to draw out the moisture. Blot them dry to absorb any excess moisture. Mix the ricotta cheese with an egg in a bowl. Start assembling your lasagna: ladle sauce in the bottom of the pan, add zucchini slices to cover it, spread ricotta & egg mixture evenly on top, sprinkle with fresh basil, and then top with shredded mozzarella. Repeat this process with all remaining ingredients (you may have extra meat sauce to freeze or use elsewhere!), reserving some fresh basil for garnish. Place the lasagna in the oven and cook for 40-45 minutes, broiling for a couple of minutes at the end to get a nice golden, bubbly top. Garnish with whole basil leave, pour yourself a glass of wine, and serve!


healthy blender waffles

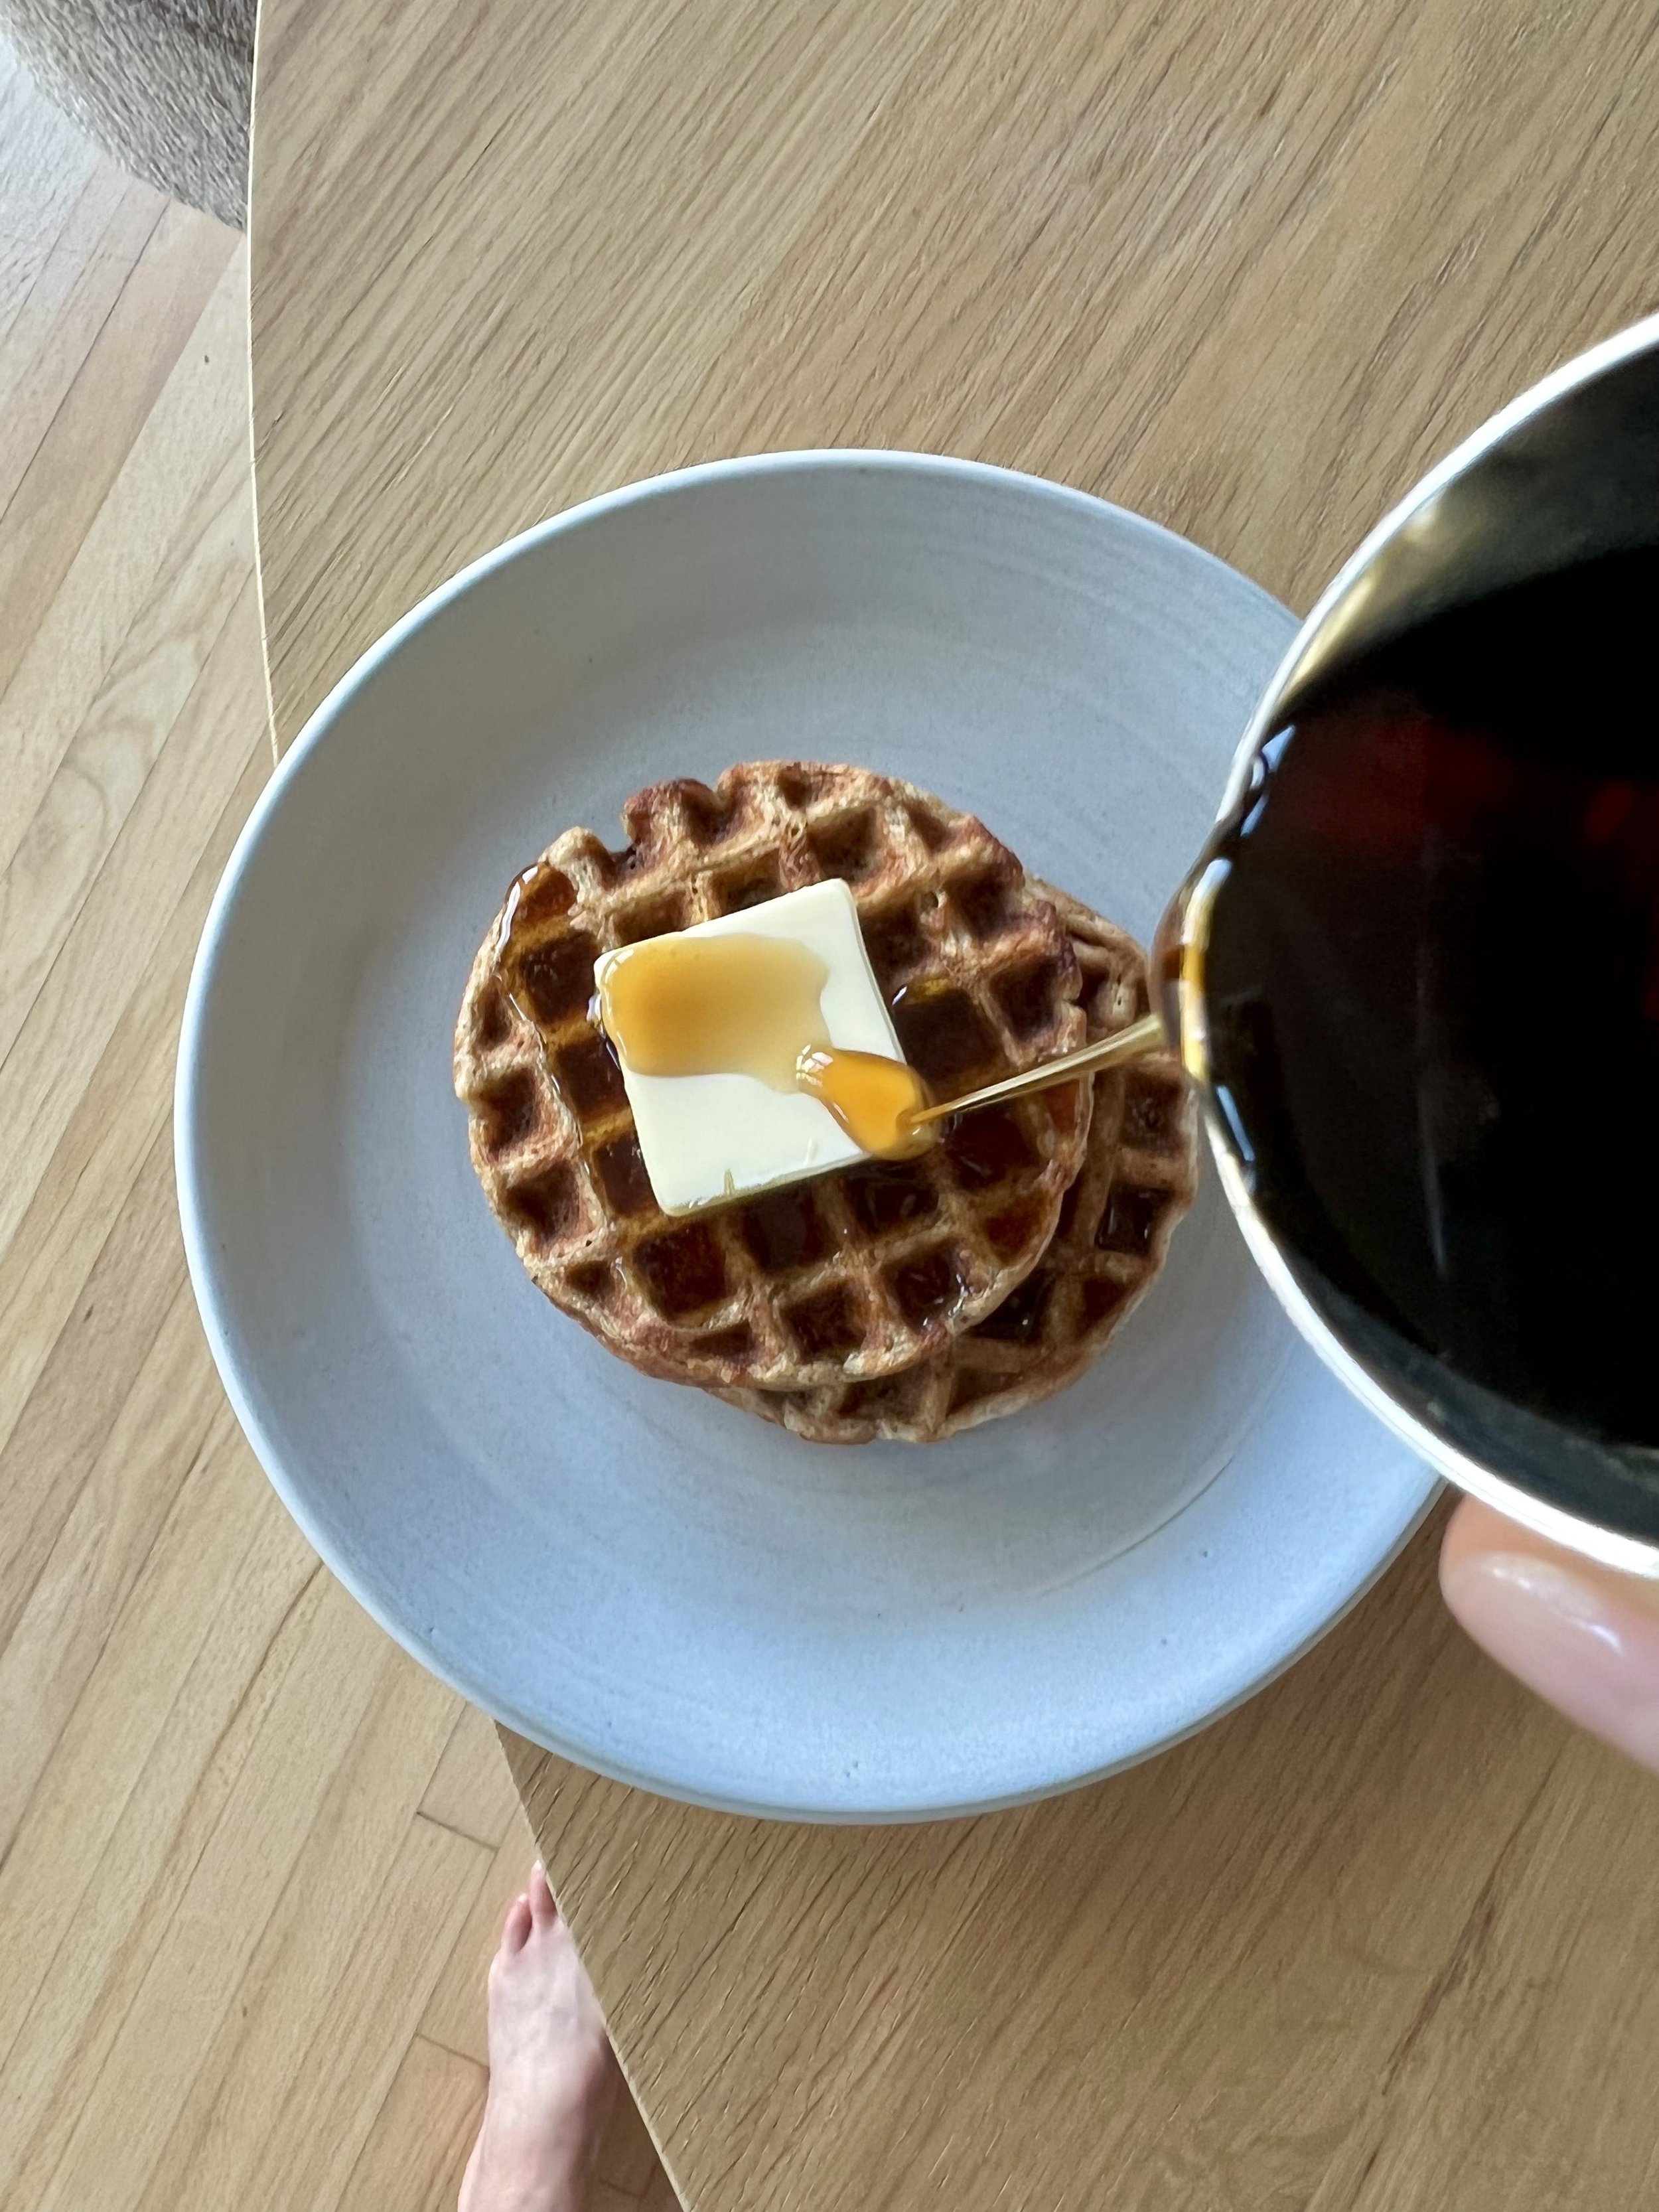
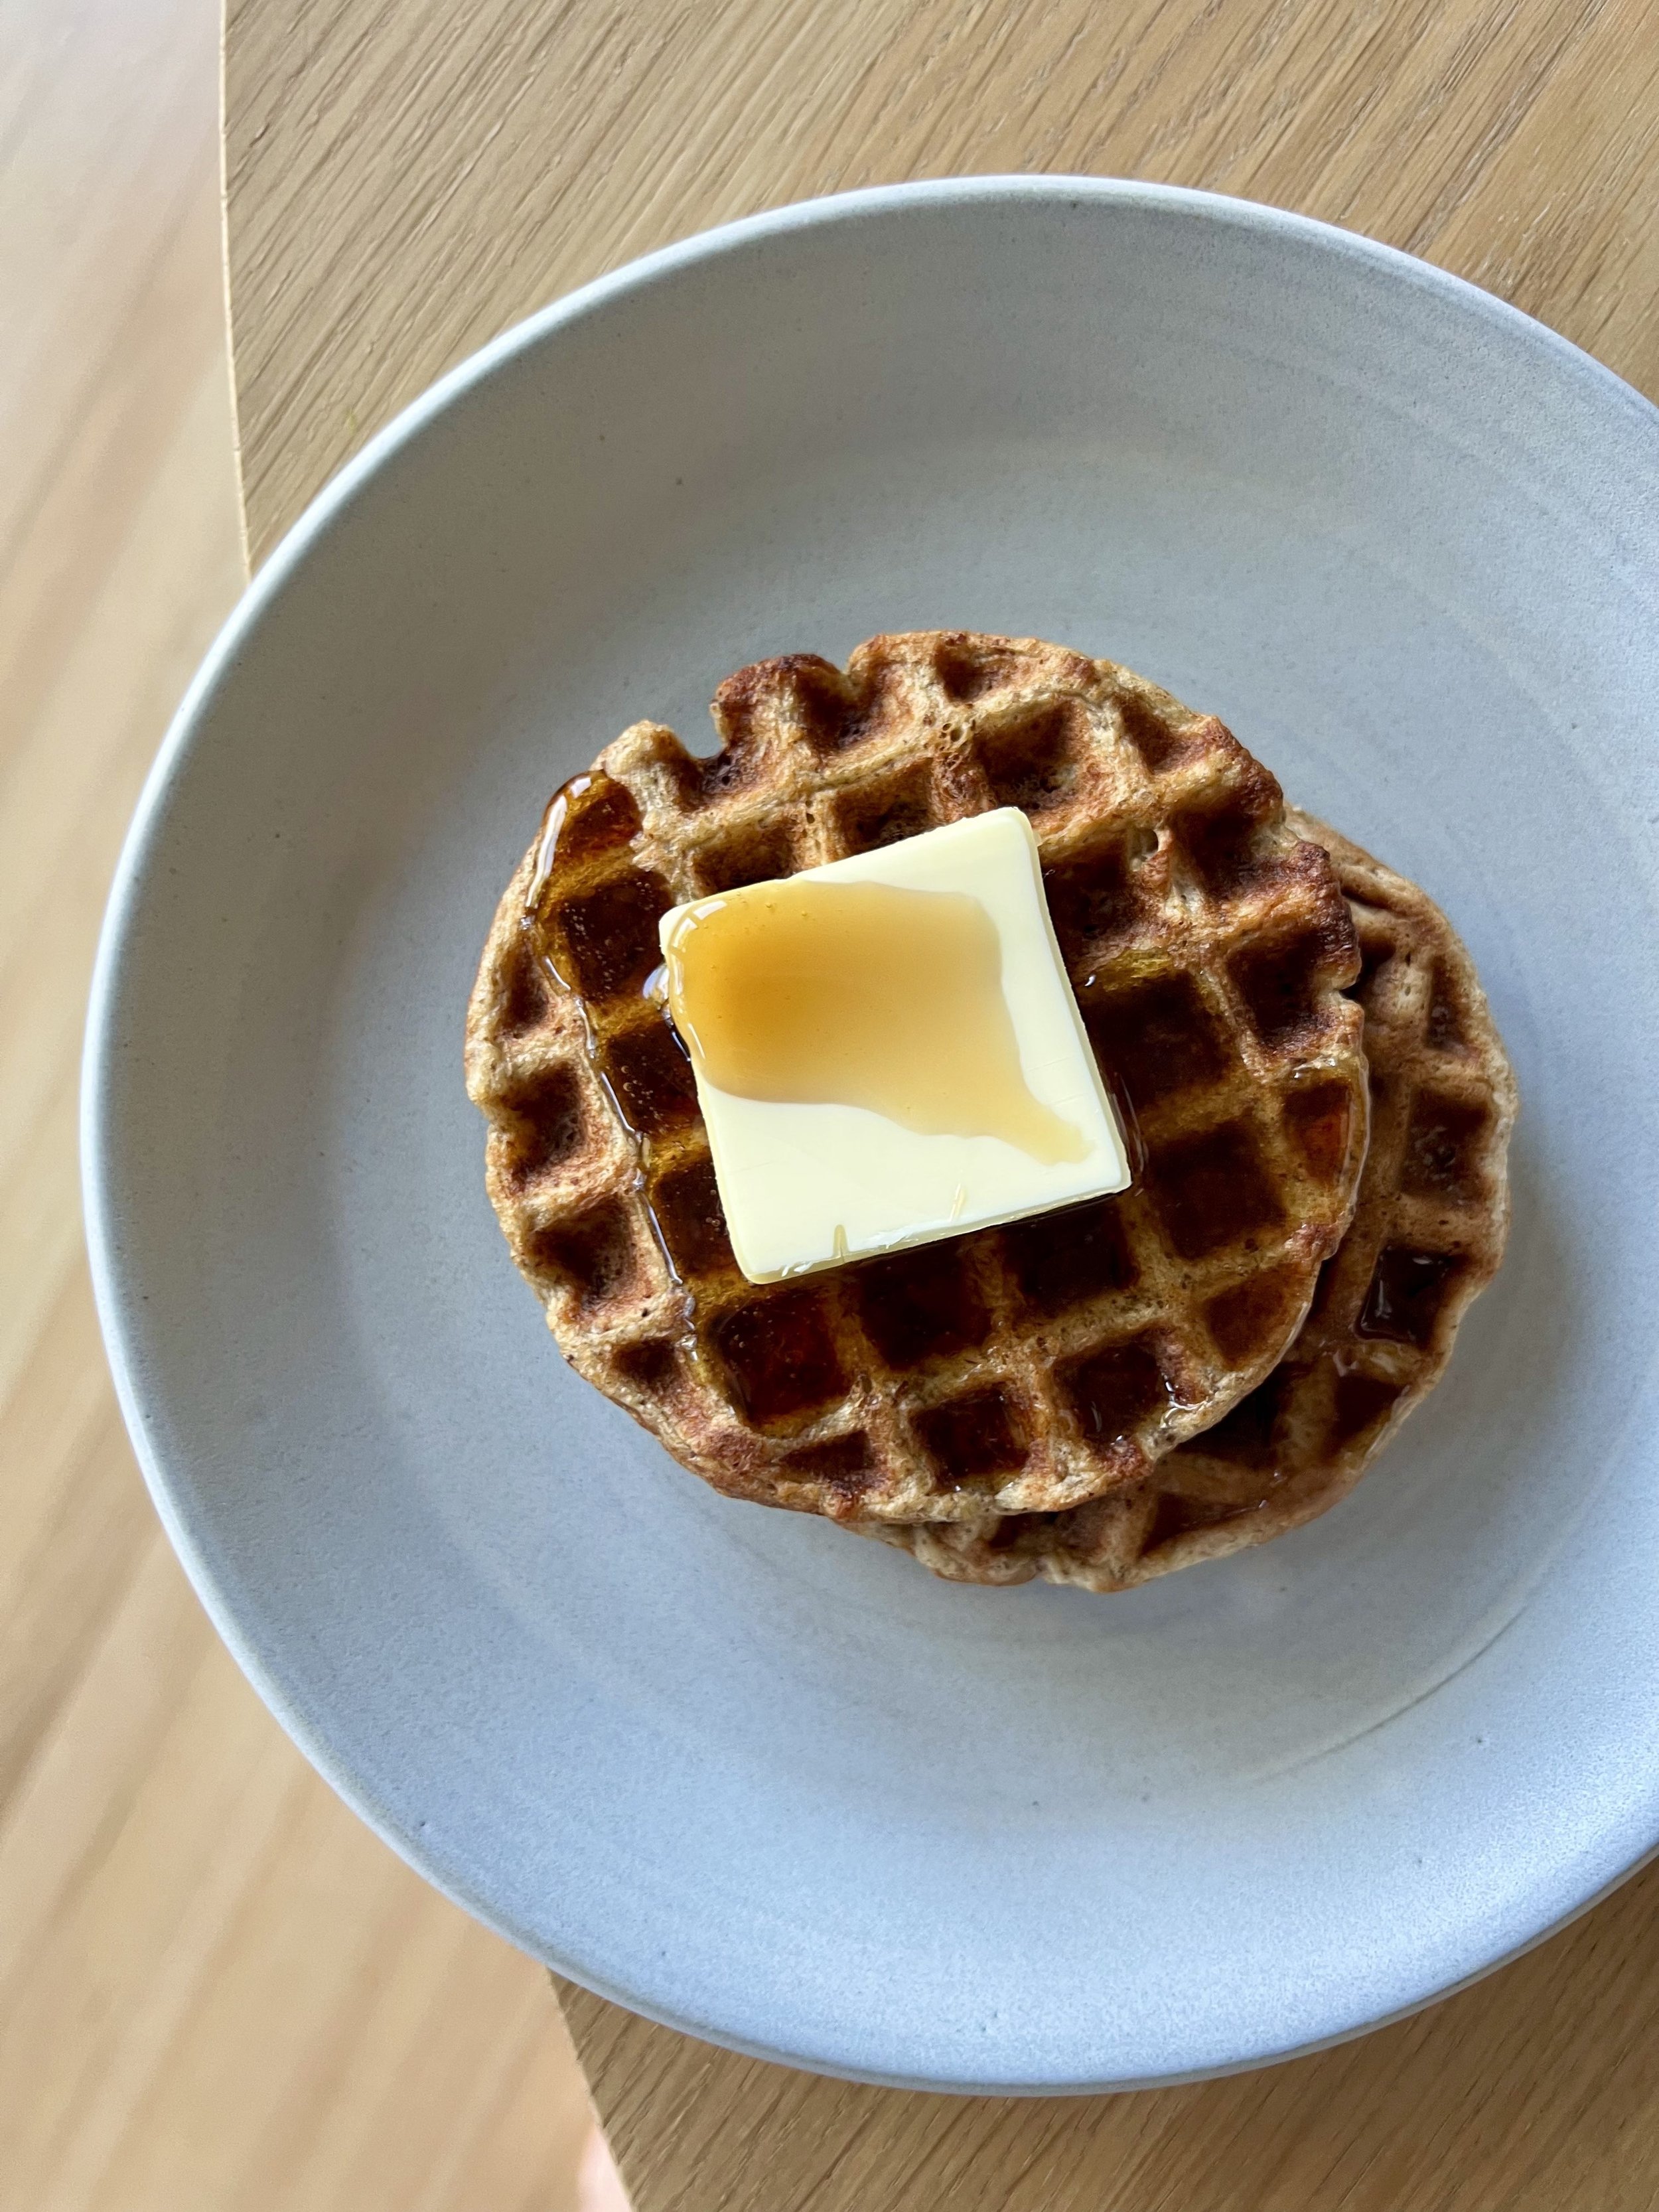
Waffles are a family favorite in my household. My dad is obsessed, and that love has rubbed off on my toddler son as well. We are fans of everything from toaster waffles from the freezer, to classic homemade buttermilk or old fashioned waffles, to belgian waffles at restaurants, to healthy homemade! We do not discriminate, and topped with a healthy serving of pure maple syrup, they are all welcome on our plate :) Lately I’ve been making a somewhat healthier, more nutrient dense version packed with flax seeds, bananas, and rolled oats that are so easy to whip up in a blender (or using a and blender!). Since my son will easily down three waffles at once for breakfast (or anytime of day truly), it gives me a bit of comfort knowing that these are packed with a good dose of protein, fat, and fiber! They freeze well too, so feel free to double the batch and make extra for an easy and delicious breakfast that’s ready in minute! Top with pure maple syrup, and enjoy!

Healthy Blender Waffles:

  • 1/2 cup old fashioned oats

  • 2 tbsp ground flax seeds

  • 1/4 tsp kosher salt

  • 1 tsp baking powder

  • 1/4 tsp cinnamon

  • 1 egg

  • 1-2 bananas

  • 1/2 cup almond milk

  • 1 tsp pure vanilla extract

  • coconut oil or butter, for iron

Combine all ingredients in a blender and blend until combined. Heat a waffle maker, and spray lightly with coconut oil spray or grease with butter. Add the appropriate amount of batter for your waffle iron (likely less than you think), and cook to your desired level of “crispy outside, fluffy inside”, or according to the waffler maker’s directions. Enjoy with butter and pure maple syrup. Makes about 7-8 mini waffles.


baked rigatoni with ground turkey, pumpkin & ricotta

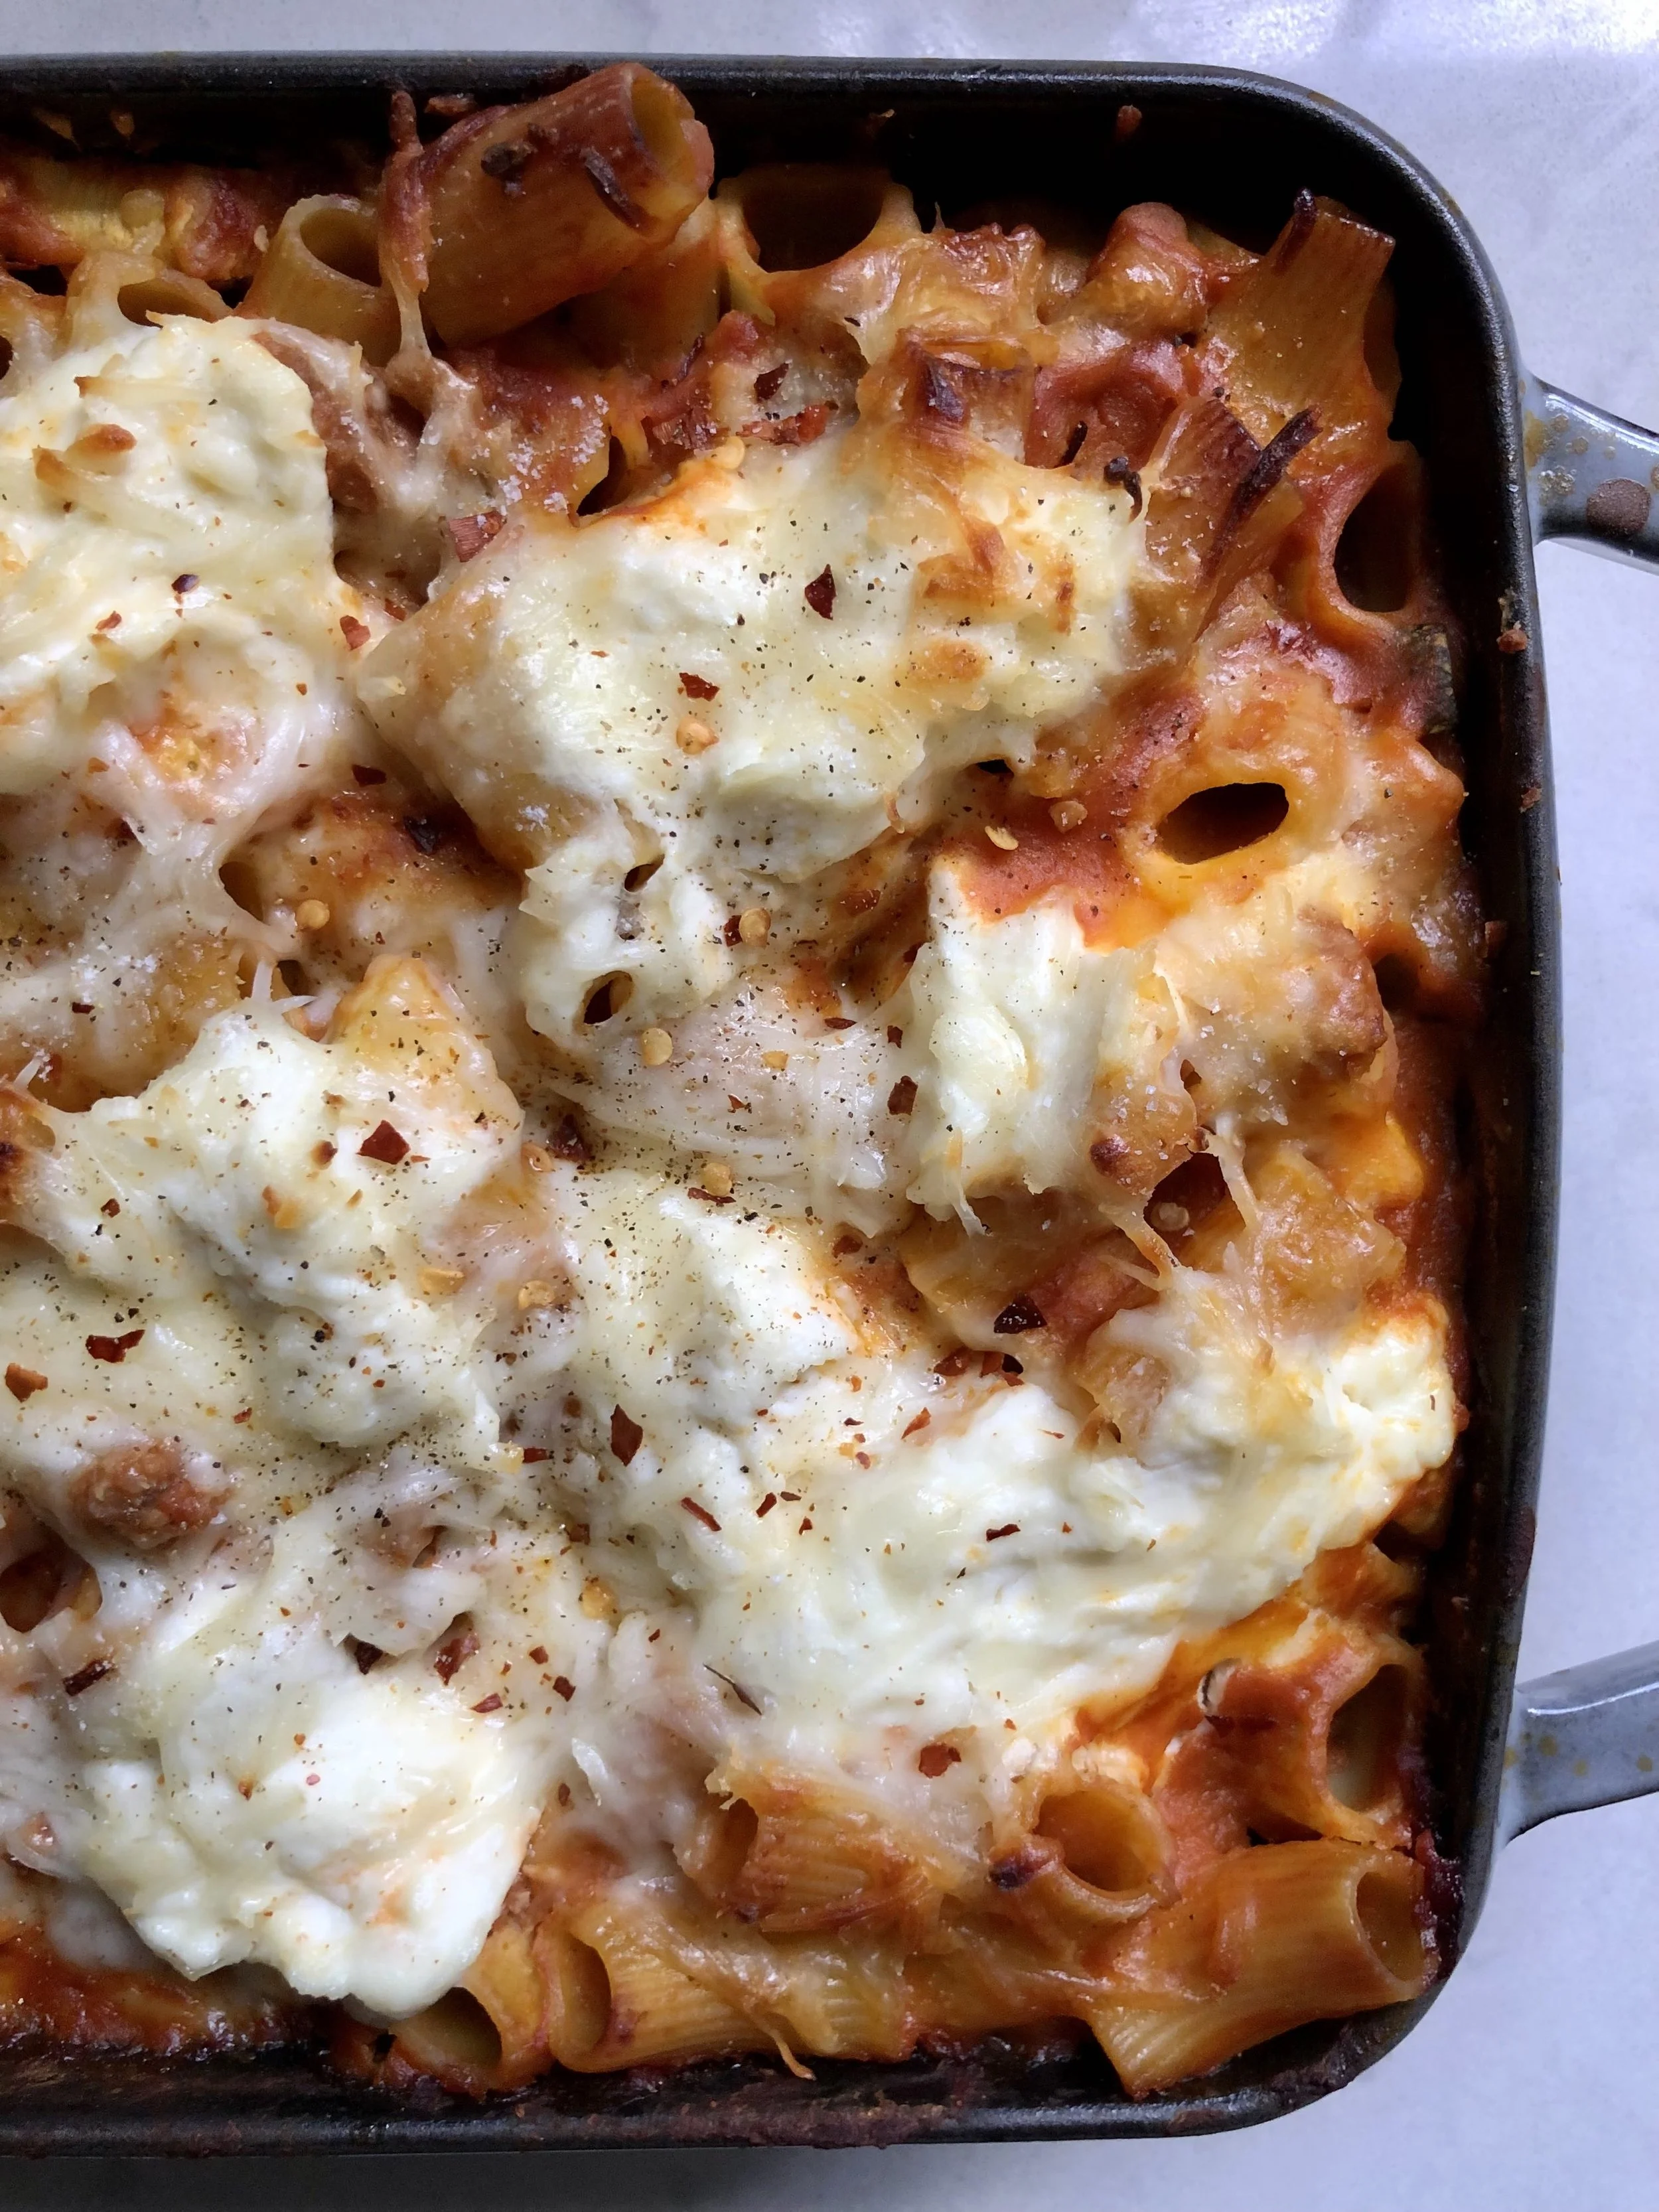
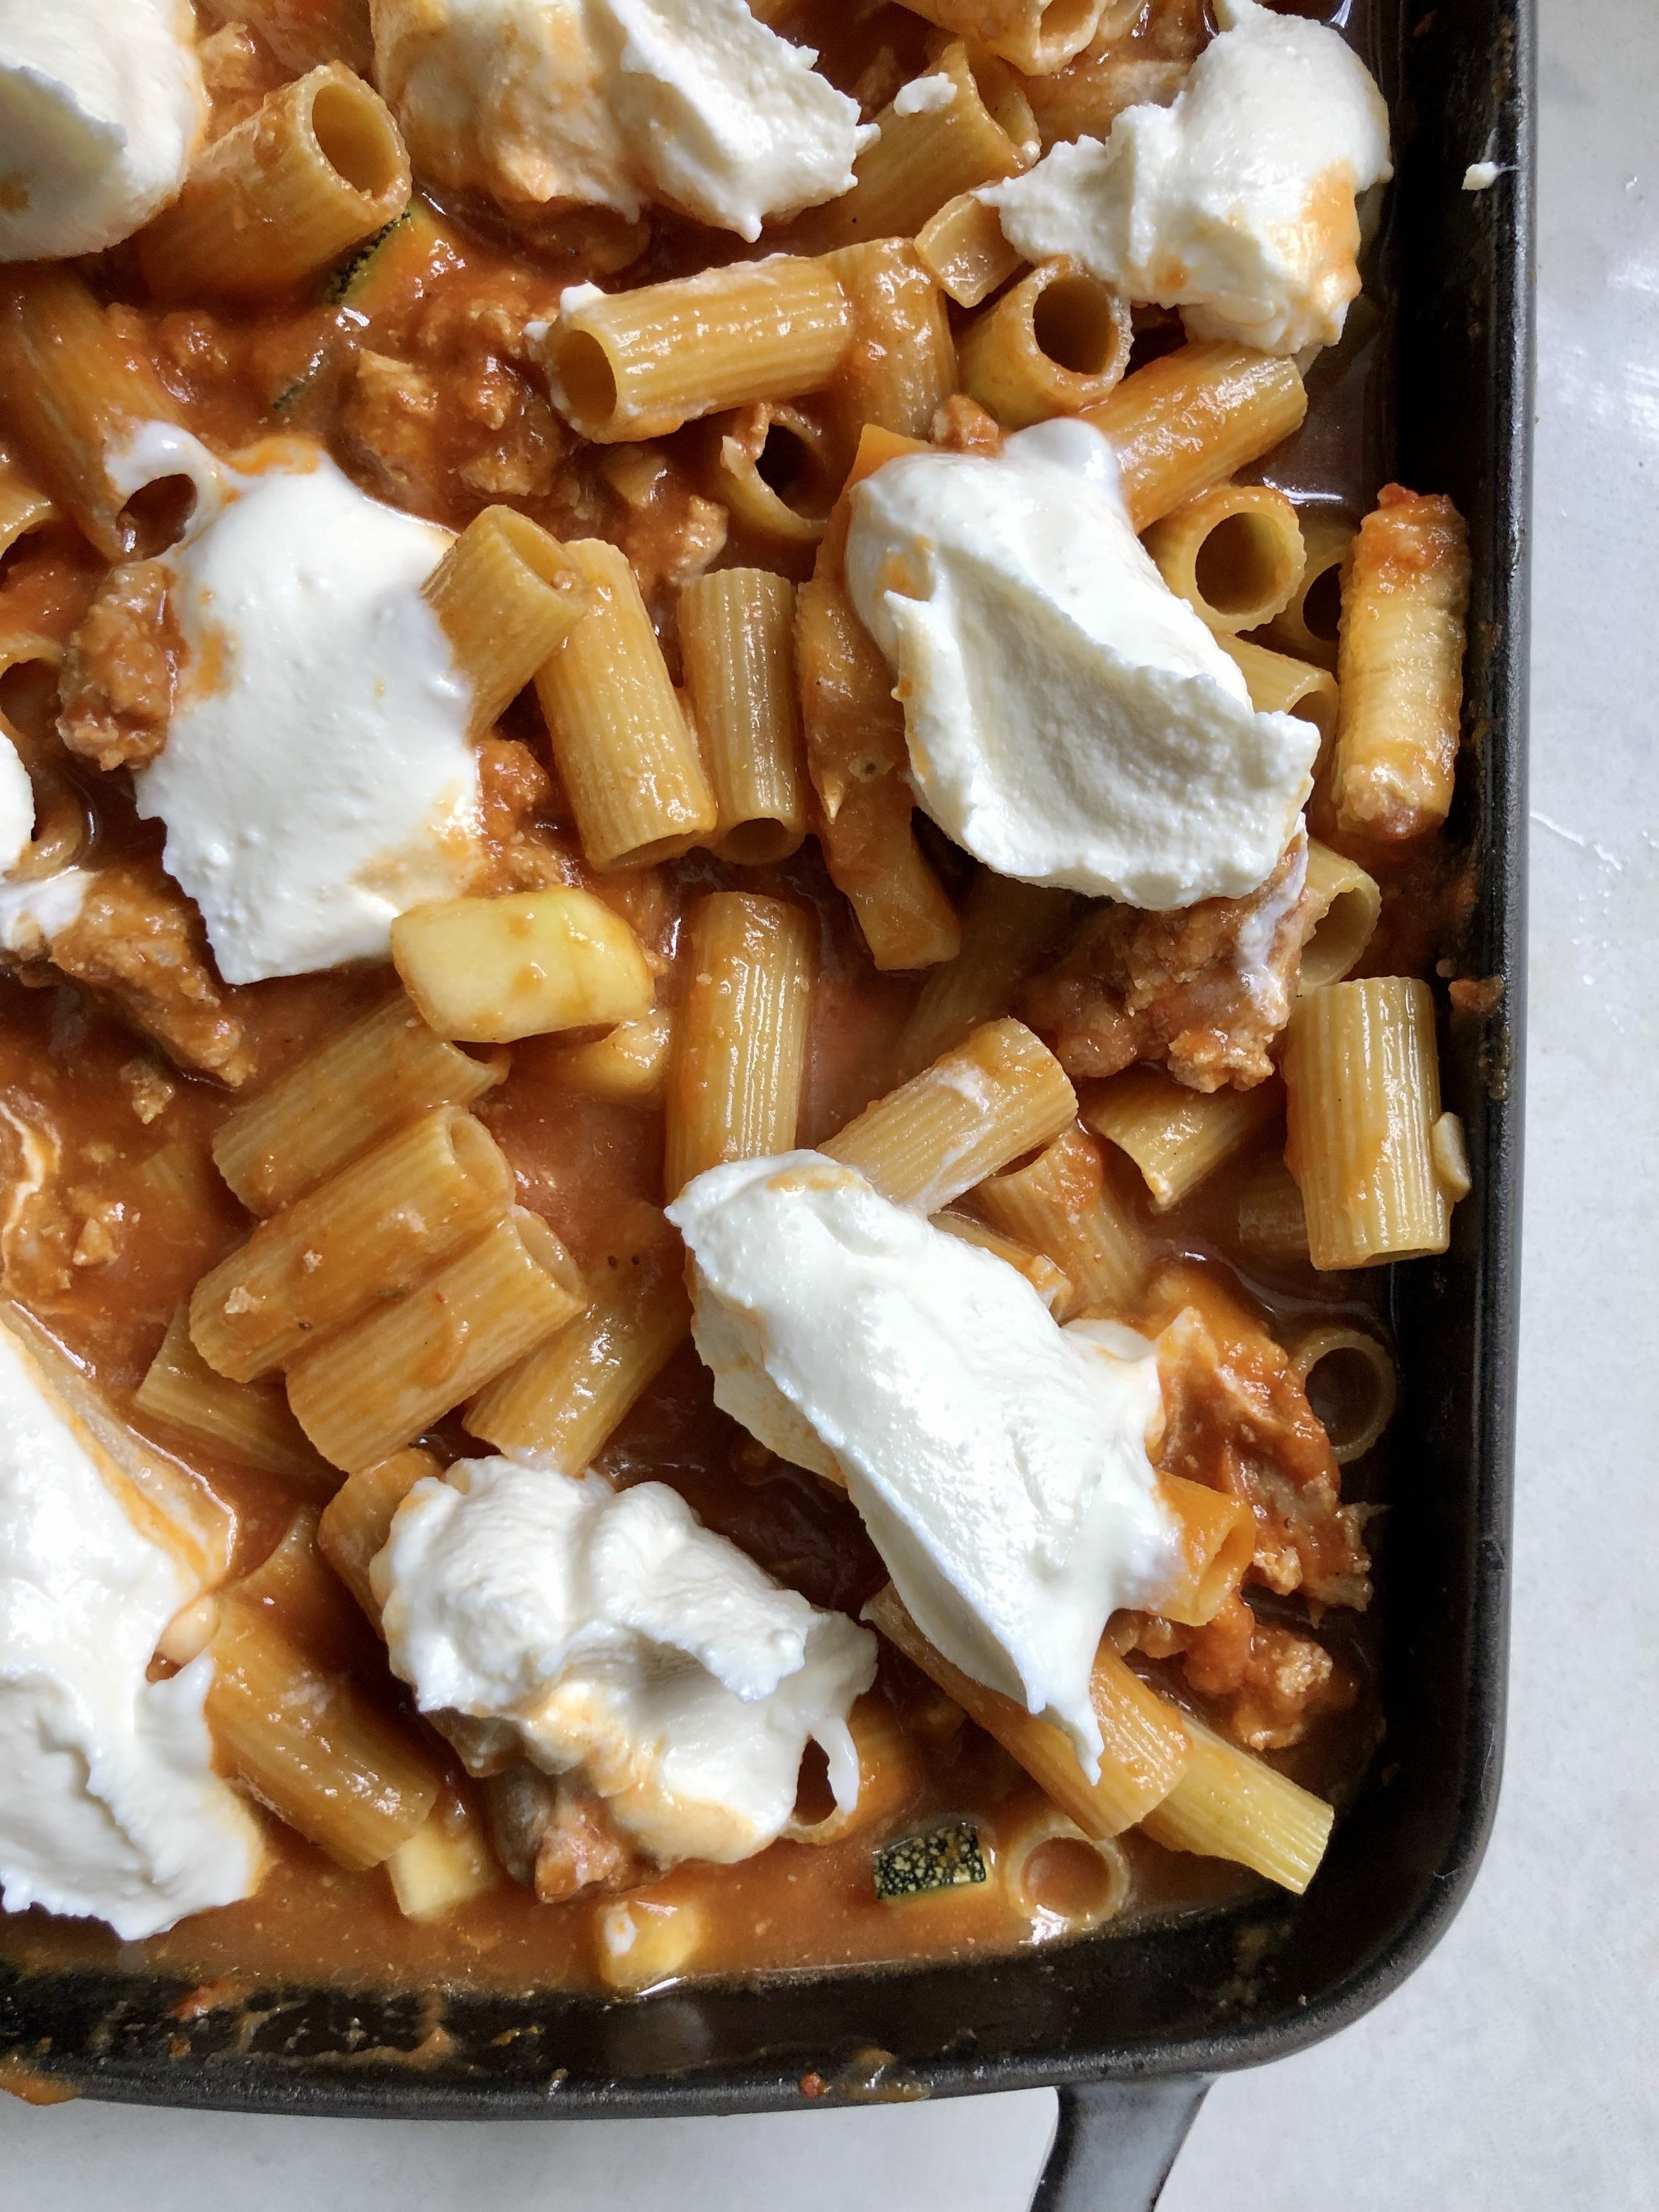
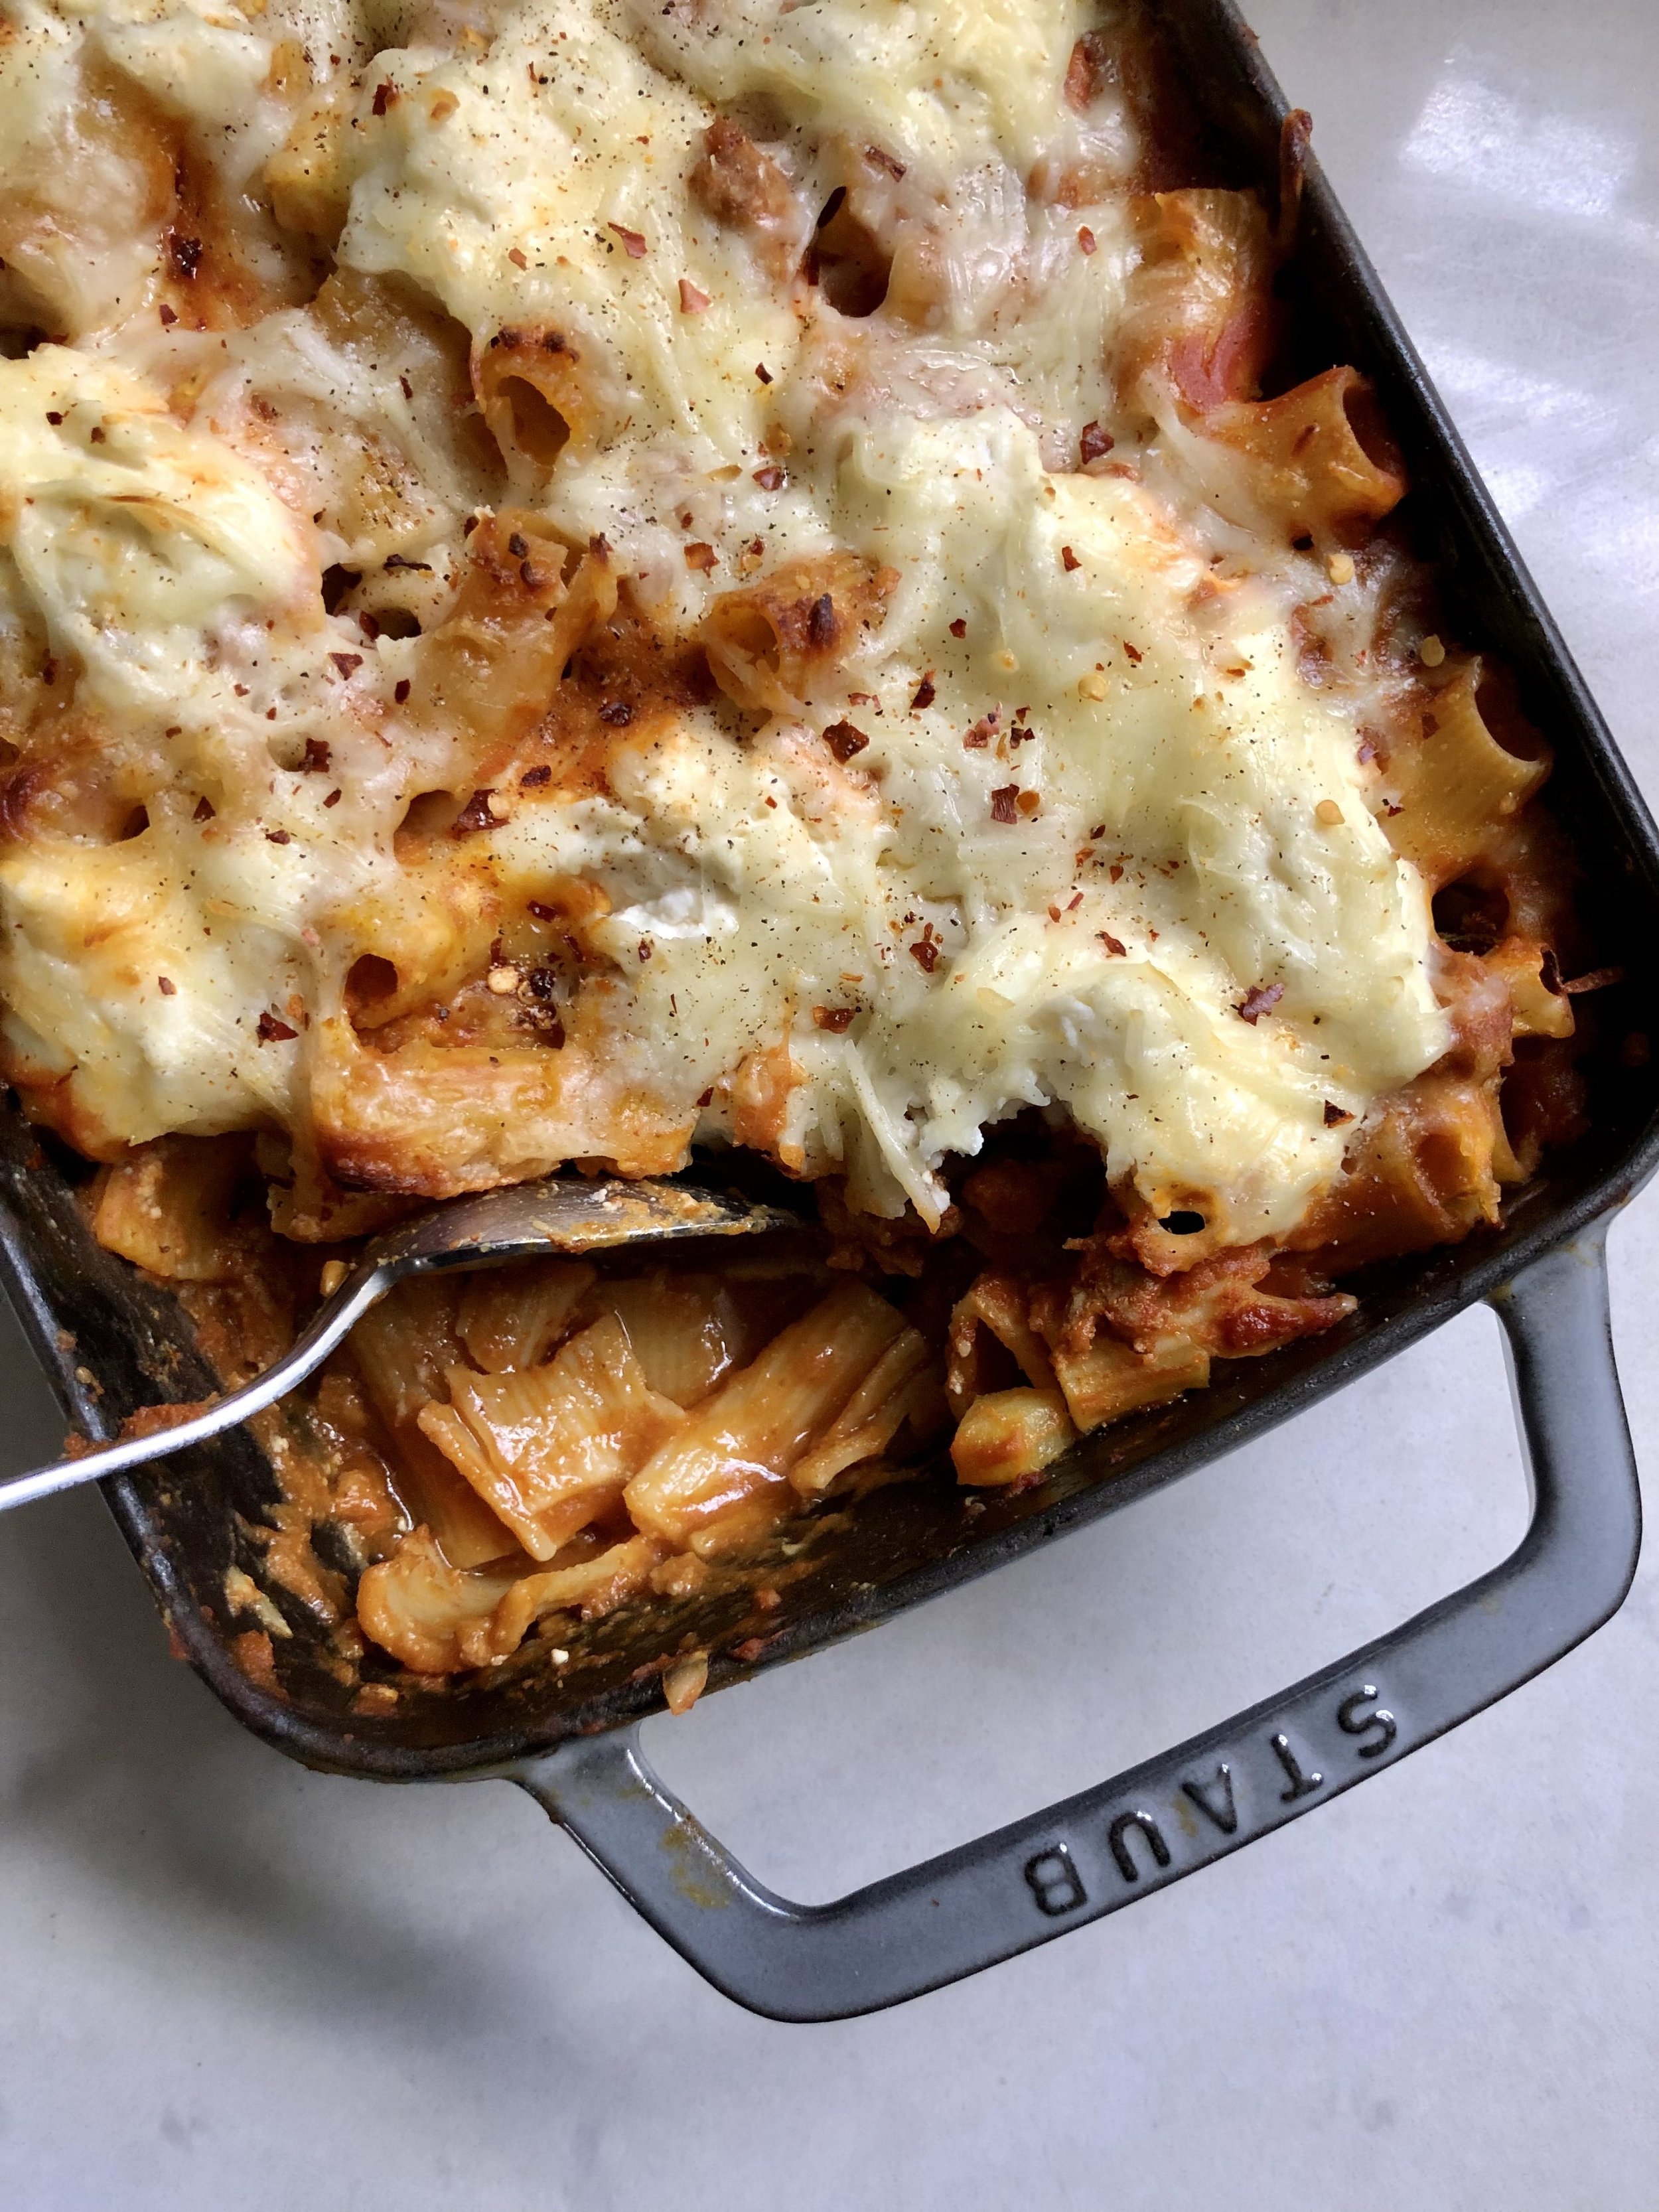
As the weather gets cooler, I find myself craving warm, comforting meals. Even better if they come together and bake up in one pan! This baked rigatoni with ground turkey, pumpkin and ricotta makes for a delicious dinner this time of year, and is enjoyed by kids and adults alike! I use ground turkey, but feel free to use beef if you prefer. It can also easily be made vegetarian by omitting the meat entirely! I love the added dose of veggies from the (entire can of) pumpkin, as well as some sneaky zucchini we had from our garden. Just a pinch of ground nutmeg imparts a wonderful depth of flavor- I highly recommend it! And don’t skimp on the cheese, either. We use a mix of whole milk ricotta and shredded mozzarella while baking, and freshly grated parmesan to serve! Top with red pepper flakes for a spicy kick! This can also be made ahead, and is great reheated, or even frozen and defrosted! Did I mention you don’t even have to boil the pasta before cooking? Talk about an easy, satisfying dinner!

Baked Rigatoni with Ground Turkey, Pumpkin & Ricotta:

  • 1 pound ground turkey (or beef)

  • 1 yellow onion, finely chopped

  • 2 garlic cloves, finely chopped

  • 6oz. can tomato paste

  • 15oz. can pumpkin puree

  • 1/4 tsp ground nutmeg

  • 1/2 tsp dried herbs (I like sage, oregano & thyme)

  • 1 large zucchini, cubed or shredded

  • 3 cups vegetable (or beef/chicken) broth

  • 16oz box rigatoni pasta

  • 1 cup ricotta cheese

  • 1 1/2 cups shredded mozzarella cheese

  • red pepper flakes, fresh parmesan cheese, fried sage leaves- optional garnish

Preheat the oven to 400 degrees. In a wide, oven-safe skillet (or casserole dish), brown the ground turkey for a several minutes until no pink remains, seasoning with salt & pepper as it cooks. Remove from pan, and saute the onion and garlic for a few minutes until they start to caramelize, careful not to burn the garlic. Add the turkey back to the pan, as well as the tomato paste, pumpkin puree, ground nutmeg and dried herbs, stirring to combine. Remember to season with salt & pepper at each step, and let the sauce simmer/cook together for a few minutes so that the flavors can develop. Add zucchini or other veggies, if using, until fully mixed together. Then, add the broth and pasta, and stir to combine. Add dollops of the ricotta throughout the pasta, by the large spoonful. Mix some salt & pepper and lemon zest into the ricotta before adding to the pasta if you want to elevate the flavor even more. Sprinkle shredded mozzarella cheese over the top. Cover and cook for about 40 minutes. Then uncover and cook for about 5 more minutes until cheese is bubbly. Let cool, and sprinkle with red pepper flakes. Serve with freshly grated parmesan cheese. Enjoy!

*Adapted from No Boil Pumpkin & Sausage Baked Ziti by Inspiralized.


grain-free pecan pie bars

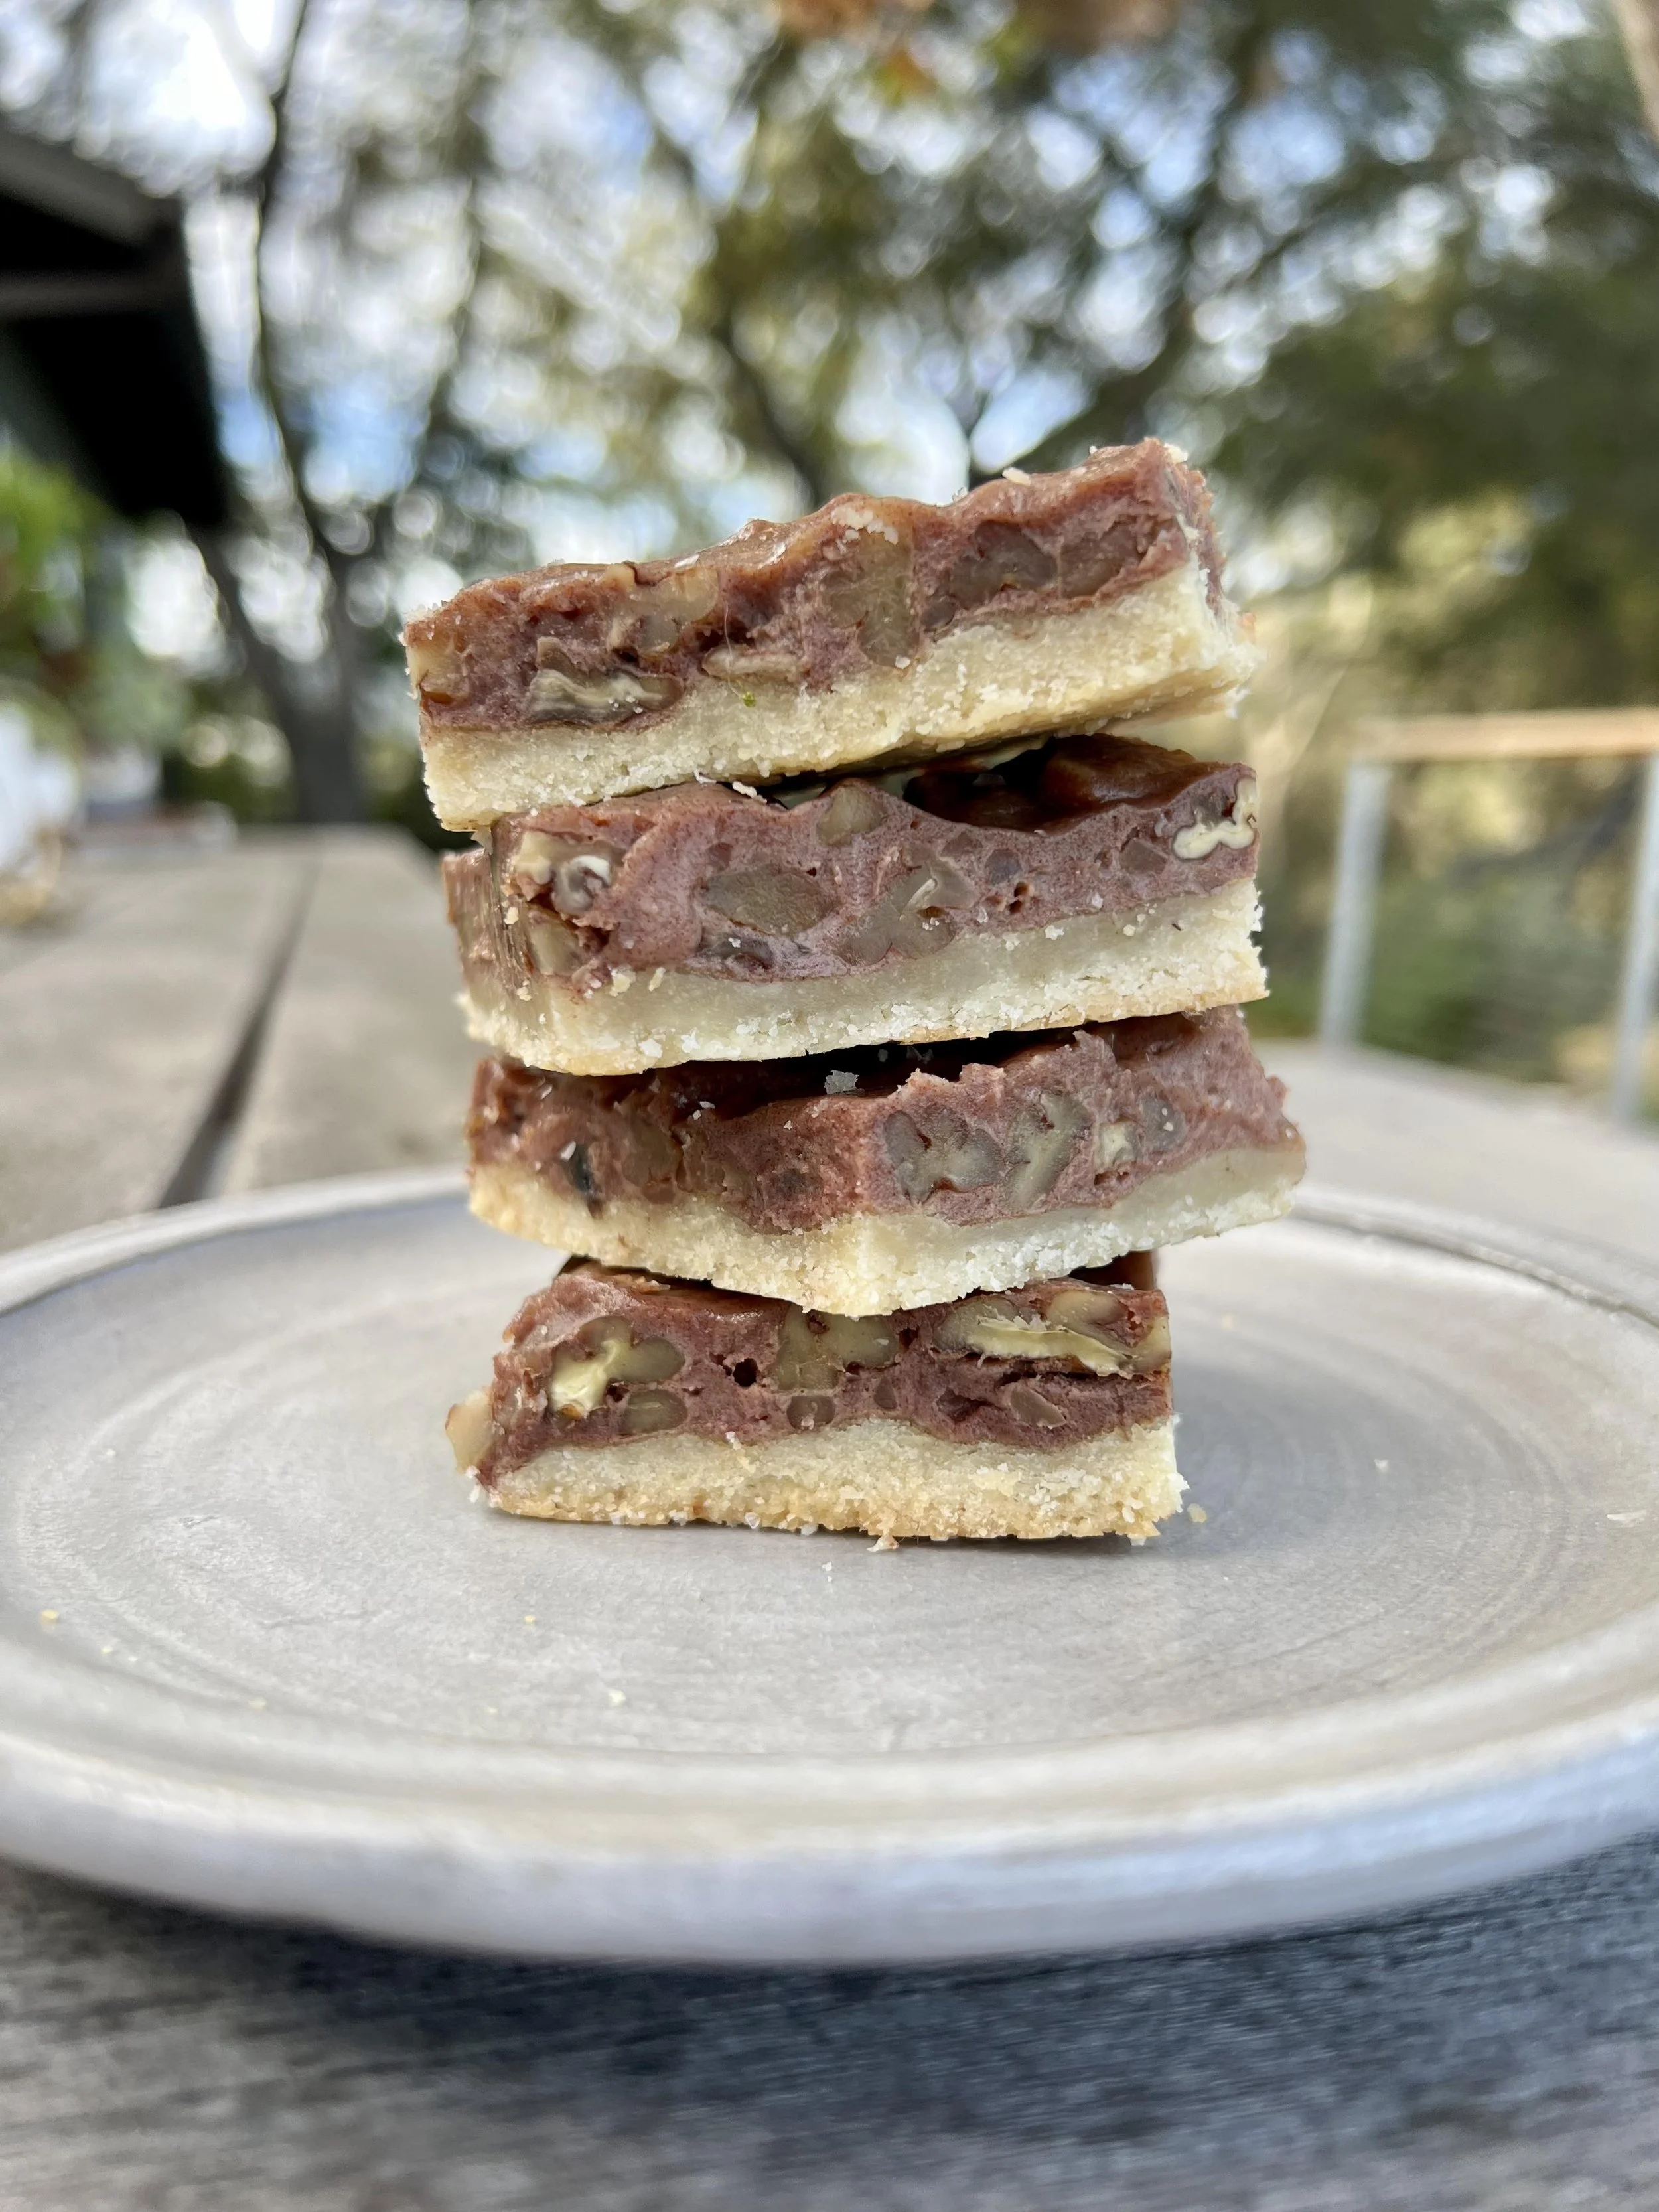
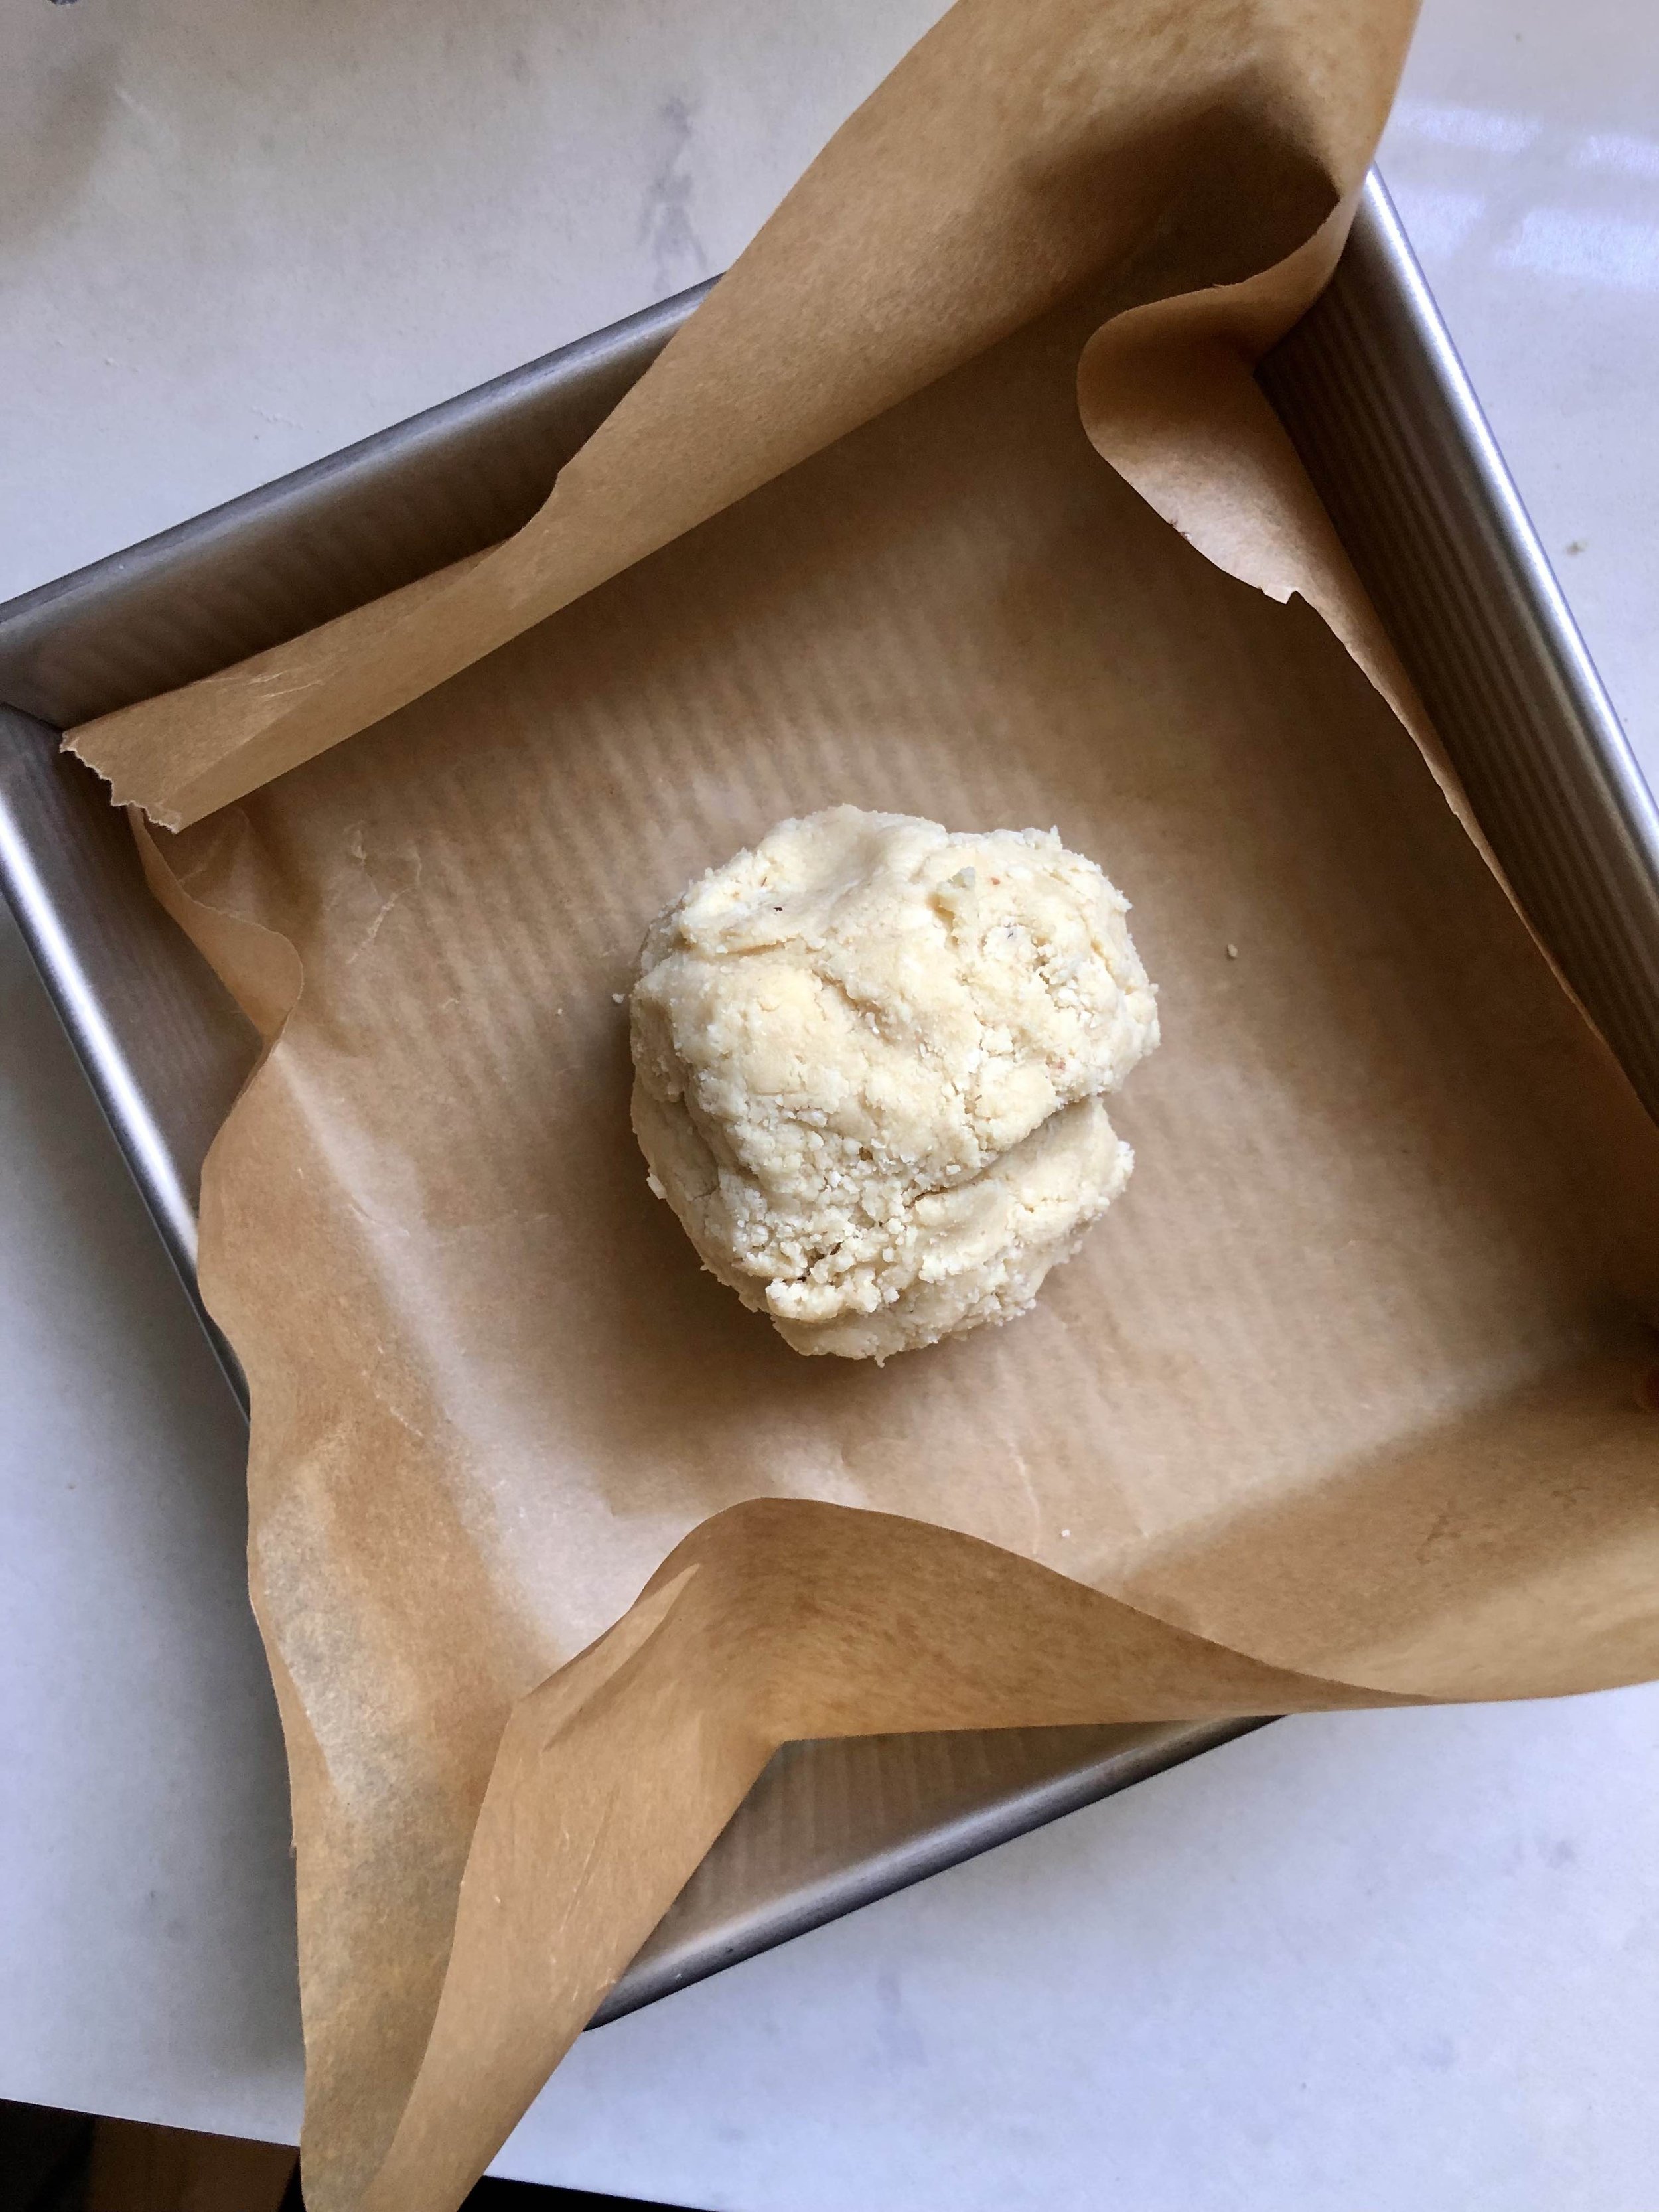
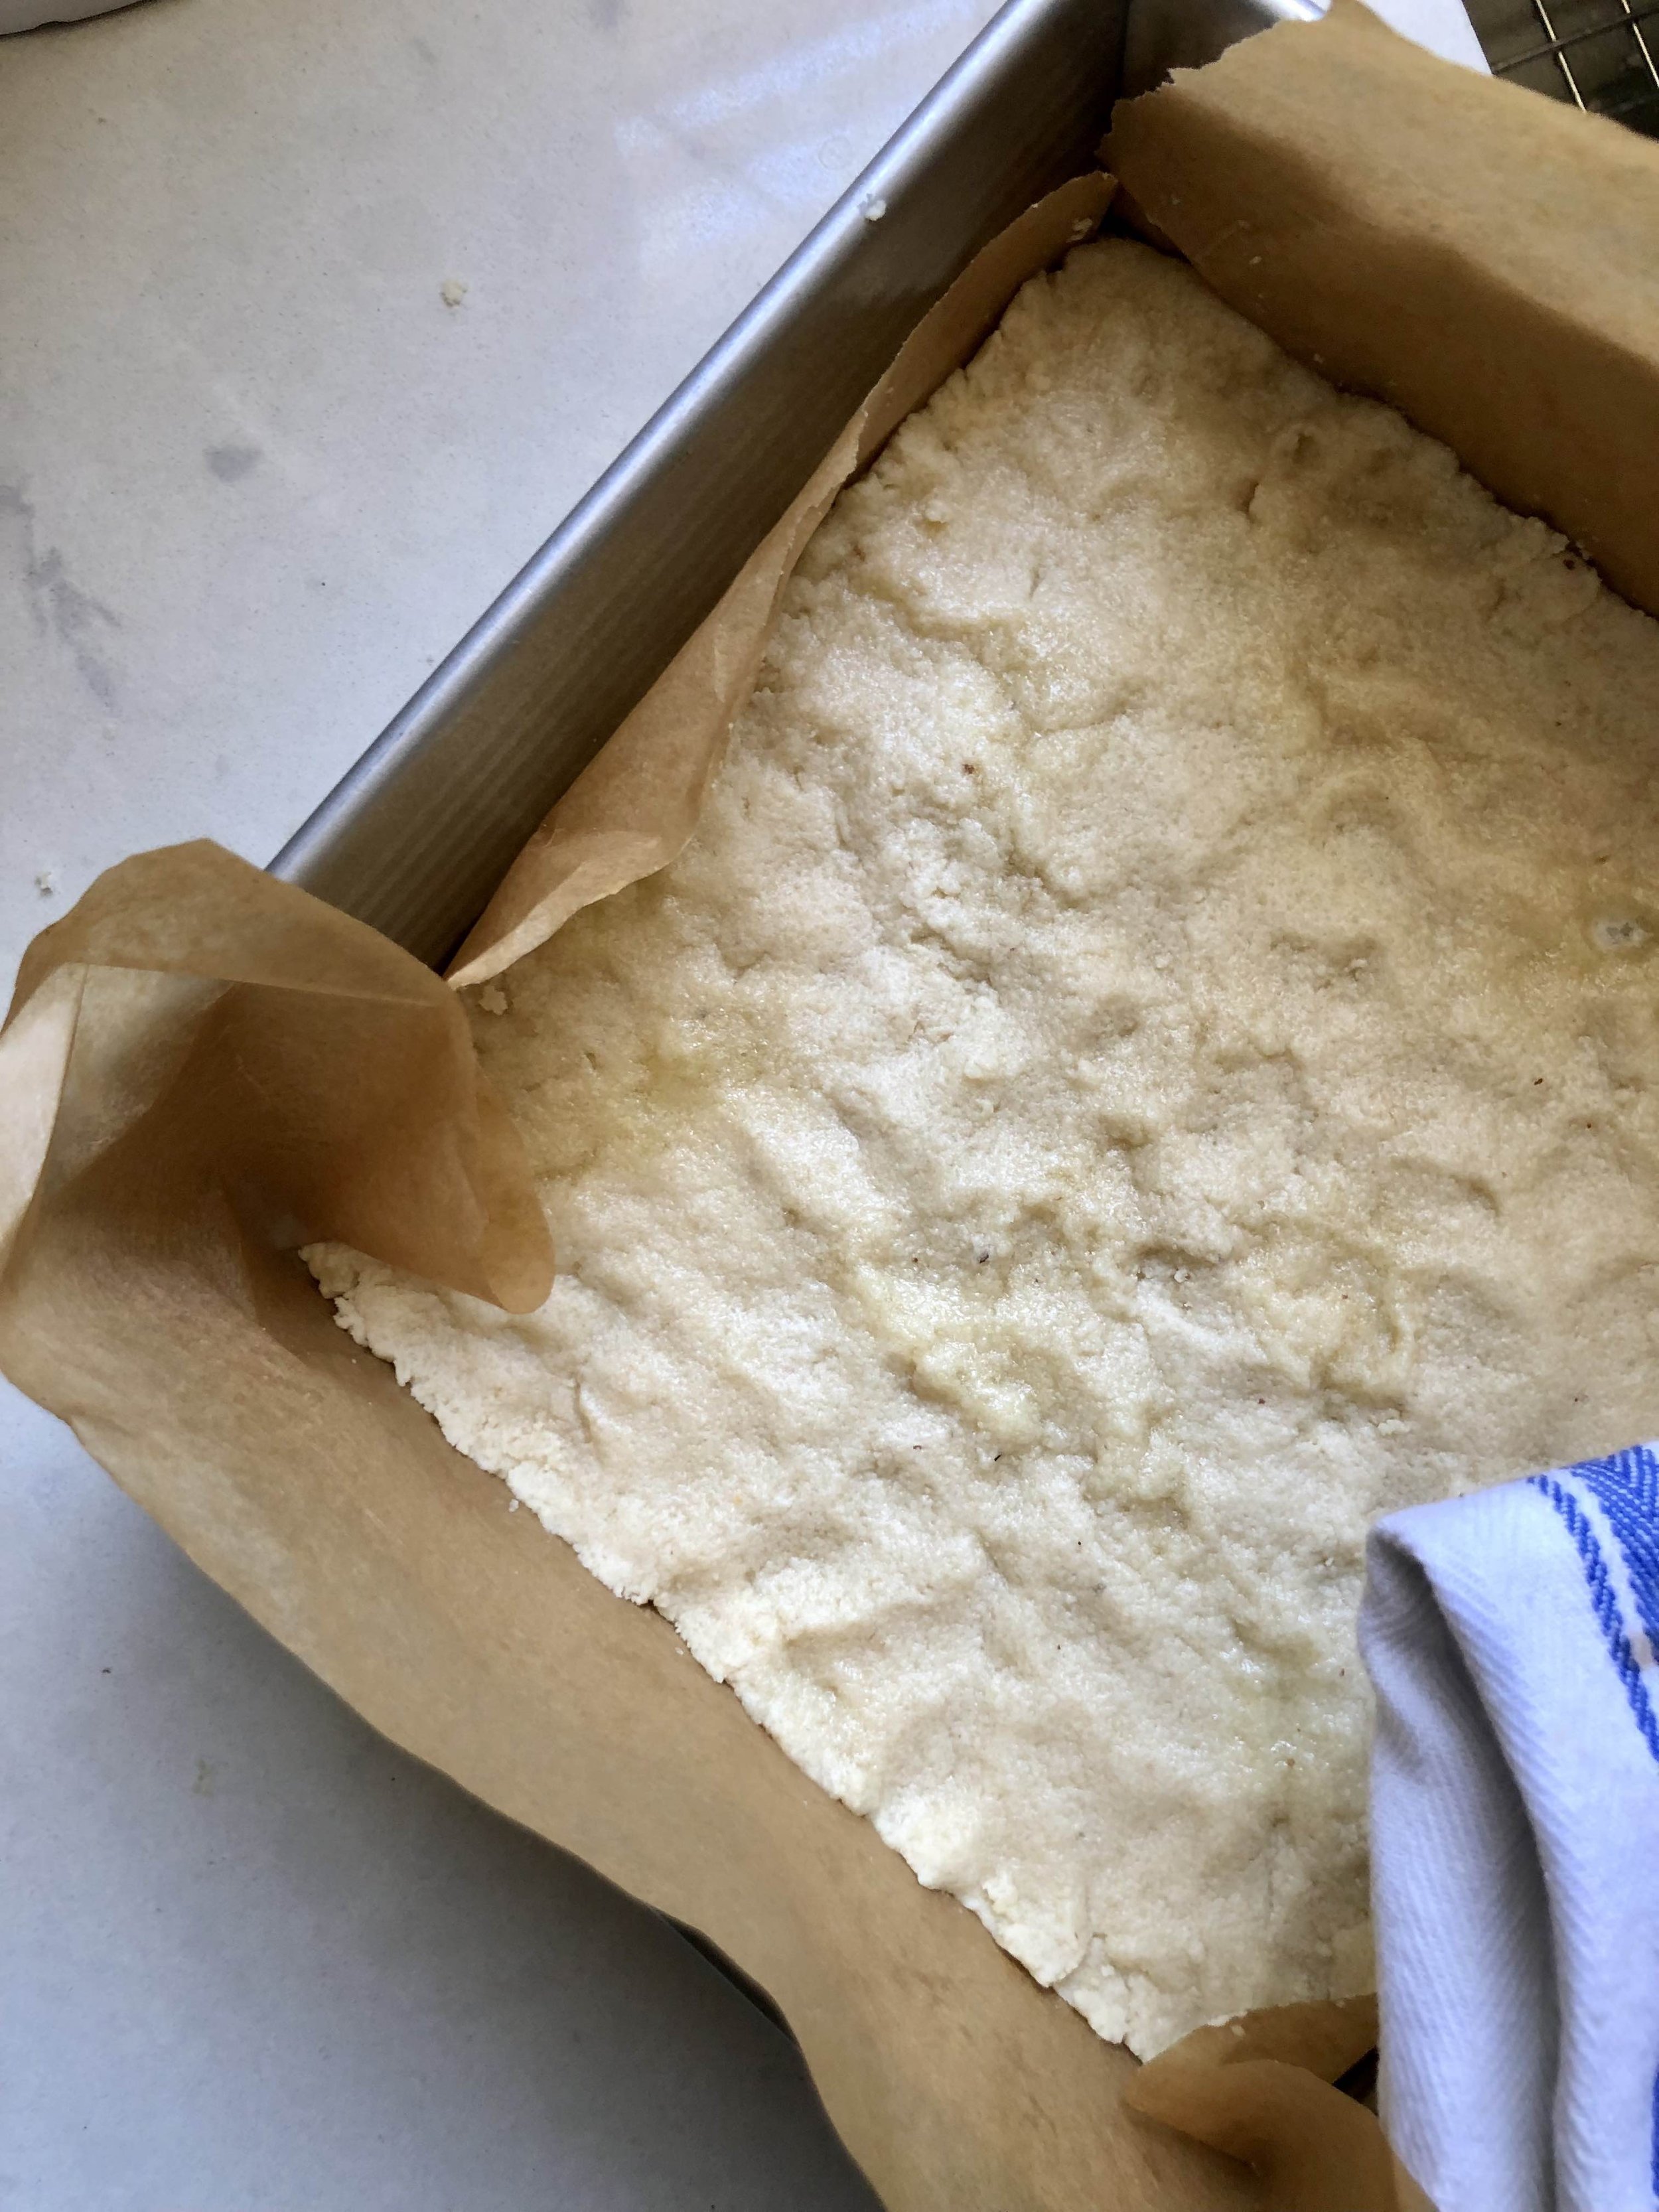
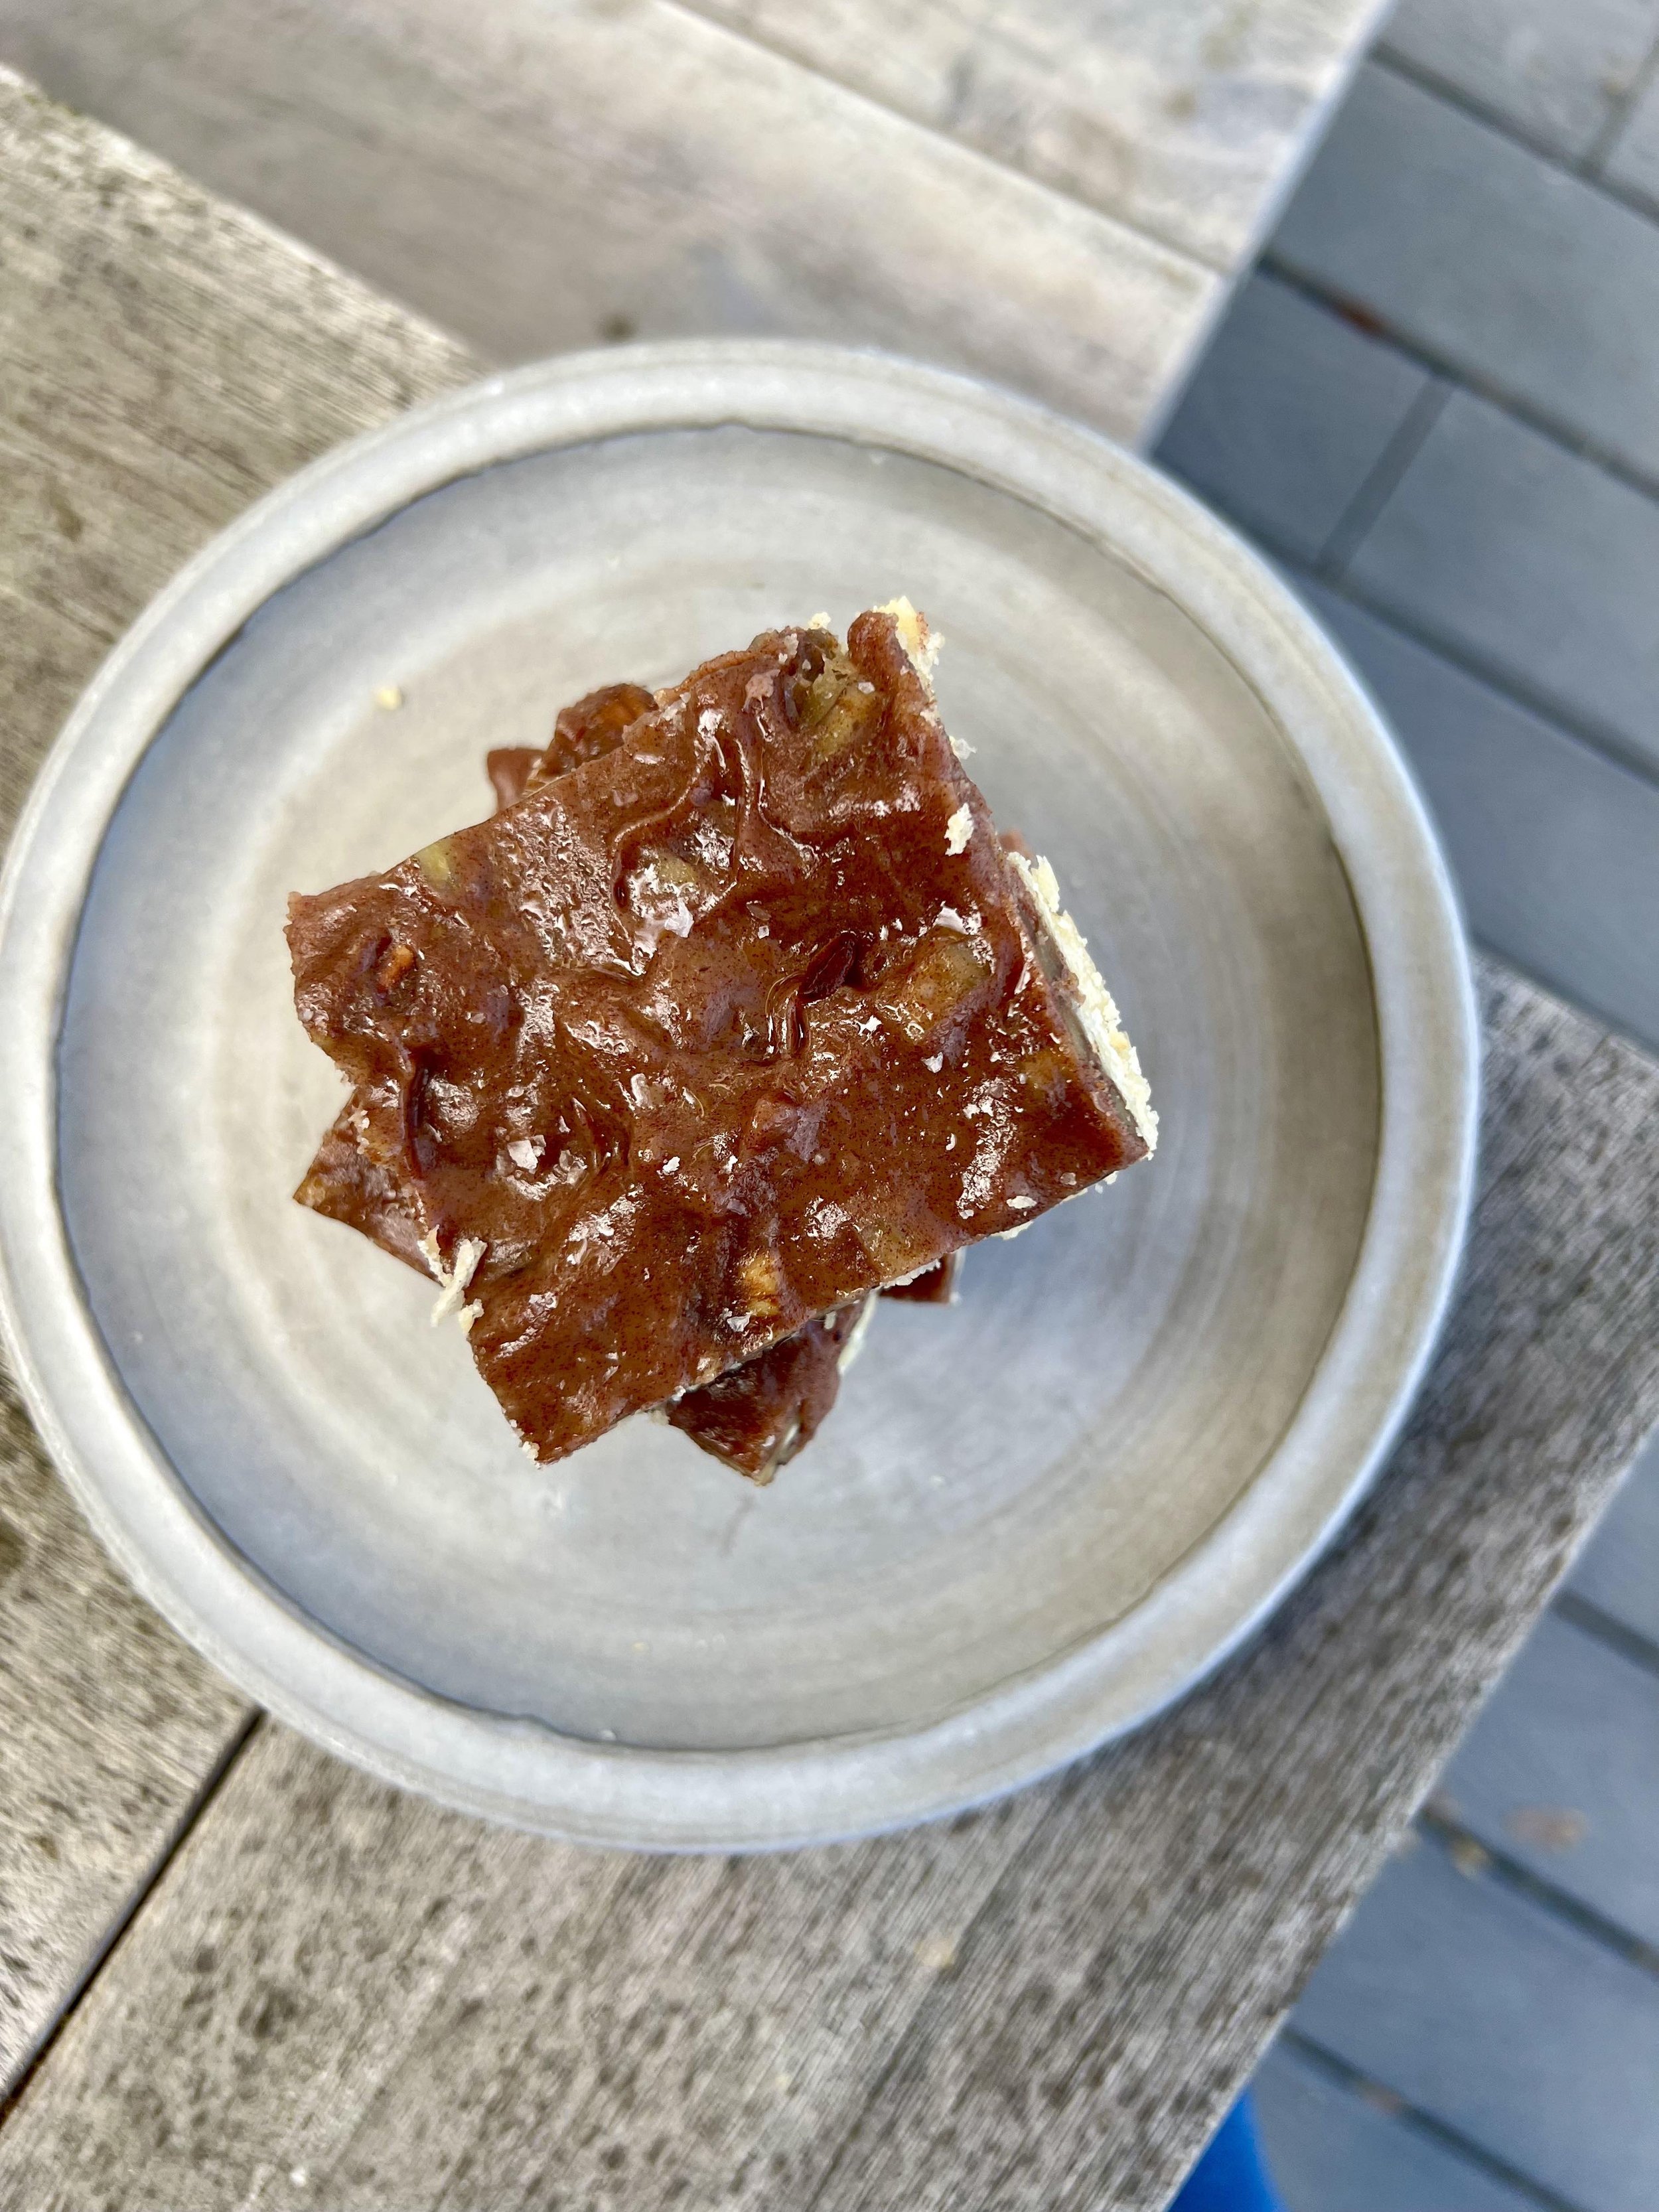
I can’t believe the holiday season is soon upon us. This year has really flown by! One of the first things that comes to mind when I think holidays is holiday baking! From festive pies at Thanksgiving to cookie exchanges at Christmas, I’m truly here for it all! Pecan pie is a southern fave for good reason- that gooey caramelized filling, with candied pecans, and a buttery shortbread crust is hard to beat. But to be honest, many pecan pies can be sickeningly sweet, and I’m not a huge fan of the corn syrup filling that is traditionally used. I also understand pies can be a bit of an overwhelming undertaking, and so I love the approach of somewhat more casual pecan pie bars! These in particular are made with a coconut milk and date filling, along with a butter and almond flour based crust. Plus lots of gooey pecans!

These are equally as delicious as their pie-counterpart, but can be eaten with your hands! Served in a bowl topped with a big scoop of ice cream ain’t bad either, just sayin’. My bestie Rachel Mcconn at Rachel Mcconn Wellness (who I’ve baked with before & also loves a good sweet treat) developed this grain, gluten, and refined sugar- free pecan pie bar recipe, and asked me to test out the recipe for her. Okay, fine, twist my arm ;) These turned out super tasty- not to mention made the house smell absolutely fantastic- and I think they’d make a perfect addition to any holiday table. She has offered to share the recipe with my readers- so head on over to her site for the recipe! As always with RMW recipes, these are free of all gluten, grains, and refined sugars, so those with any allergies or restrictions can still indulge freely as well. Hope you enjoy, and happy holidays!


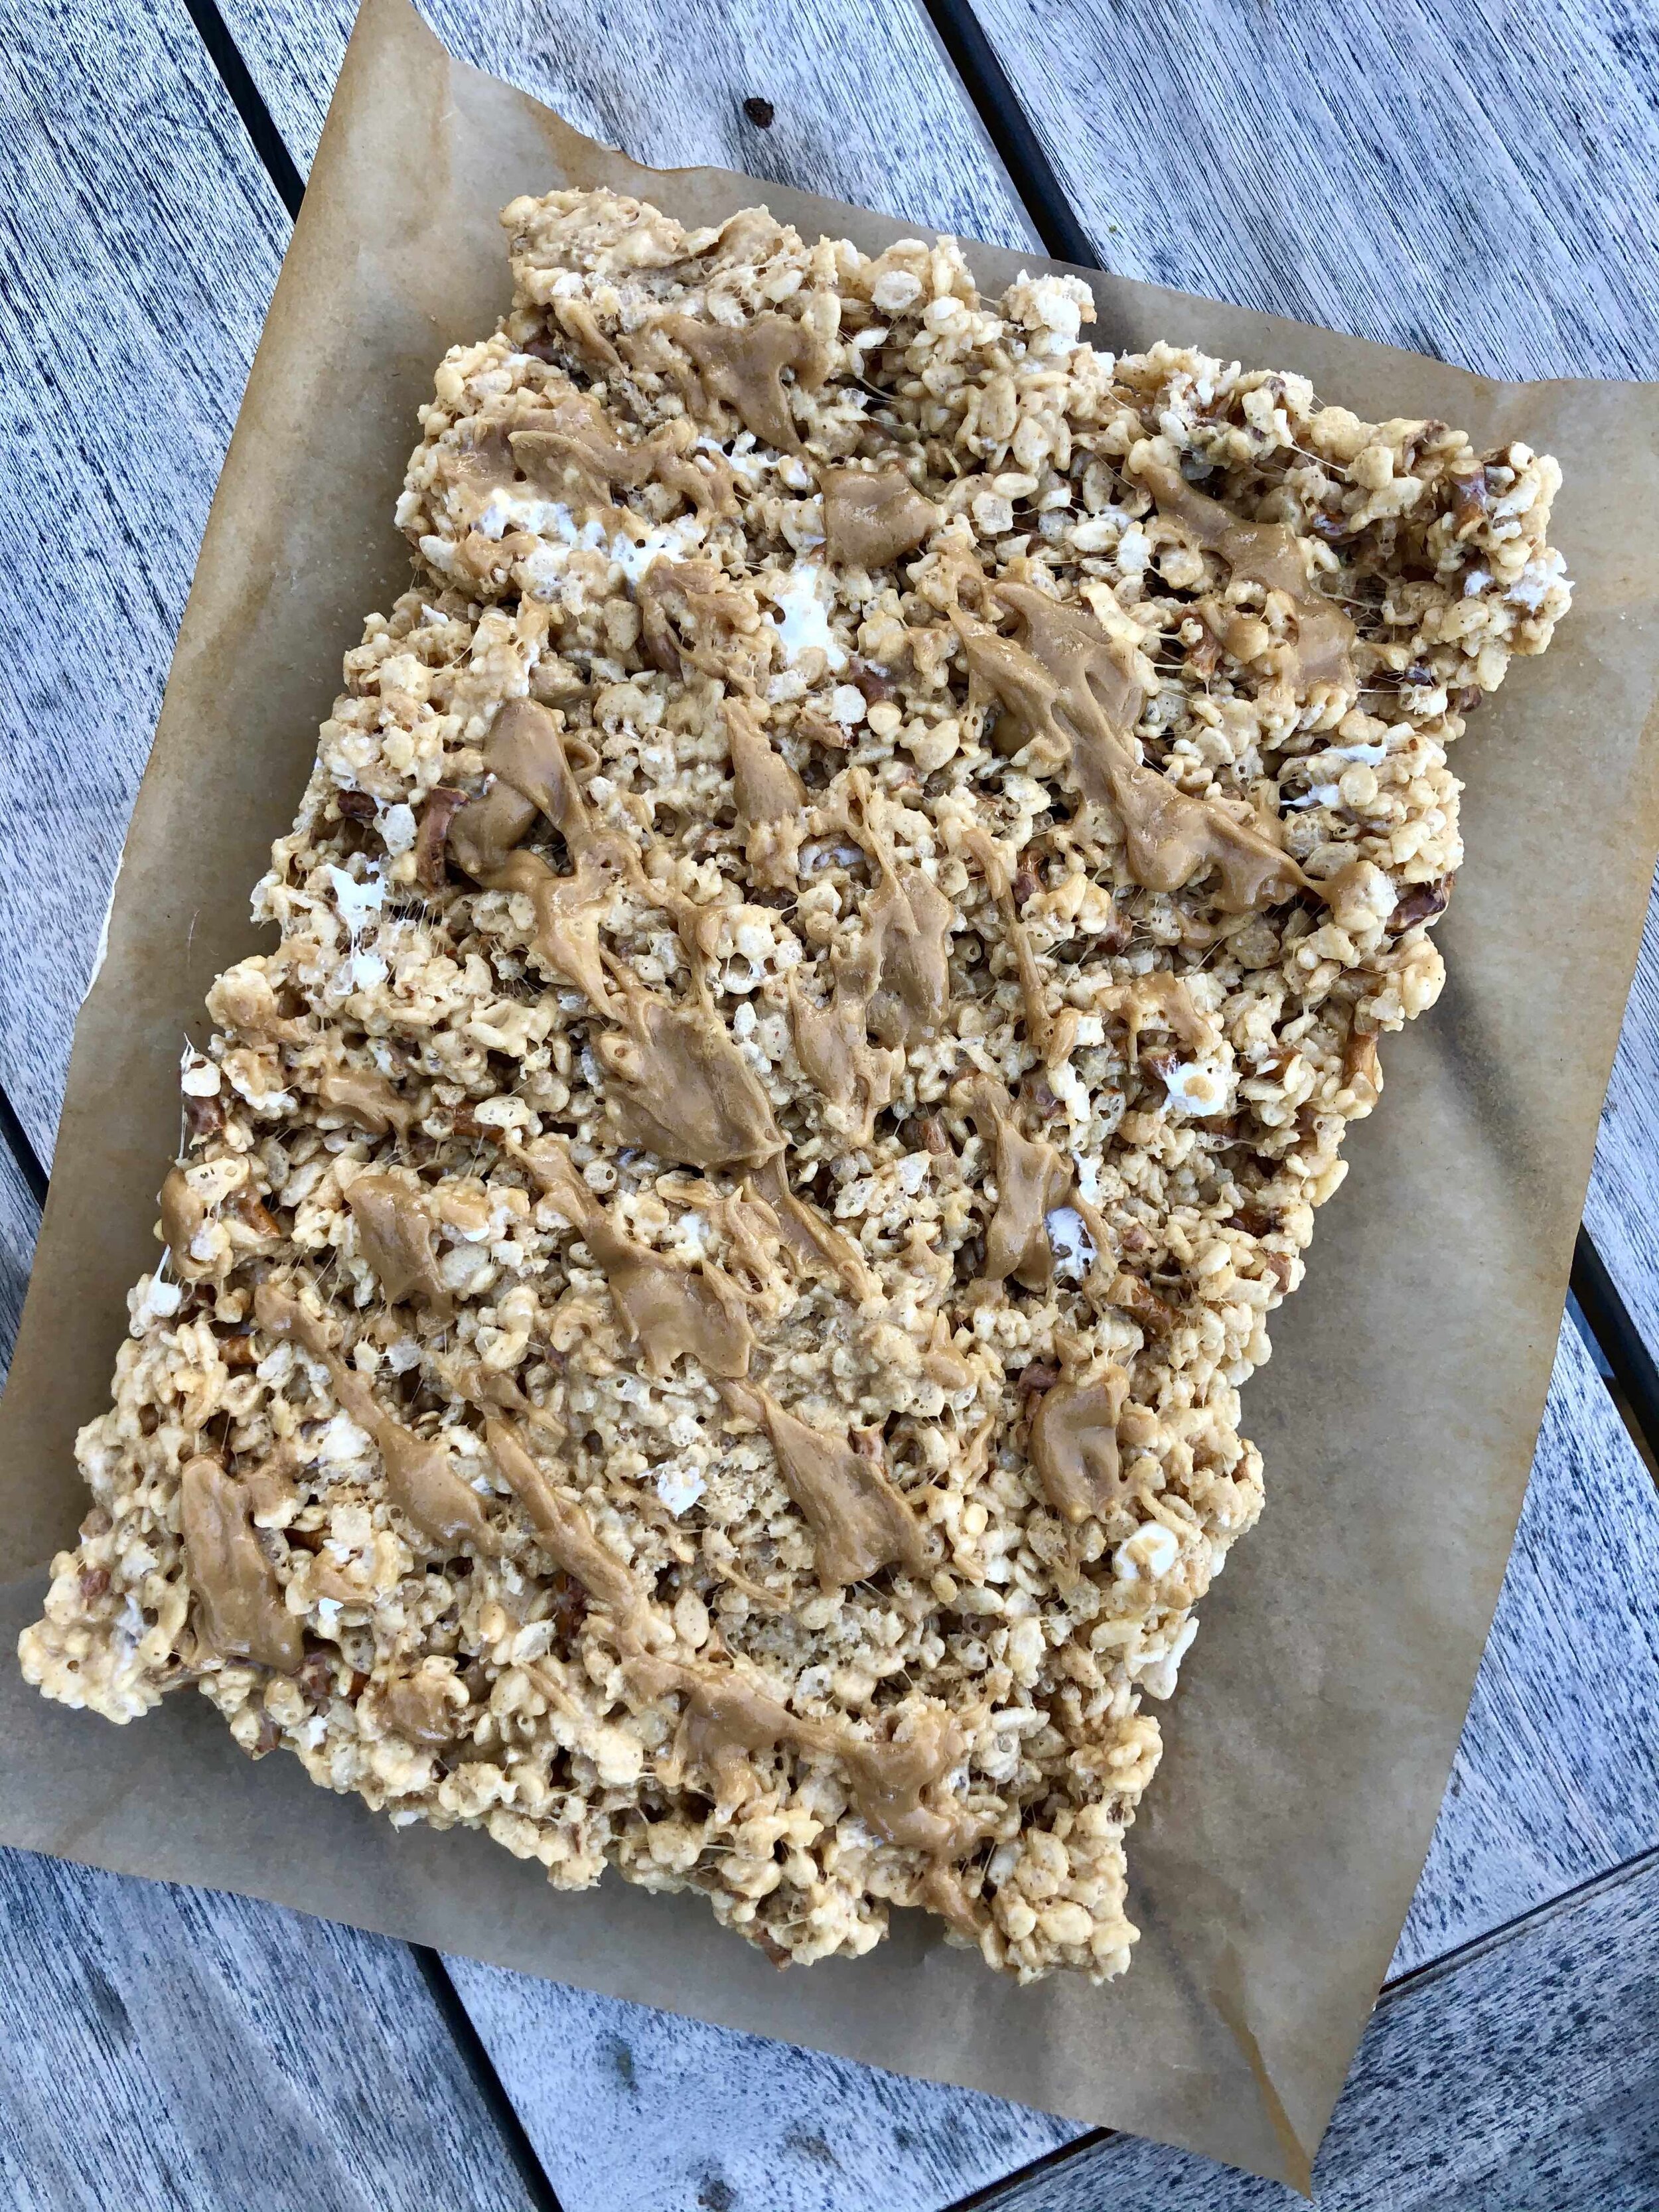
brown butter peanut butter pretzel rice krispie treats

brown butter peanut butter pretzel rice krispie treats

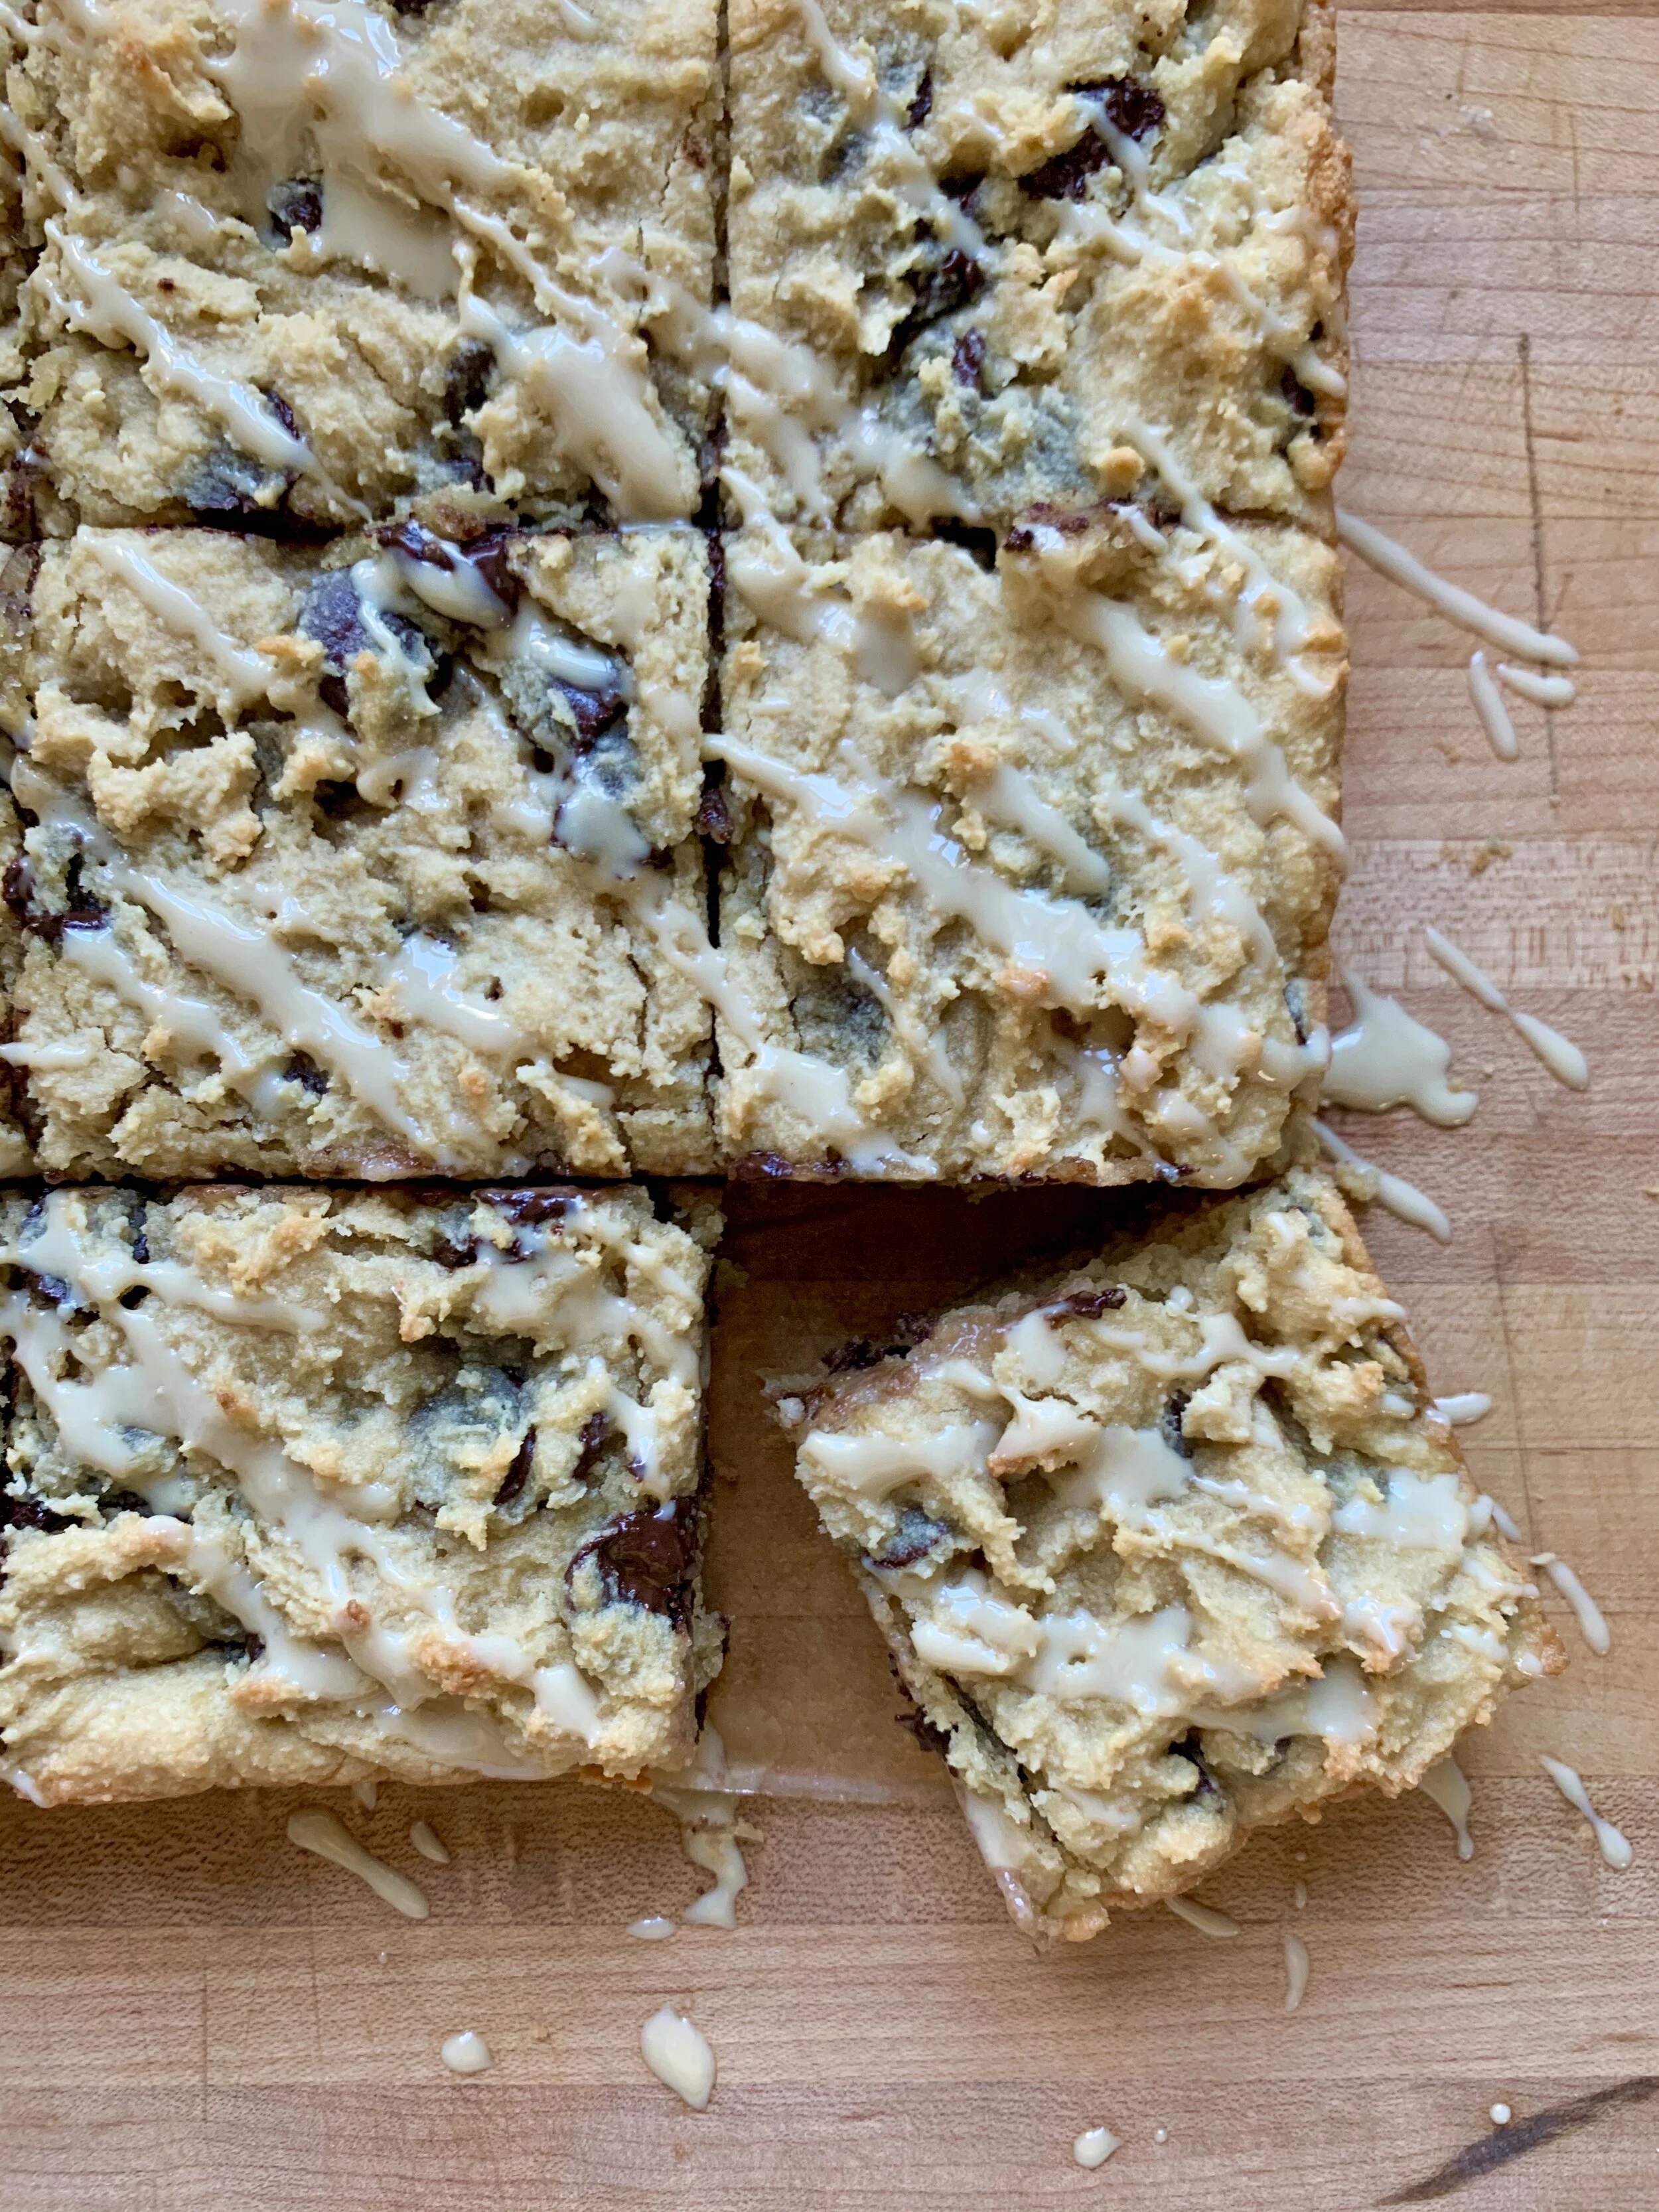
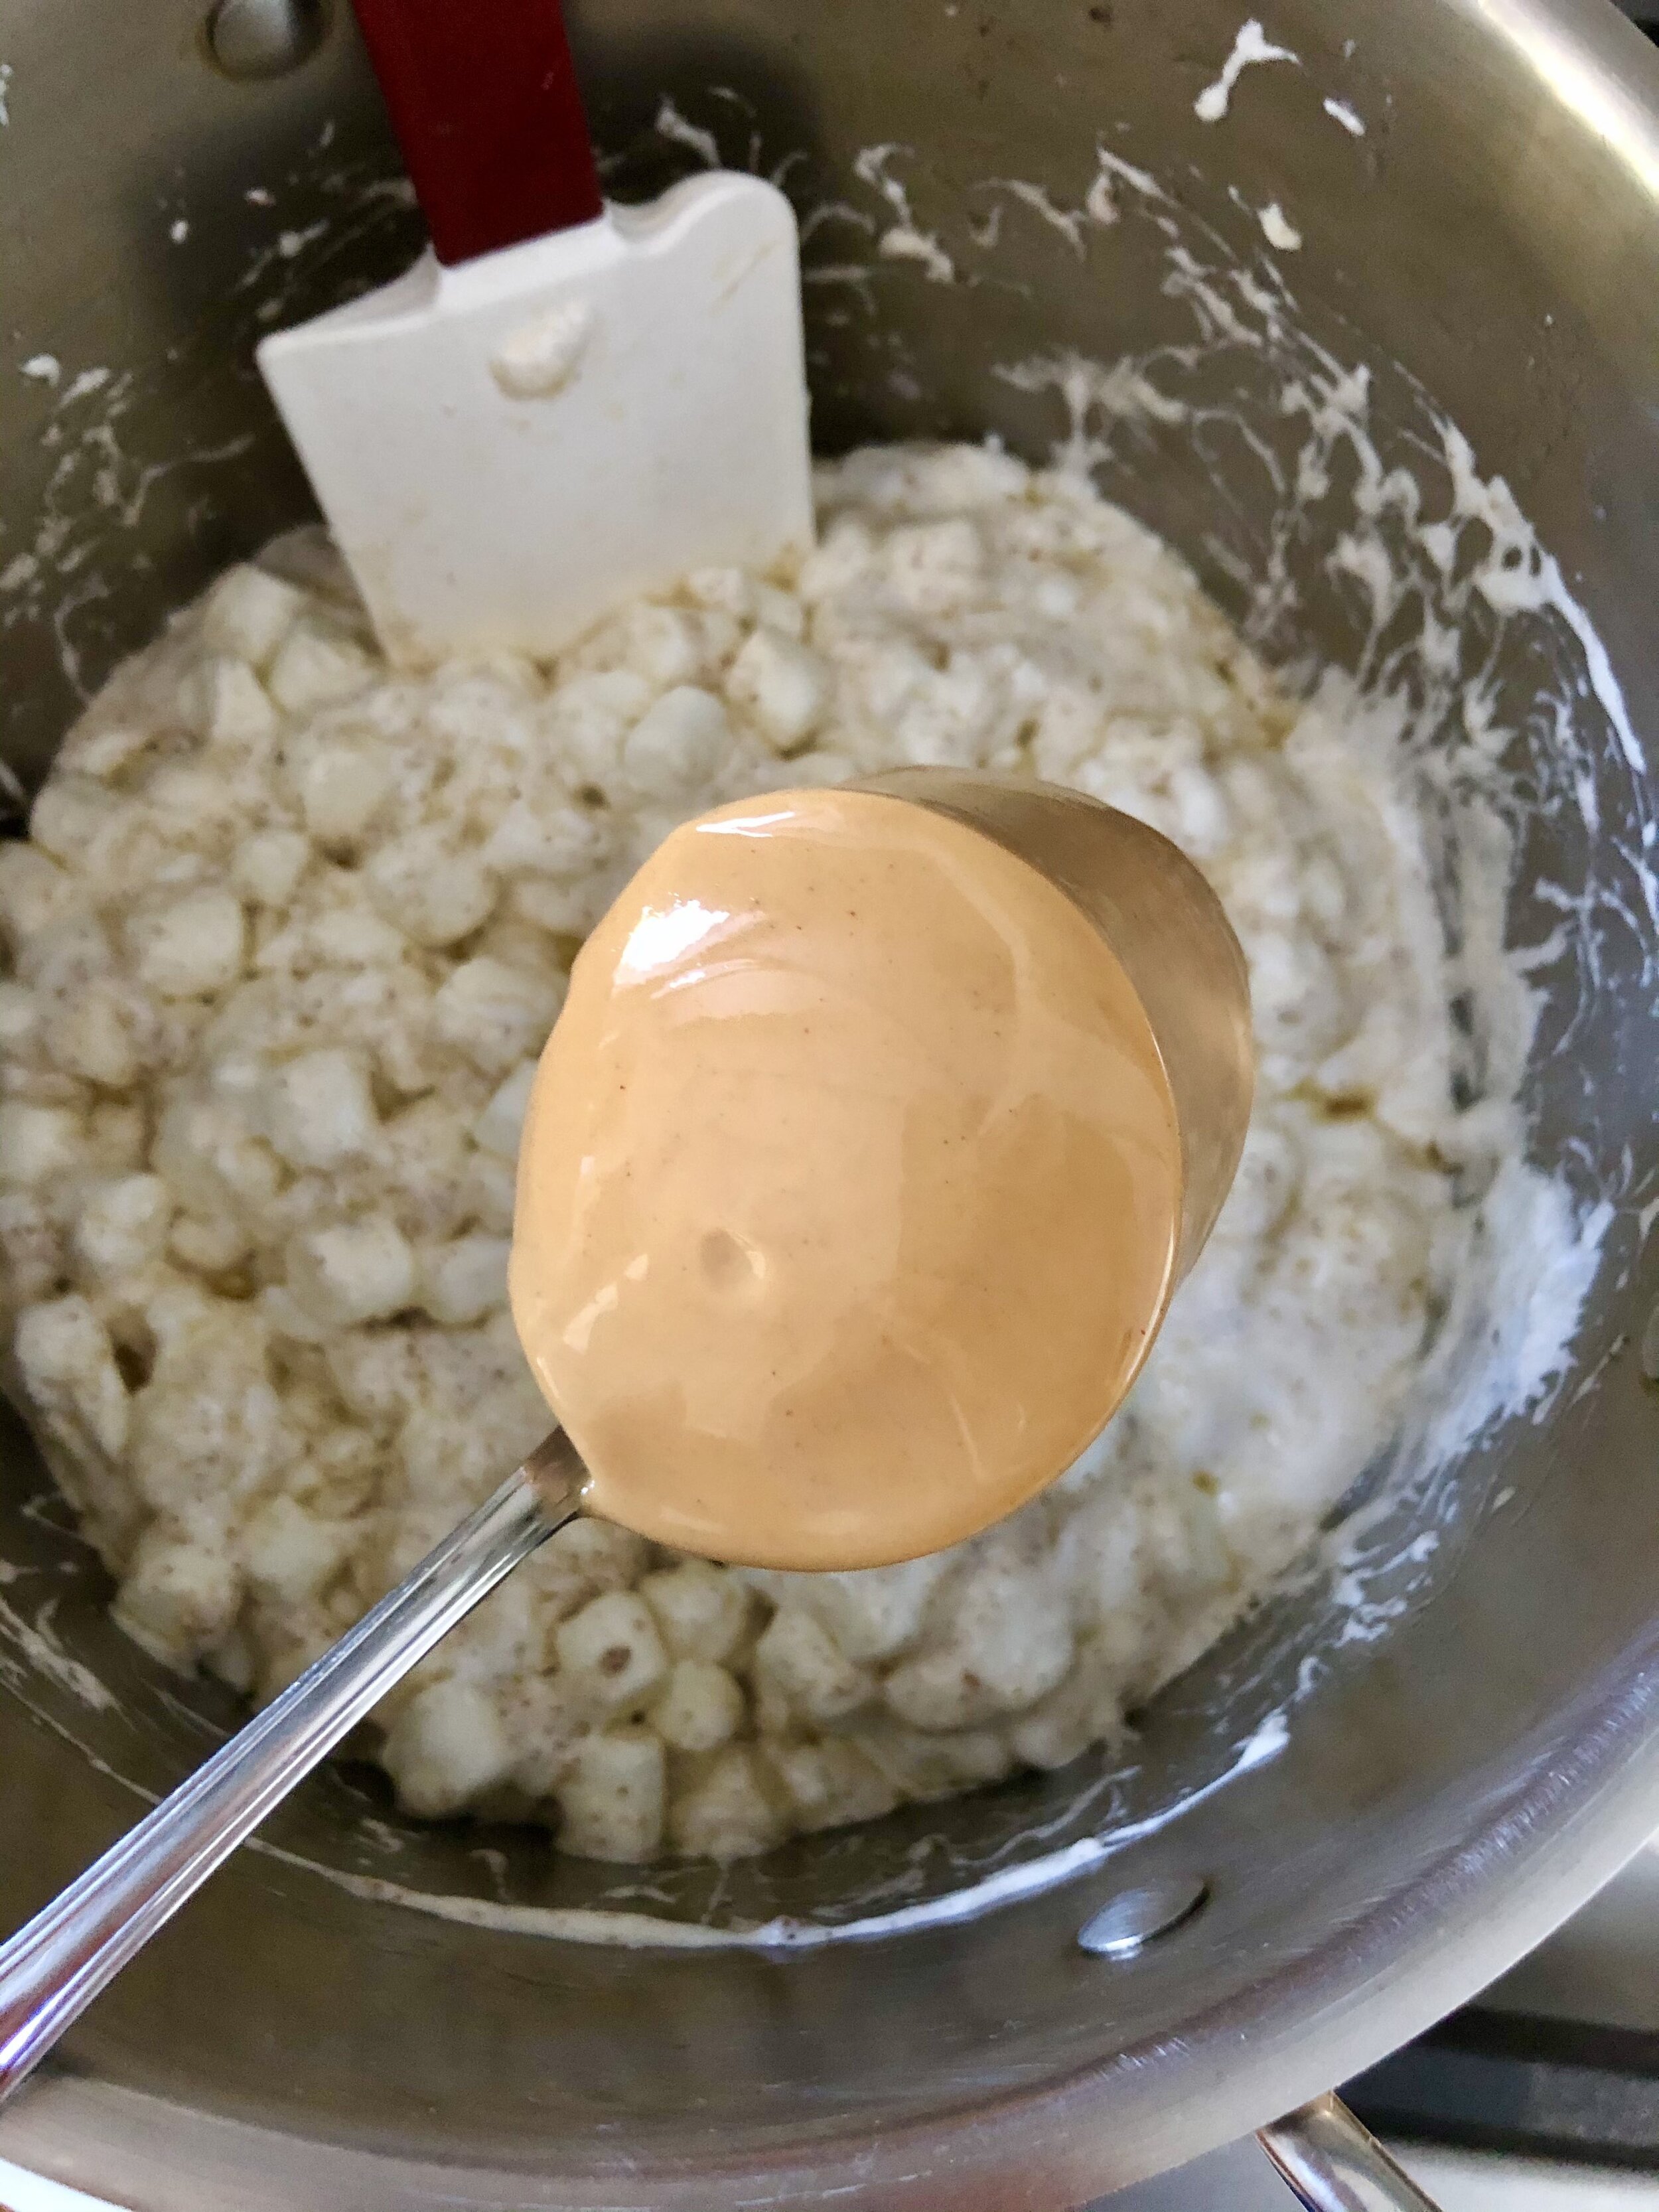
I love a sweet and salty treat- it’s such an addicting and comforting combo for me. I can’t help but reach for more! Add in a delicious, childhood goodie like rice krispie treats, and you’ve got yourself quite the tasty (yet easy!) dessert! I’d been craving rice krispie treats lately, and while there’s nothing wrong with the tried and true classic, I wanted to shake things up a bit. Since I love adding mix-ins to my baked goods, I figured I’d toss in some creamy peanut butter and crunchy pretzels to take these to the next level. Plus, I browned my butter before adding the marshmallows to the pot, which really kicks things up a notch. That nutty, caramel flavor from the brown butter is just oh so good in these rice krispie treats. Feel free to swap out a different nut butter if you’re not into peanuts, or use gluten free pretzels if you need. I kept things classic in this case, and I must say- they’re super delish! The peanut butter glaze is just a lil extra somethin’ somethin’ on top. Totally not necessary, but a welcome addition for sure :) A few lil tips and tricks to pass along to make these extra tasty: 1) Instead of melting all the marshmallows into the browned butter, save 1-2 cups to mix in at the end with the cereal. This ensures you get ooey gooey pockets of marshmallow goodness in your finished product! 2) Use your empty butter wrapers or a greased spatula when spreading the treats into the pan, to prevent them sticking to everything! 3) Be careful not to pack down the rice krispie treats too hard in the pan! Just a gentle press, otherwise you’ll end up with thin, hard treats, and no one wants that! I hope you enjoy :)

Brown Butter Peanut Butter Pretzel Rice Krispie Treats:

Peanut Butter Glaze:

Line a 9×13 inch baking pan with parchment paper & grease with butter or cooking spray. Melt the butter over medium heat in a very large pot. Once melted, continue cooking for a few more minutes, constantly stirring. Mixture will bubble and foam, and you’ll know it’s browned when it’s a golden color and smells nutty. Careful not to burn it! Add all but 1 cup of marshmallows, and stir until completely melted.

Remove from heat, then immediately stir in the peanut butter, vanilla extract and salt. Lastly, fold in the Rice Krispies cereal, crushed pretzels, and remaining marshmallows. Make sure everything is evenly coated in the peanut butter marshmallow mixture. 

Transfer mixture to prepared pan. Using a rubber spatula (or the butter wrappers), gently spread mixture to fit the pan, careful not pack it down too hard. Allow treats to set for at least 1 hour at room temperature before slicing. Make the glaze in the meantime, if using. Whisk all ingredients together until smooth. You may warm the peanut butter first if need be to get it to a runnier consistency. Lift the rice krispie treats out of the pan using the parchment paper, drizzle the glaze on top, and cut into squares. Enjoy! These are best the day they’re made, but will stay fresh in an airtight container at room temperature for a few days. 

brown butter peanut butter pretzel rice krispie treats