date pecan pinwheel cookies

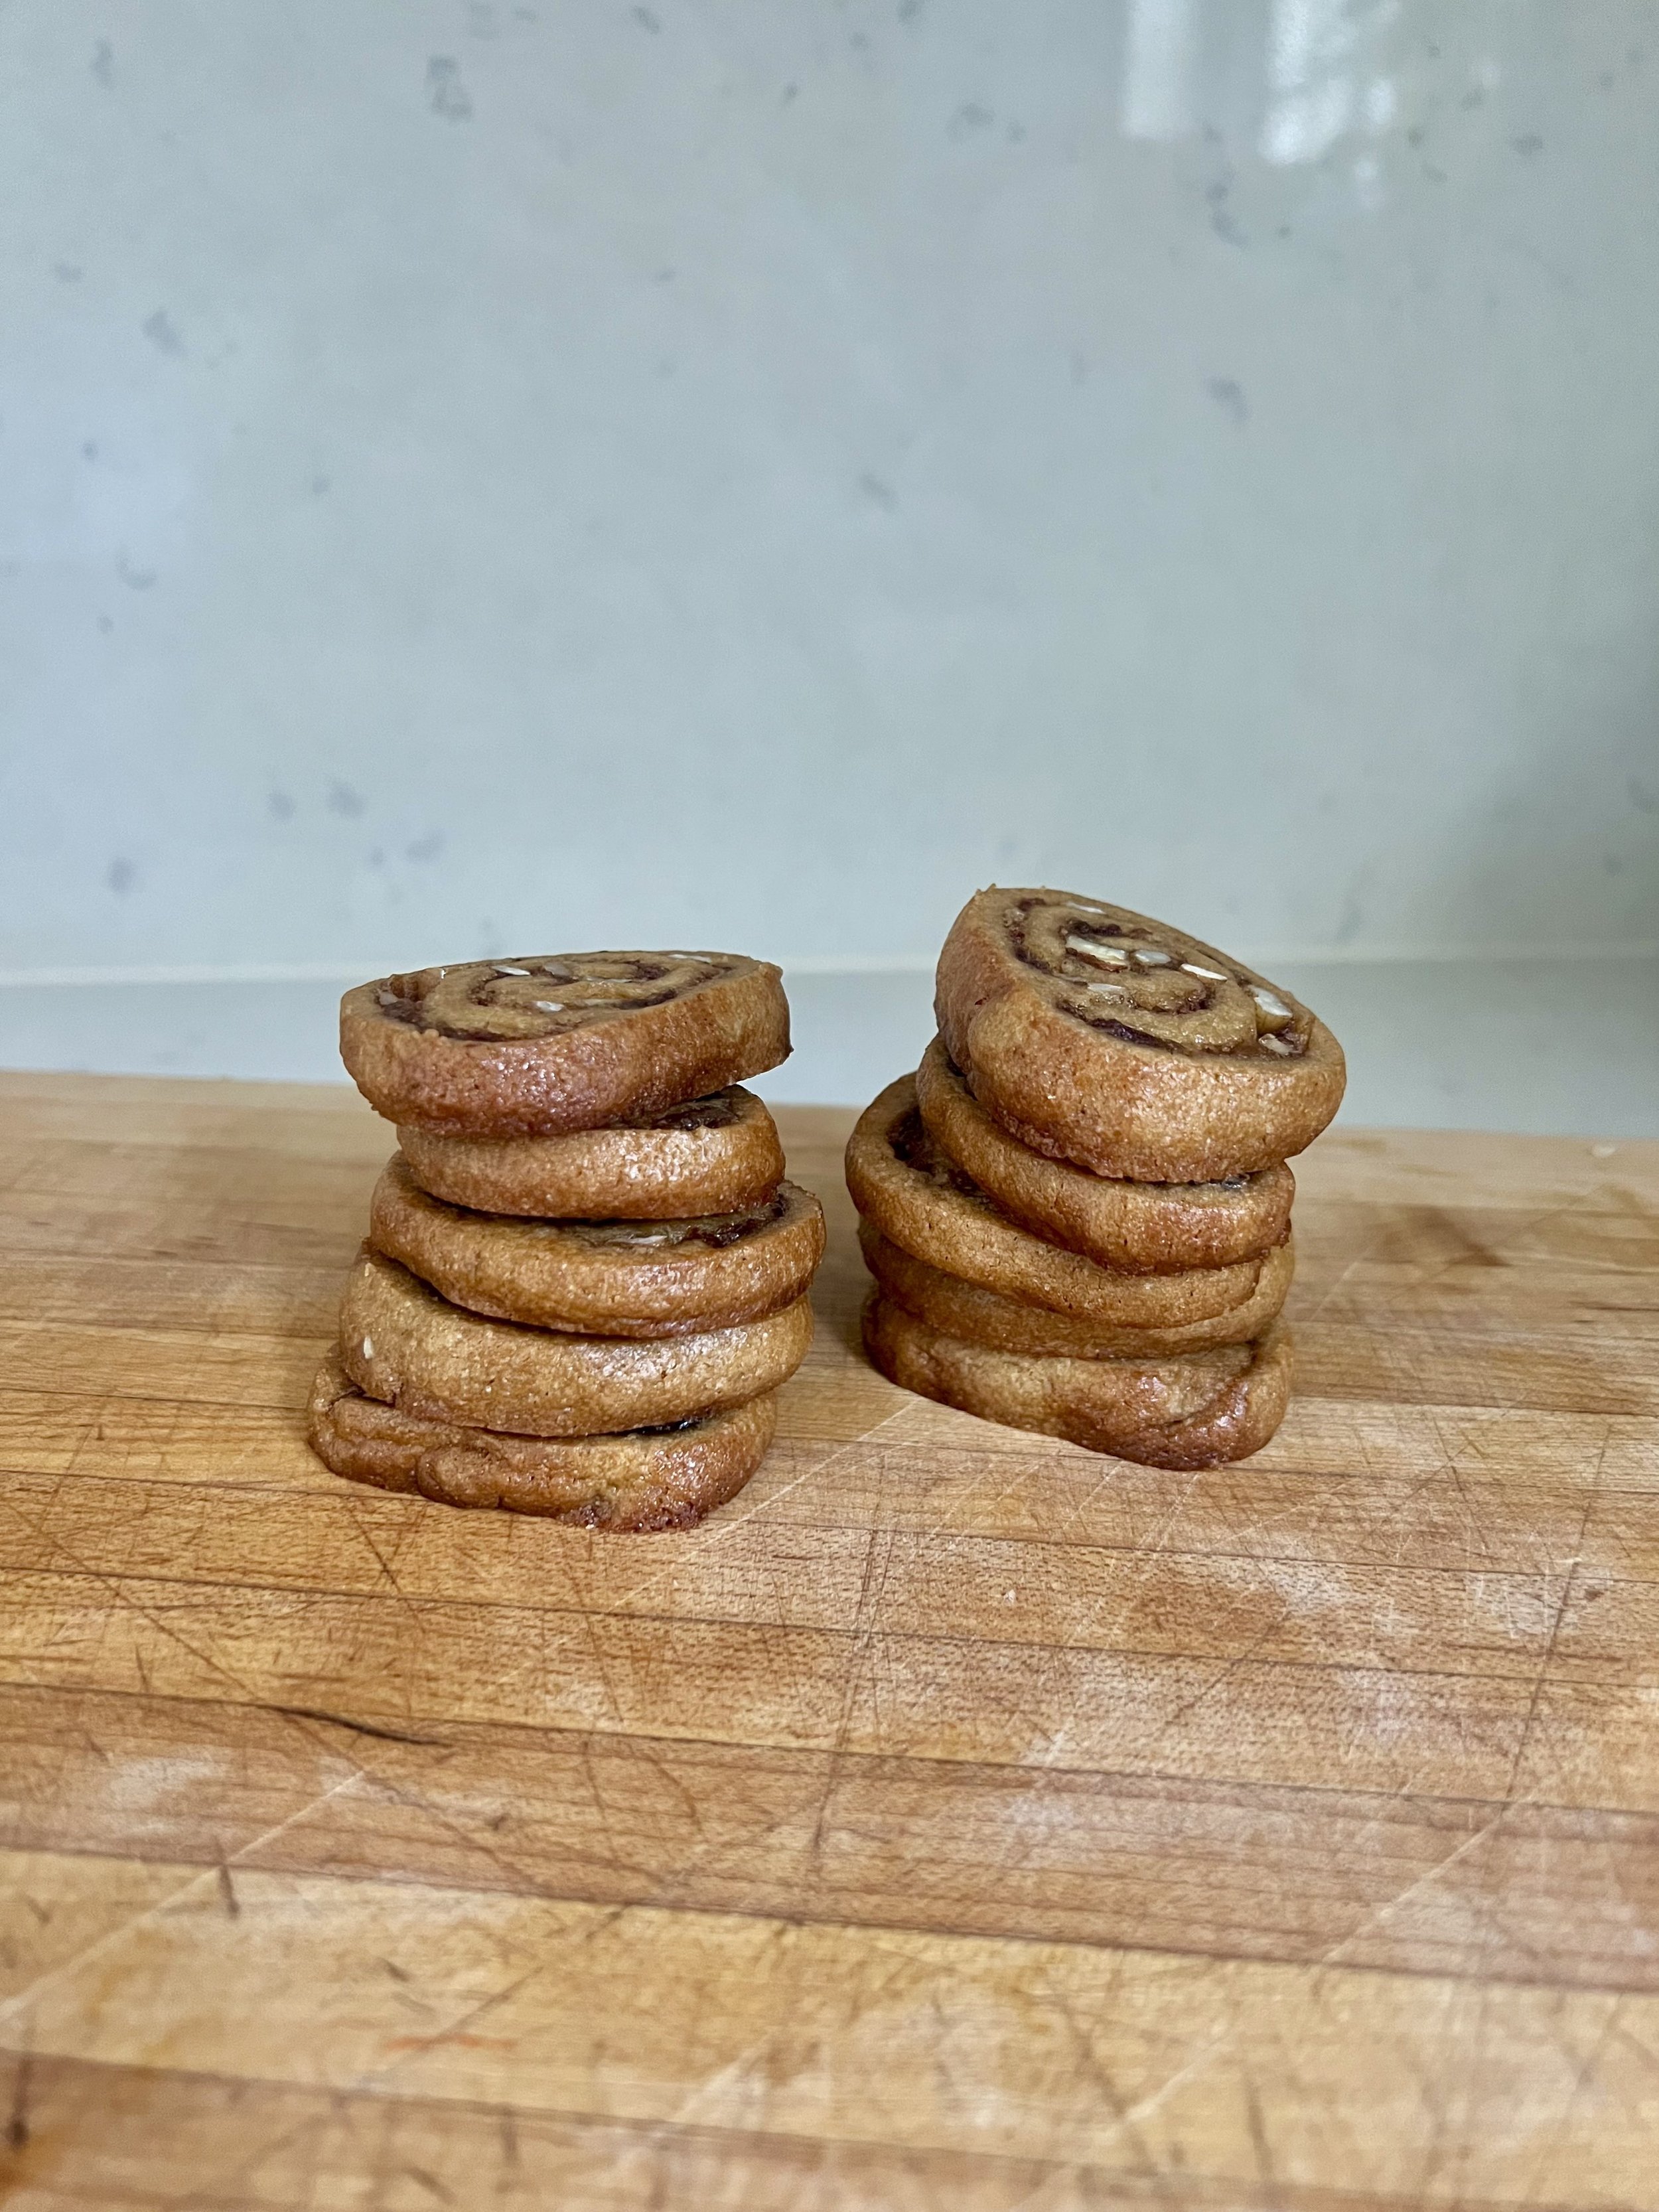
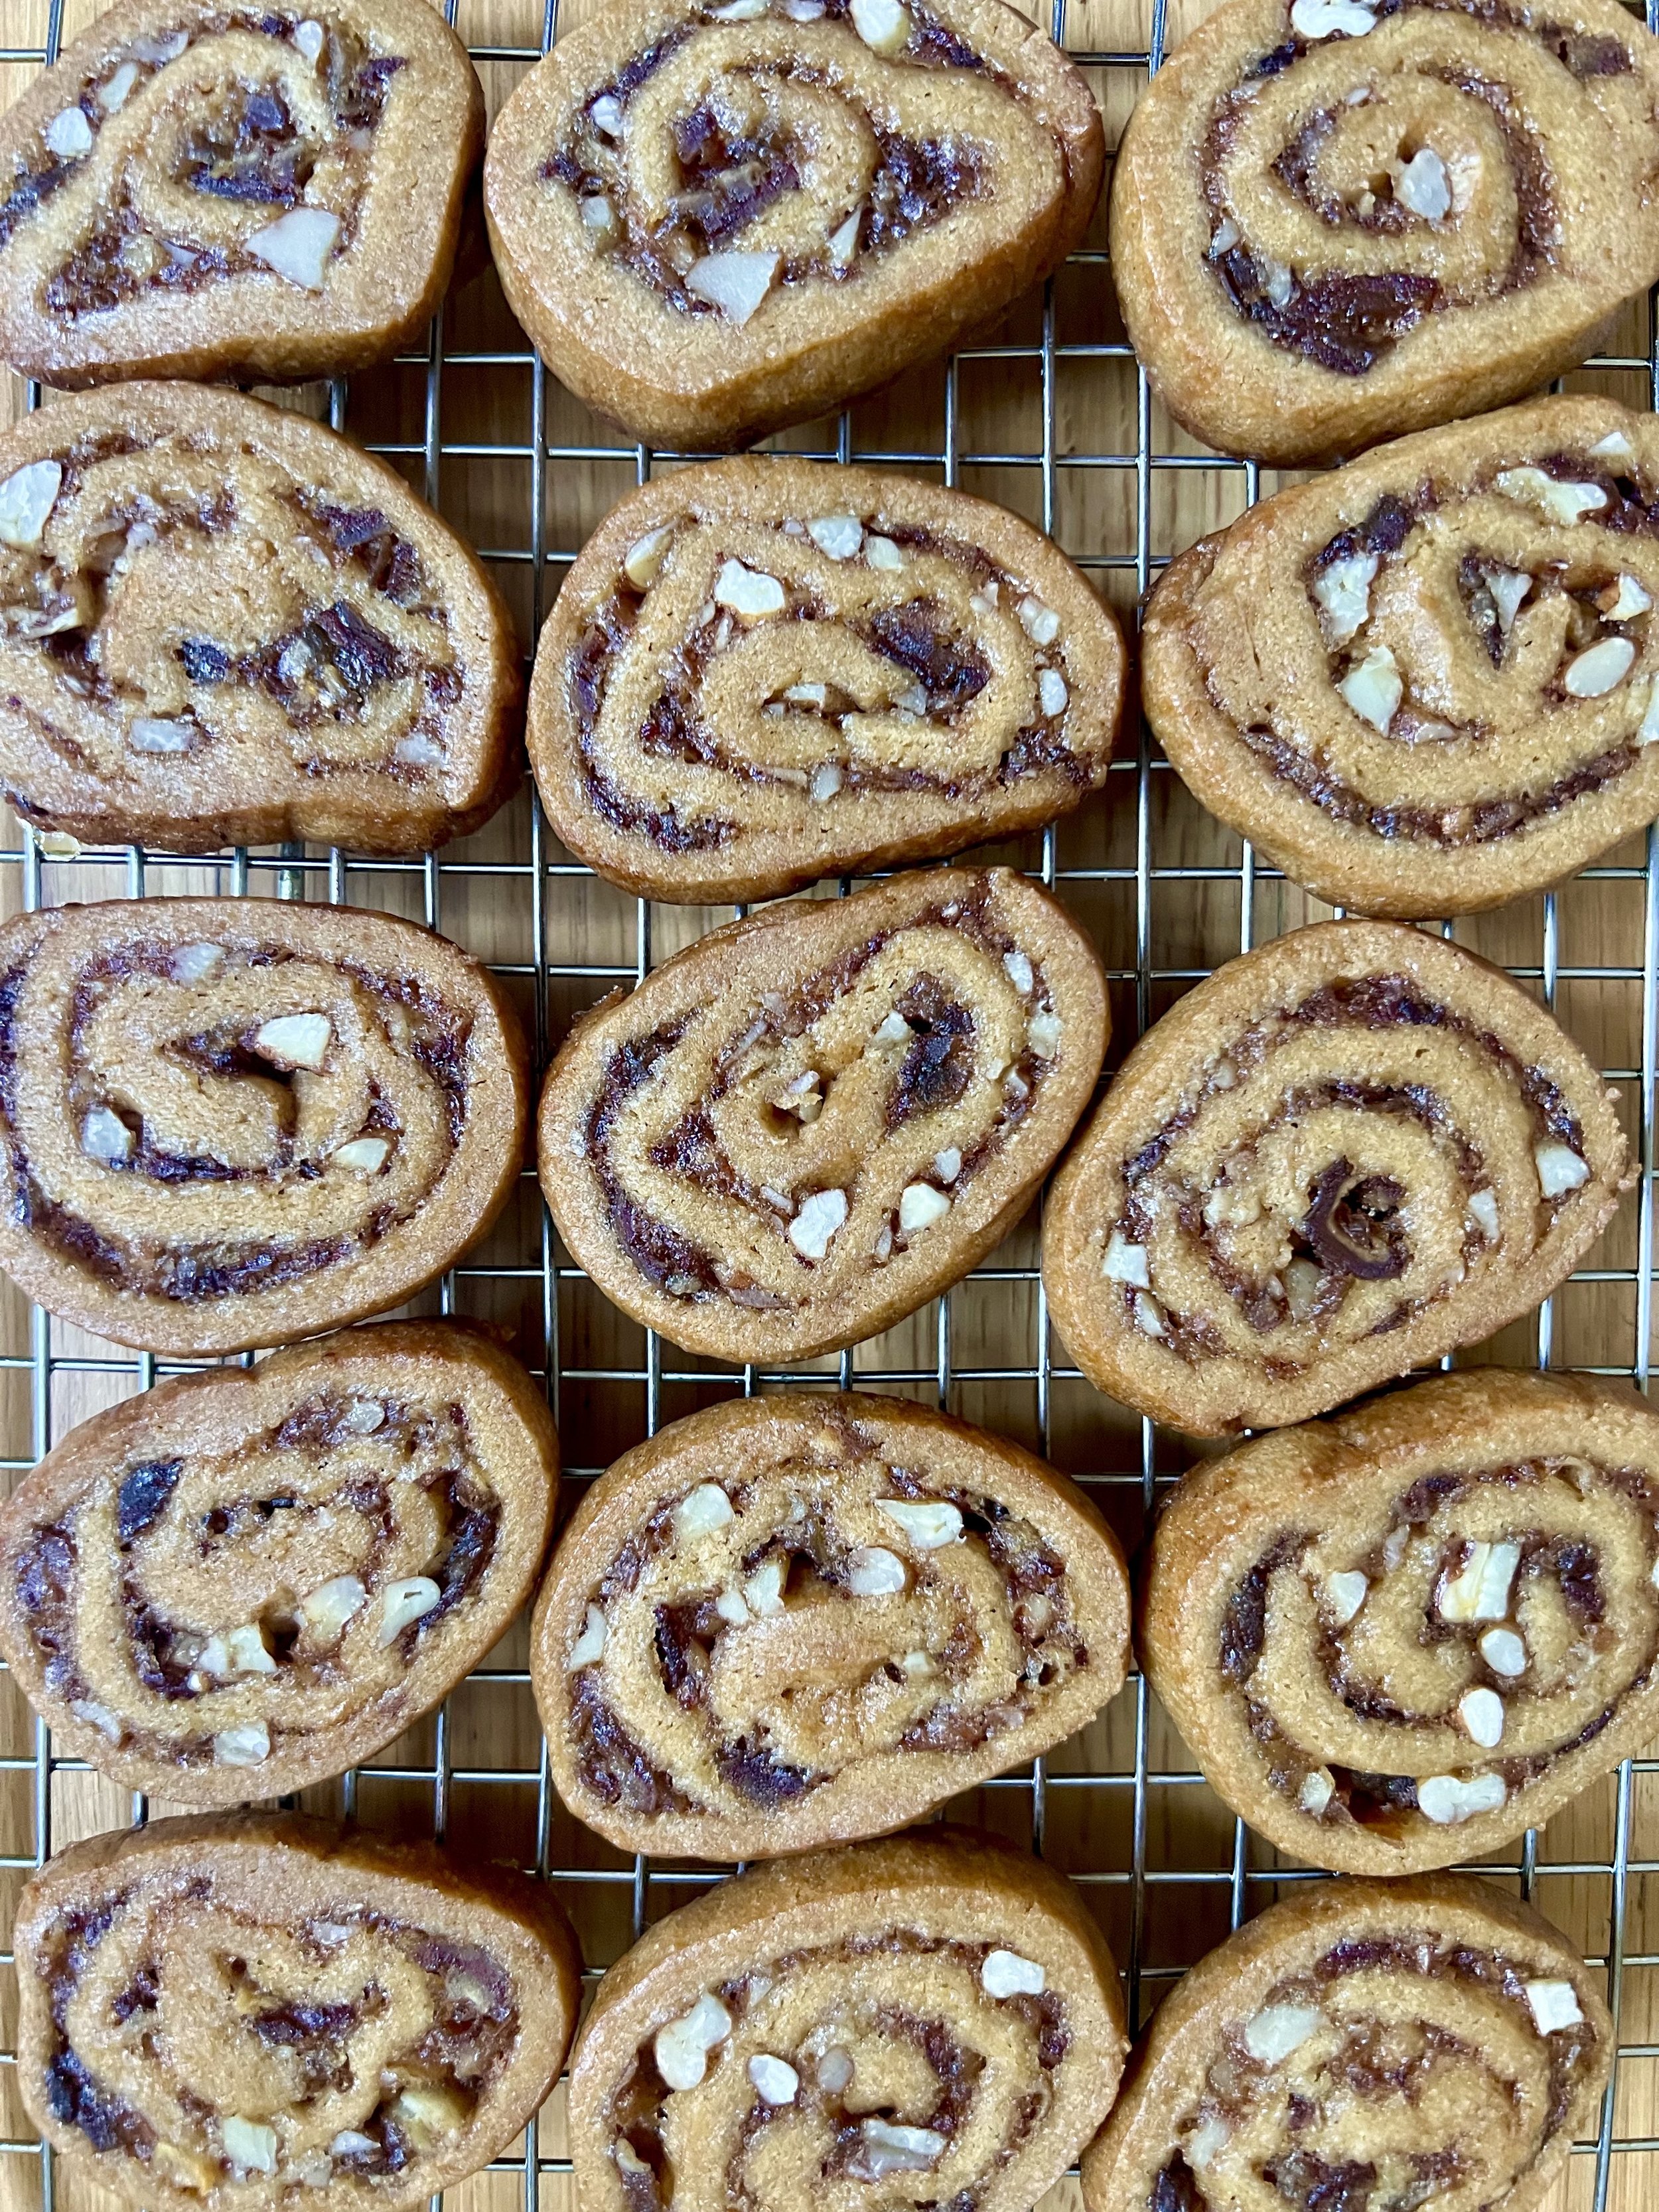
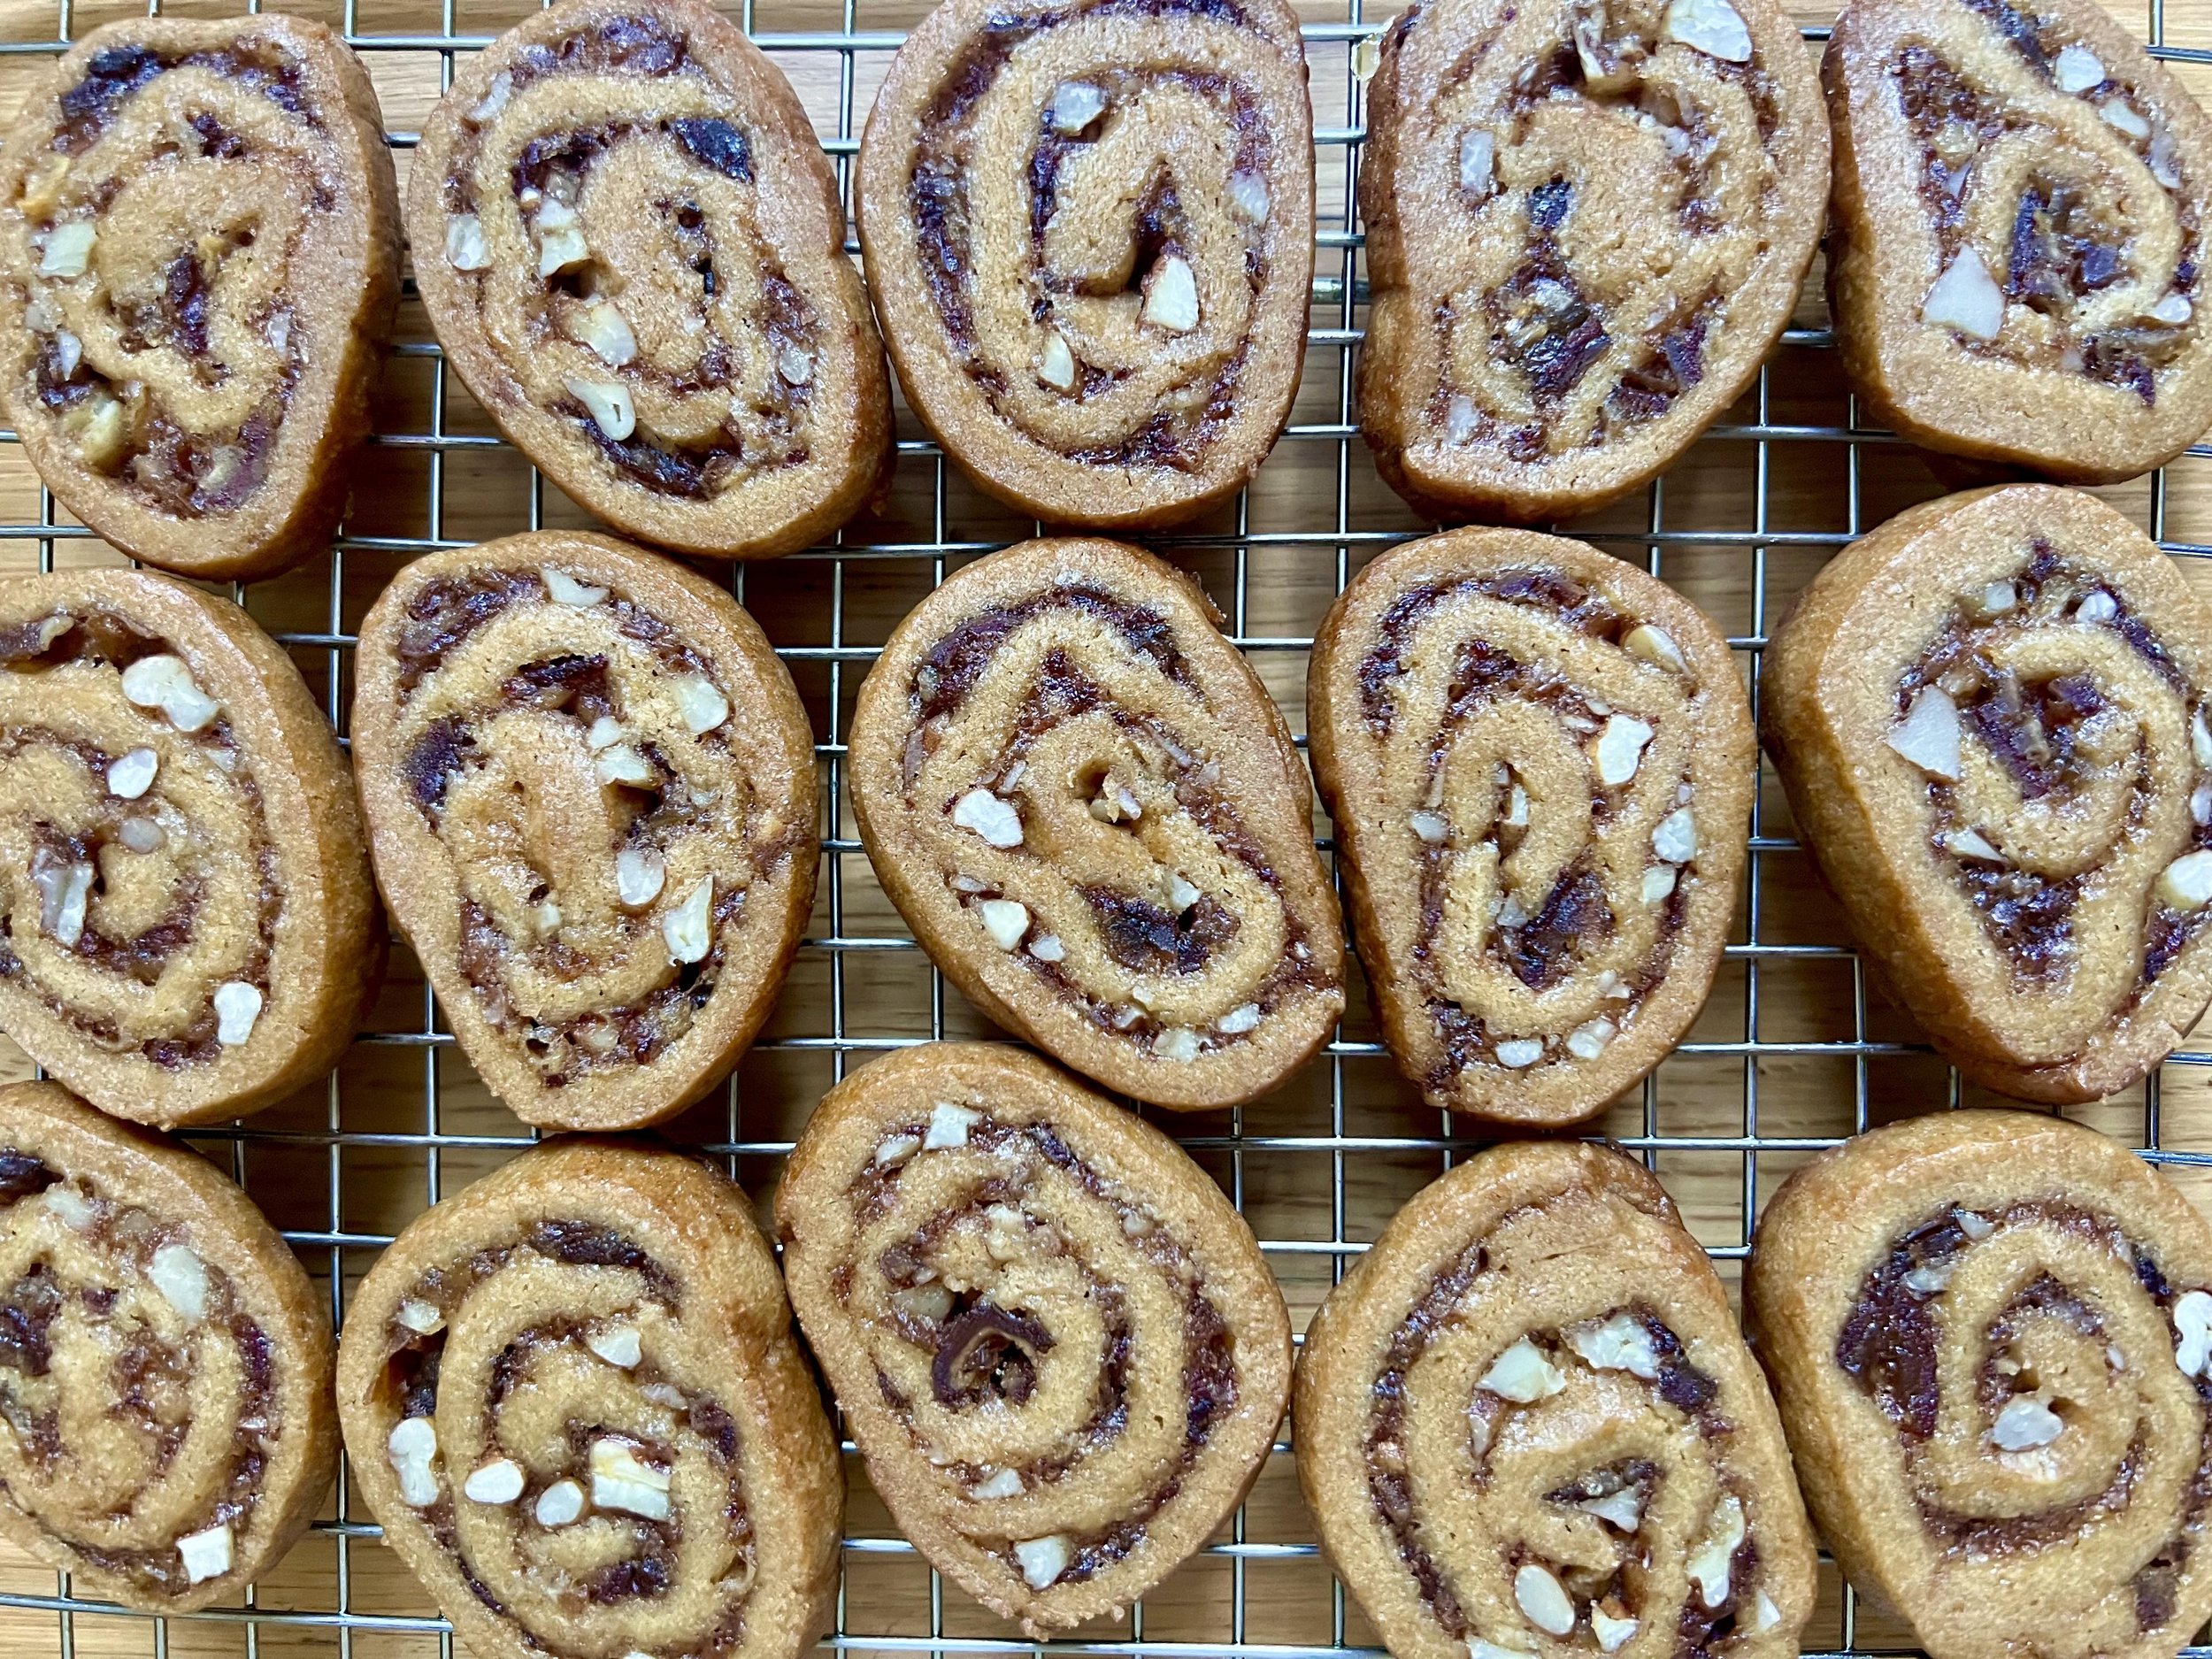
I love holiday baking. The family traditions, the comforting aromas, the delicious flavors. It gives me all the festive feels. These date pecan pinwheel cookies are the epitome of all of that for me. They remind me of my mom, who bakes them for us every holiday season, and they are a hit with the whole family. I love how unique they are- not your average holiday sugar cookie for sure. But they also come together easily, and look pretty fancy as well! My mom was kind enough to leave me a batch of this cookie dough in the freezer, so I could bake them up myself when the craving hits, which is what I’ve just done now. I love how they get nicely golden brown with a crisp edge, yet maintain a soft and gooey interior that is almost reminiscent of caramel! So heavenly. I highly recommend you add these to your holiday cookie rotation. They would make an excellent addition to a festive cookie swap as well. Happy Holidays, y’all!

Date Pecan Pinwheels:

  • Filling:

    • 8 oz medjool dates, chopped

    • ½ cup granulated sugar

    • ½ cup water

    • ½ cup pecans, chopped

  • Dough:

    • ½ cup unsalted butter, room temperature 

    • ½ cup brown sugar

    • ½ cup granulated sugar

    • 1 large egg

    • ½ tsp pure vanilla extract

    • 2 cups all purpose flour

    • ½ tsp baking soda

    • ½ tsp salt 

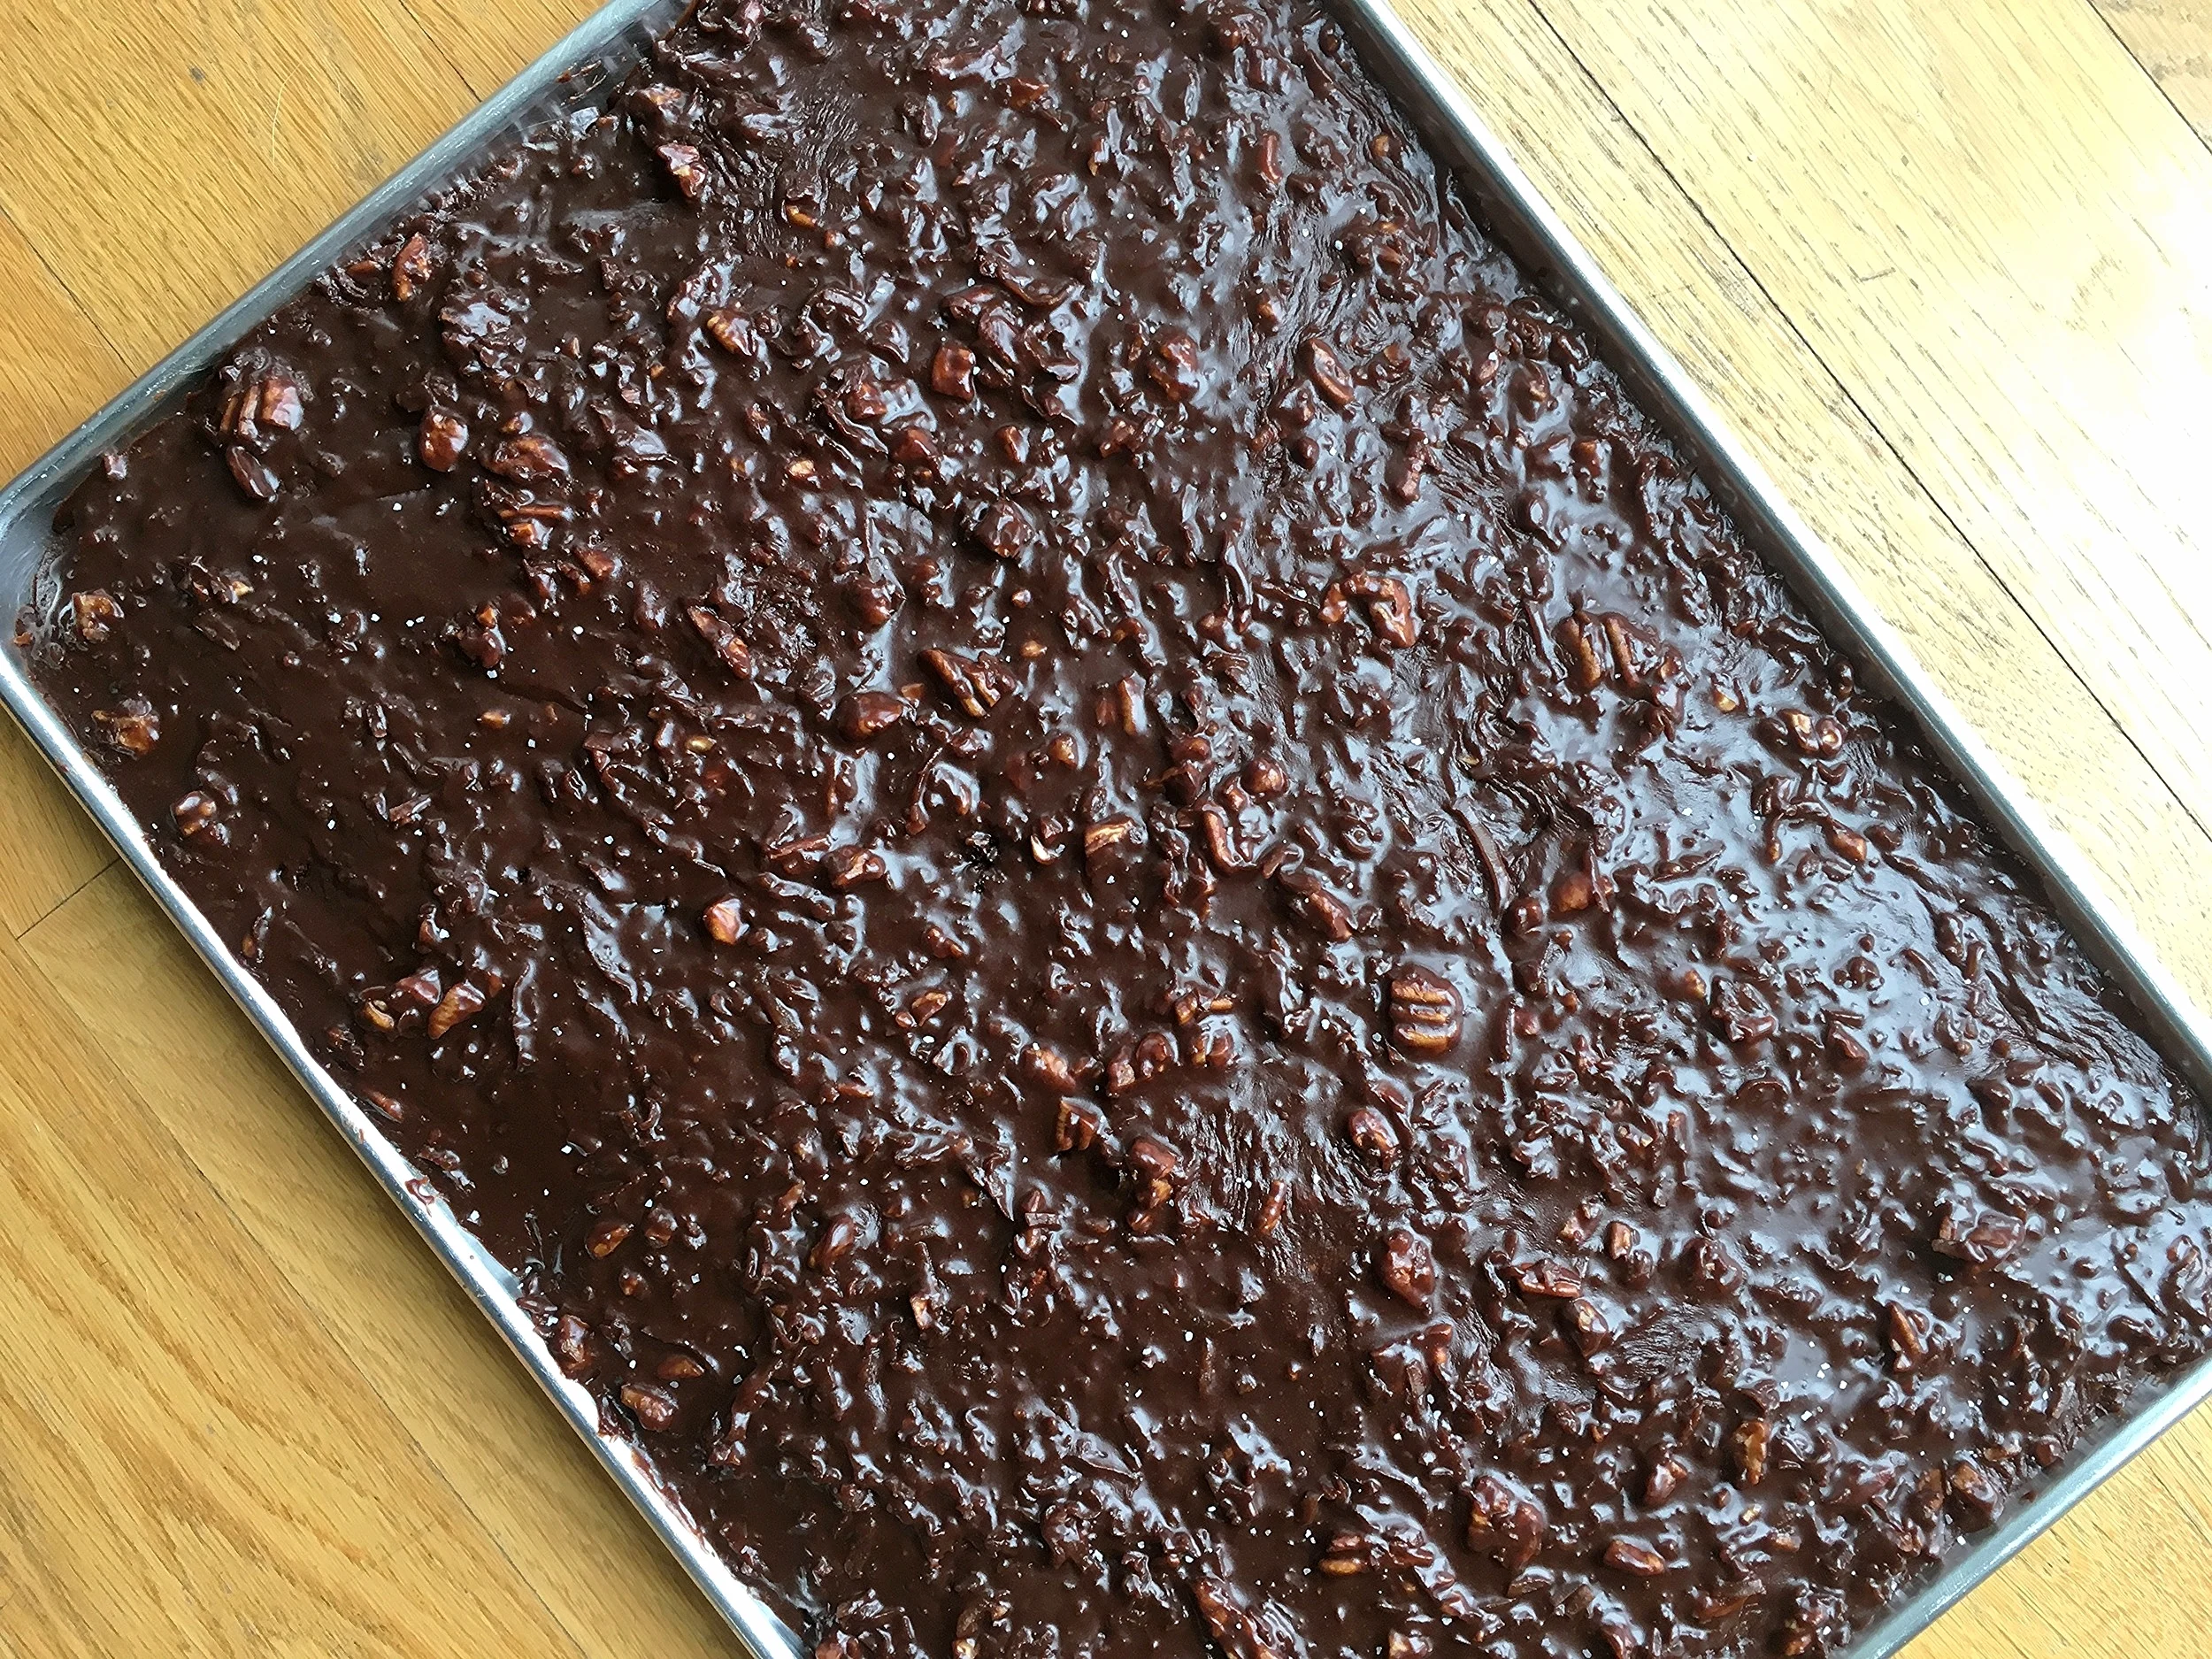
For the filling, add the chopped dates to a saucepan with sugar and water. Bring to a low boil, reduce heat and simmer, stirring and smushing frequently until the mixture is soft and creamy. It’s okay if it’s a bit lumpy. Set aside to cool. Finely chop pecans and reserve for later.

For the dough, cream together butter and sugars in a stand mixer or hand mixer until smooth, then add egg and vanilla until well combined. Sift together the flour, baking soda & salt, and then slowly incorporate the dry ingredients into the wet, careful not to over mix. The dough will be quite thick. Divide it into two rounds, and chill for a couple hours in the fridge. You can also refrigerate the dough overnight at this point, but just let it come to room temp a bit when you’re ready to assemble so that it’s easier to roll out.

To assemble and prepare for baking, remove the dough from the fridge. Roll one part out on floured surface into a rectangle (about 5-6” x 11-12”), then spread half of the cooled date filling evenly on the dough. If filling seems too thick, add a little water to thin it out to get a more spreadable consistency. Sprinkle on ¼ cup chopped pecans. Carefully roll up into a log shape with wax paper or plastic wrap. Repeat process for second round of dough, then refrigerate both until they are well chilled through. You may also freeze them at this point until you are ready to bake.

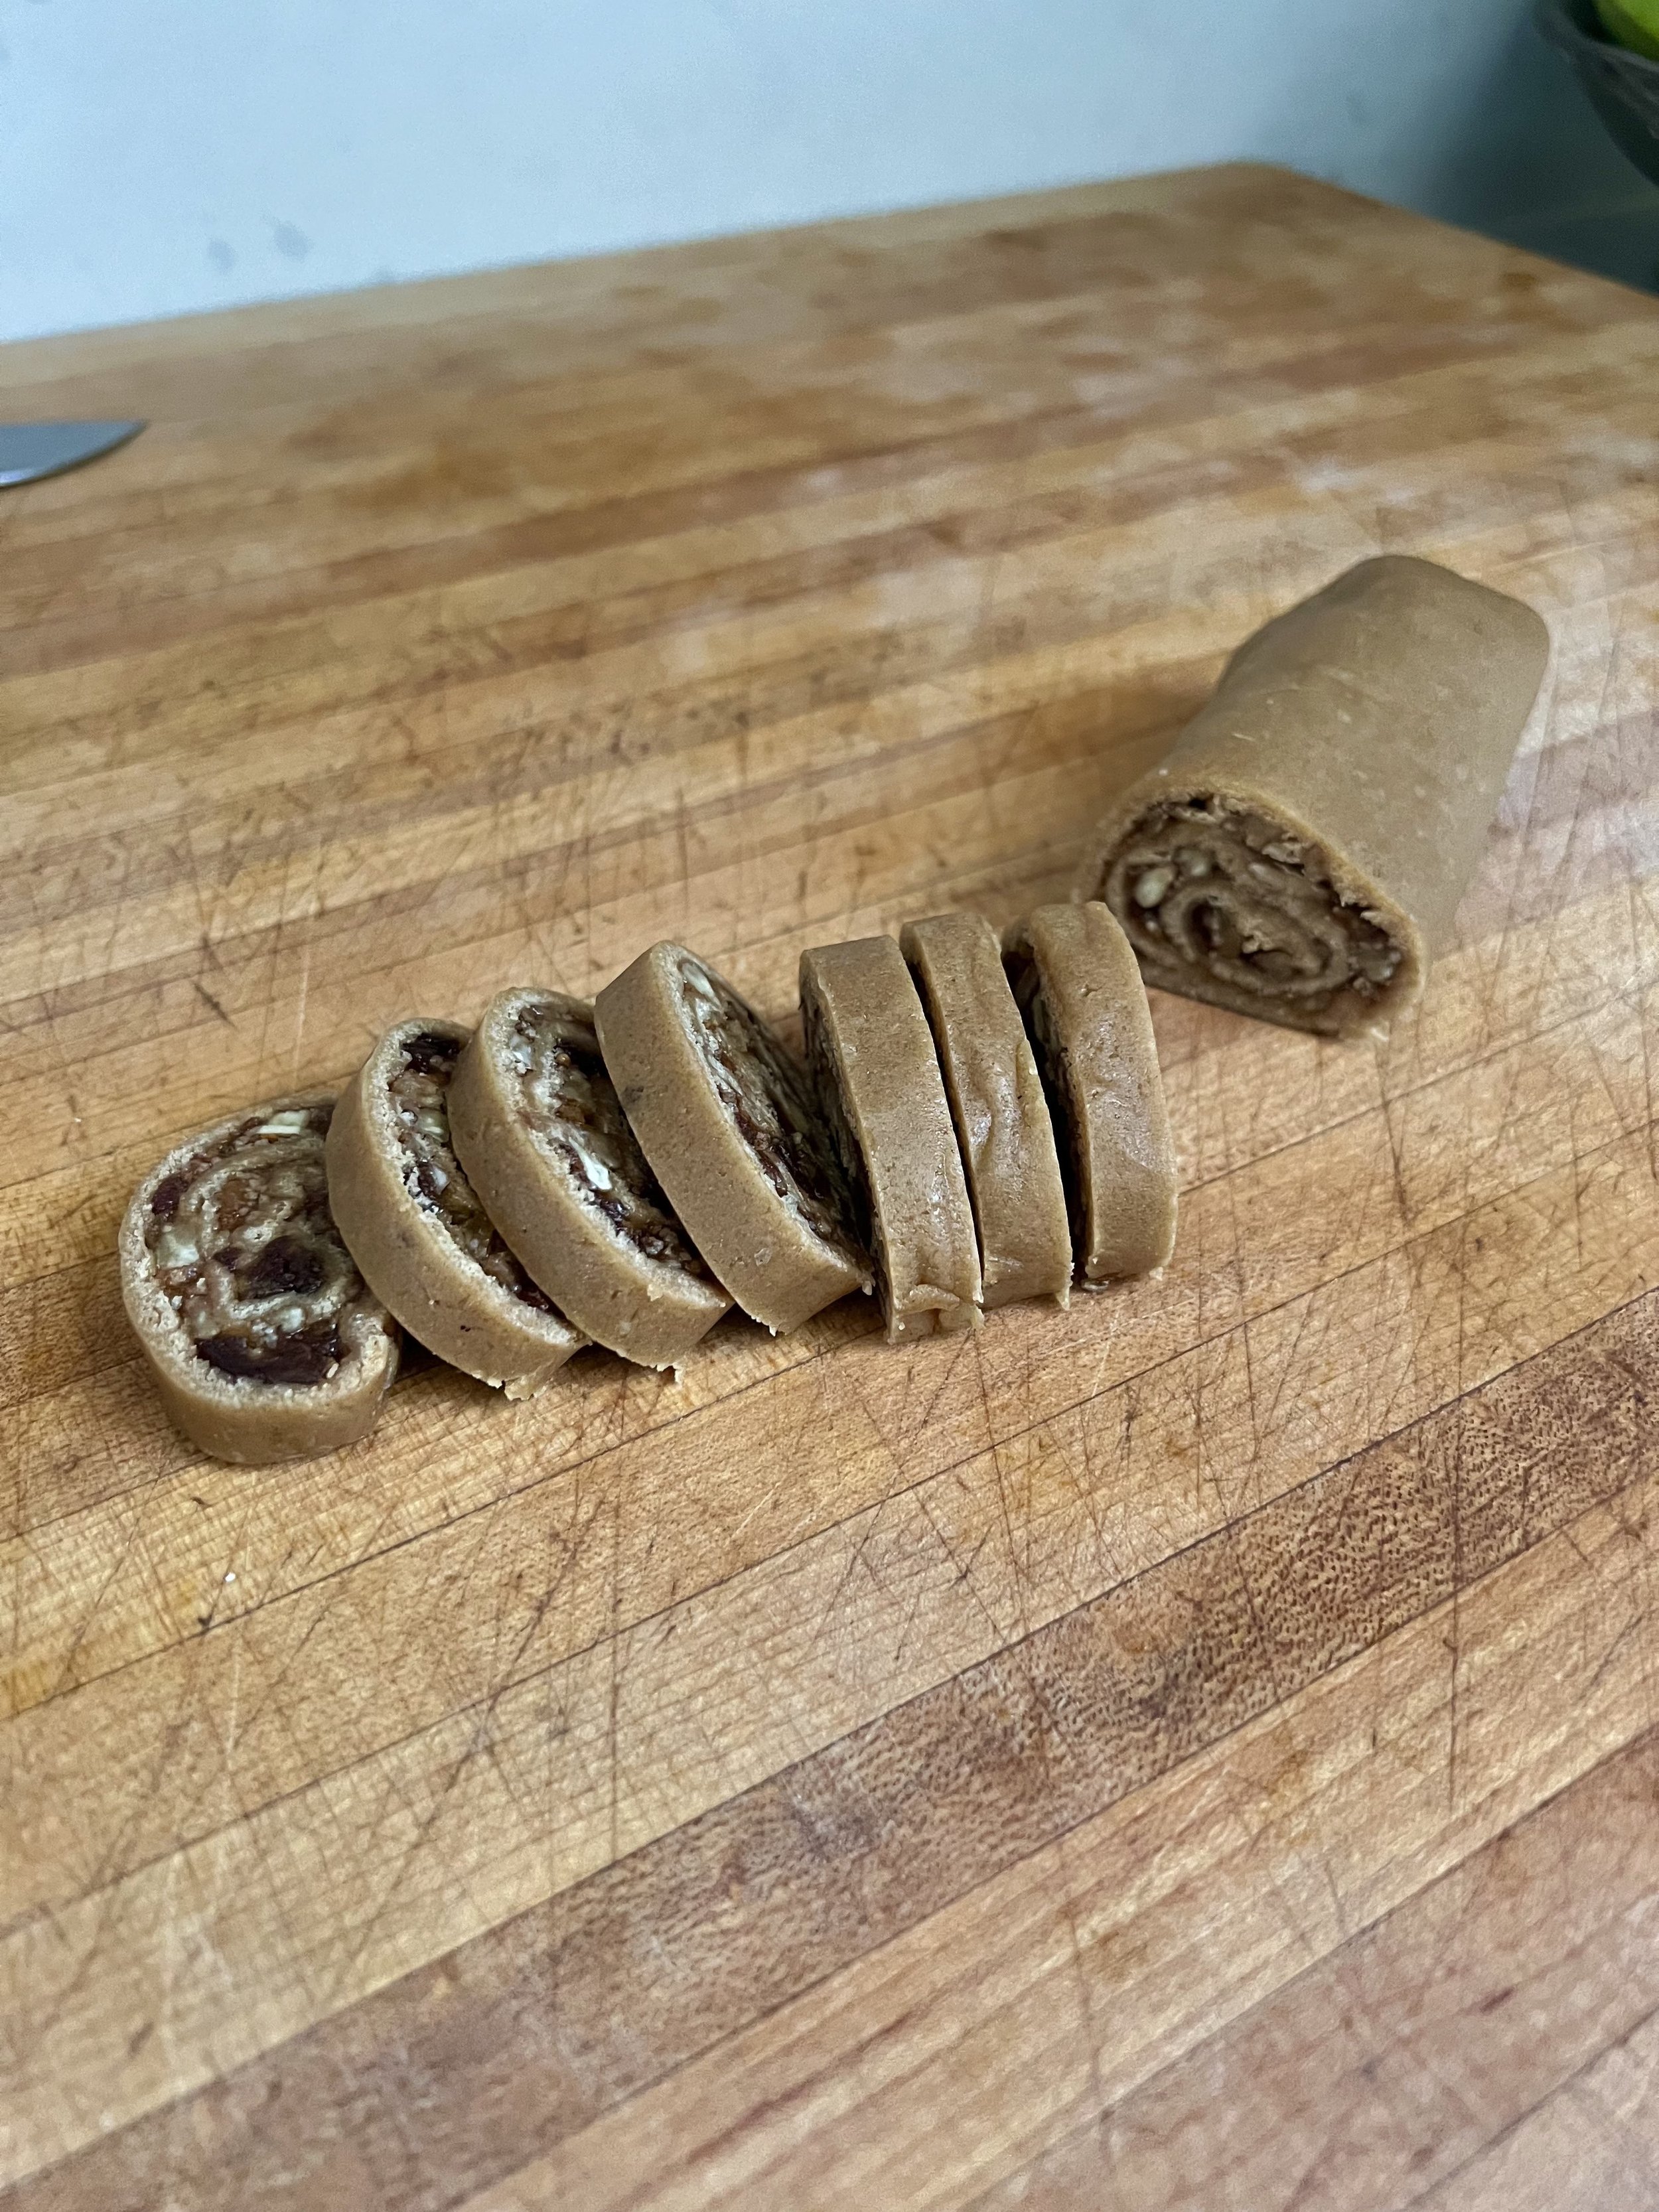
Preheat oven to 350 F. Remove dough logs from fridge or freezer, and cut approximately 1/4-1/2" thick cookie slices. Lay on parchment-lined baking sheet, and bake for about 10-12 minutes, until they’re starting to get golden, which will yield a crispy edge and gooey interior. Cool cookies on baking sheet for a few minutes before moving them to a cooling rack to cool completely. Enjoy! These are best on the day they are made, as they maintain their crisp edges and gooey interior, but will remain deliciously soft & chewy for the next several days stored in an airtight container.

lappert's hawaii ice cream & coffee

My husband and I just got back from a lovely little Hawaiian getaway. We visited the island of Kauai, and it was magical in so many ways. From the hikes to the beaches to the food, we were blown away and really had the best time. Following very true to form, I had researched several sweet spots before our trip, and discovered a plethora of ice cream, shave ice, and açaí bowl options. Sounds like heaven to me! One place that looked super legit was Lappert’s Hawaii Ice Cream & Coffee. I noted multiple locations on the island, and quickly planned our visit. Upon arrival to the shop, the delicious smell of freshly made waffle cones drifted over us, and we knew we made a good choice. Lappert’s makes a bunch of unique flavors using local ingredients and mix-ins, like Kauai Pie (Kona coffee ice cream, Hawaiian macadamia nuts, shredded toasted coconut & dark chocolate fudge) and Caramel Coconut Macadamia Nut (bourbon vanilla ice cream, toasted coconut, Hawaiian macadamia nuts & caramel swirl). Wow, just reading that again makes my mouth drool. How good does that sound? Several flavors tempted us, and tried our fair share, but I went with the two mentioned above, and they did not disappoint. Yum! Lappert’s opens early in the morning, as they also serve fresh, daily-roasted local coffee, so feel free to stop in for your java fix as well! However, I wouldn’t judge you if you decided on ice cream for breakfast, instead! Those flavors are hard to deny! Here’s to hoping Lappert’s opens a shop in Cali soon!


butterscotch pots de crème with salted caramel tahini sauce & toasted kasha

DSC09039.jpg

I first met Athena Calderone of Eye Swoon through my husband at The Heyward, a local Brooklyn restaurant where he was executive chef. Athena's passion for food and all things beautiful was clear from our first conversation, and I quickly became an avid fan and follower. Both Derek and I got the opportunity to be featured on her site- Derek as part of "The Chefs" series, and me as one of "The Tastemakers". Athena came over and we baked a chocolate and toasted coconut cake with salted caramel (that I highly recommend you try!), and it soon became clear that we had a lot in common, from food to fashion! Athena and I have gotten close over the last couple of years, and often see each other out & about at various fun events

I was so excited, and not all that surprised, when I heard that Athena was writing a cookbook. Her background in design gives her an eye to be able to create beautiful, artistic dishes, so I just knew the book would be absolutely swoon-worthy. Cook Beautiful is just that- Athena's offering of 100 seasonal recipes that are both gorgeous and delicious! After browsing through the entire book and drooling over practically every photo, I decided the first recipe I wanted to try would be a dessert (duh!). The butterscotch pots de crème with salted caramel tahini sauce & toasted kasha really spoke to me, as I've been having a love affair with tahini for as long as I can remember. Seriously though, whether it's sweet or savory- it can be stuffed into Medjool dates with dark chocolate, or mixed with lemon juice and herbs for a dressing, I'm obsessed.

Naturally then, I had high hopes for these babies, and they did not disappoint. The rich and smooth butterscotch crèmes were complemented perfectly by the slightly savory tahini caramel, as well as the crunchy toasted kasha & sesame seeds. Bonus points that they look super fancy, but are actually quite easy to make- these would be a great dessert to impress guests at your next dinner party. Get your copy of Cook Beautiful today, and start creating beautiful, swoon-worthy food pronto! 

Useful Tools:


vanilla cupcakes

Everyone needs a good 'ol vanilla cupcake recipe, and this one is a tried and true favorite. It's the perfect blank canvas, making it super easy to customize based on what you're in the mood for! Whether it's with fillings (strawberry compote and salted caramel are both great), or toppings (I love nuts, chocolate, or sprinkles), the options are endless! Swiss meringue buttercream is the best frosting option, in my humble opinion. It's super pretty and glossy, less sickeningly sweet than traditional American buttercream, and holds up well at room temperature and even outdoors! You can also add flavor to the frosting if you want to mix things up, but the vanilla is a great classic that goes with many flavors. Whatever you end up with, you'll almost always be guaranteed a delicious treat! Now get to baking!

Vanilla Cupcakes with Swiss Meringue Buttercream:

Cupcakes:

  • 2 cups cake flour

  • 1 tsp baking powder

  • 3/4 tsp baking soda

  • 1 tsp table salt

  • 1/2 cup unsalted butter, softened

  • 1 cup sugar

  • 1 tsp pure vanilla extract

  • 2 large eggs, at room temperature

  • 1 cup buttermilk

Buttercream:

  • 1/2 cup sugar

  • 2 large egg whites

  • 3/4 cup unsalted butter, cubed & softened

  • 1/2 tsp pure vanilla extract

Preheat oven to 350°F. Line a cupcake pan with liners, and spray them with nonstick spray. Mix together flour, baking powder, baking soda, and salt in a medium bowl. In the base of a stand mixer fit with whisk attachment, beat butter and sugar at medium speed until pale and fluffy, then beat in vanilla. Add eggs, beating well and scraping down the bowl to ensure they are fully incorporated. Reduce the speed to low, then mix in buttermilk until just combined. Don't be alarmed if the mixture looks curdled at this point. 

Add flour mixture until just incorporated, careful not to over-mix. Pour batter evenly among cupcake liners, and bake until golden, about 20 minutes. Allow to cool for a few minutes in the pan, then completely on a cooling rack. Makes about a dozen cupcakes

While cupcakes are baking, make the buttercream. Whisk egg whites and sugar together in a bowl over a double boiler until sugar is fully dissolved. Transfer mixture into the stand mixer (make sure it's clean & dry!) fit with paddle attachment and whip until it turns white glossy. Add the vanilla, then the butter and continue to whip until buttercream comes together. This may take a good 10-15 minutes, so don't worry if things look curdled or soupy at the start!

Once cupcakes have cooled, you may add filling if desired. Scoop out a small bit of cake from the top (using a knife or melon-baller), add the filling, and replace the cake on top. Pipe buttercream onto cupcakes using a pastry bag fit with an icing tip, and finish with toppings if you choose! Enjoy!

*Adapted from Best Birthday Cake by Smitten Kitchen.

Useful Tools:


sticky toffee pudding

I've had a love affair with sticky toffee pudding for quite a while now. This British dessert made from dates and toffee sauce is less a pudding (by American standards), but rather a rich and gooey cake. Since I was in London last week, I took the opportunity to seek out and indulge in a few versions of this local dessert- all in the name of research, of course- so that I could recreate a worthy version at home just in time for Easter brunch. Sticky toffee pudding is seriously decadent, super unique, and utterly delicious, making it the perfect Easter dessert in my book. It's best served warm out of the oven, so if you need to bake the cake ahead of time, just wait to poke holes and pour the sauce over it until just before serving. Cover and reheat at 300ºF for about 20 minutes. While this cake is super delicious as-is, a little ice cream or whipped cream never hurt anybody, right? Throw on some toasted nuts and the rest of the warm toffee sauce, and you'll be adding this to your dessert rotation in no time!

Sticky Toffee Pudding:

Date Cake:

  • 1 cup Medjool dates, pitted & chopped

  • 1 1/4 cup boiling water

  • 1 teaspoon baking soda

  • 3/4 cup all-purpose flour

  • 1/2 cup whole wheat flour

  • 1 teaspoon baking powder

  • 1/2 teaspoon kosher salt

  • 1/2 cup unsalted butter

  • 1/2 cup turbinado sugar

  • 1/4 cup dark brown sugar

  • 2 large eggs, at room temperature

  • 1 teaspoon vanilla extract

Toffee Sauce:

  • 1 cup unsalted butter

  • 1 cup heavy cream

  • 1/2 cup dark brown sugar

  • 2 tsp pure vanilla extract

  • pinch salt

Toppings:

  • whipped cream or ice cream

  • pecans, toasted & chopped

  • extra toffee sauce

Preheat the oven to 350ºF and butter an 8 1/2 or 9 inch square (or round) baking dish. Place chopped dates in a heat-proof bowl, and cover with the boiling water. Mix in baking soda, then set aside to let soften. 

In the bowl of a stand mixer, beat the butter and sugars together until light and fluffy. Gradually beat in the eggs, then the vanilla until fully combined. In a separate bowl, sift together the flours, baking powder, and salt. Slowly add the flour and date mixtures to the stand mixer, alternating 1/2 of each at a time. Careful not to over-mix. 

Pour the batter into the baking dish and bake for about 45 minutes, or until a toothpick inserted into the center comes out with some moist crumbs still attached. Remove from the oven, and let cool a few minutes. While the cake bakes, make the toffee sauce. Bring the butter, cream, brown sugar, vanilla and salt to a boil in a saucepan, then lower to simmer. Whisk or stir constantly for about 10 minutes until sauce thickens and coats spoon. Remove from heat and set aside.

While cake is still warm, poke several holes over the entire surface with a chopstick. Pour toffee sauce over top of the cake, spreading it around evenly and allowing it to be absorbed into the cake. Repeat another time, leaving about 1/4 of the sauce for serving. If desired, turn oven to broil and return the cake to the oven for just one minute for extra caramelization! Careful not to let it burn.

To serve, you may cut squares, use a ring-mold, or simply spoon portions of the cake into serving bowls. Top with additional warm toffee sauce, whipped cream (or ice cream), and toasted pecans.

*Adapted from Date Cake with Toffee Sauce by Smitten Kitchen and Warm Sticky Toffee Pudding by David Lebovitz.

Useful Tools:


chocolate & toasted coconut cake with salted coconut caramel filling

I got the opportunity to spend an afternoon baking with the beautiful Athena of EyeSwoon, and we had such a blast together. She is a lovely spirit, and shares my love of sweets. We baked this tasty cake in my apartment for a feature on her site (definitely check it out- lots of food and design lust happening there!). This chocolate and toasted coconut cake with salted coconut caramel sauce turned out perfectly, and I will definitely make it again soon!

Chocolate & Toasted Coconut Cake with Salted Coconut Caramel Filling:

Cake:

  • 2 cups unsweetened almond milk, at room temperature

  • 2 tsp apple cider vinegar

  • 1 1/4 cup unsweetened applesauce

  • 2/3 cup coconut oil, melted

  • 2 tsp pure vanilla extract

  • 2 cups + 2 tbsp whole wheat pastry flour

  • 1 cup cane sugar

  • 1 cup cocoa powder

  • 1 tsp espresso powder

  • 2 tsp baking soda

  • 1 tsp baking powder

  • 1/2 tsp salt

Buttercream:

  • 1 cup unsalted butter, softened

  • 2 1/2 cups powdered sugar

  • 1/4 cup unsweetened almond milk

  • 2 tsp vanilla extract

  • 2 cups unsweetened coconut flakes, for topping

Caramel:

  • 1 can full-fat, unsweetened coconut milk

  • 1/4 cup pure maple syrup

  • 1/4 cup coconut palm sugar

  • 1 tsp pure vanilla extract

  • 1/2 tsp coarse sea salt

  • 1 tbsp unsalted butter

Make the caramel ahead of time. Combine the coconut milk, maple syrup, and coconut palm sugar in a medium saucepan over medium-high heat. Bring to a boil, then turn heat down and cook, whisking frequently, about 20 minutes until mixture has thickened and is a dark amber color. Turn off heat and whisk in the vanilla, salt, and butter until smooth. Cool completely, and then store in an closed jar in the fridge for up to 1 week. This will make much more than you need for this recipe. Feel free to drizzle some over each individual slice, or over ice cream!        

For the cakes, preheat oven to 350 degrees and line two 8 inch round pans with parchment paper. Spray the parchment paper and dust with cocoa powder.

Add the vinegar and milk to your stand mixer bowl and let sit for 5 minutes. Next, add in the applesauce, coconut oil, and vanilla extract and mix until just combined.

In another bowl, sift together the flour, sugar, cocoa powder, espresso powder, baking soda, baking powder, and salt. Turn your mixer to low and slowly pour the dry ingredients in until everything is incorporated. Turn the mixer speed up to medium-high and let run until your batter is evenly smooth and no lumps remain.

Divide the dough between the two prepared pans and let bake about 30 minutes or until a toothpick comes out clean in the center. Remove from oven and let cool.

While the oven is still heated, place coconut on a lined baking sheet and place in oven to toast. Bake for about 10 minutes or until most of the flakes have browned.

While everything is cooling, remove the coconut caramel sauce from the fridge to come to room temperature. Beat together all buttercream ingredients, and set aside.

To assemble, place the first layer of cake on a cake stand, removing any domed area to create a flat surface. Add a layer of coconut caramel on top, and sprinkle with toasted coconut, if desired. Top with the second layer of cake, making sure the layers are even. Using an offset spatula, spread the buttercream all over the outside and top of the cake, smoothing out any rough patches. Immediately sprinkle the toasted coconut all over the sides of the cake so that it sticks to the buttercream. Serve and enjoy!

Useful Tools:

*Can be made vegan by substituting vegan butter for the unsalted butter.

**Can also be made as 3 layers using 6 inch cake rounds. Increase baking time to 30-35 minutes.

***Adapted from Simple Vegan Chocolate Cake by Minimalist Baker, and Chocolate & Toasted Coconut Olive Oil Cake by Vegetarian ‘Ventures.

Photos by Chloe Crespi