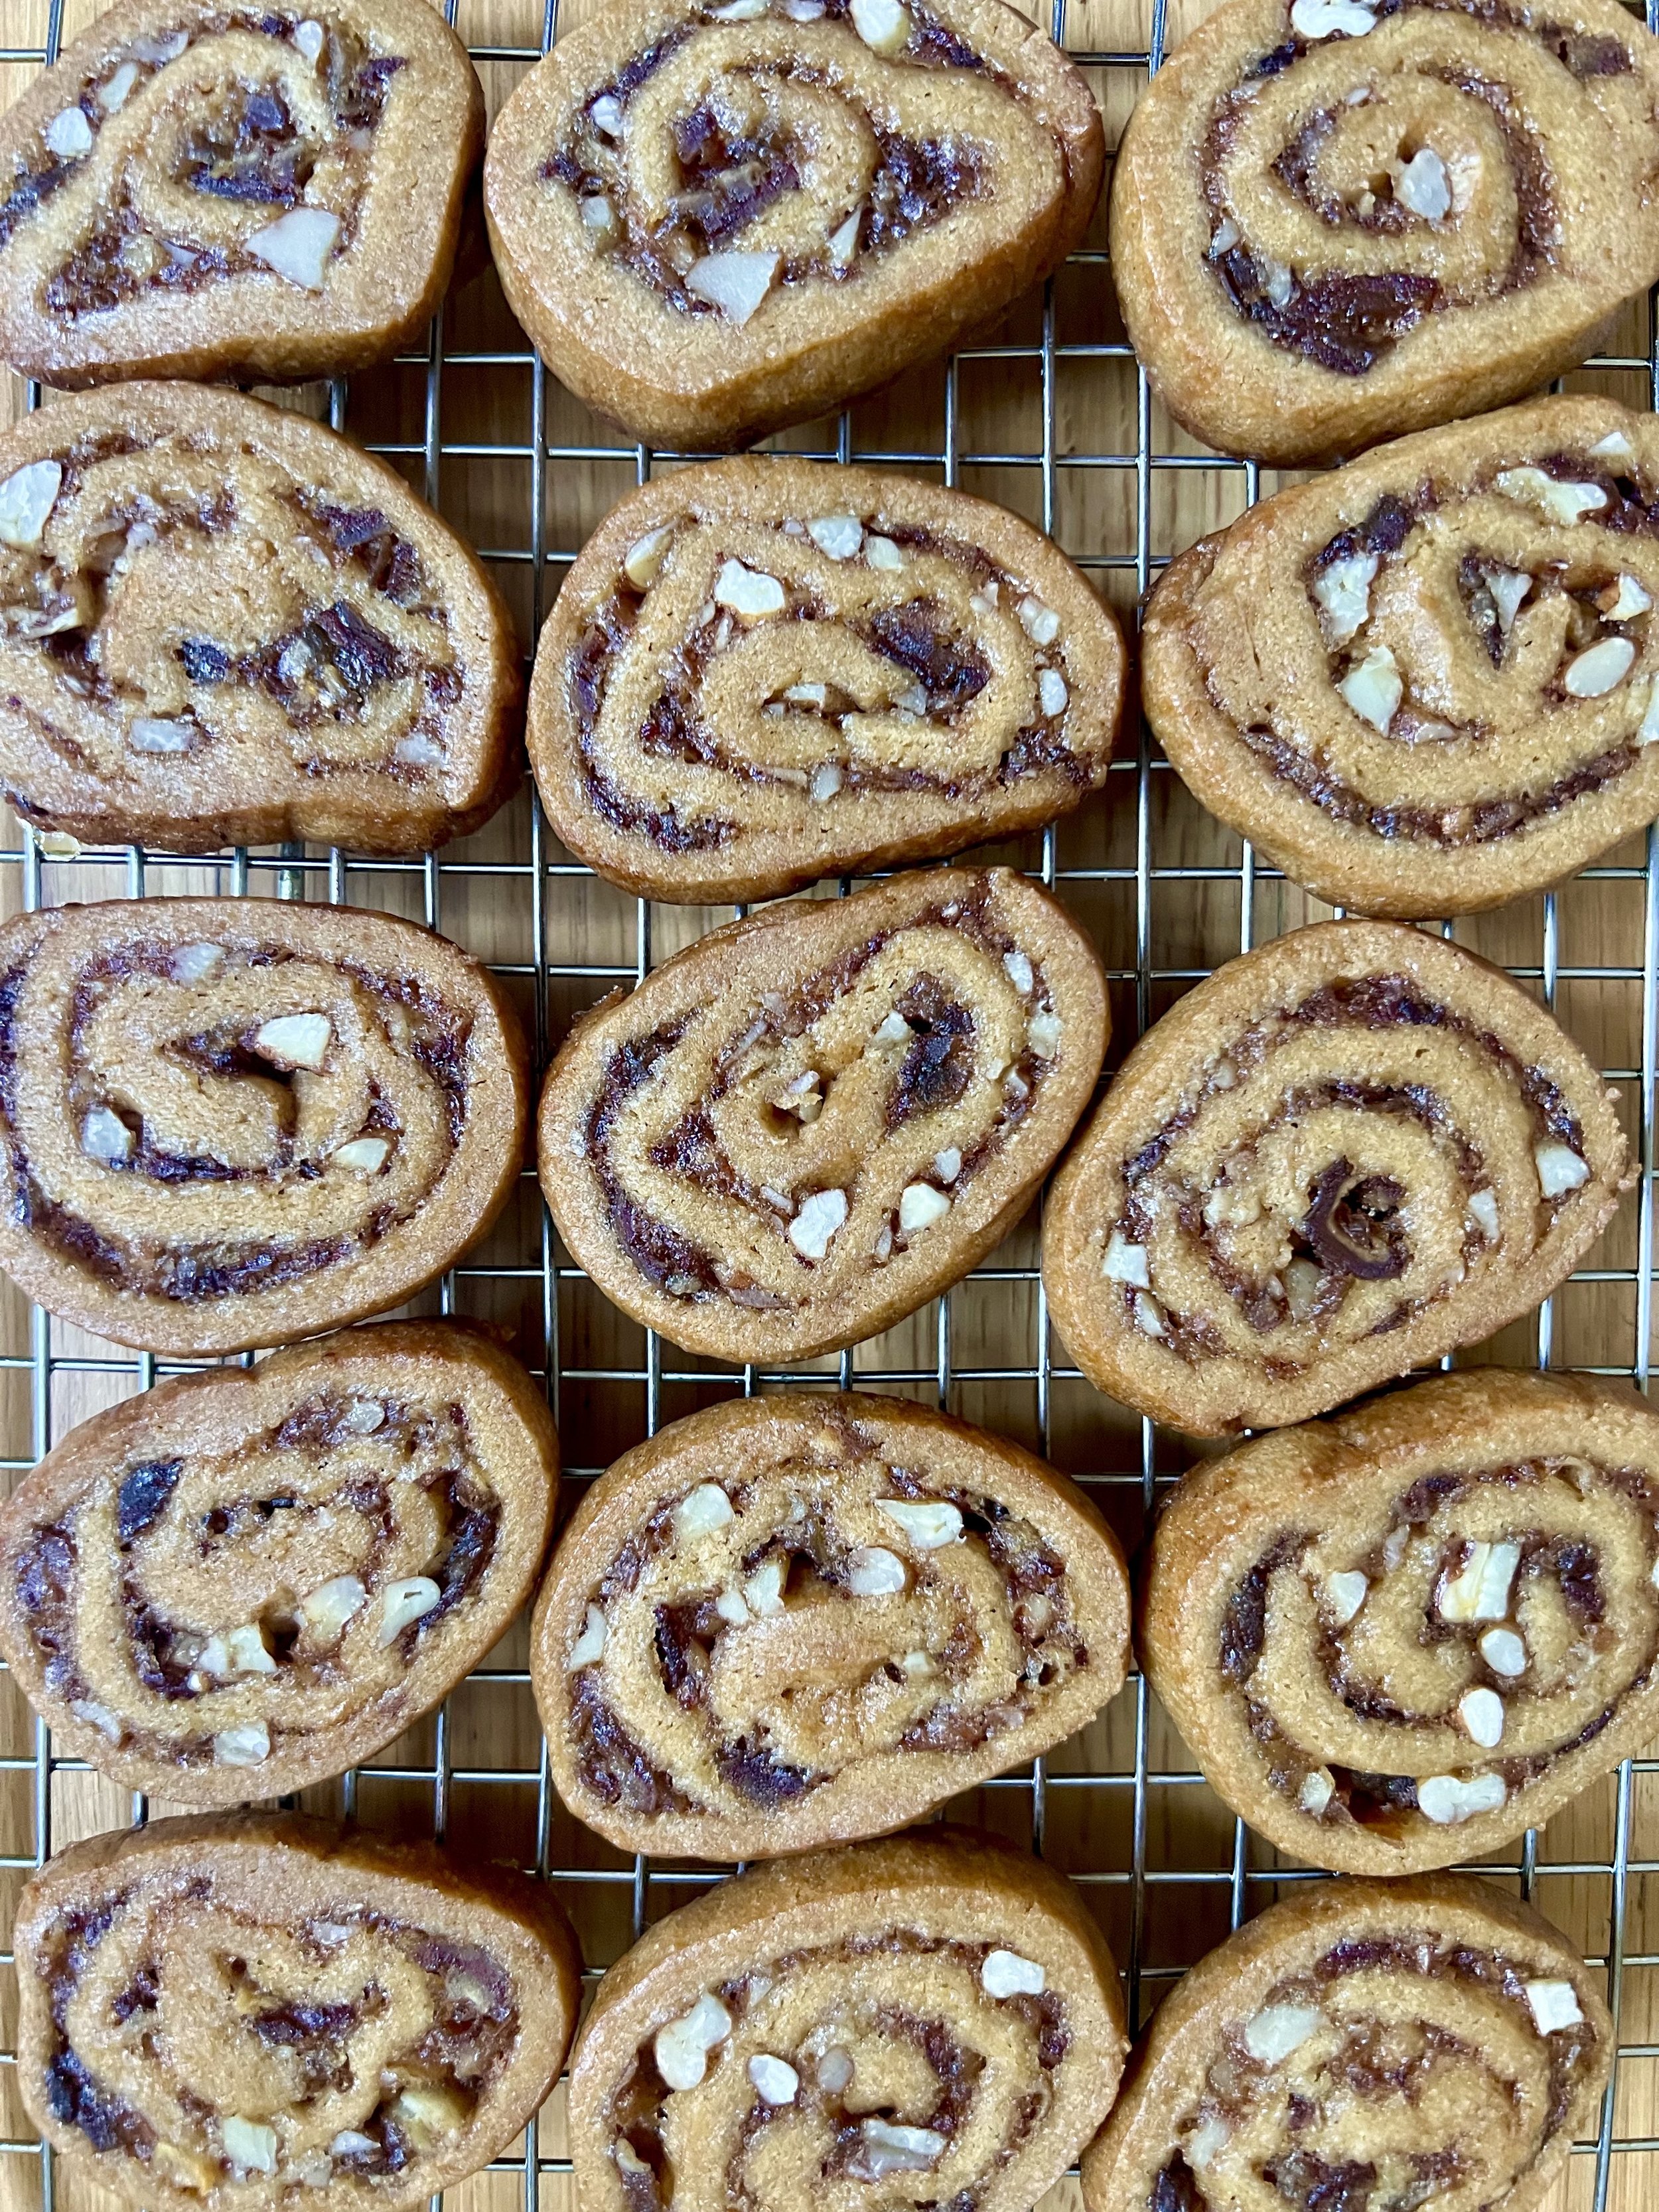
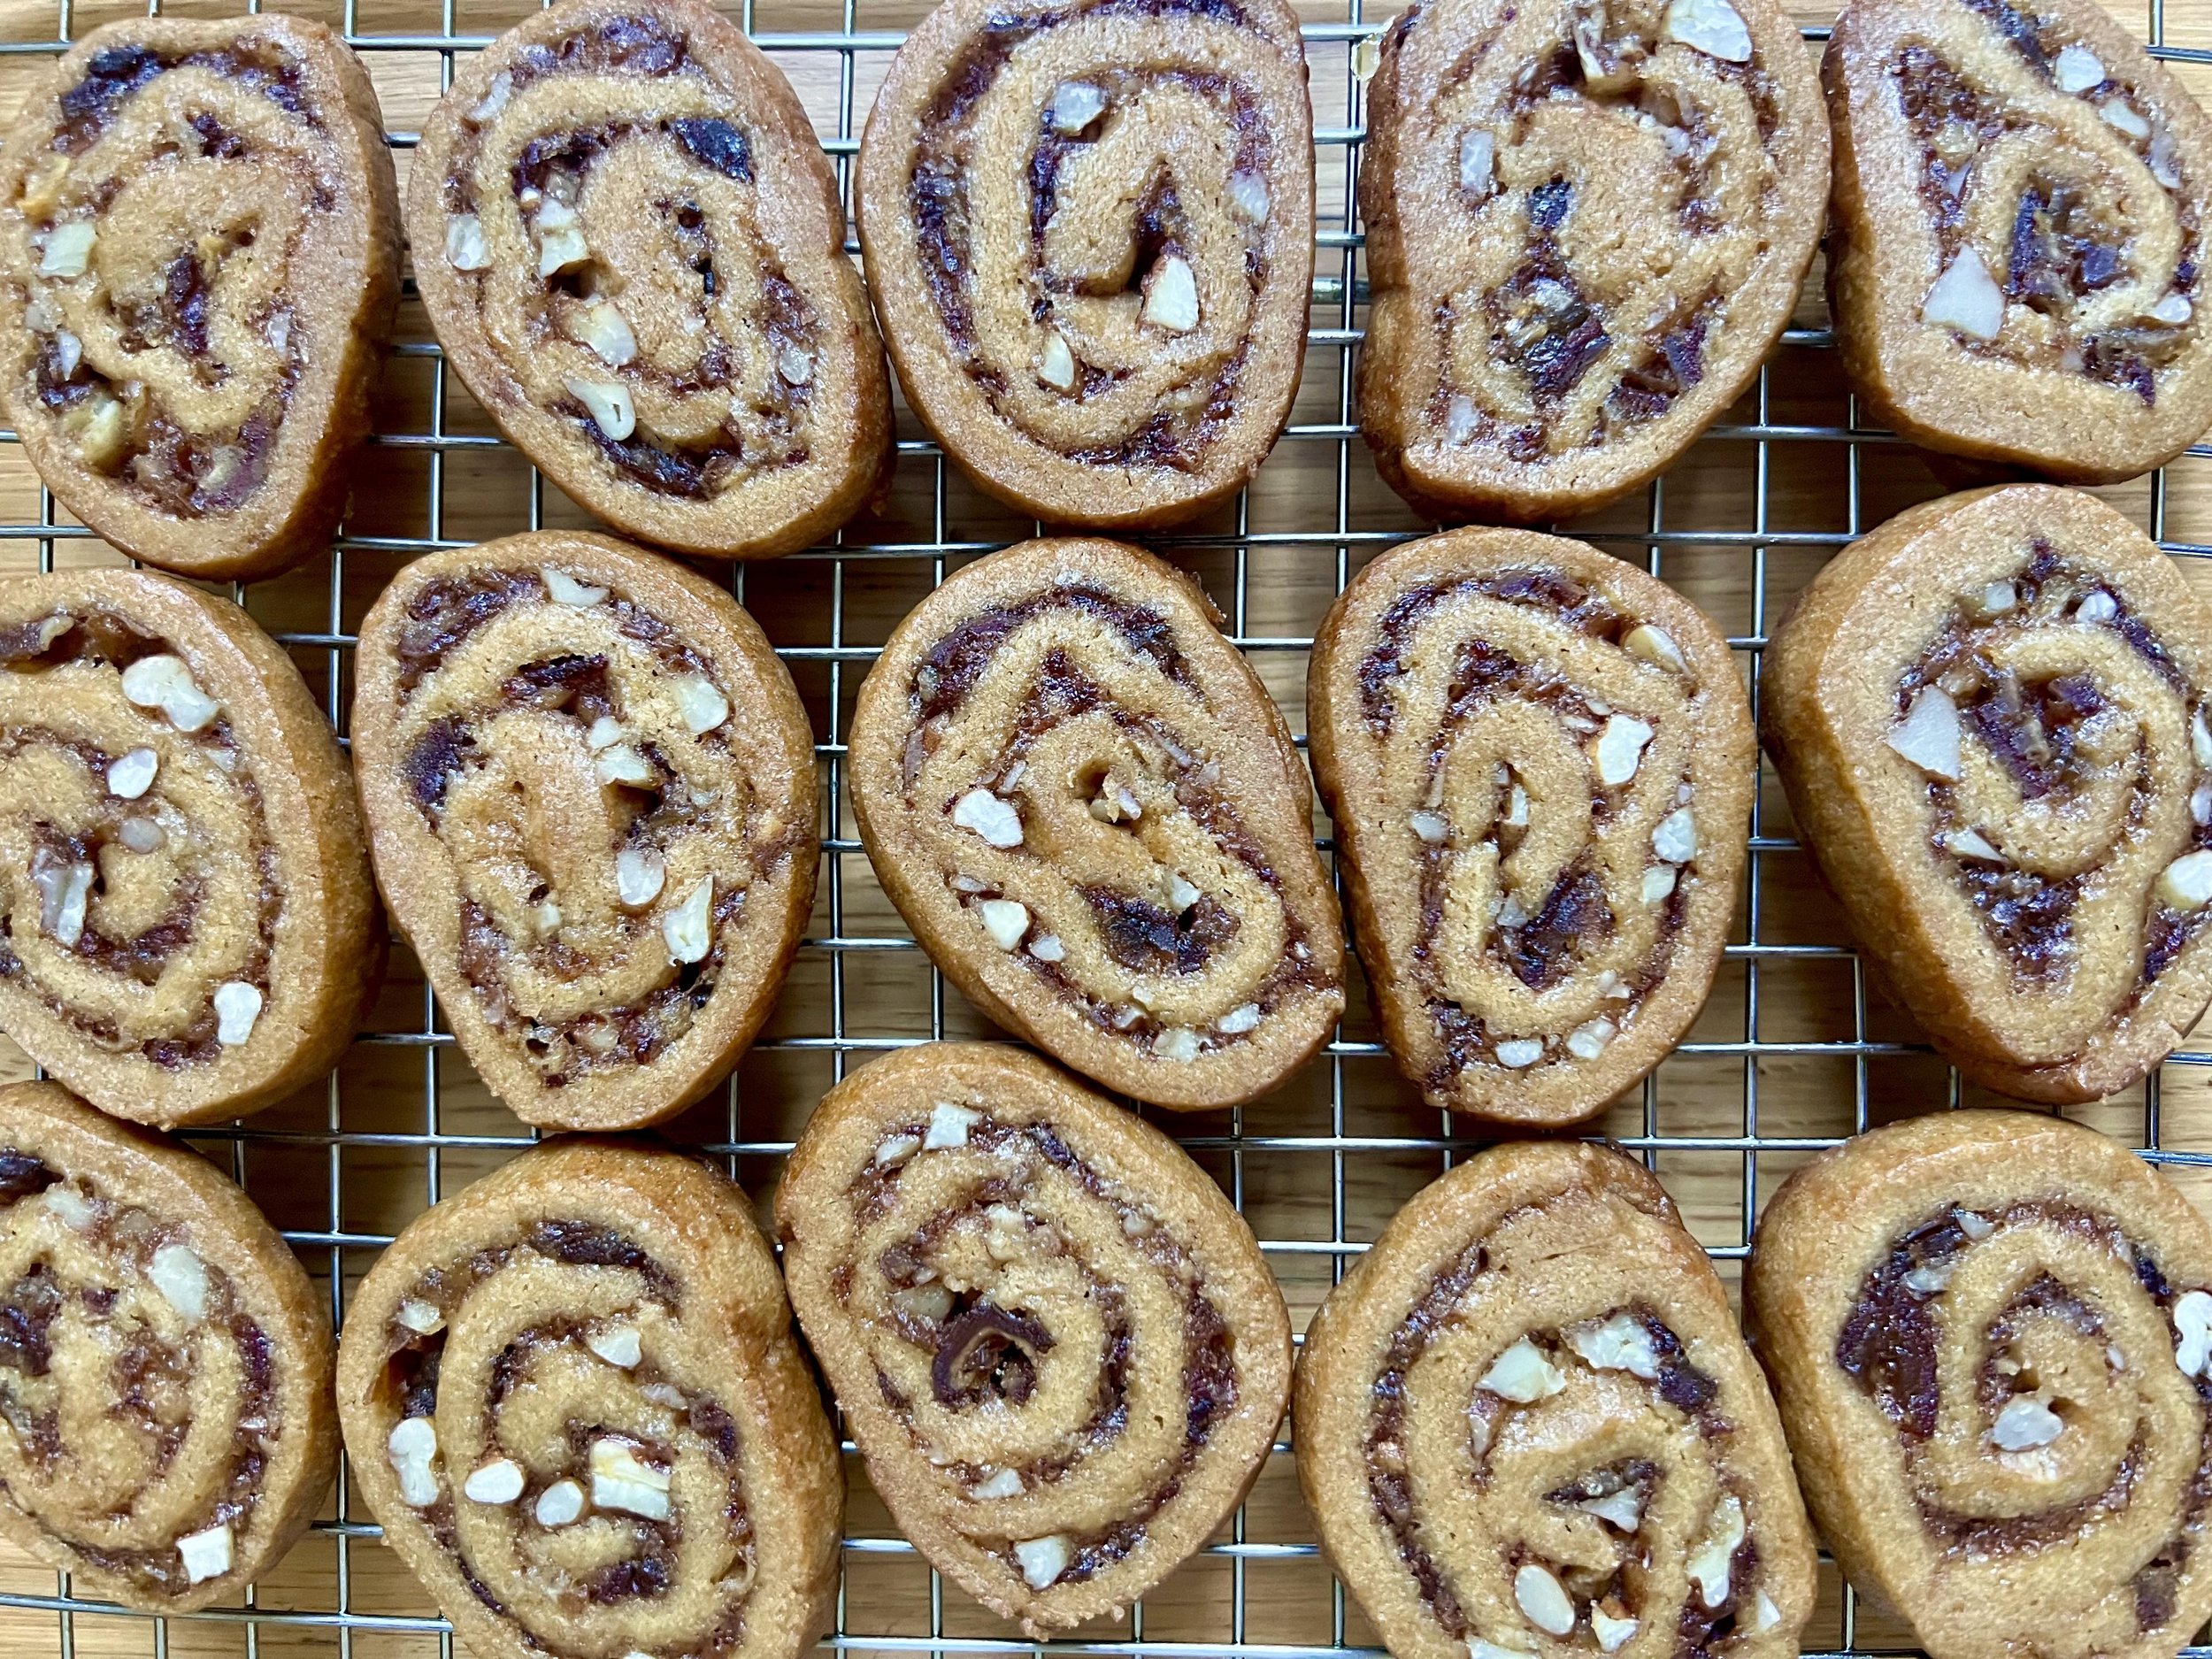
date pecan pinwheel cookies

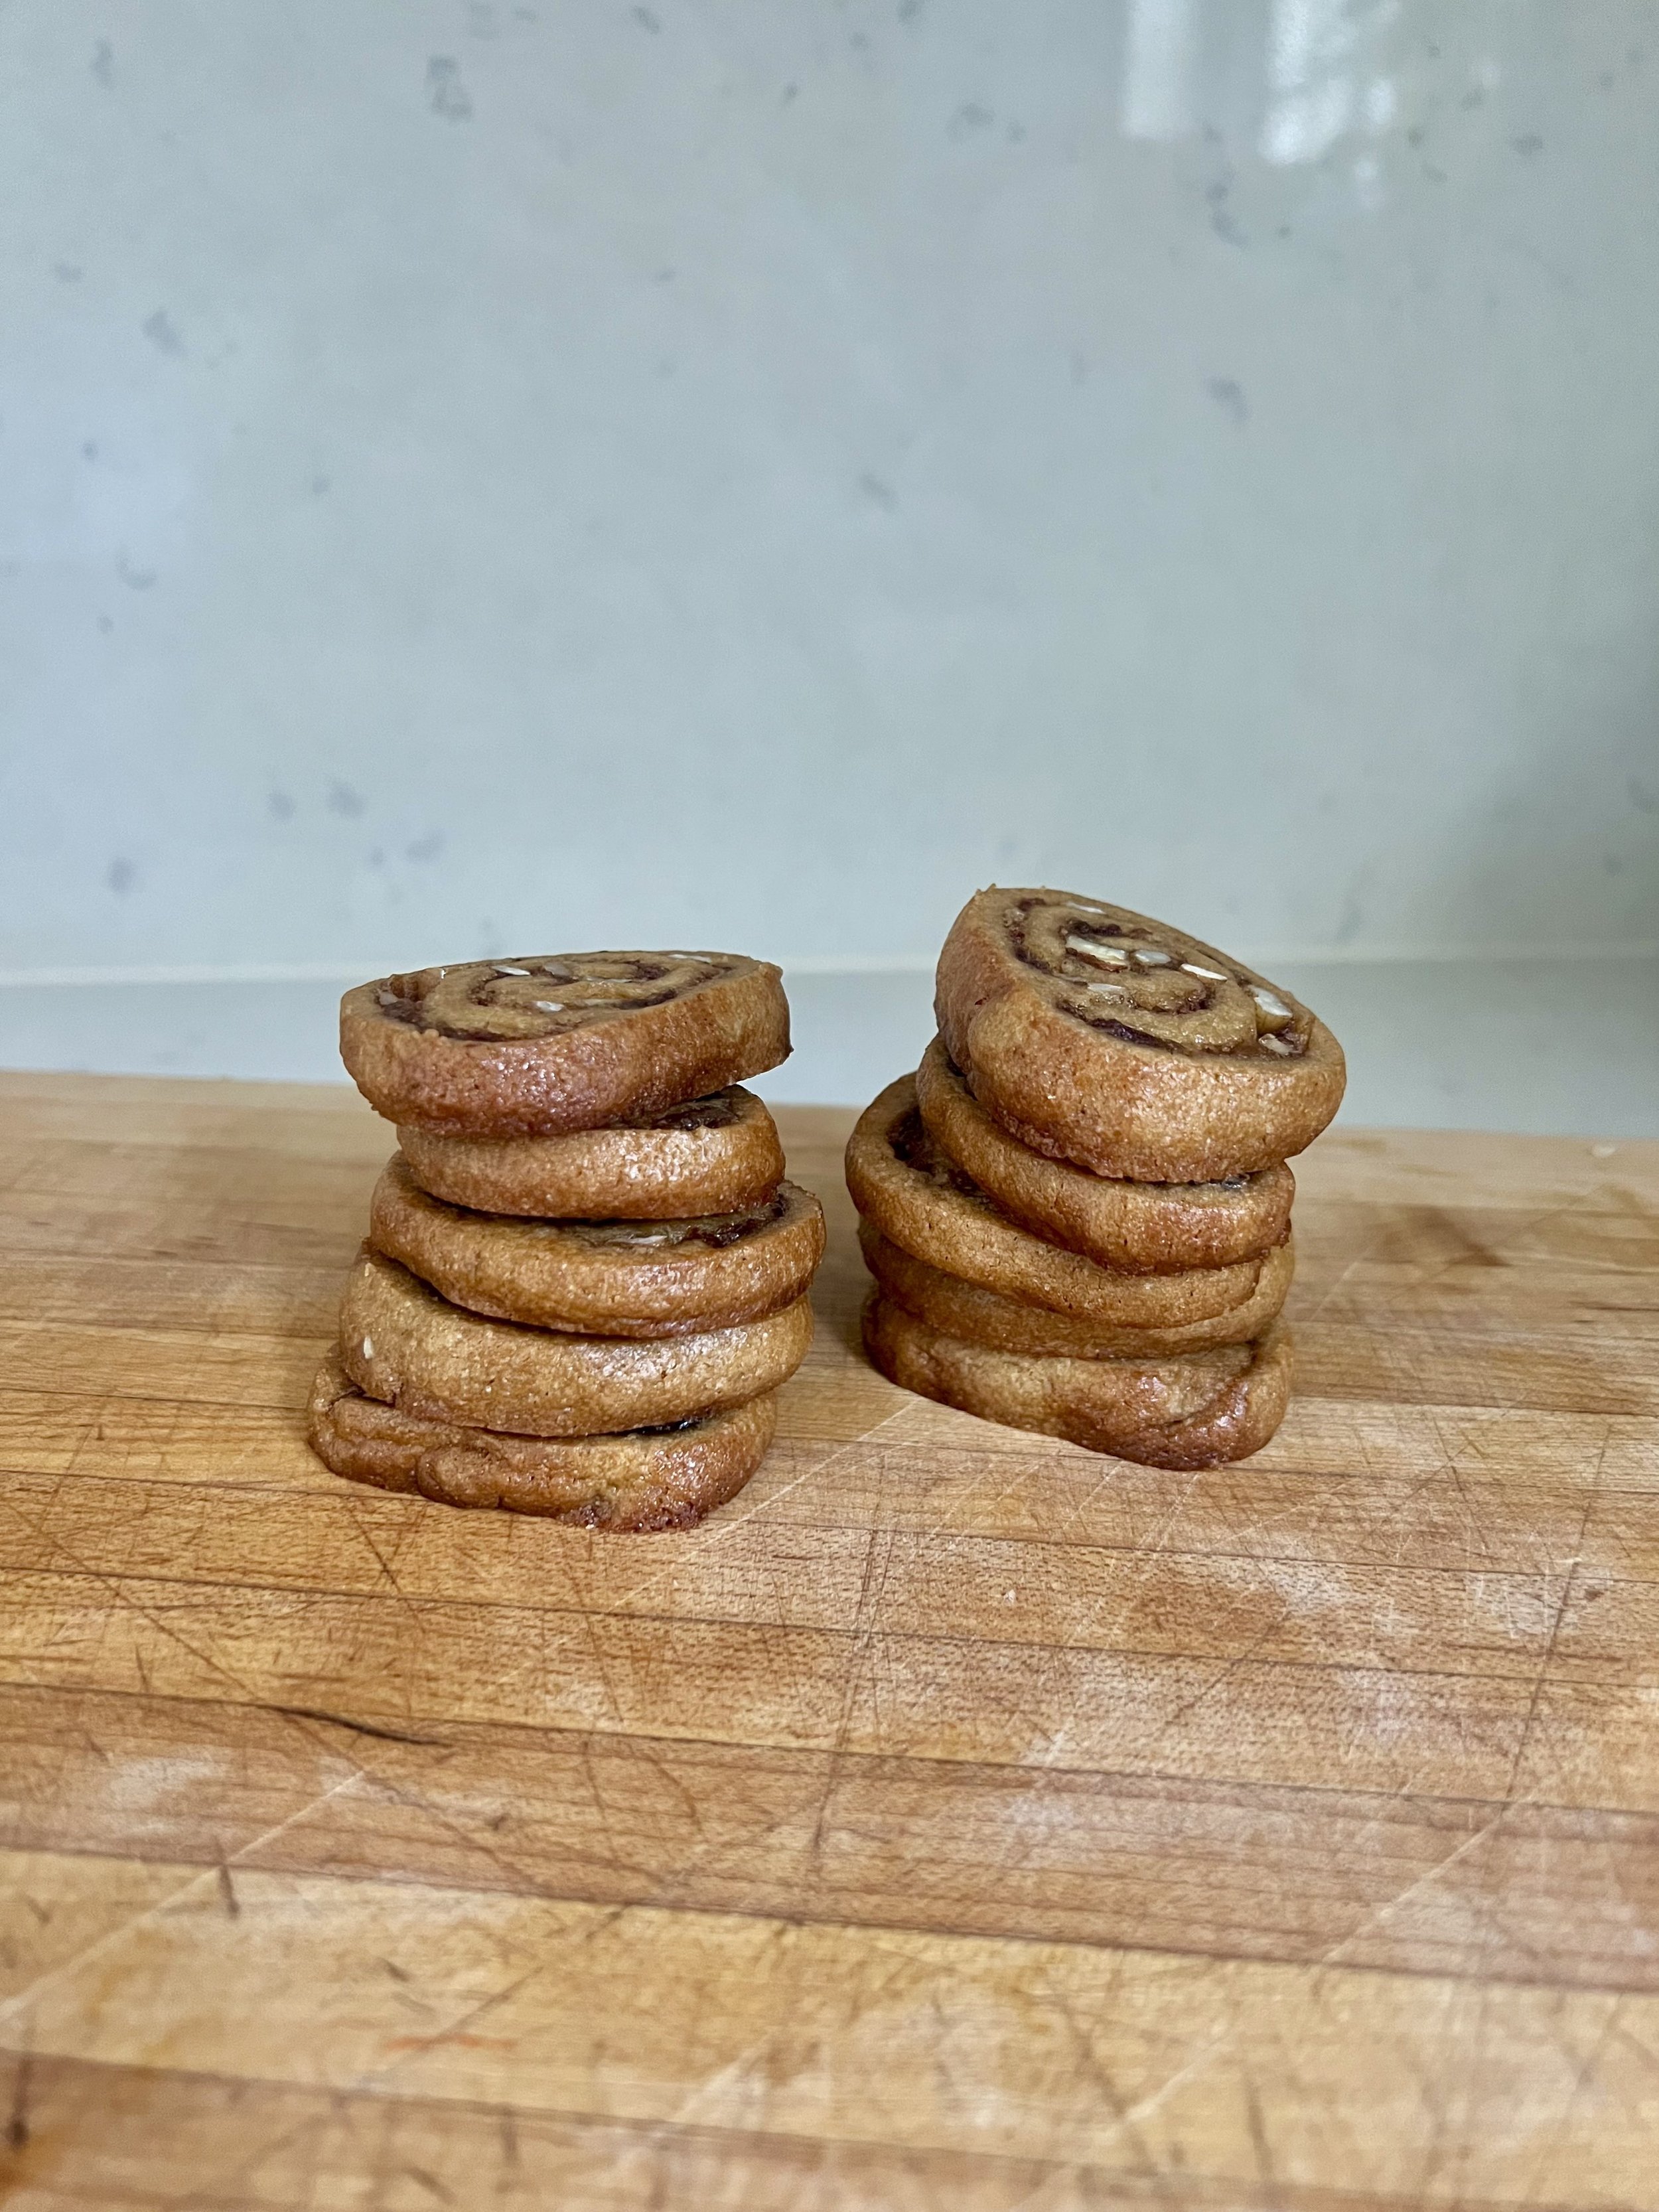
I love holiday baking. The family traditions, the comforting aromas, the delicious flavors. It gives me all the festive feels. These date pecan pinwheel cookies are the epitome of all of that for me. They remind me of my mom, who bakes them for us every holiday season, and they are a hit with the whole family. I love how unique they are- not your average holiday sugar cookie for sure. But they also come together easily, and look pretty fancy as well! My mom was kind enough to leave me a batch of this cookie dough in the freezer, so I could bake them up myself when the craving hits, which is what I’ve just done now. I love how they get nicely golden brown with a crisp edge, yet maintain a soft and gooey interior that is almost reminiscent of caramel! So heavenly. I highly recommend you add these to your holiday cookie rotation. They would make an excellent addition to a festive cookie swap as well. Happy Holidays, y’all!

Date Pecan Pinwheels:

  • Filling:

    • 8 oz medjool dates, chopped

    • ½ cup granulated sugar

    • ½ cup water

    • ½ cup pecans, chopped

  • Dough:

    • ½ cup unsalted butter, room temperature 

    • ½ cup brown sugar

    • ½ cup granulated sugar

    • 1 large egg

    • ½ tsp pure vanilla extract

    • 2 cups all purpose flour

    • ½ tsp baking soda

    • ½ tsp salt 

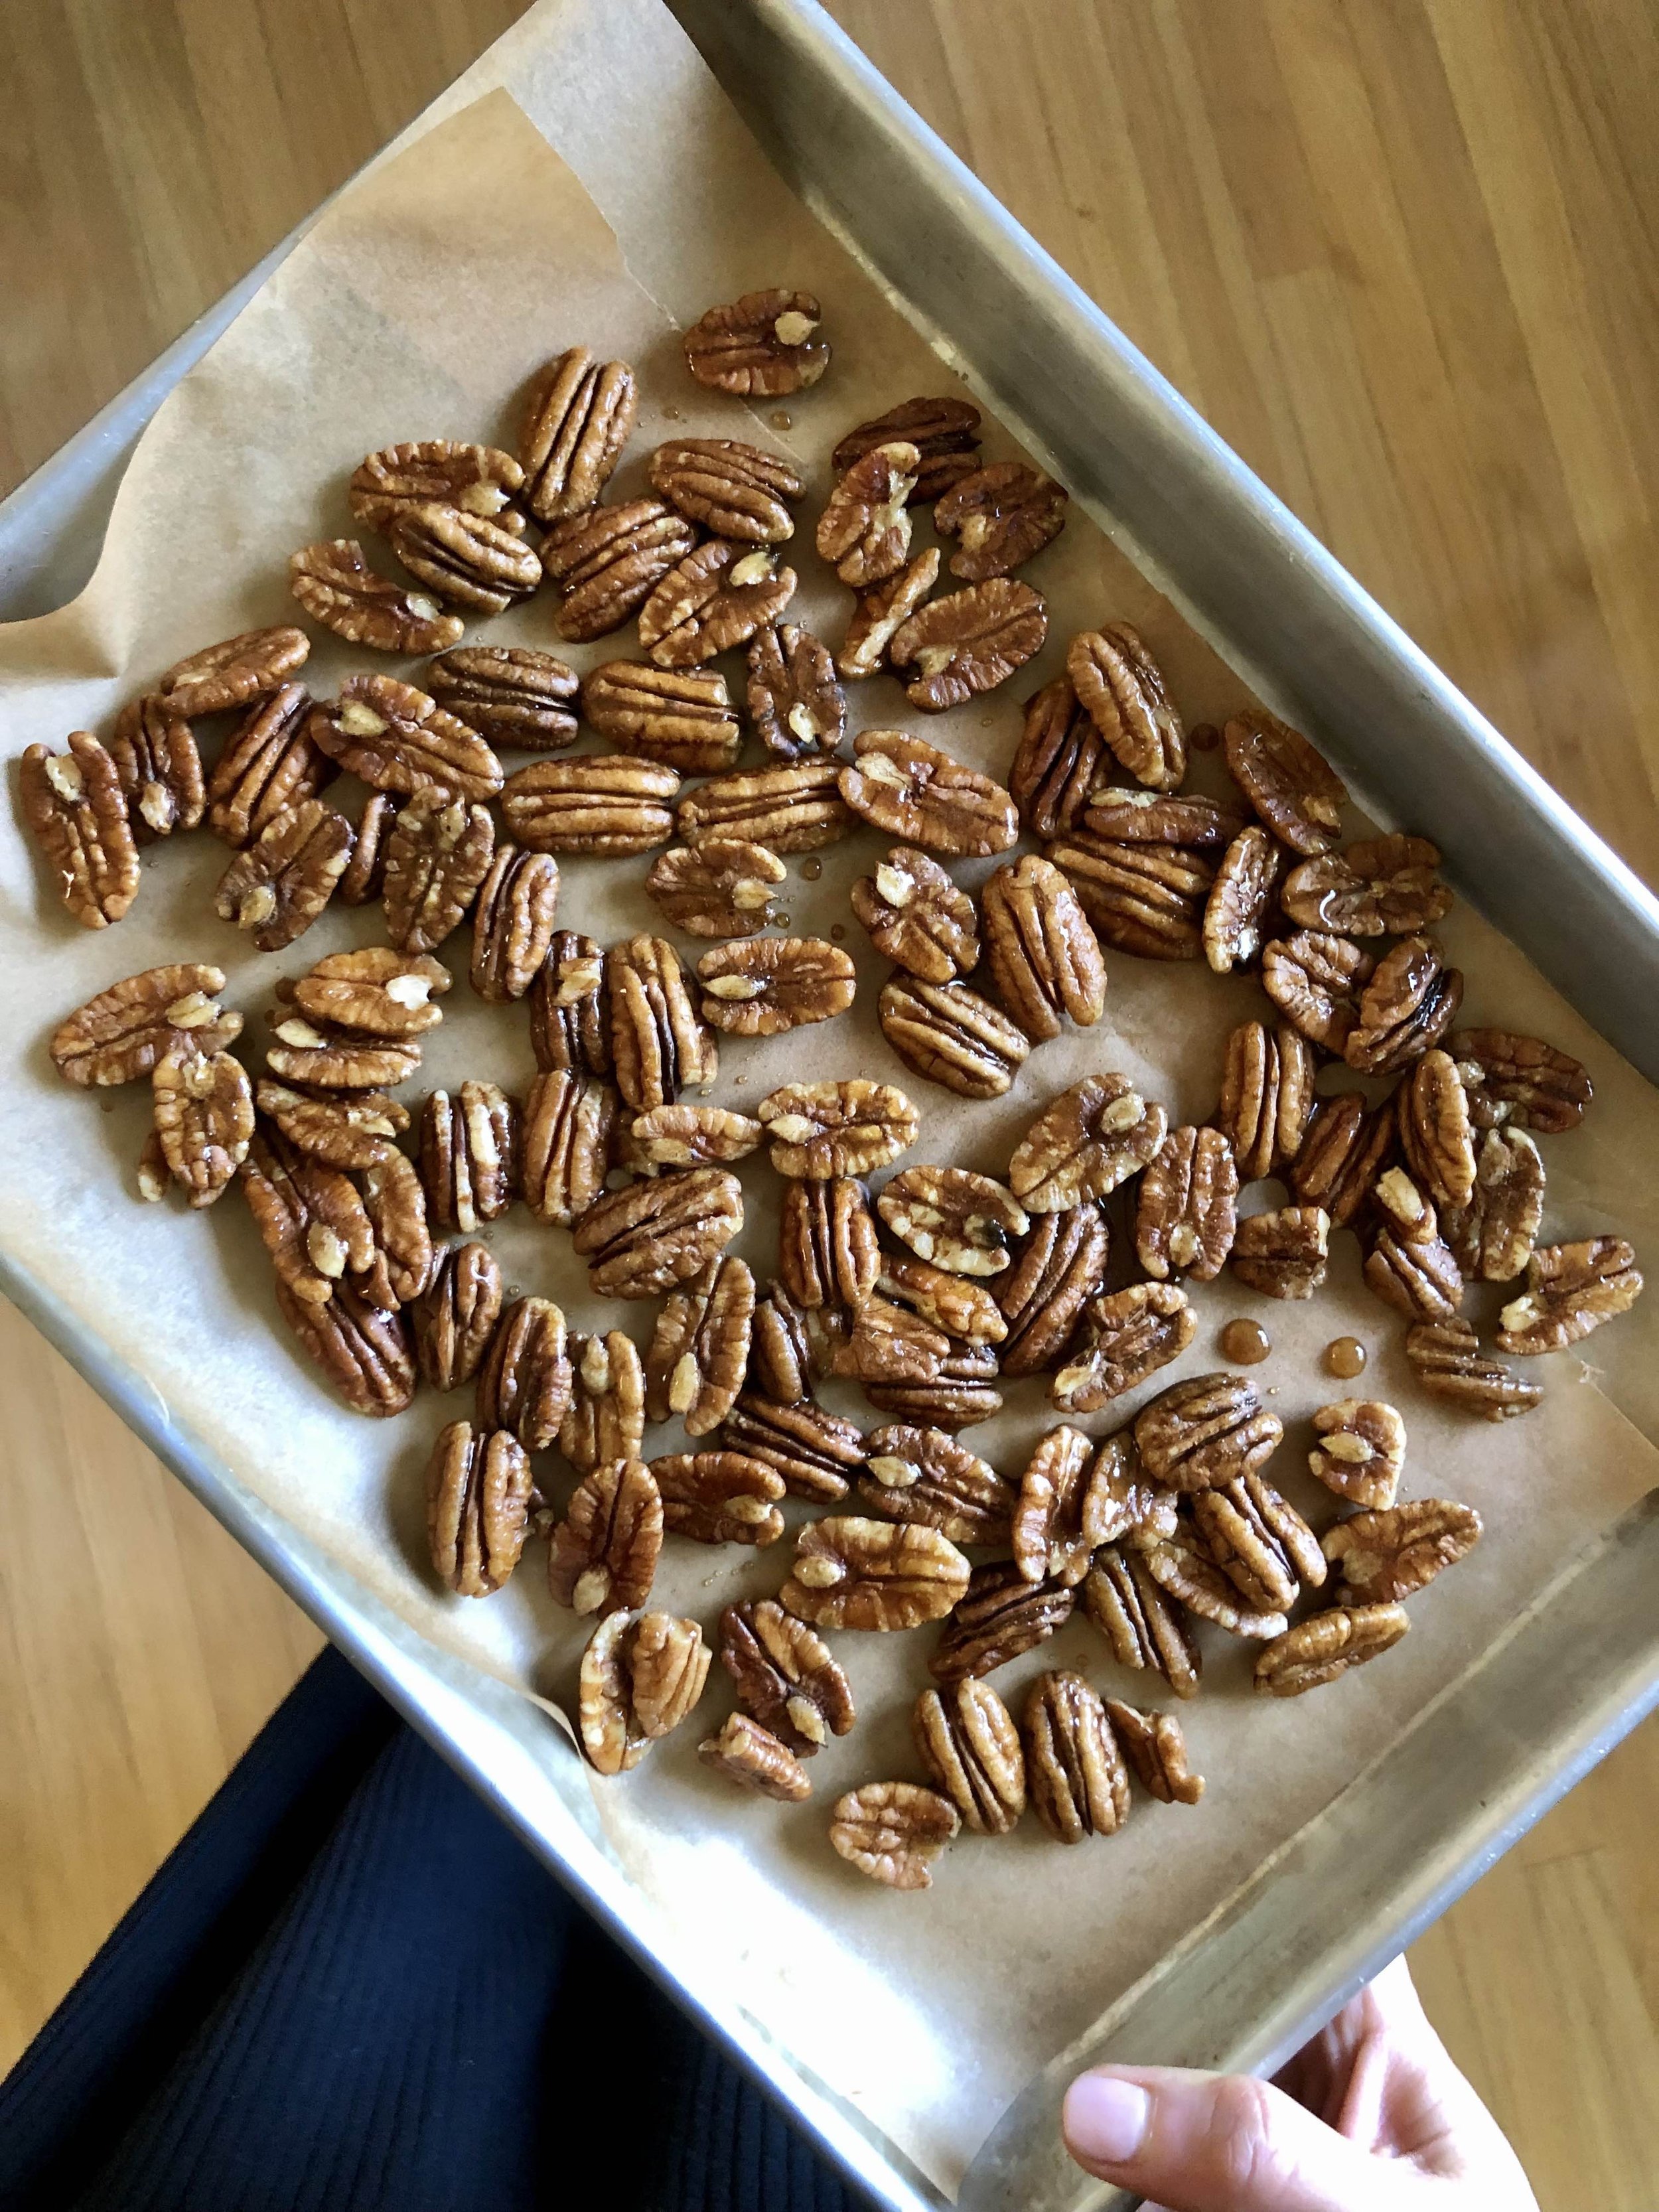
For the filling, add the chopped dates to a saucepan with sugar and water. Bring to a low boil, reduce heat and simmer, stirring and smushing frequently until the mixture is soft and creamy. It’s okay if it’s a bit lumpy. Set aside to cool. Finely chop pecans and reserve for later.

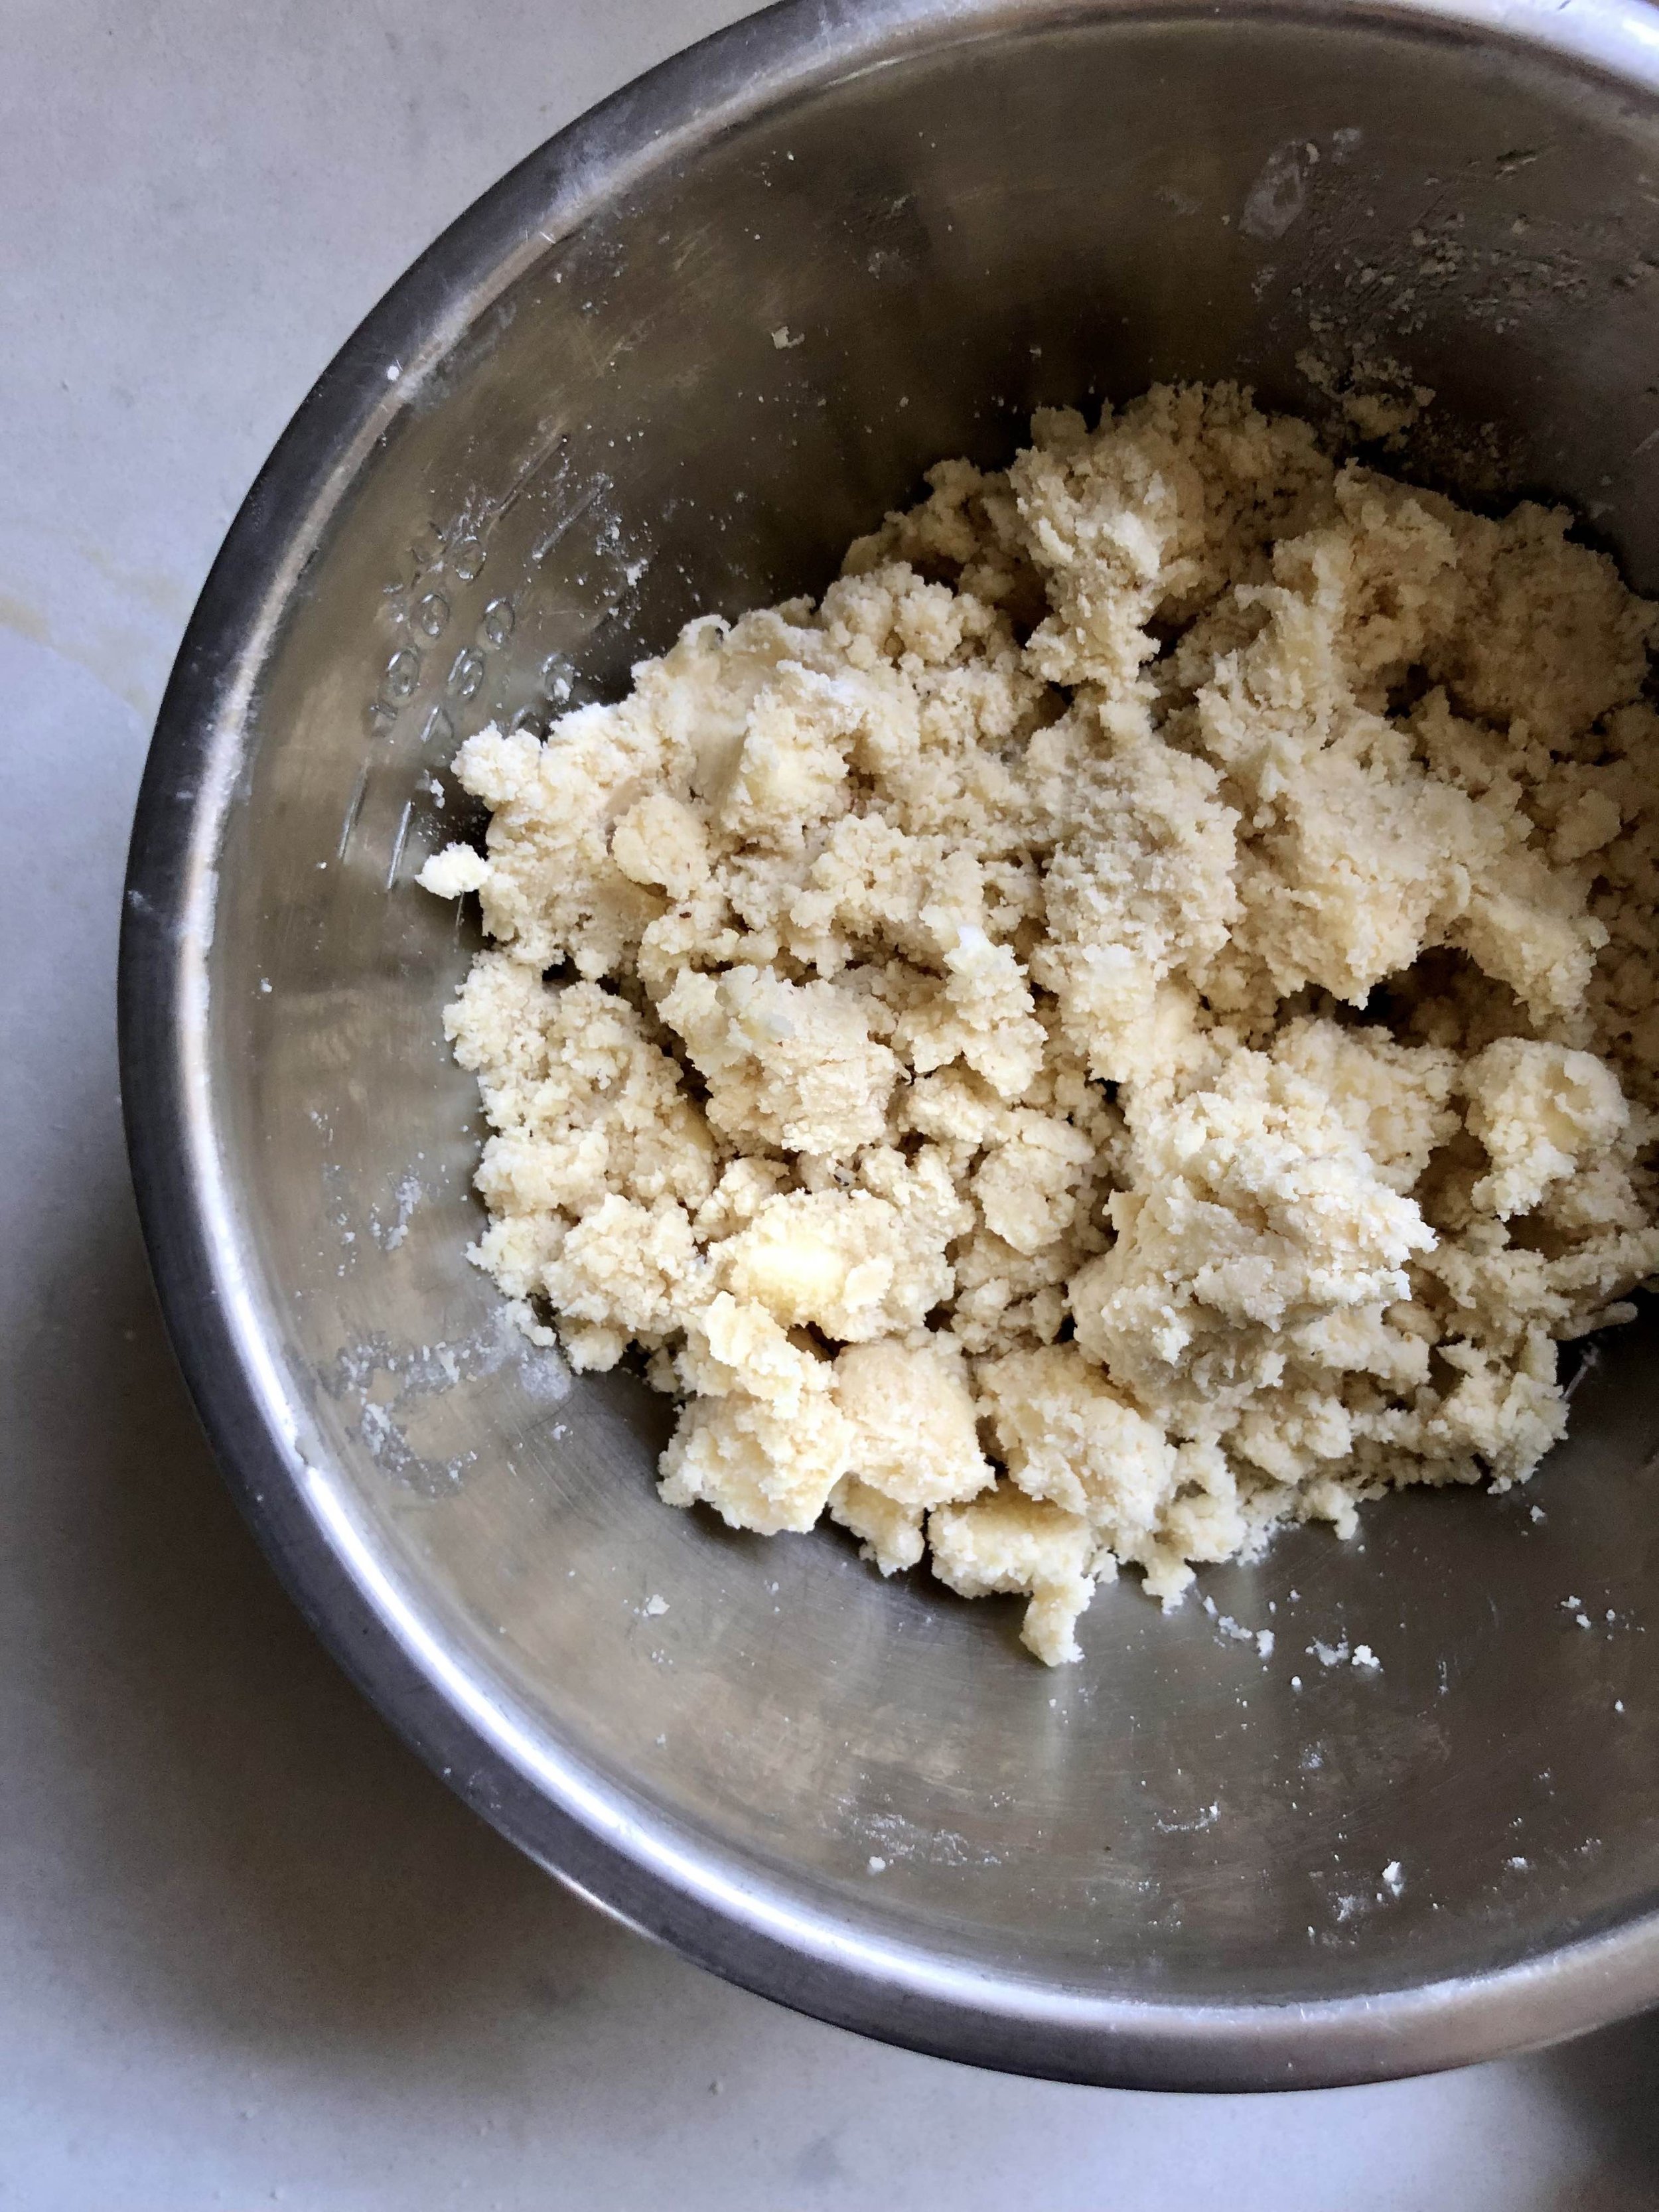
For the dough, cream together butter and sugars in a stand mixer or hand mixer until smooth, then add egg and vanilla until well combined. Sift together the flour, baking soda & salt, and then slowly incorporate the dry ingredients into the wet, careful not to over mix. The dough will be quite thick. Divide it into two rounds, and chill for a couple hours in the fridge. You can also refrigerate the dough overnight at this point, but just let it come to room temp a bit when you’re ready to assemble so that it’s easier to roll out.

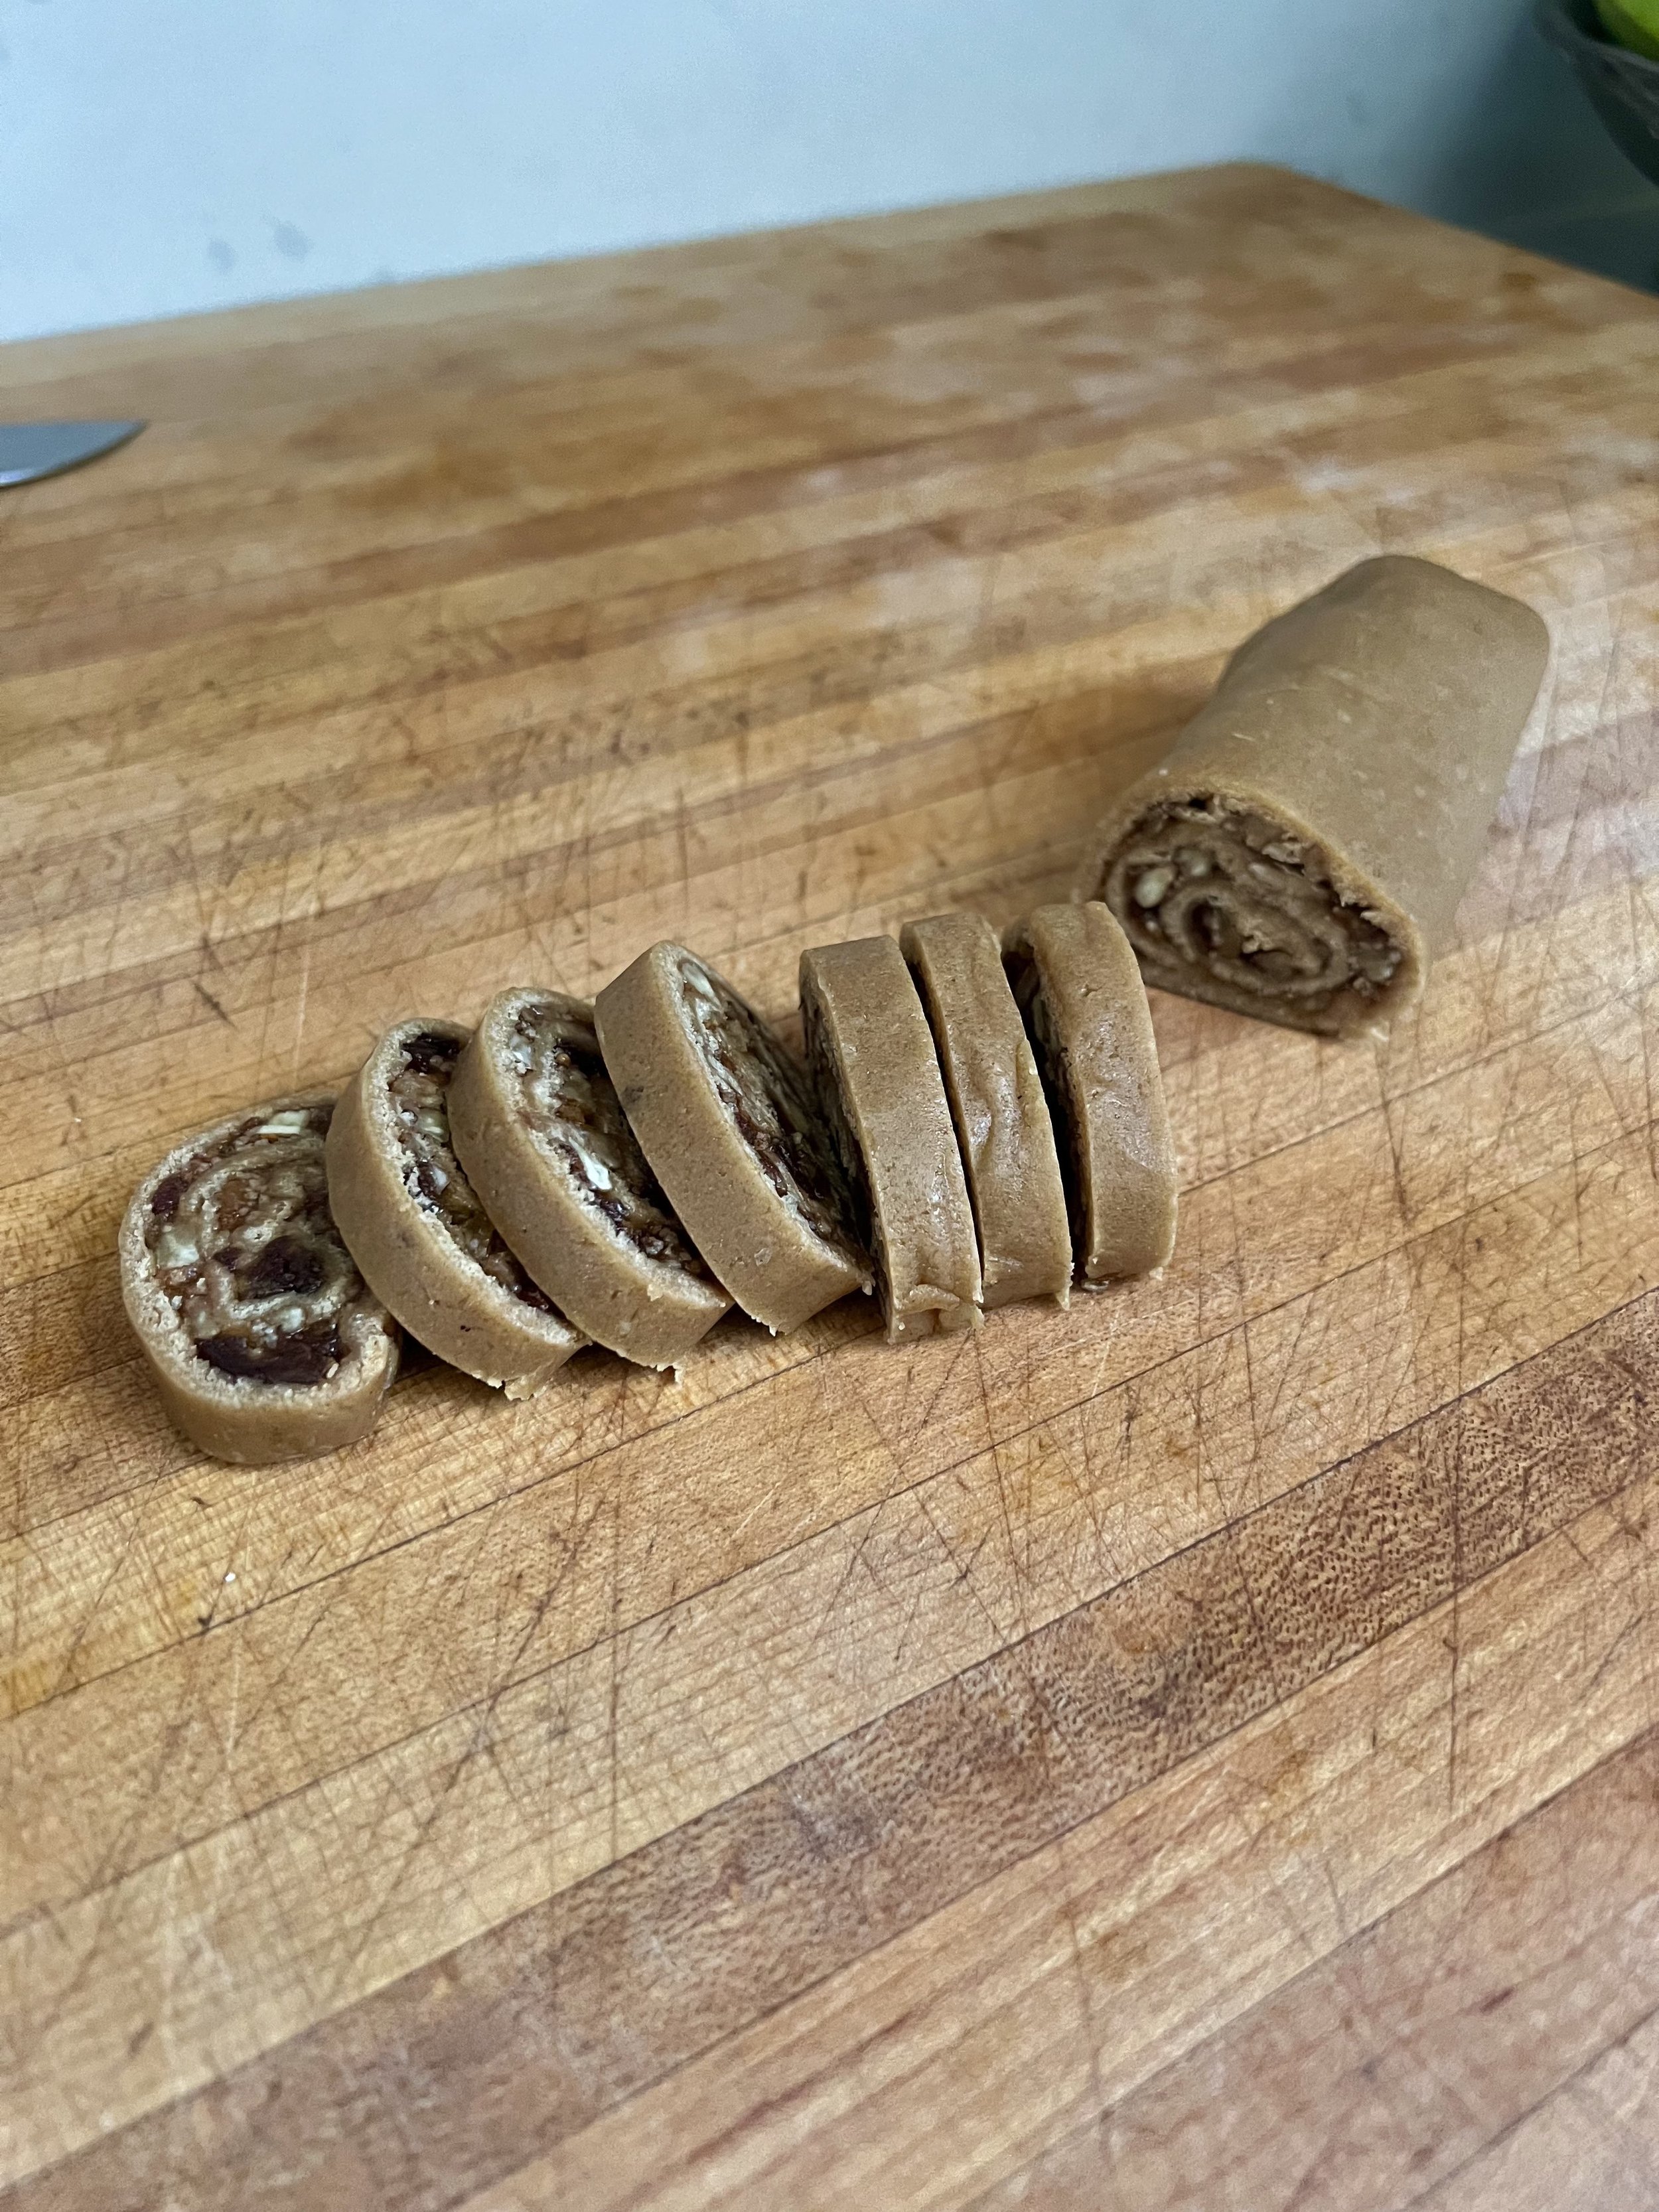
To assemble and prepare for baking, remove the dough from the fridge. Roll one part out on floured surface into a rectangle (about 5-6” x 11-12”), then spread half of the cooled date filling evenly on the dough. If filling seems too thick, add a little water to thin it out to get a more spreadable consistency. Sprinkle on ¼ cup chopped pecans. Carefully roll up into a log shape with wax paper or plastic wrap. Repeat process for second round of dough, then refrigerate both until they are well chilled through. You may also freeze them at this point until you are ready to bake.

Preheat oven to 350 F. Remove dough logs from fridge or freezer, and cut approximately 1/4-1/2" thick cookie slices. Lay on parchment-lined baking sheet, and bake for about 10-12 minutes, until they’re starting to get golden, which will yield a crispy edge and gooey interior. Cool cookies on baking sheet for a few minutes before moving them to a cooling rack to cool completely. Enjoy! These are best on the day they are made, as they maintain their crisp edges and gooey interior, but will remain deliciously soft & chewy for the next several days stored in an airtight container.
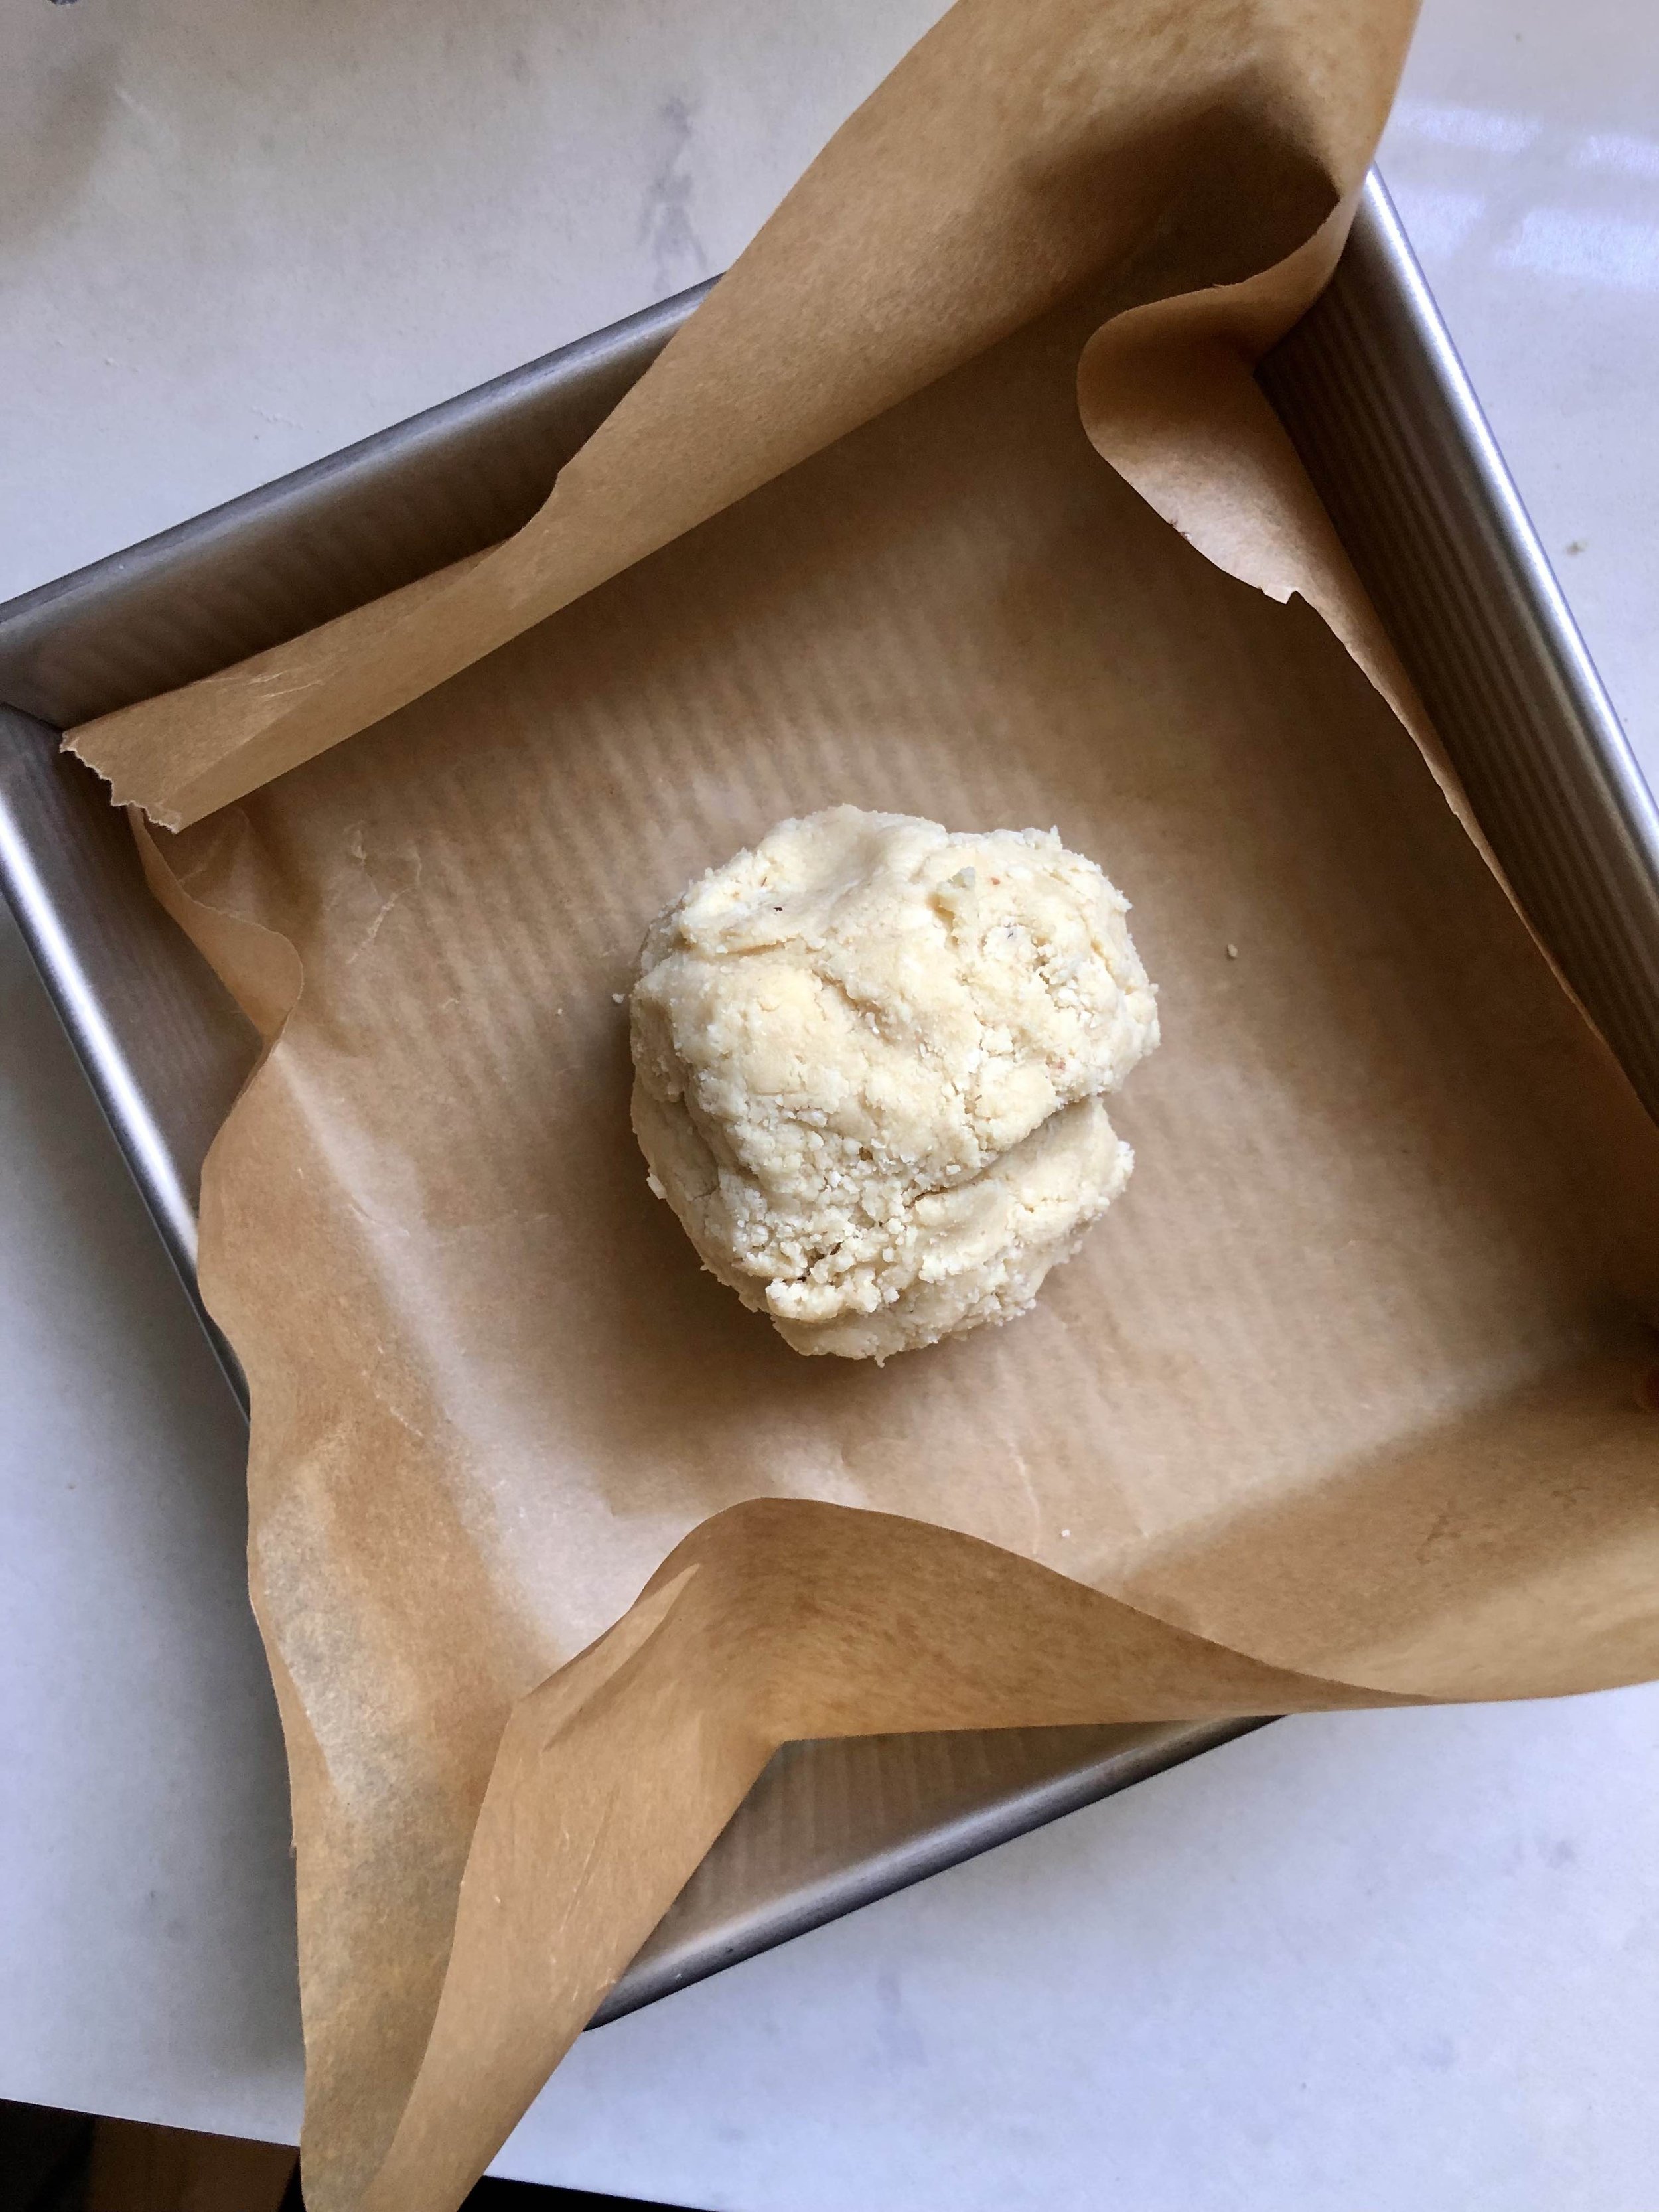
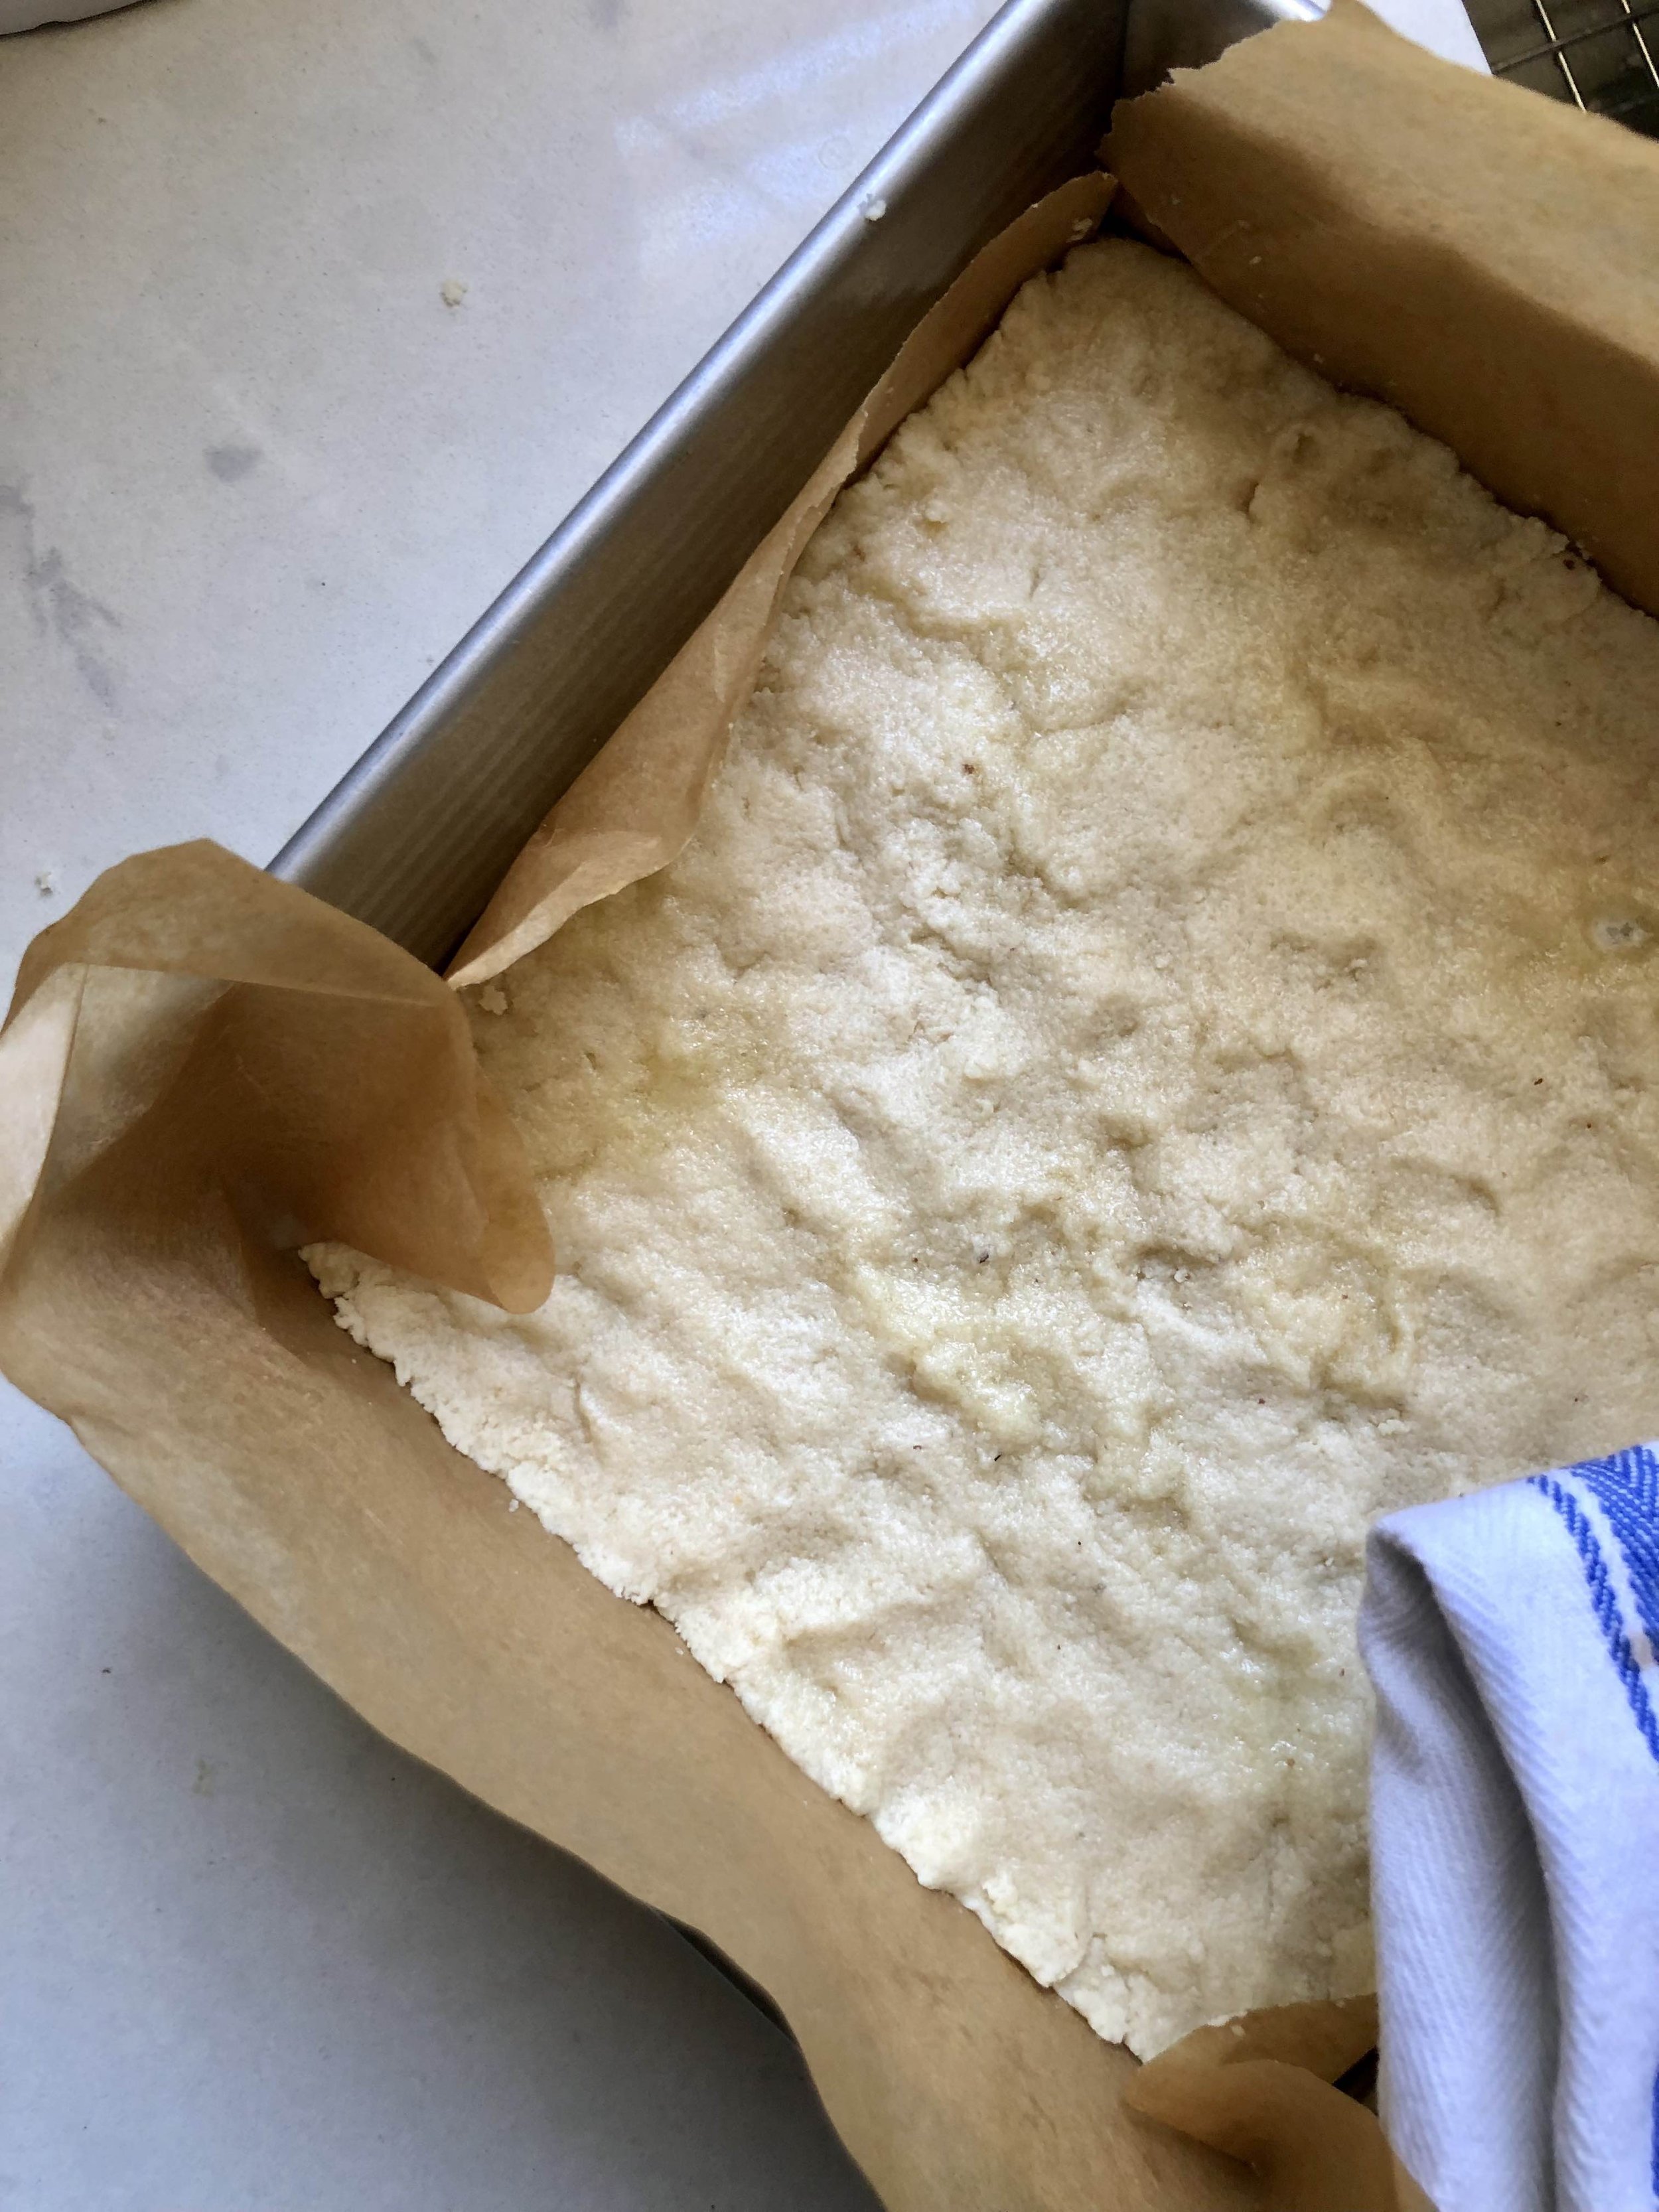
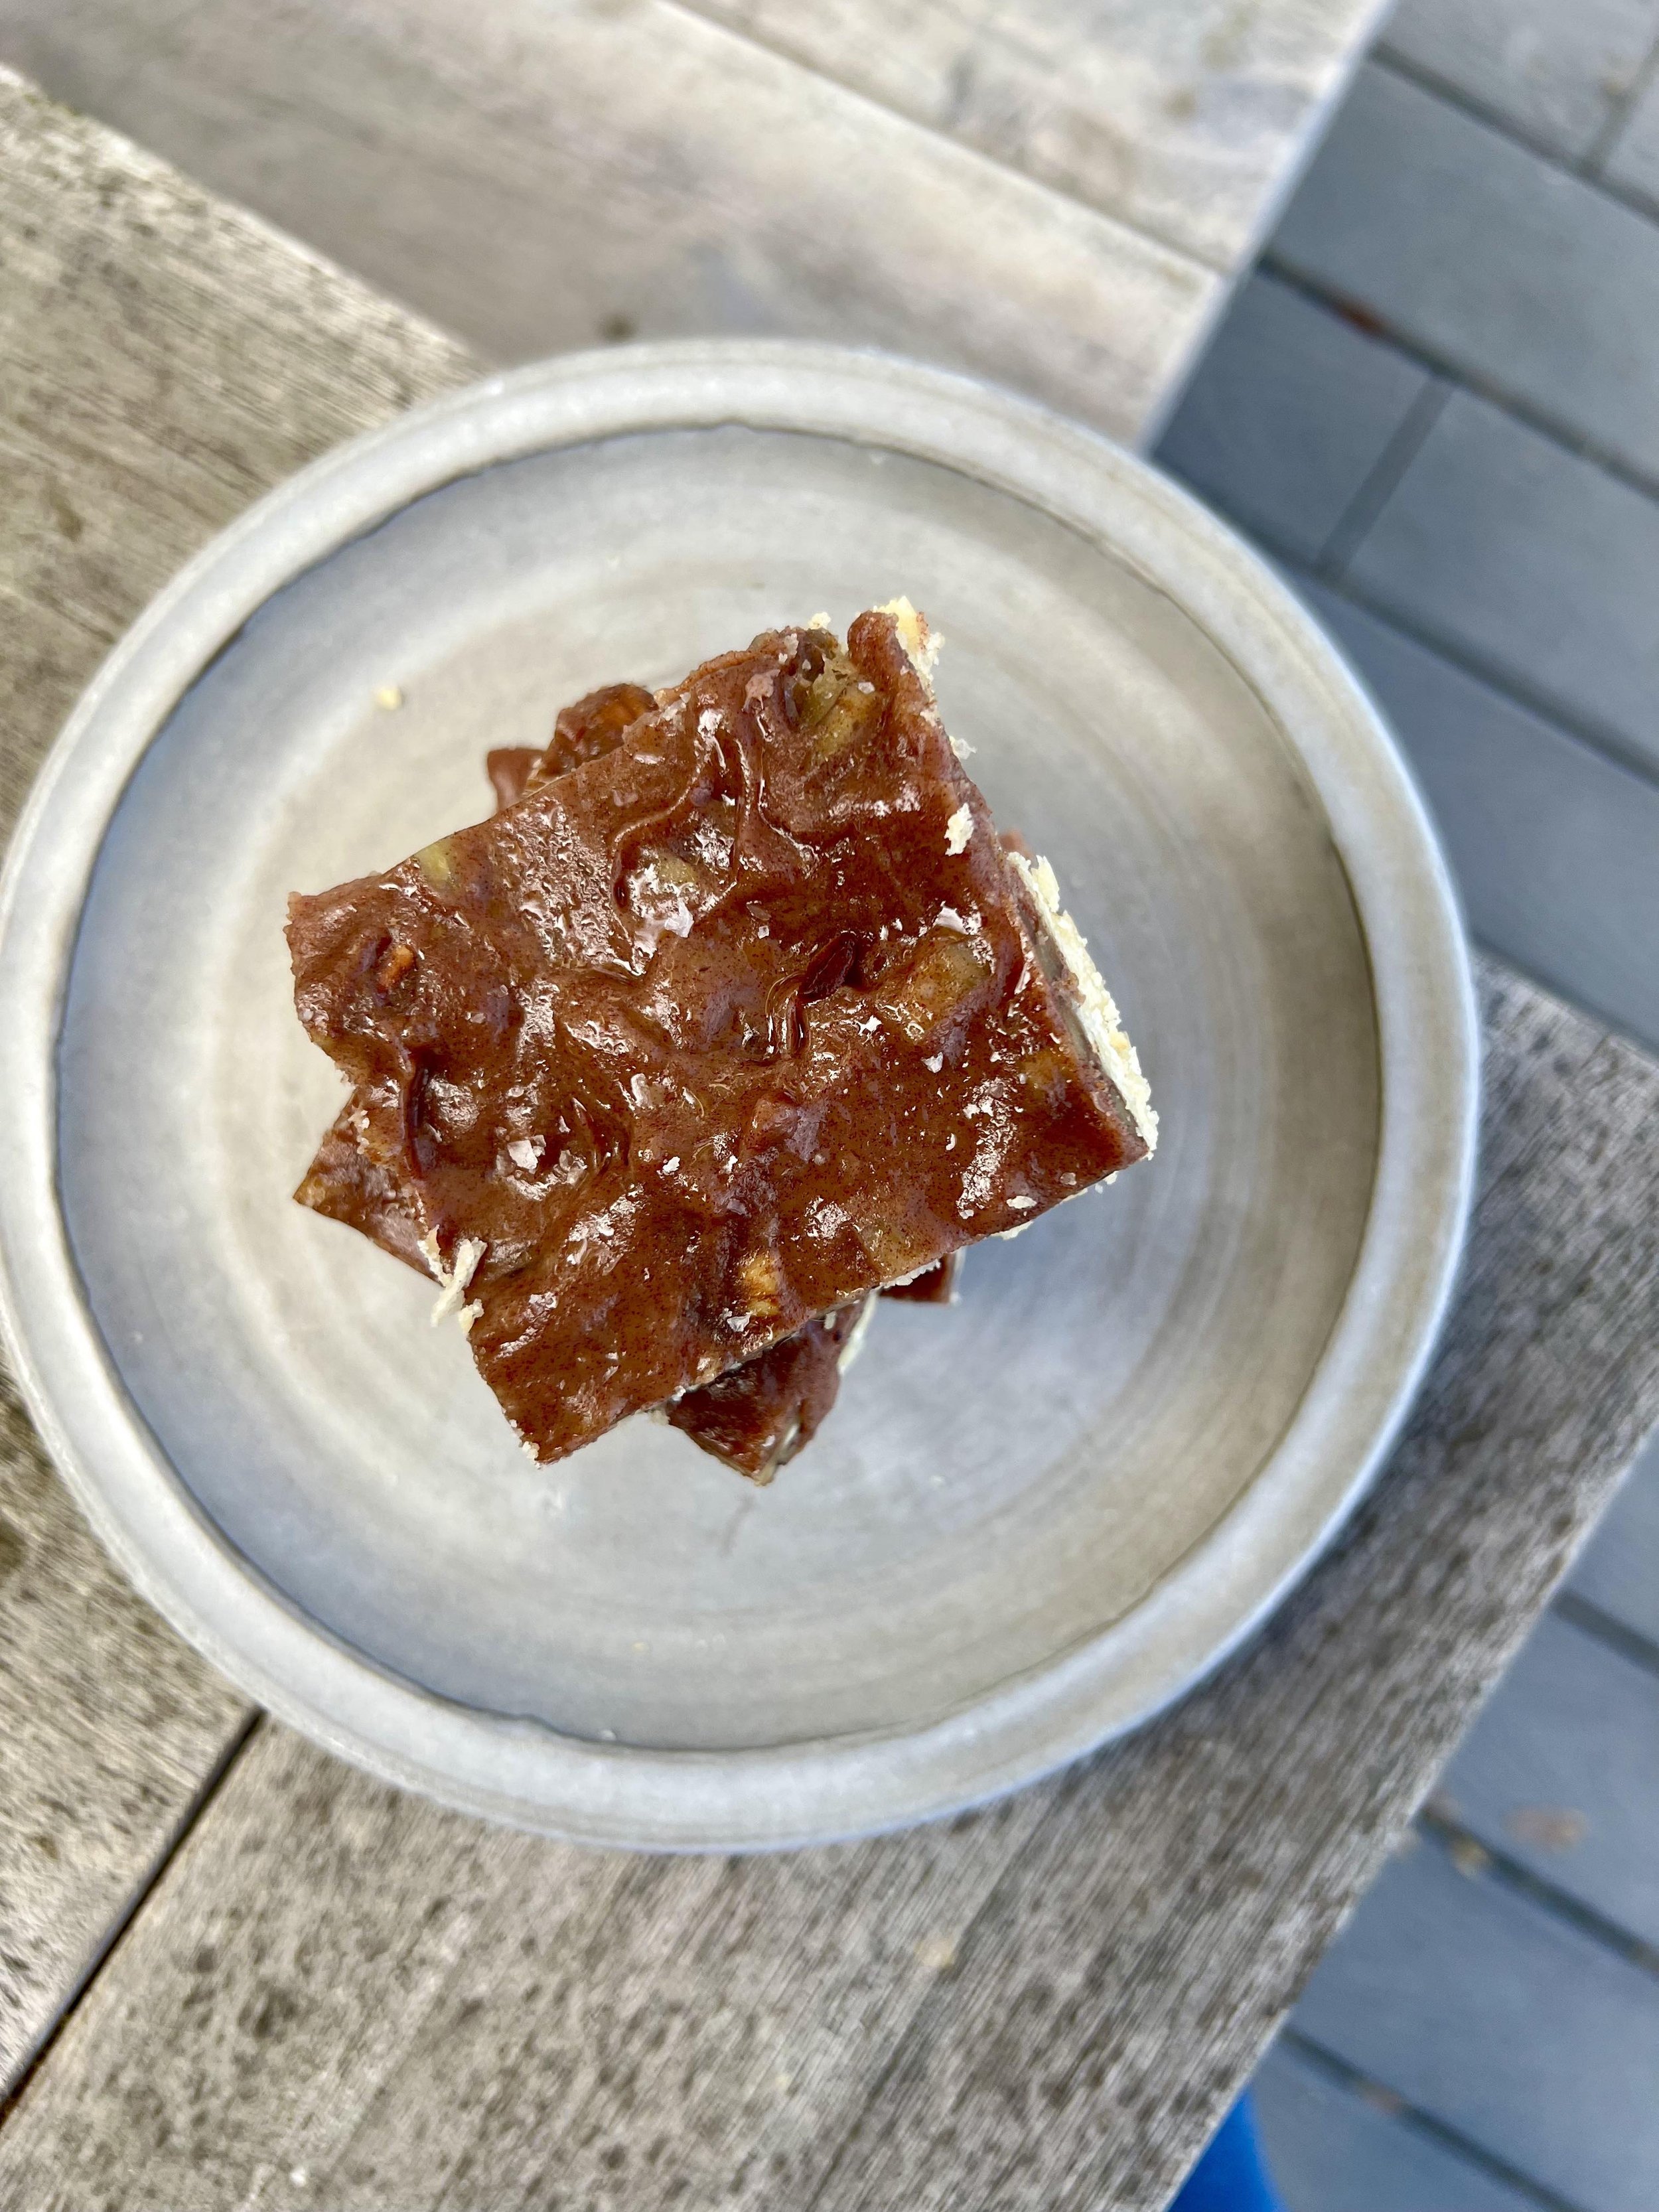
grain-free pecan pie bars

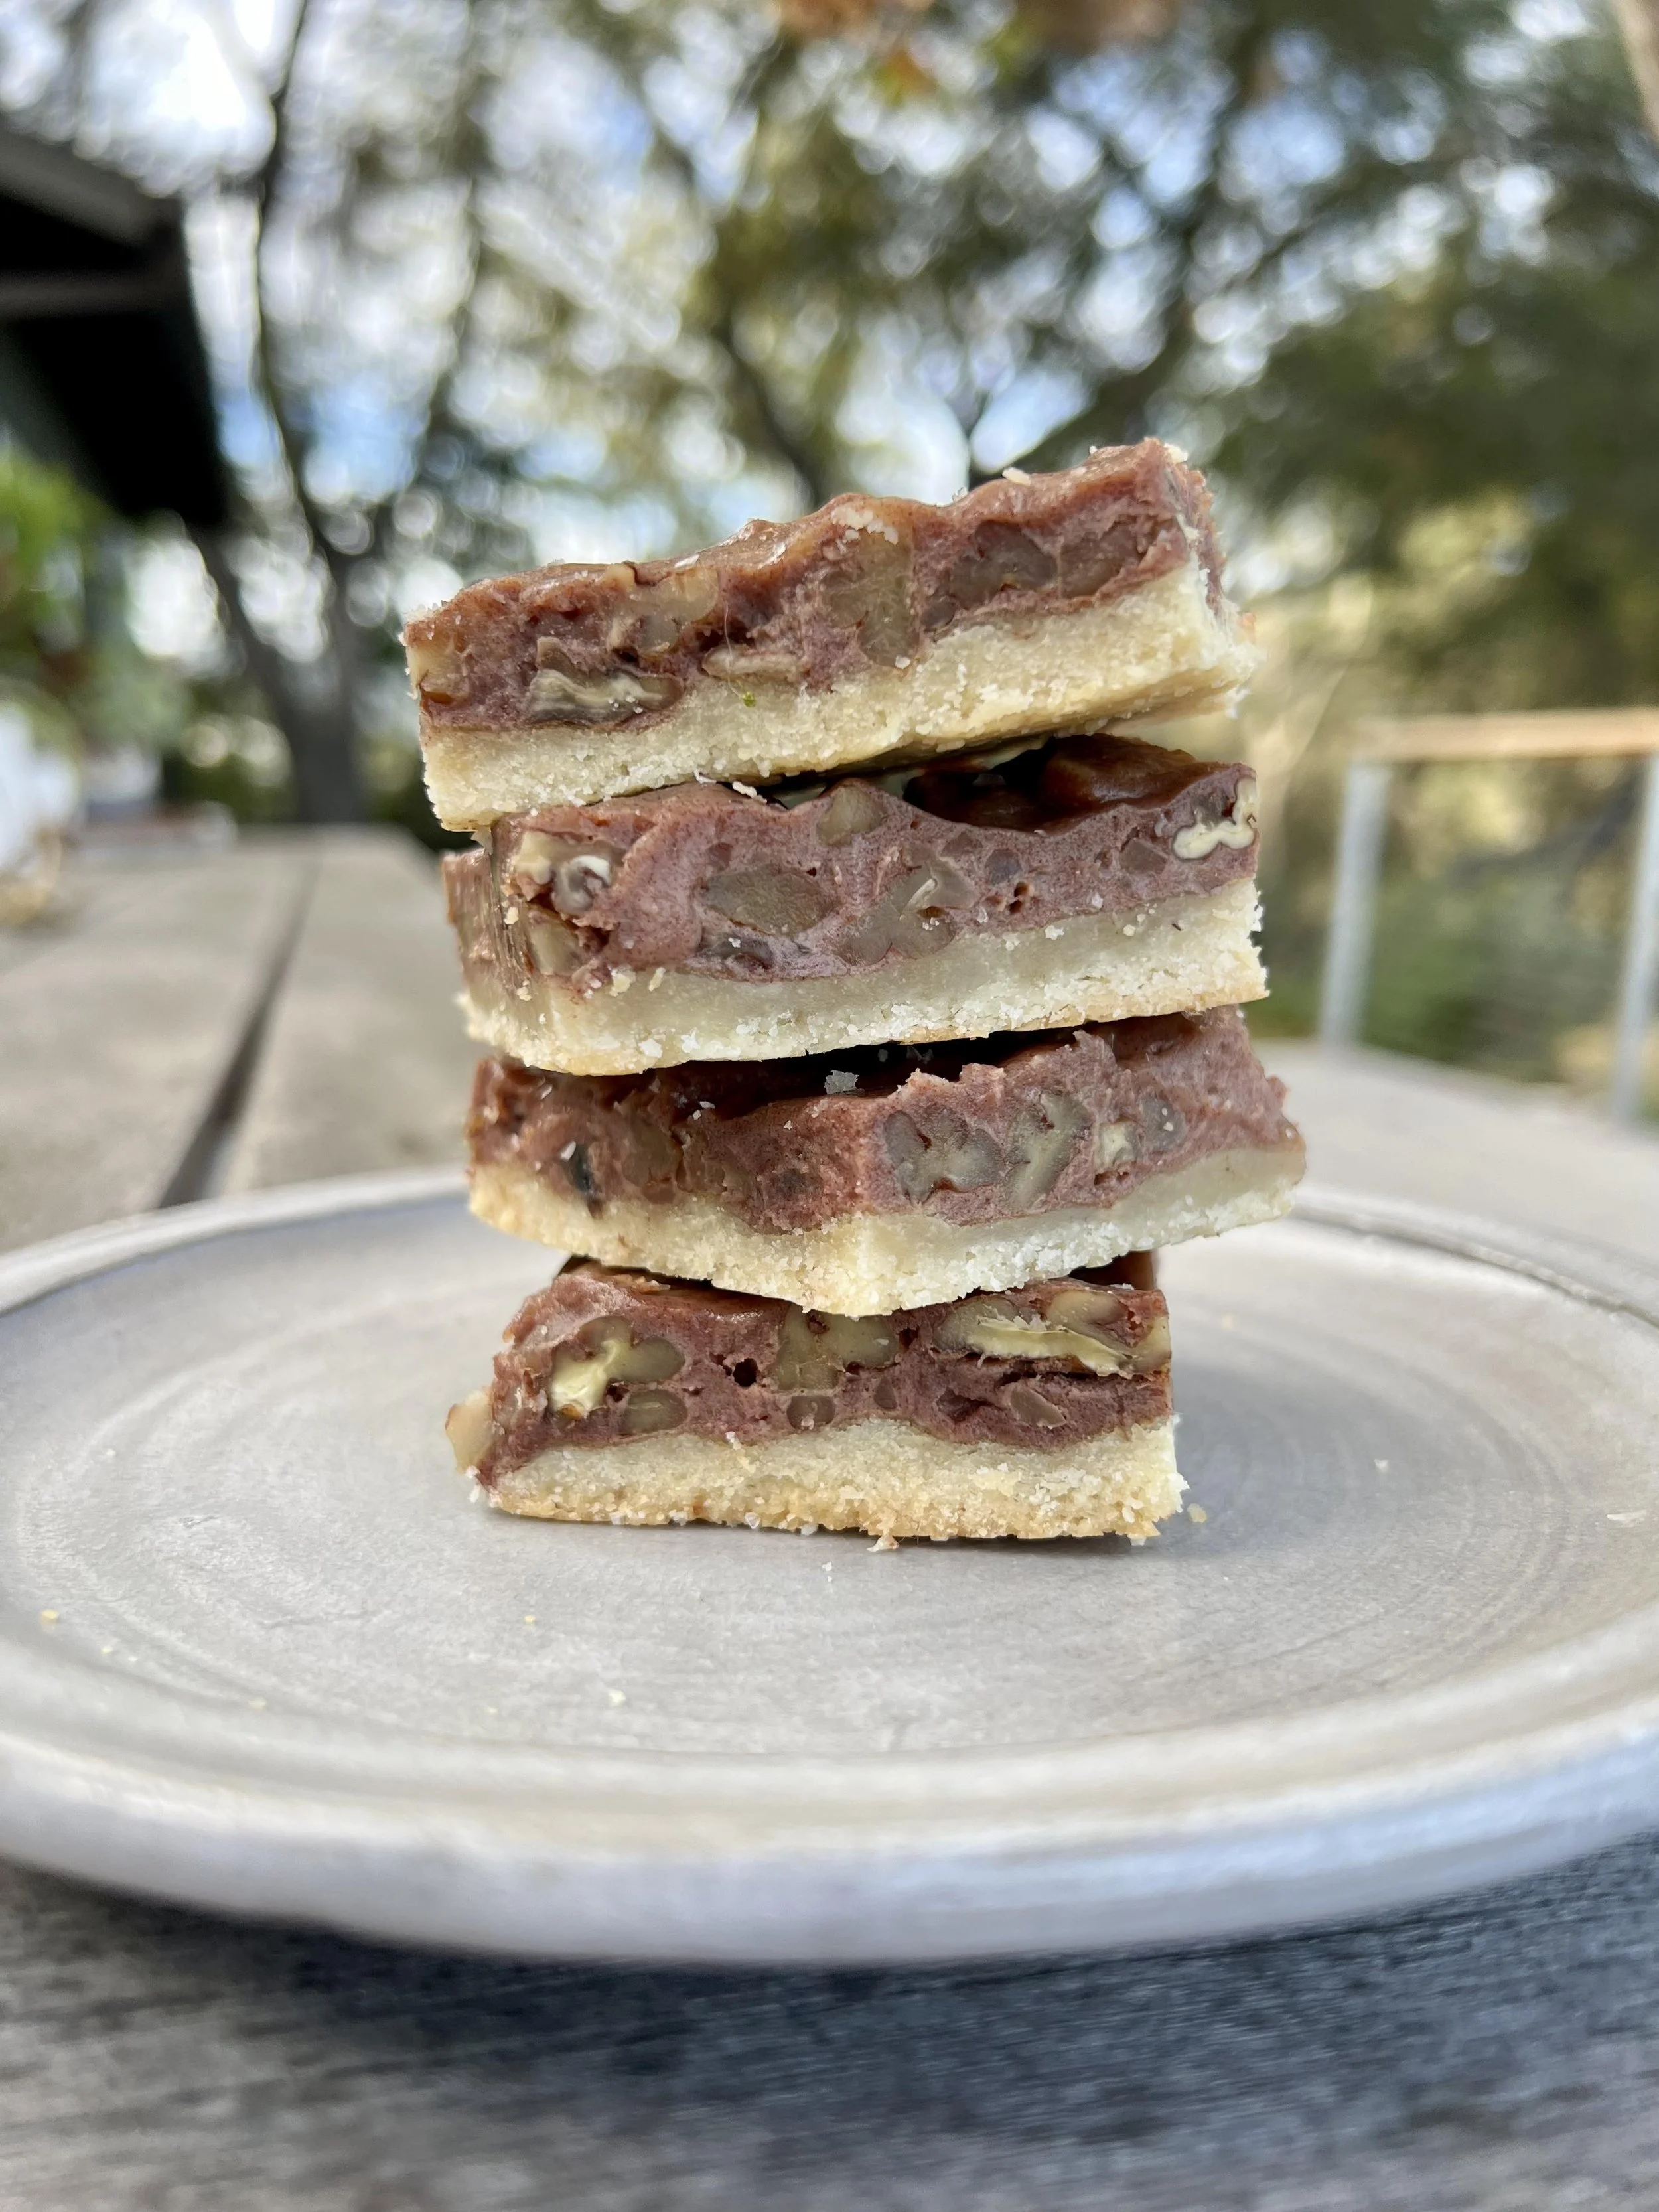
I can’t believe the holiday season is soon upon us. This year has really flown by! One of the first things that comes to mind when I think holidays is holiday baking! From festive pies at Thanksgiving to cookie exchanges at Christmas, I’m truly here for it all! Pecan pie is a southern fave for good reason- that gooey caramelized filling, with candied pecans, and a buttery shortbread crust is hard to beat. But to be honest, many pecan pies can be sickeningly sweet, and I’m not a huge fan of the corn syrup filling that is traditionally used. I also understand pies can be a bit of an overwhelming undertaking, and so I love the approach of somewhat more casual pecan pie bars! These in particular are made with a coconut milk and date filling, along with a butter and almond flour based crust. Plus lots of gooey pecans!

These are equally as delicious as their pie-counterpart, but can be eaten with your hands! Served in a bowl topped with a big scoop of ice cream ain’t bad either, just sayin’. My bestie Rachel Mcconn at Rachel Mcconn Wellness (who I’ve baked with before & also loves a good sweet treat) developed this grain, gluten, and refined sugar- free pecan pie bar recipe, and asked me to test out the recipe for her. Okay, fine, twist my arm ;) These turned out super tasty- not to mention made the house smell absolutely fantastic- and I think they’d make a perfect addition to any holiday table. She has offered to share the recipe with my readers- so head on over to her site for the recipe! As always with RMW recipes, these are free of all gluten, grains, and refined sugars, so those with any allergies or restrictions can still indulge freely as well. Hope you enjoy, and happy holidays!


grain free vanilla cake with pumpkin cream frosting

I love fall. The weather, the colors, the fashion… The flavors and food! It’s oh so comforting and delicious, and this vanilla cake with pumpkin cream is just that. Pumpkin spice and pumpkin pies are everywhere this time of year, but they can be a bit boring, no? I’m more of a cake than pie person anyway, to be honest… This cake goes a bit beyond your typical pumpkin dessert- moist vanilla cake makes up the base, topped with layers of smooth pumpkin frosting (basically a cream cheese & buttercream hybrid!), and finished with plenty of shredded coconut! Plus, since you can mix up the frosting flavor with whatever fruit you fancy, it’s adaptable for all seasons. Win! This cake is actually grain-free as well, so even those with gluten sensitivities can enjoy a piece. The vanilla really comes through thanks to the use of whole vanilla bean pods, as opposed to just vanilla extract, so don’t skip out if you can get your hands on some! But if you can’t find them, just up the vanilla extract to one tablespoon, and you’ll be fine. It’ll be delicious either way. I think this cake is even better the next day, which is great for all your holiday meals when the kitchen gets busy. Just bake it ahead of time and decorate before serving! I hope you enjoy.

Grain-Free Vanilla Cake:

Pumpkin Cream Frosting:

  • 1/2 cup unsalted butter, room temperature

  • 1/2 cup cream cheese, at room temperature

  • 1/2 cup pumpkin puree

  • 1 tsp pure vanilla extract

  • 1/2 tsp ground cinnamon

  • 1/4 tsp ground ginger

  • 1/4 tsp ground nutmeg

  • pinch of salt

  • 4 cups powdered sugar

  • 1-3 tablespoons milk of choice, if needed

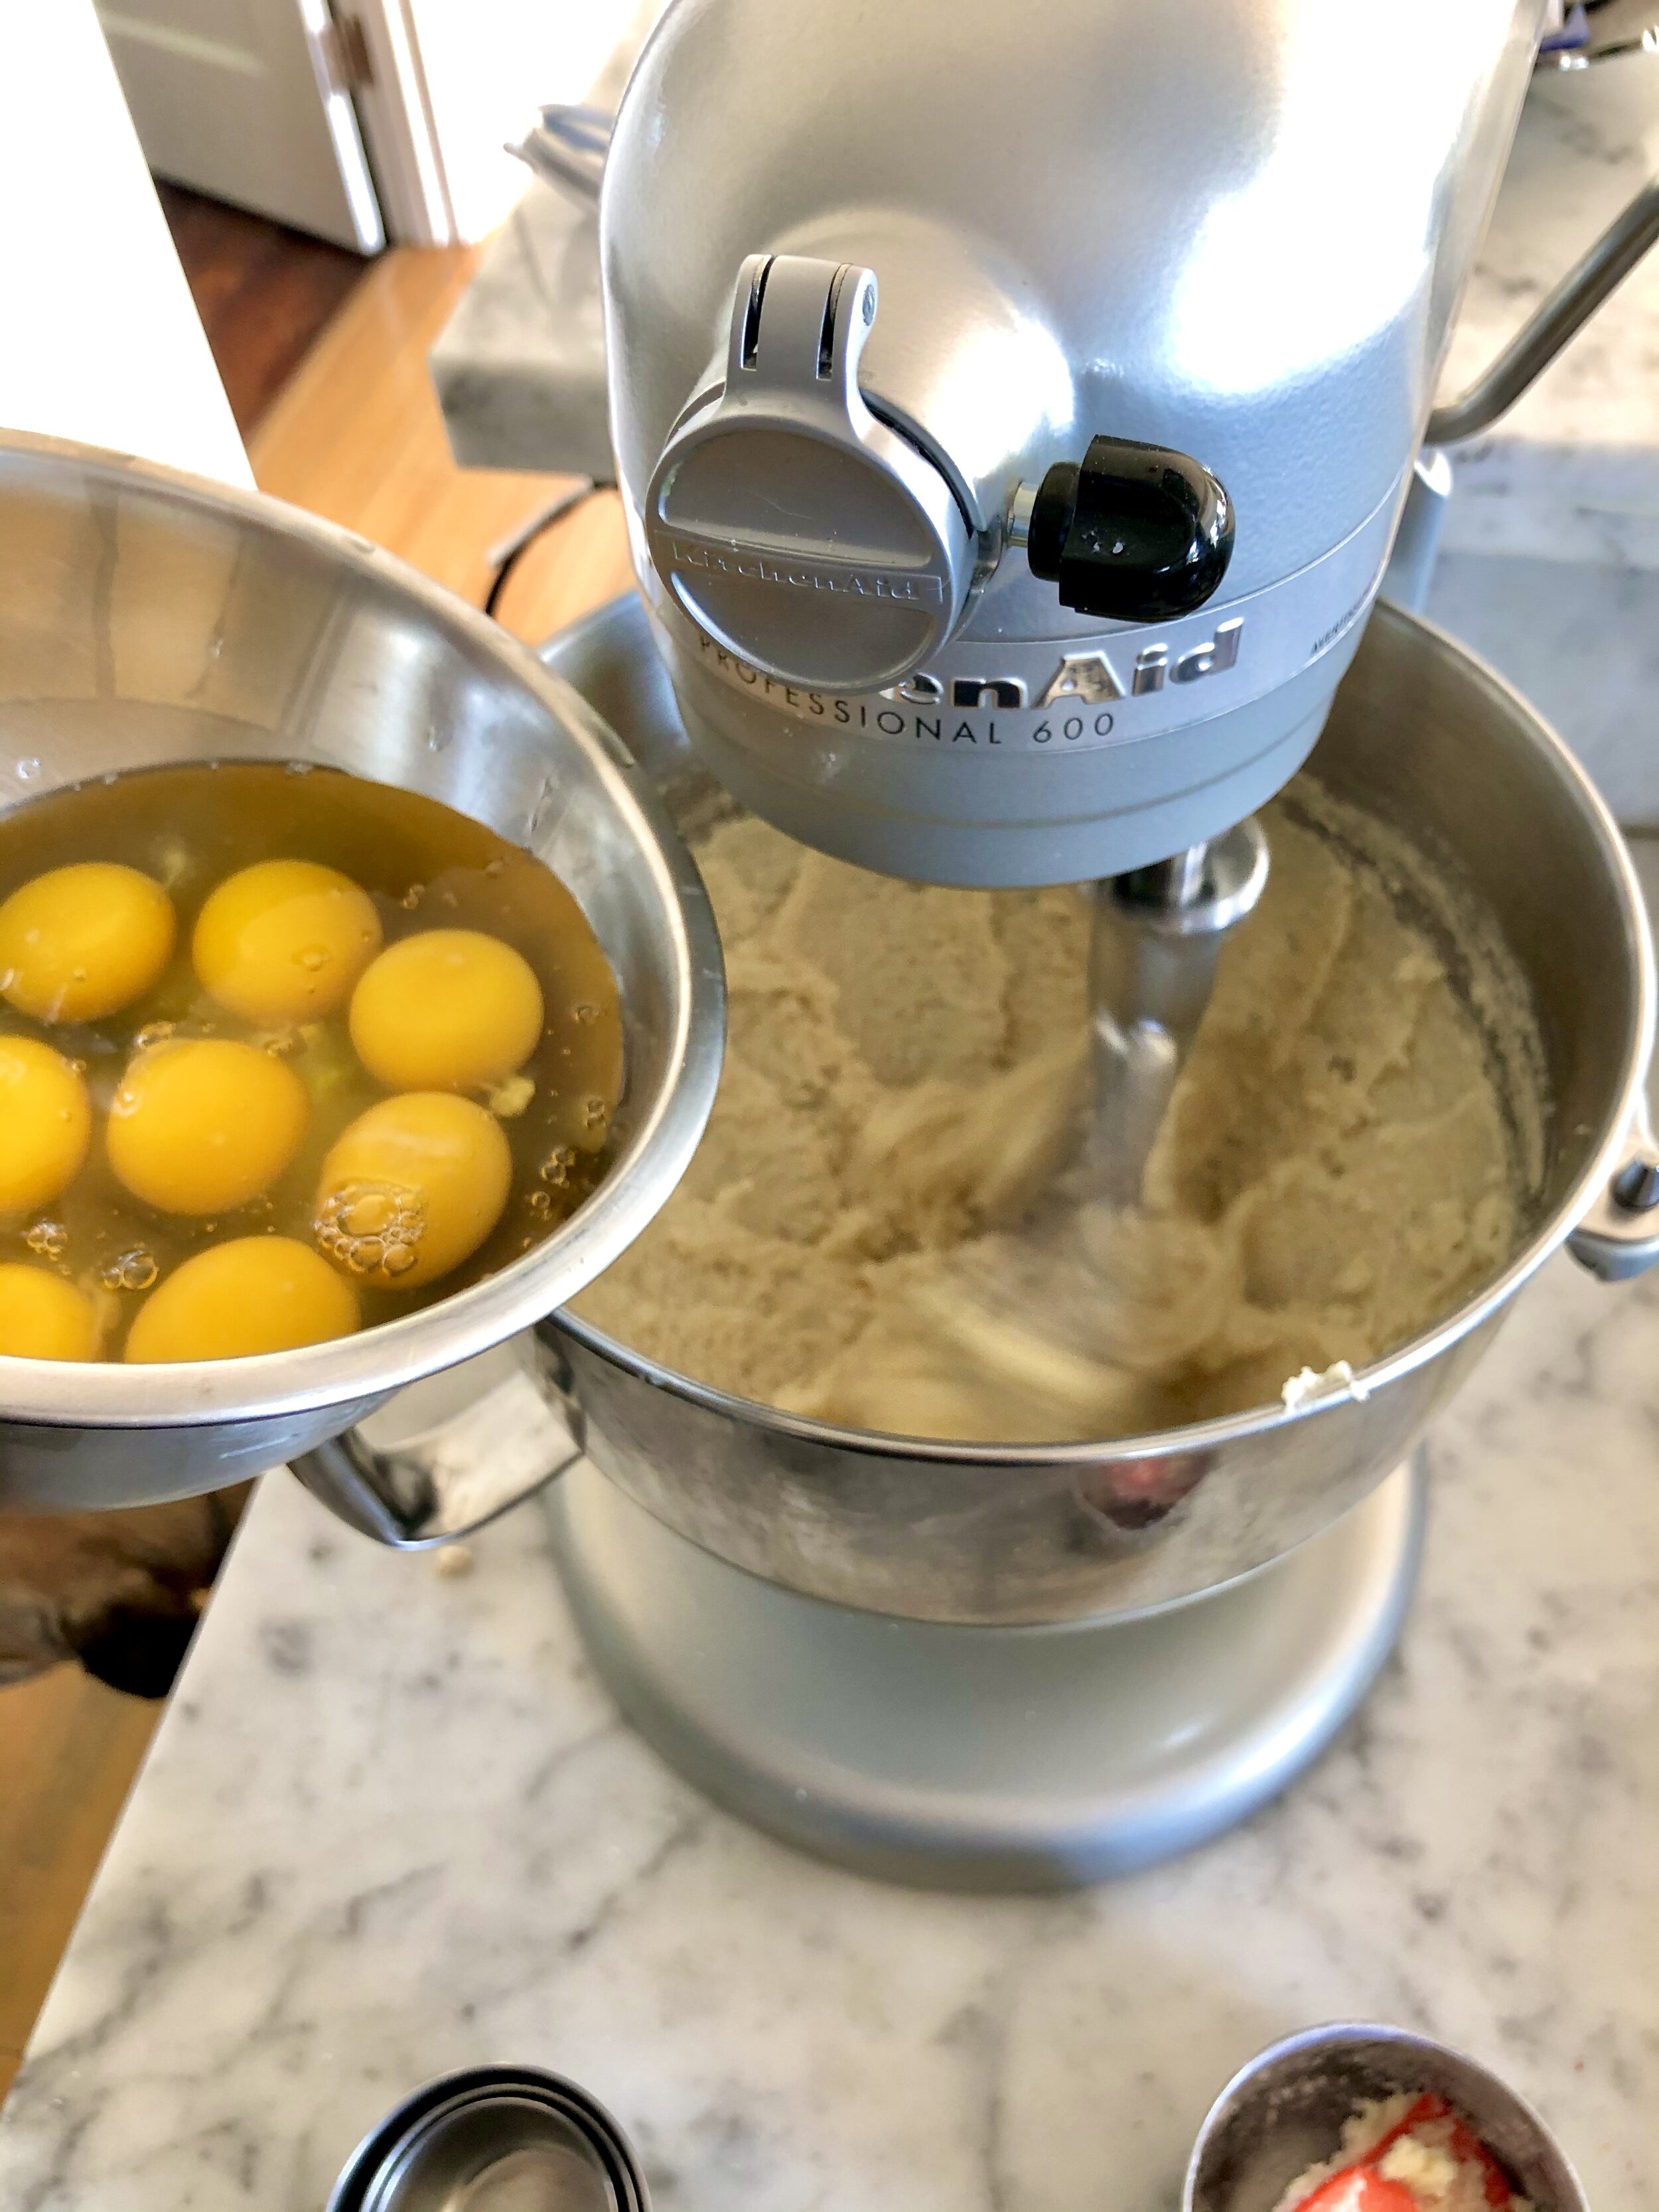
Preheat oven to 350F. Line two 9” round cake pans (or three 6” round cake pans) with parchment paper and grease them with butter or nonstick spray, then set aside. In the bowl of a stand mixer (or hand mixer), whip butter, coconut oil and sugar together on high until smooth, then reduce speed and add eggs, one at a time. Reduce speed to low, and add in milk, vanilla bean seeds, and vanilla extract until well mixed. In a separate mixing bowl, combine almond flour, coconut flour, baking powder and sea salt. Use a spatula or fork to get rid of any large lumps. Slowly add flour mixture into wet ingredients in small batches with mixer on low speed until fully incorporated. Careful not to over-mix (it will be thick)! Divide batter into cakes pans, spreading evenly with a spatula. I like to bang the cake pans a couple times on the counter to remove any air bubbles. Bake cakes for about 38-40 minutes, or until a cake tester comes out clean. Allow them to cool for at least 30 minutes in the pans on a cooling rack before flipping them out onto a the rack to cool completely before frosting.

While the cakes cool, make your buttercream frosting. Place softened butter, cream cheese and pumpkin puree in the bowl of a stand mixer with whisk attachment, and whip until creamy. Add vanilla extract, spices, and salt, mixing until combined. Slowly add the powdered sugar and mix on high for a few minutes, until frosting is light and fluffy. If it’s too thick, add milk 1 tbsp at a time, until it gets to desired consistency. You may make this ahead of time, and store in the fridge for a couple days. Just bring to room temperature and re-whip before frosting. To decorate, use a sharp knife to level off the tops of cakes, if needed, then layer on cake stand (or revolving cake stand) and decorate with frosting, as desired. Top with shredded coconut. Slice and enjoy!

*Adapted from Grain Free Vanilla Cake by Everyday Maven.


salty nutty cereal cookies

Who doesn’t love holiday baking? I’m all about a cookie exchange, and these salty & sweet ones are sure to be a crowd pleaser. They don’t necessarily scream holidays, per se, but I think they fit in perfectly with a platter of otherwise festive cookies. And they’re super delicious, so who really cares? My mom has been baking up batch after batch of them this past week, and I have to say, I’m a huge fan. I love a sweet & salty flavor combo, and the almond flour & pecans lend the perfect amount of nutty goodness. Feel free to use a simple flakey cereal of your choice, or mix it up with a crunchy granola! You could even make them gluten-free by subbing in your fave GF flour for the all-purpose. These babies are super versatile, so have fun with it, and enjoy! Happy holidays!

Salty Nutty Cereal Cookies:

  • 3/4 cup coconut oil or unsalted butter

  • 1 1/4 cup dark brown sugar, packed

  • 1/4 cup pure maple syrup

  • 3 large eggs, at room temperature

  • 1 tablespoon pure vanilla extract

  • 2 1/2 cups all-purpose flour

  • 1/2 cup almond flour

  • 1 ½ teaspoon baking soda

  • 1 ½ cup old-fashioned rolled oats, toasted

  • 2 cups flakey or crispy cereal (your choice!)

  • 1/2 tsp flaky sea salt, plus more for topping

  • pecan halves, for topping

Preheat oven to 350° F. Spread oats on a cookie sheet and toast for 10 minutes. Set aside to cool. Beat coconut oil, brown sugar & maple syrup together on a medium speed until well incorporated. Add eggs and vanilla, mixing until fluffy, about 5 minutes. In a separate bowl, stir together flours, oats, baking soda & salt. Slowly add to the butter egg mixture. Add cereal and mix until combined. Refrigerate dough for at least 4 hours (overnight is better, but feel free to bake off a few right away too!). Line cookie sheet with parchment paper or nonstick baking mat. Measure out heaping tablespoon-sized balls and spread evenly on cookie sheet. Flatten the cookies a bit with your fingers, top with a pecan half and sprinkle with flaky sea salt. Bake for 8-12 minutes, or until lightly golden brown. They will continue to harden a bit post-baking, so it’s okay if they look a tad underdone. Cool on cooling rack and enjoy!

*Adapted from Salted Oatmeal Corn Flake Cookies by sweetish.co.

Useful Tools:


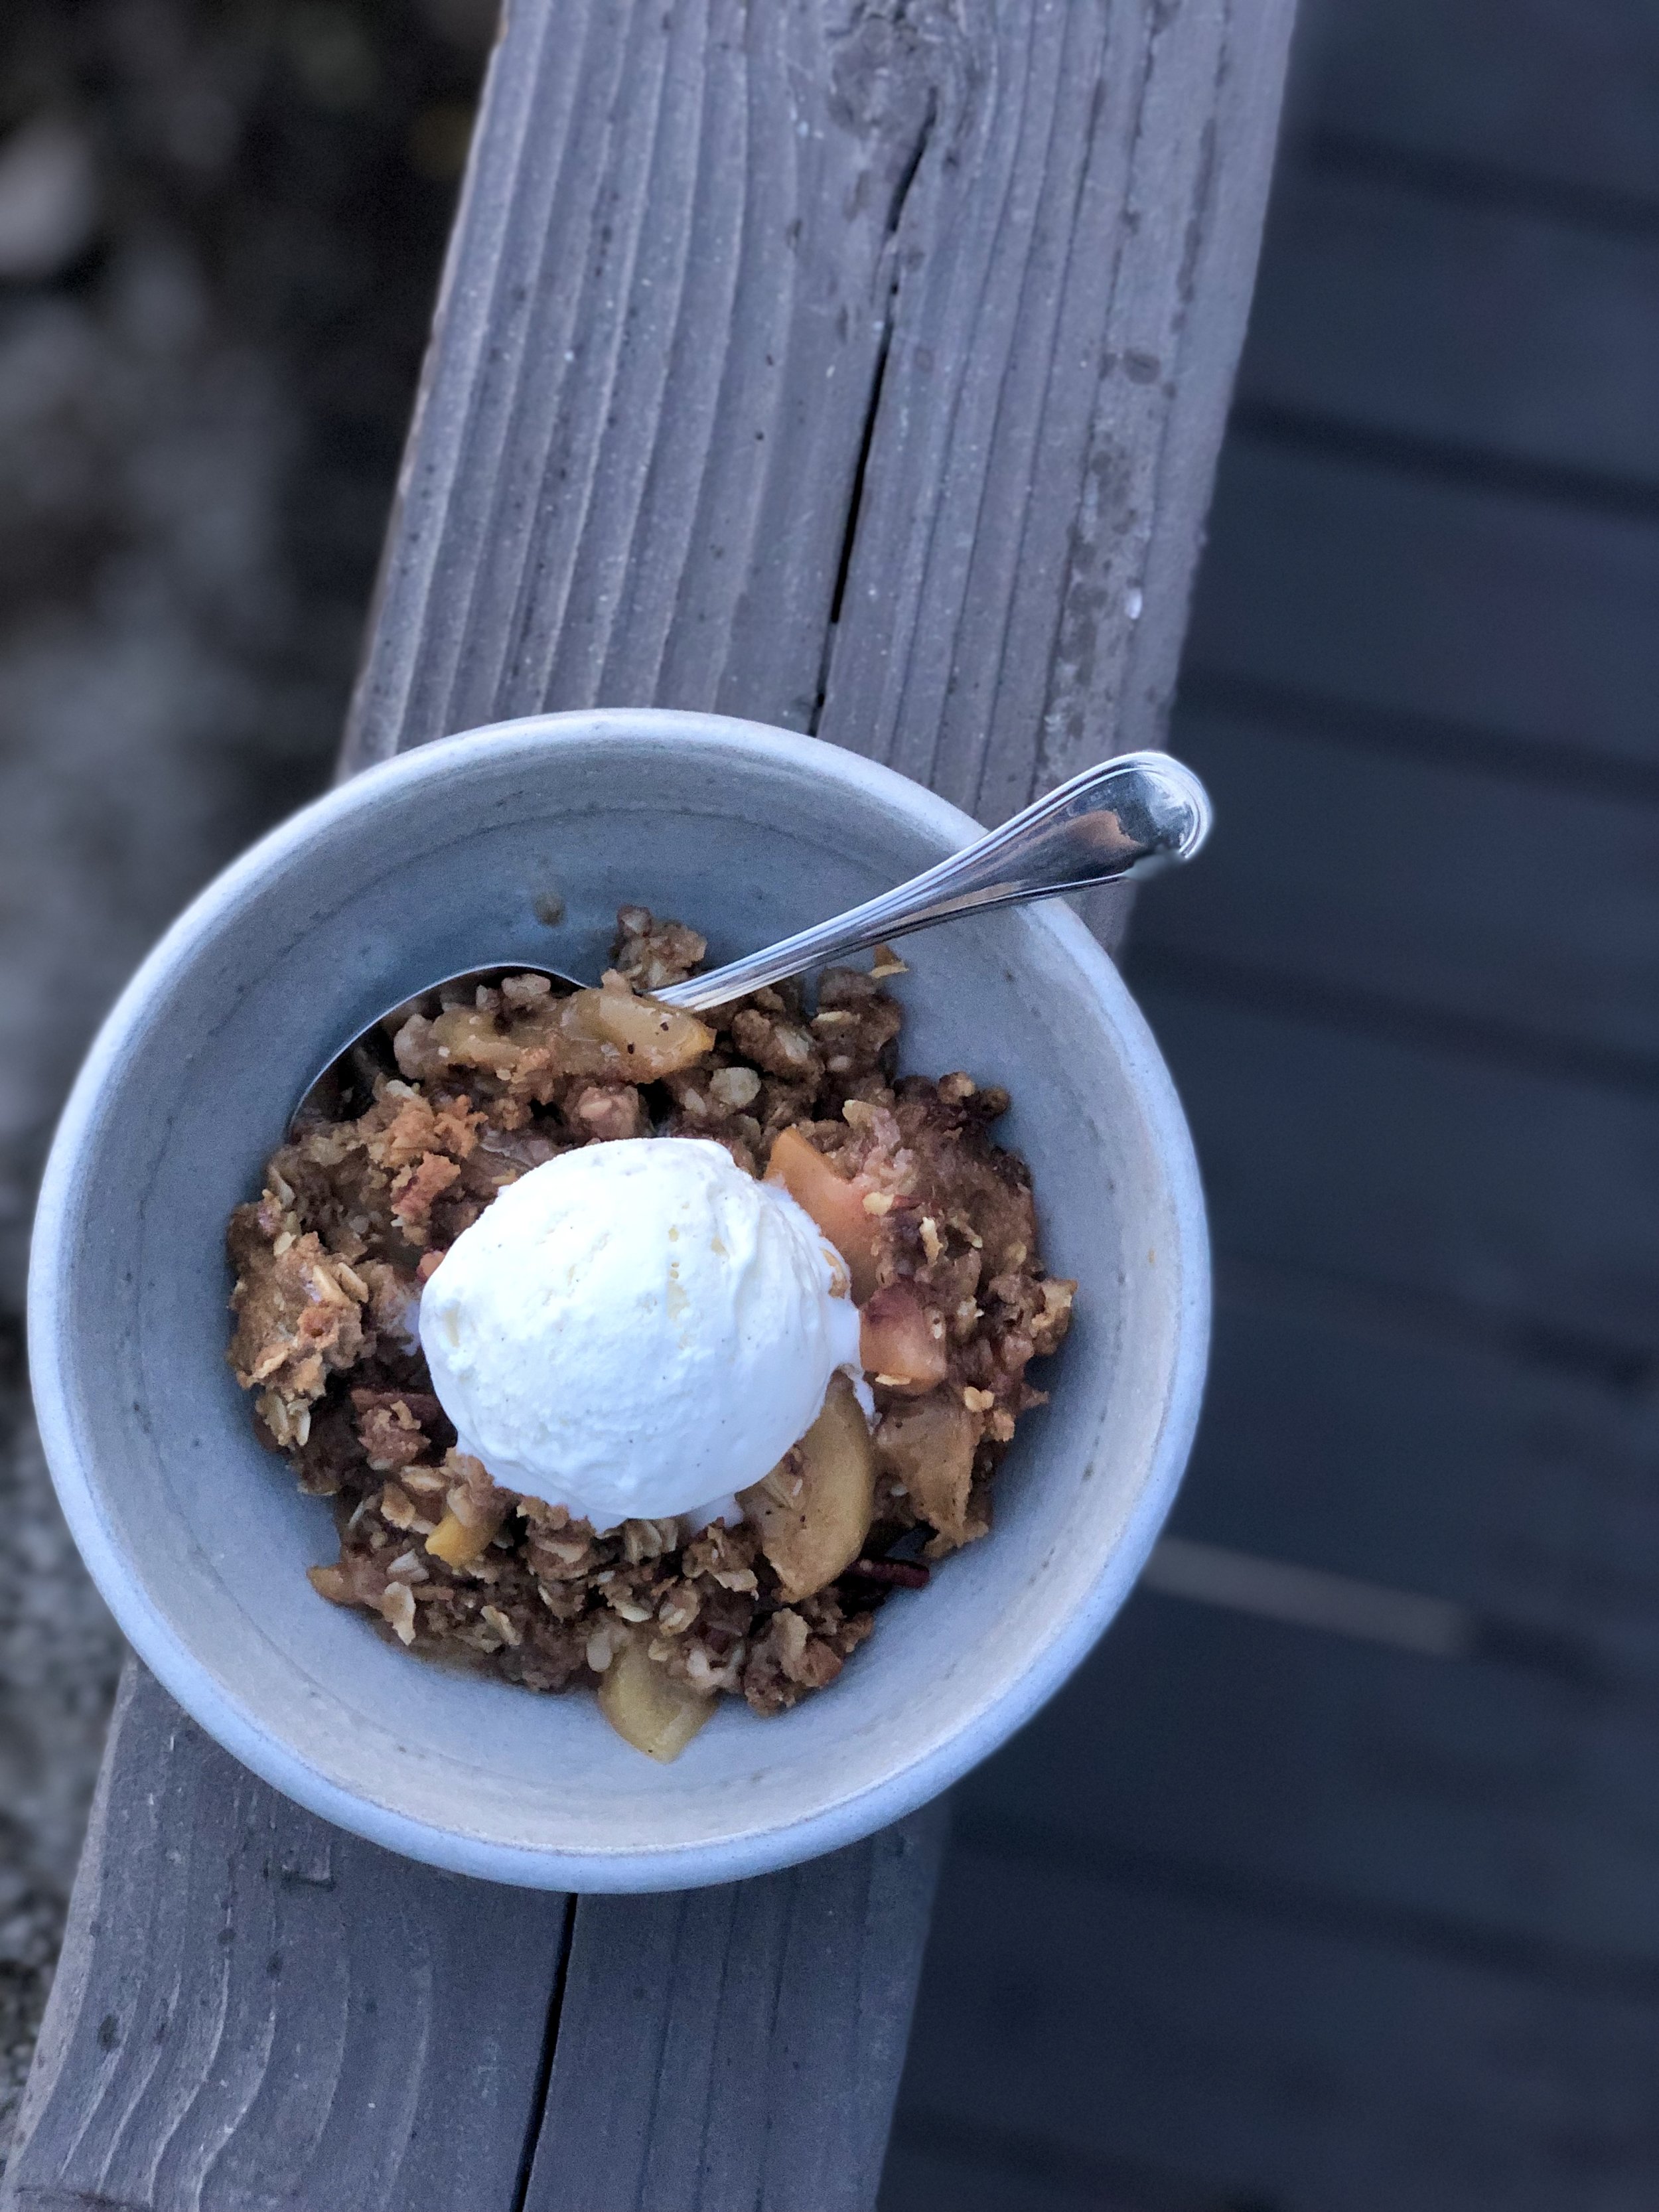
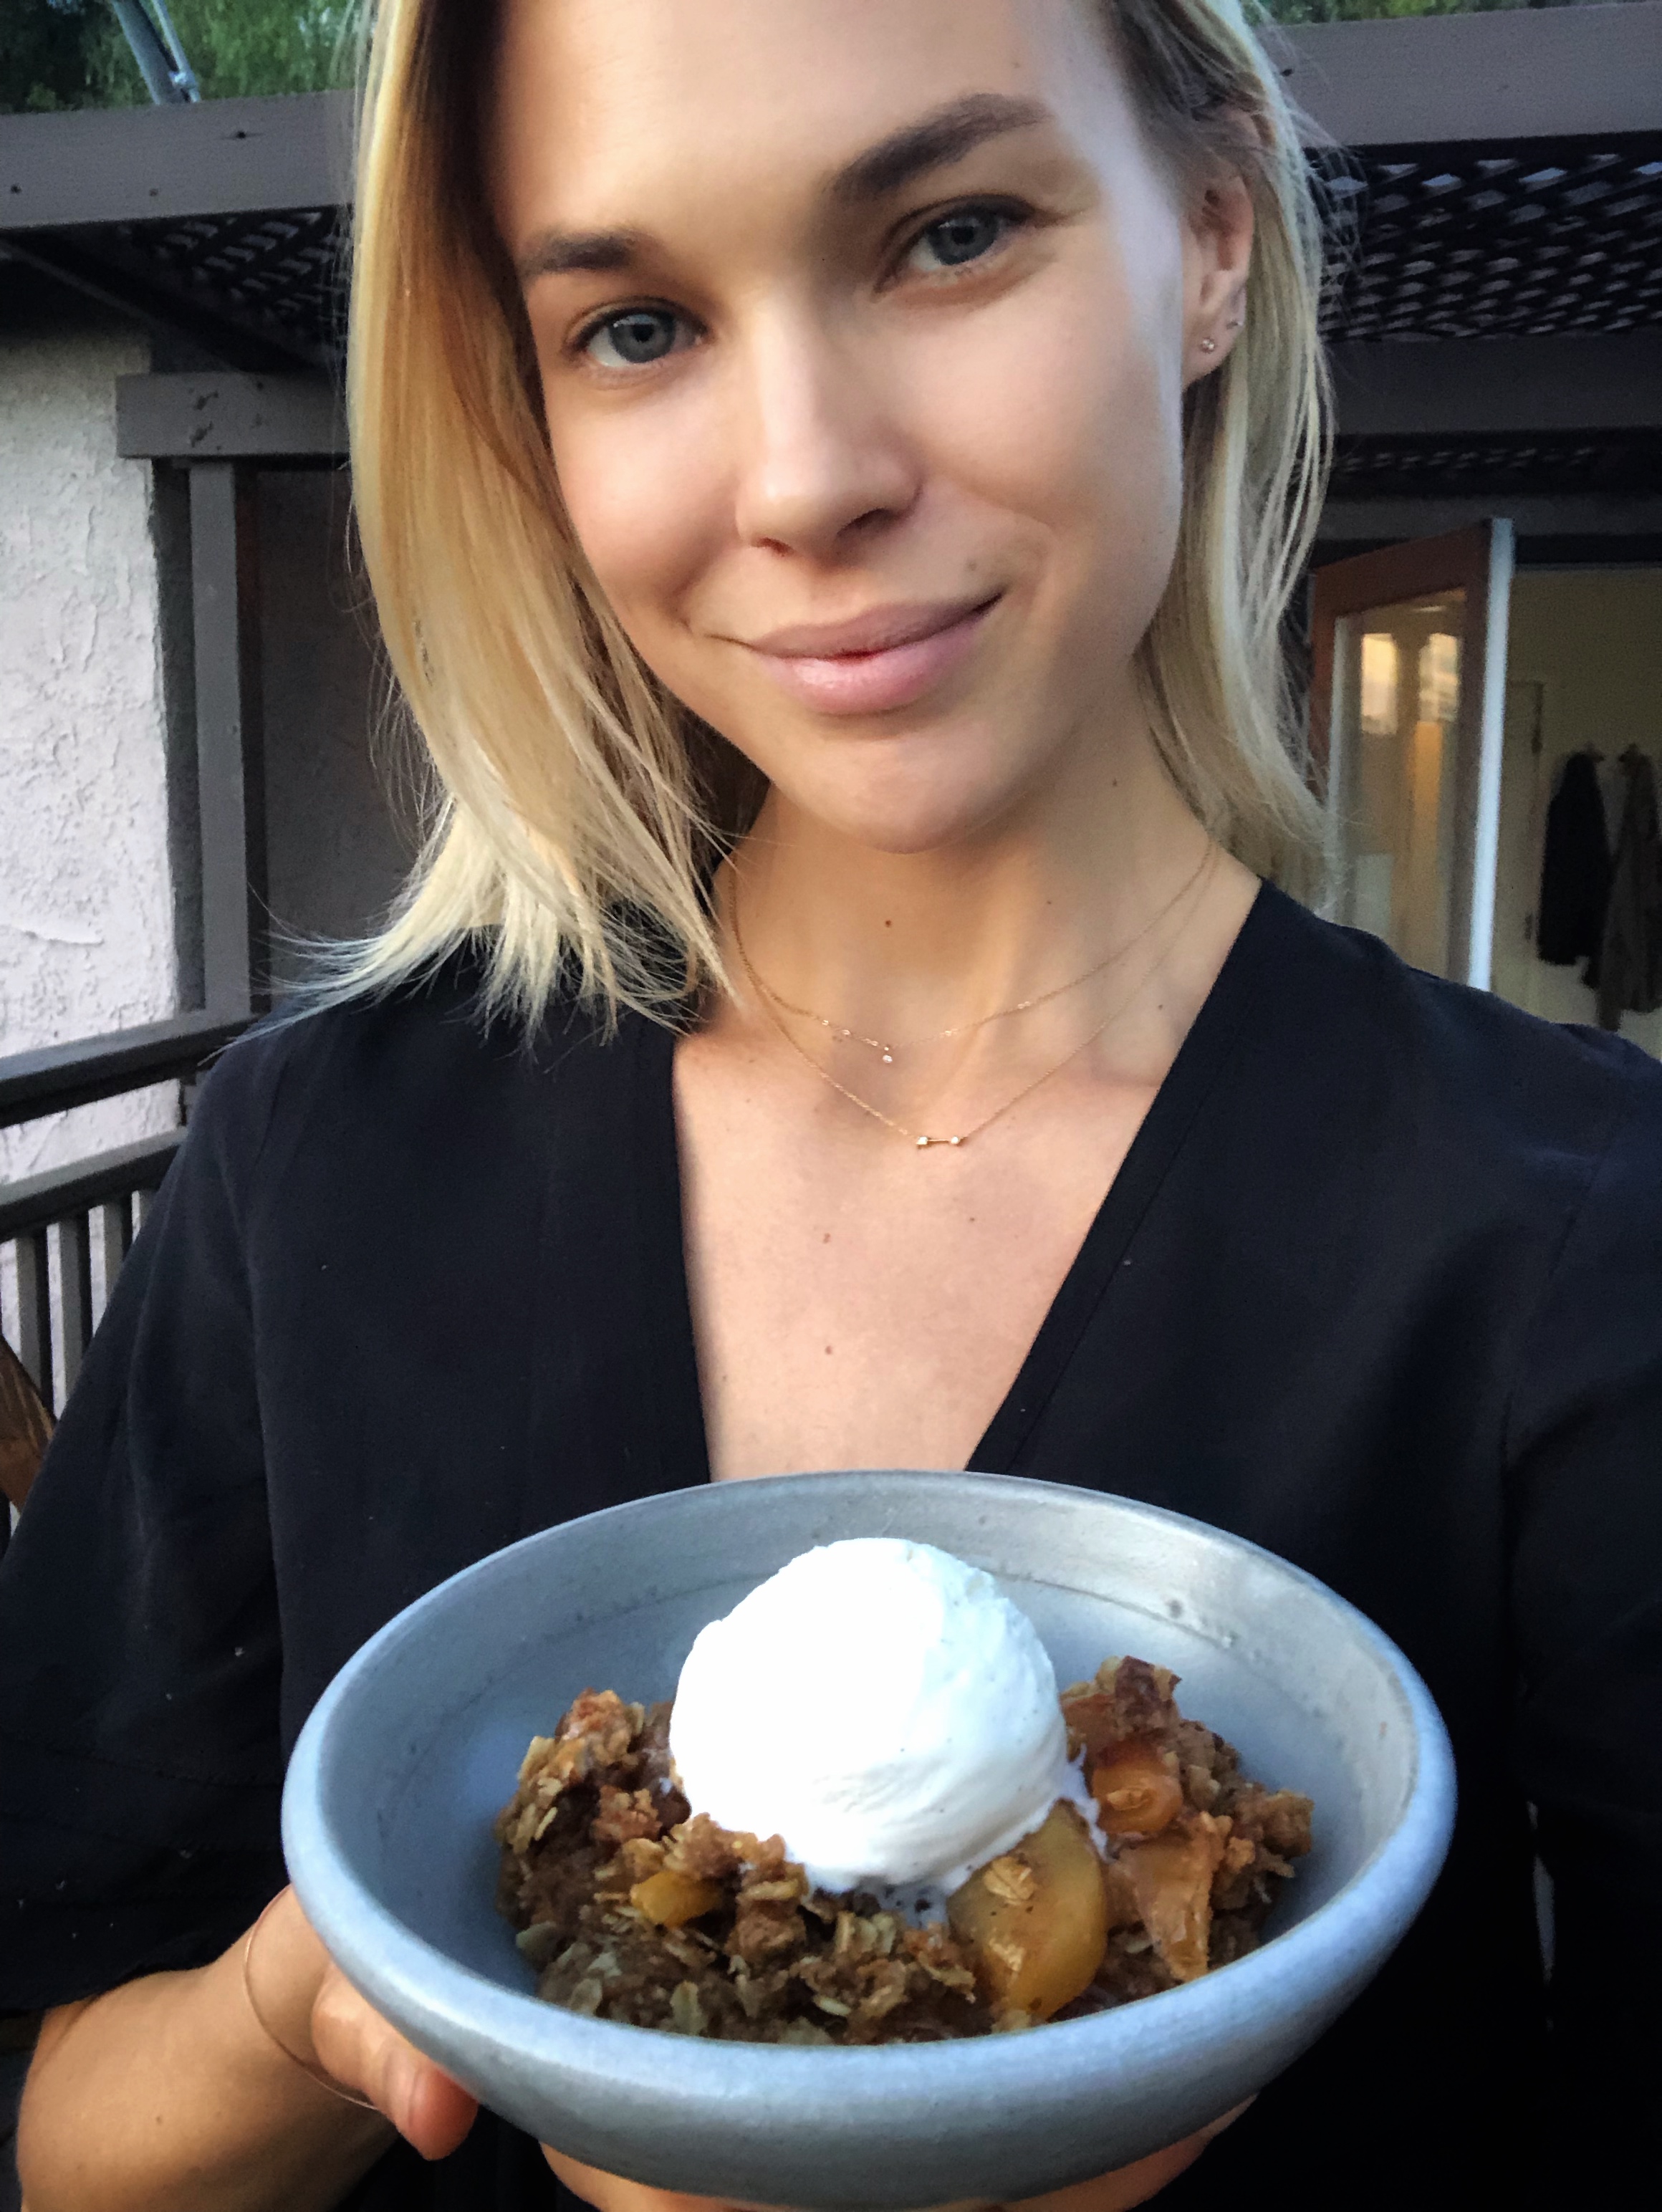
homestyle apple plum crisp

Apple crisp (or crumble, whatever you want to call it) is one of those good ‘ol classic desserts that always hits the spot. I love it come fall and winter, served warm with spicy notes of cinnamon and streusel topping. It’s super tasty alone, but even better topped with some vanilla bean gelato! Some apples, like Honeycrisp, Pink Lady & Fuji, are better for eating thanks to their crisp, sweet bite. Others, like Macintosh & Braeburn, are better for cooking, and get nicely stewed in a crisp. I like using a variety of apples for layers of flavor and texture that can’t be beat! This time I also decided to throw in some gorgeous, seasonal plums that I had on hand. Perfect combo! Don’t forget about crisps and crumbles during spring and summer- by switching up the fruit, you can enjoy a delicious bowl of goodness year-round!

Homestyle Apple Plum Crisp:

Fruit Filling:

  • 2 pounds apples (I like any combo of Macintosh, Granny Smith, Cortland, Braeburn & Fuji)

  • 1 pound plums

  • 1 lemon, zested & juiced

  • 1/3 cup cane sugar

  • 1/2 tsp pure vanilla extract

  • 1 tsp ground cinnamon

  • 1 tsp ground nutmeg

  • 2 tbsp cornstarch

Crumble Topping:

  • 1 cup all-purpose flour

  • 1 cup old-fashioned oats

  • 1 cup pecans, chopped

  • 1 tsp ground cinnamon

  • 1/2 tsp kosher salt

  • 1 cup brown sugar, packed

  • 1 cup unsalted butter, chilled and cubed

  • vanilla bean ice cream, for serving

Preheat oven to 350 F, and butter a large baking dish (9x13 or 2 qt oval). Peel, core & cut apples into 1/4-inch slices, and place into a large bowl. Add lemon zest, lemon juice, sugar, cinnamon, nutmeg, and cornstarch, and mix to combine. Pour apples into baking dish.

For the topping, add the flour, oats, pecans, cinnamon, salt, and sugars in a large bowl and stir well with a wooden spoon. Work the butter into the mixture with your fingertips until evenly distributed (you may also use a stand mixer if you prefer). Spread the streusel topping mixture evenly over the apples. Bake the crisp in the dish on a baking sheet on the center oven rack until the topping is crunchy and the apples are bubbling, about 55-60 minutes. Best served warm, topped with vanilla bean ice cream.

*Adapted from Sit & Stay Awhile Apple Crisp by Joy the Baker and Old-Fashioned Apple Crisp by Ina Garten.

Useful Tools:


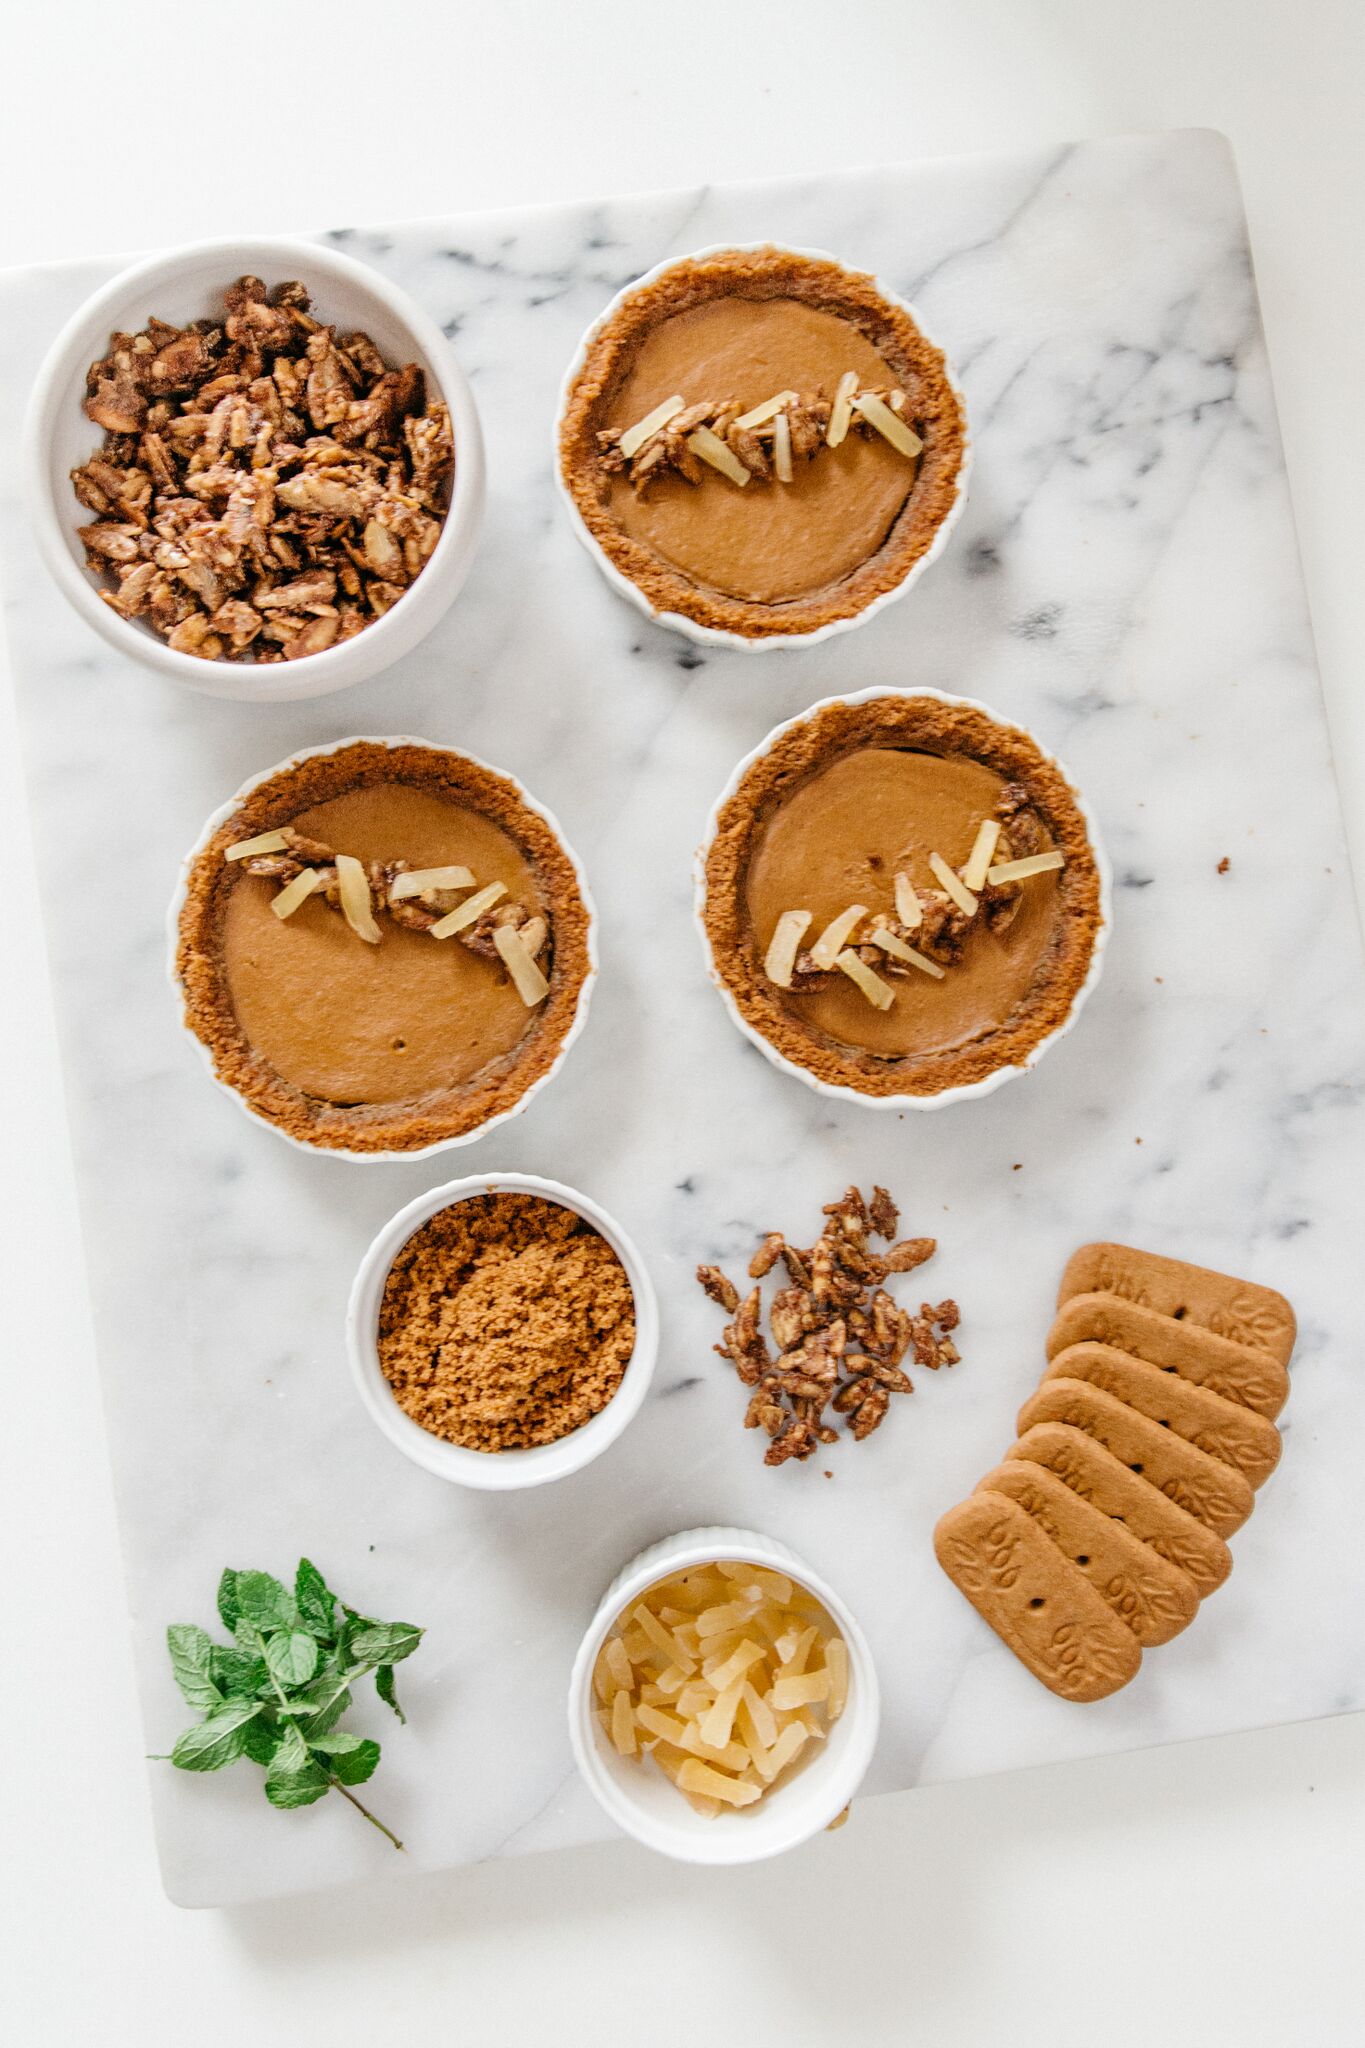
mini speculoos pumpkin tarts with candied pepitas

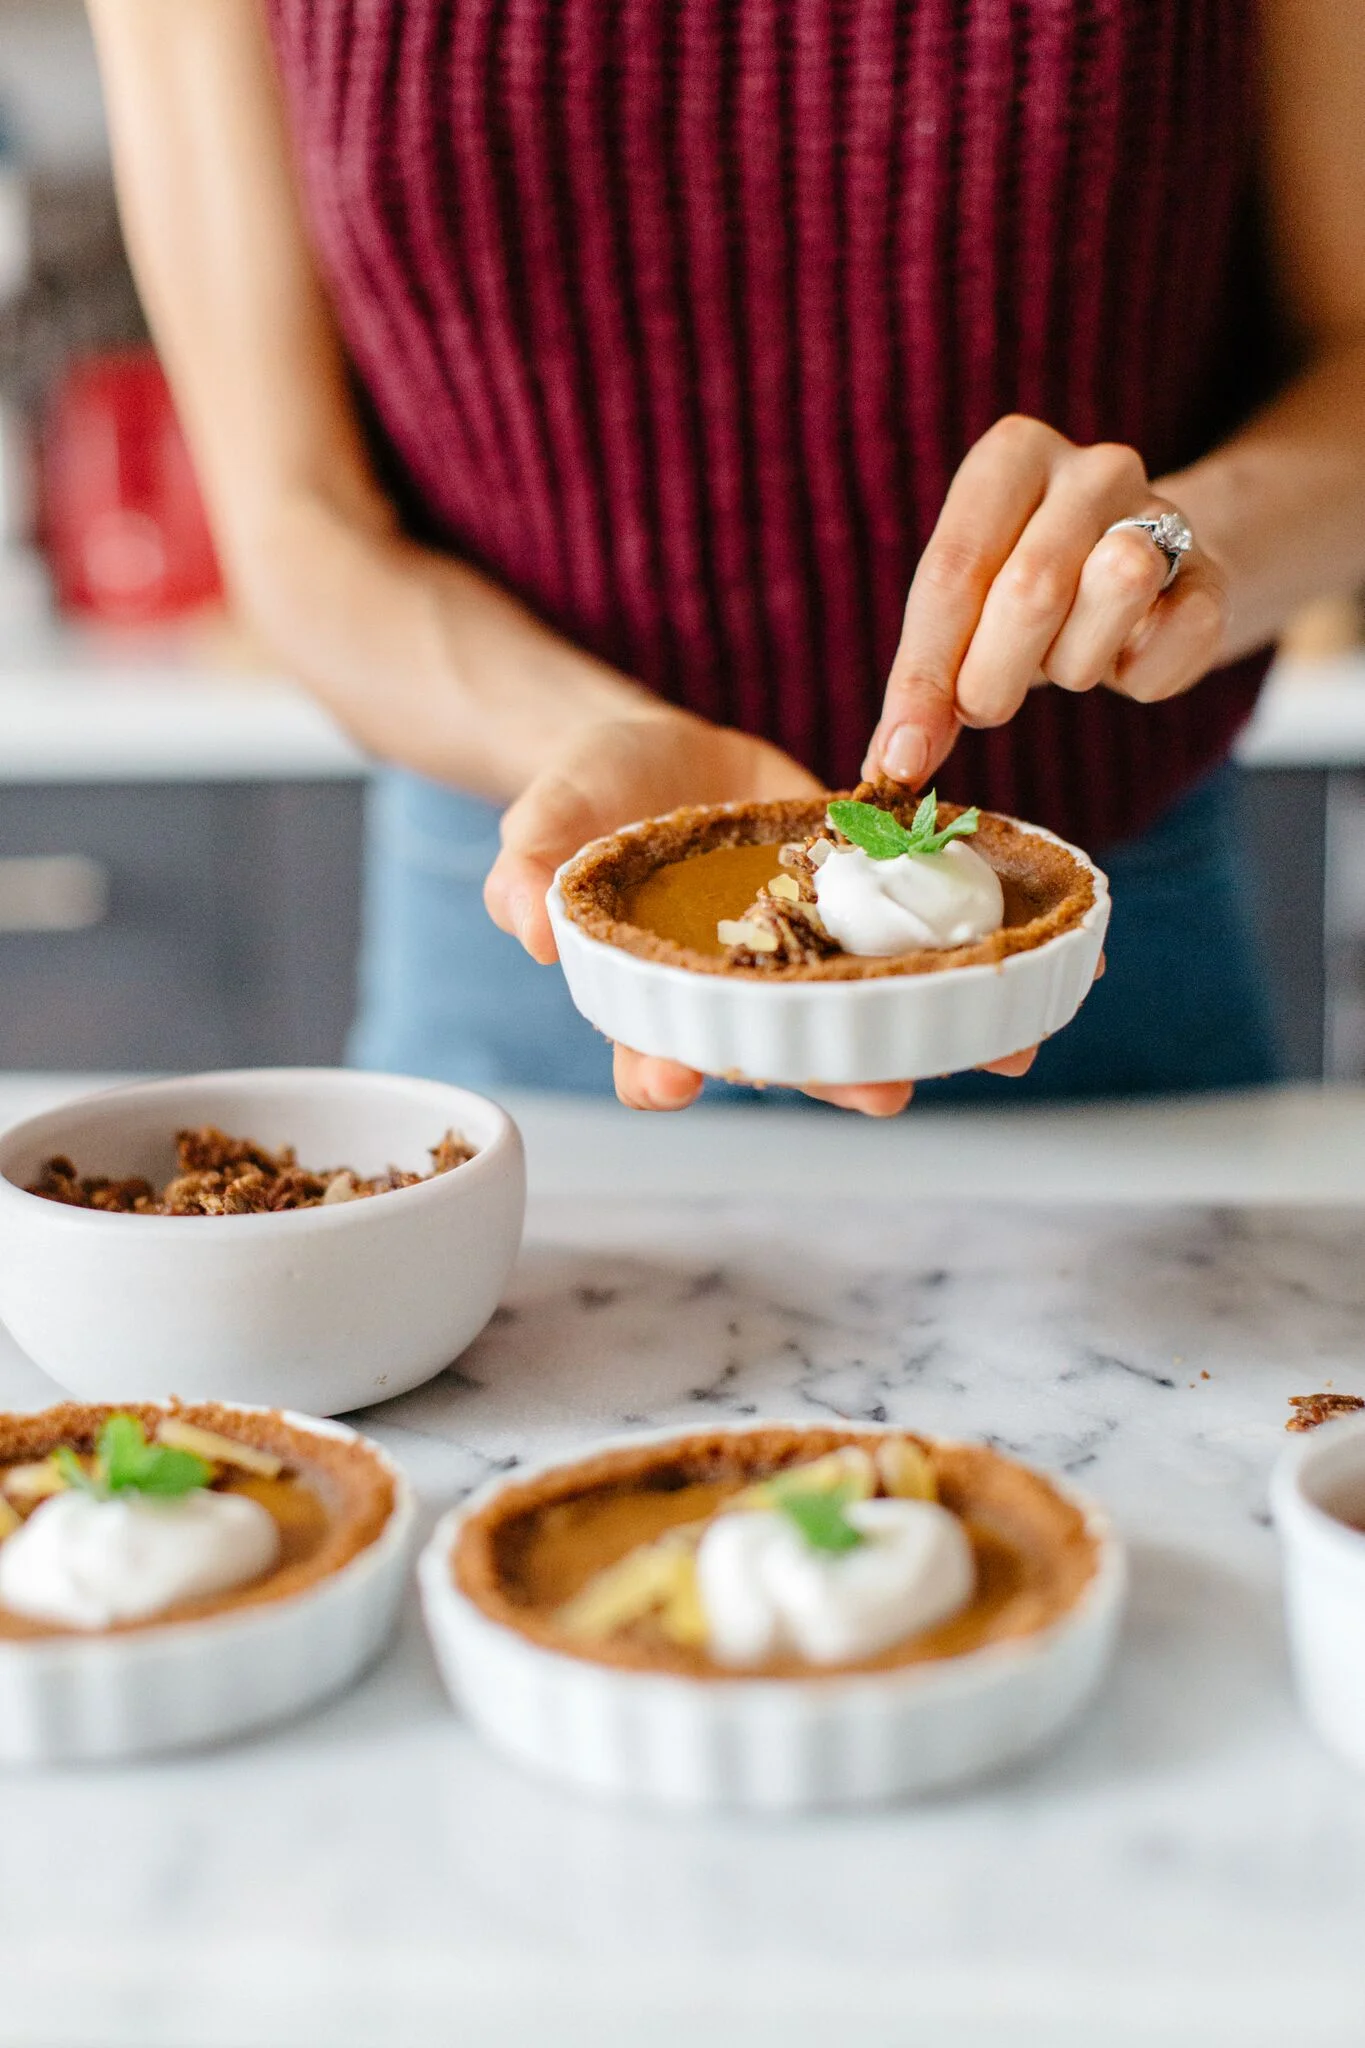
I love all things seasonal, and therefore I love all things pumpkin! I will admit, however, that pumpkin pie can be a bit mundane at times.  I love to spruce it up by adding more textures and flavors, both in the crust as well as toppings. Speculoos (aka Biscoff) cookies make for a much more exciting crust than traditional dough in my opinion- I’m obsessed with their spicy flavor! I also prefer a high crust to filling ratio, so it’s not like you’re just eating a bowl of custard. Candied ginger adds a nice zingy complement to the creamy pumpkin filling, and candied pepitas top these babies off with the perfect crunch! By making them in individual tart shells (mine are technically crème brûlée dishes), everyone gets their own mini pie, and you don’t have to worry about the crust crumbling when trying to remove it from the dish. Just grab a spoon and dig in! I got to bake these with one of my fave bloggers, Camille Styles, when she was in town from my home state of Texas. We had such a blast and now I’m super pumped for all things holiday! If you’re still looking for the perfect Thanksgiving dessert, these tarts would be the perfect addition to your dinner table! Be sure to check out the feature on her blog as well! Enjoy :)

Mini Speculoos Pumpkin Tarts with Candied Pepitas:

Crust:

  • 12 oz. Speculoos or Biscoff cookies

  • 1 tbsp brown sugar

  • 1/2 tsp salt   

  • 1/2 cup butter, melted  

Pie: 

  • 1 can pumpkin puree

  • 1/2 cup dark brown sugar, packed

  • 1/4 cup cane sugar

  • 1 tsp ground cinnamon

  • 1 tsp ground ginger

  • 1/4 tsp ground nutmeg

  • 1/8 tsp ground allspice

  • 1/4 tsp salt

  • 1 can coconut milk

  • 2 large eggs, at room temperature

  • 1/2 cup candied pepitas (pumpkin seeds), for topping

  • 1/2 cup candied ginger, for topping

  • whipped cream, for serving

Preheat oven to 350°. Process cookies in food processor until fully crumbled. Add coconut oil and pulse until well combined, then spread the mixture evenly among the tart shells, making sure to push some up the sides as well. It should be nice and thick! Place tarts shells on a baking sheet, then bake for about 8 minutes. Set aside to cool. In a saucepan over medium heat, combine pumpkin, both sugars, spices, and salt, and cook for about 5 minutes until thick and smooth. Remove from heat, and add coconut milk and eggs, whisking until fully incorporated. Allow mixture to cool for a few minutes. Pour pumpkin mixture into prepared tart shells. Bake at 350° for about 25-30 minutes or until a toothpick inserted into the center comes out clean. Remove from baking sheet and cool completely on wire rack. Top with candied pepitas and ginger, and serve with whipped cream. Enjoy immediately or chilled.

*To make this dairy-free, sub coconut oil for the butter in the crust, and serve with whipped coconut cream.

All photos by Kristen Kilpatrick for Camille Styles. Check out the feature and recipe on her site as well!

Useful Tools:

 * This post may contain affiliate links. If you buy something through one of these links, it won’t cost you a penny more, but I’ll earn a small commission. This allows me to continue to generate content for you, and helps keep the site up and running. Thanks for your support!