qué padre

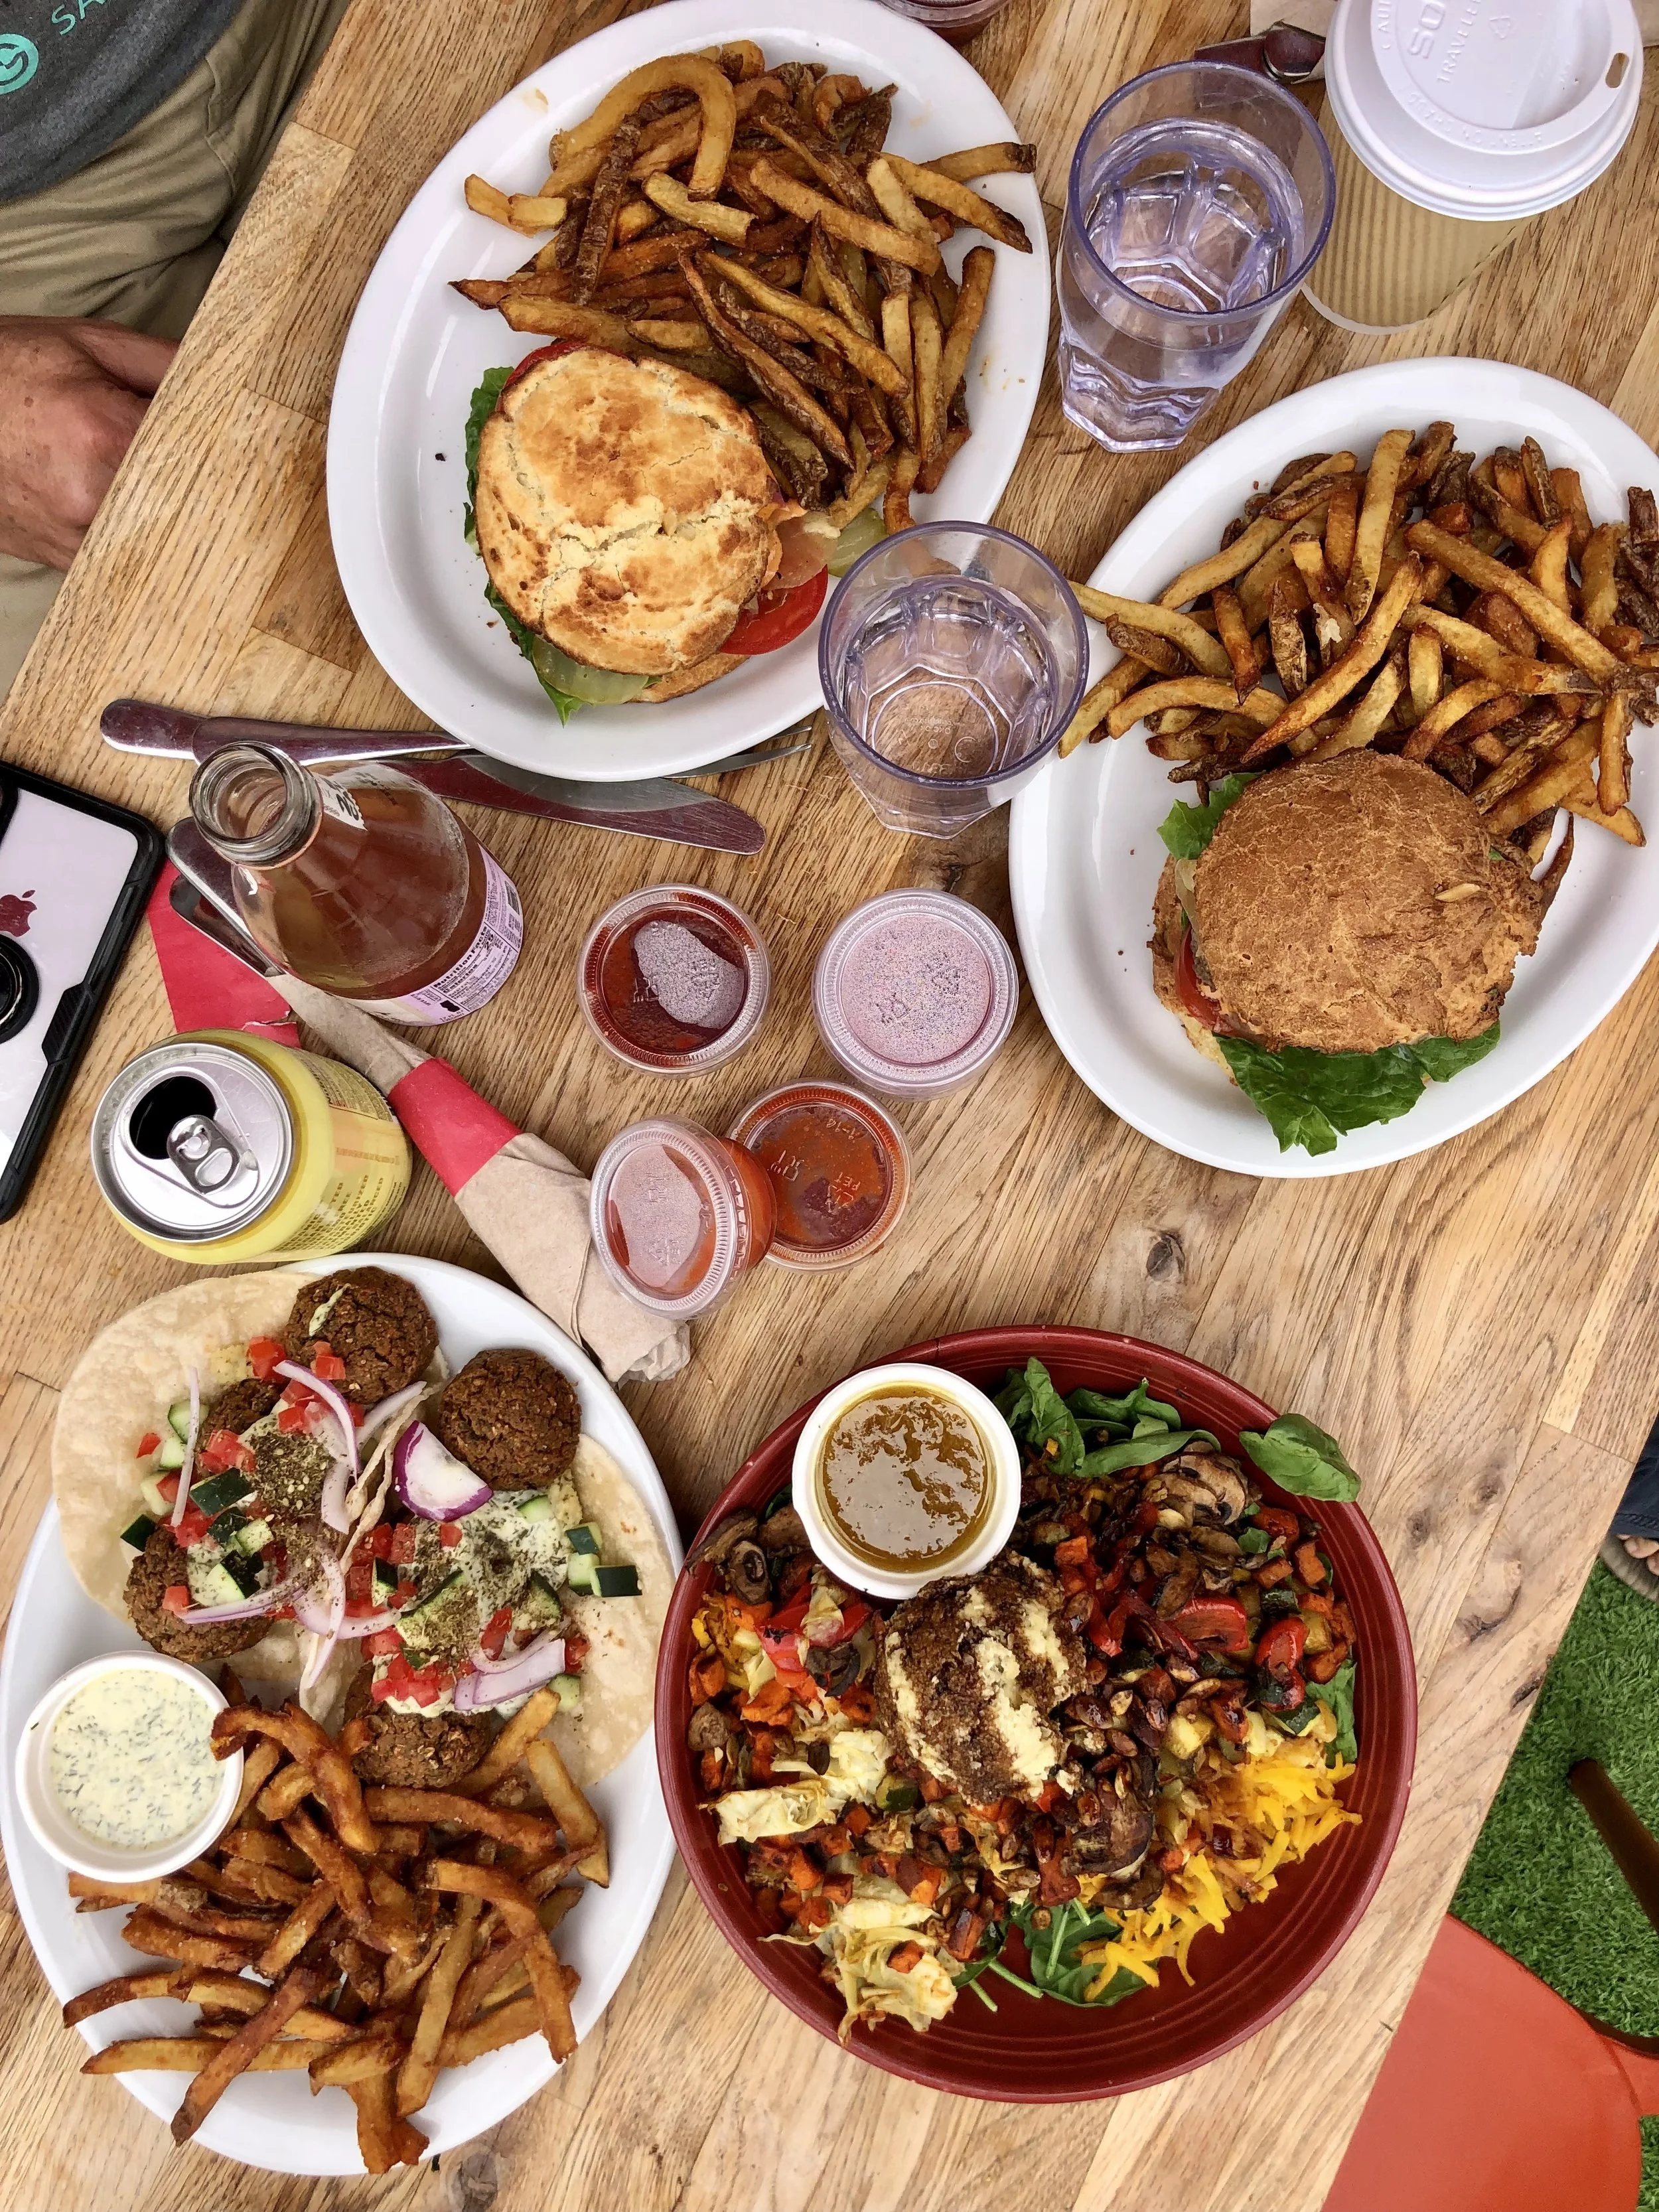
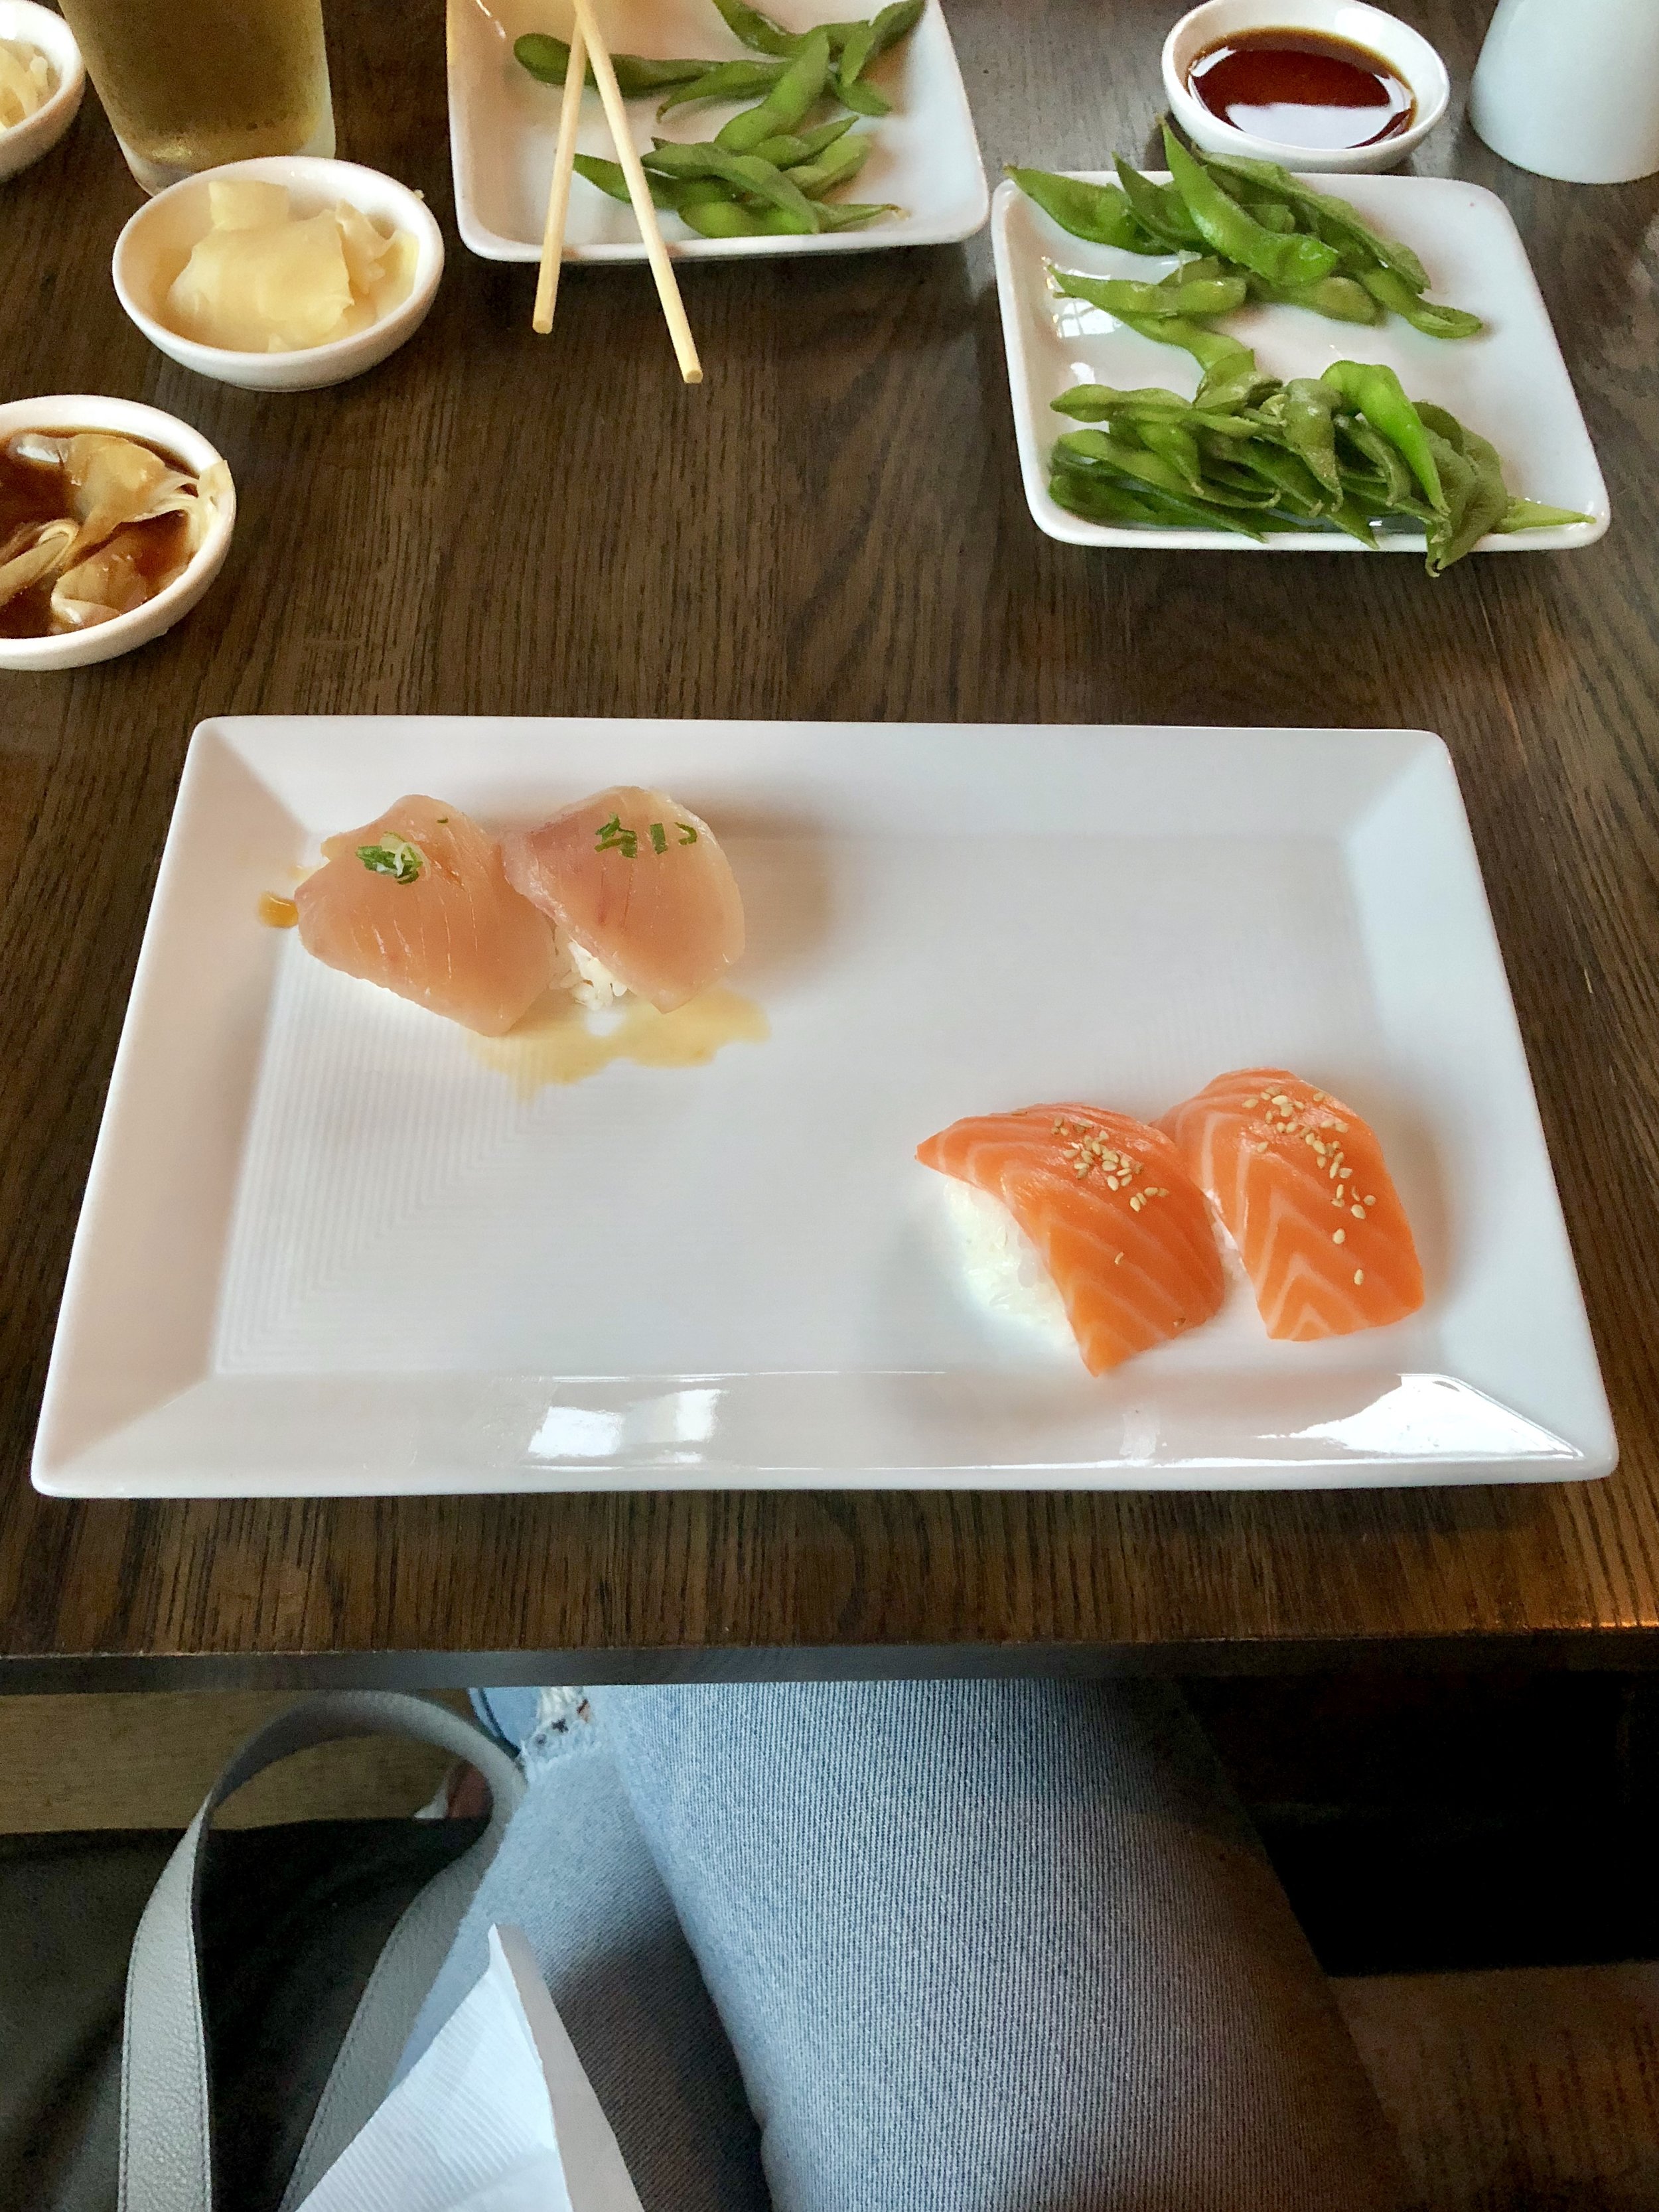
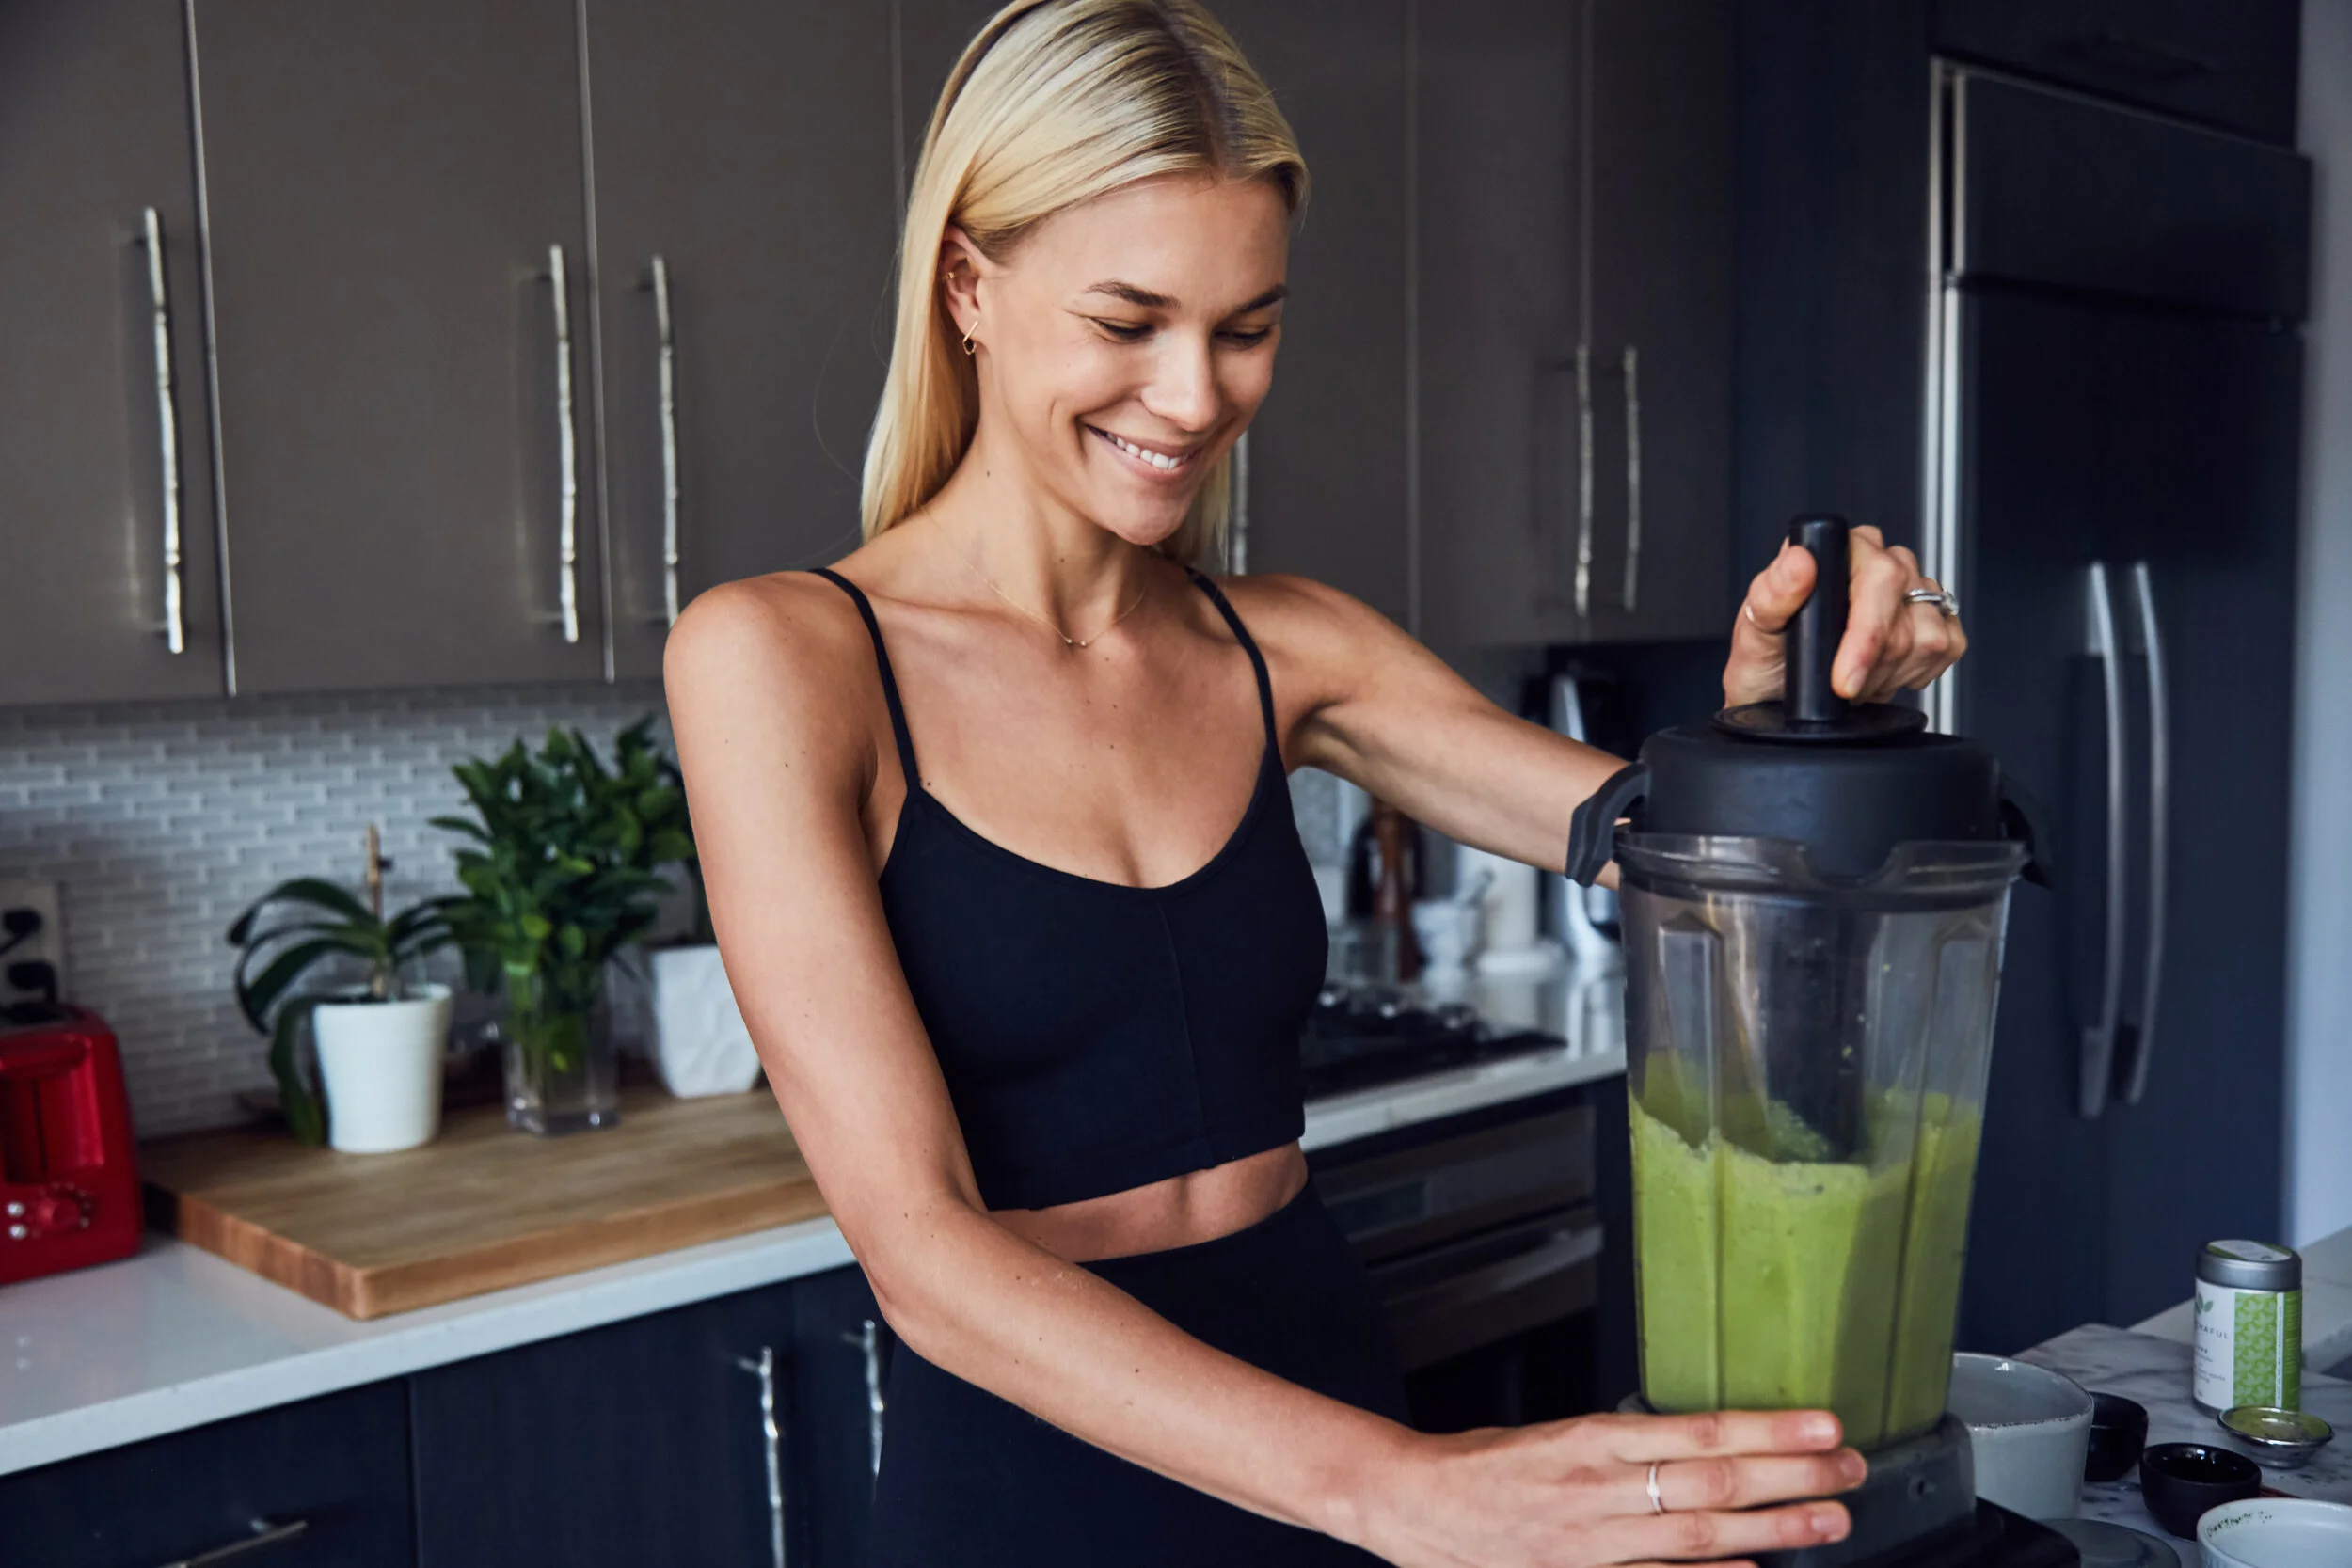
Mexican food is a fan favorite in our house. While there is some debate as to what style or rendition is best- my husband is from New Mexico, I’m from Texas, and we live in California- we can definitely appreciate a good taco, margarita and some chips & guacamole! From super casual to fine dining, you can really get good Mexican food across the board these days, and I was pumped to try a new spot in our area called Qué Padre. Specializing in street-style tacos, this coastal cantina packs its menu with the freshest of flavors from all over Mexico. There’s a bit of Cali influence thanks to the locally-sourced ingredients, and I have to say I really enjoyed this modern take on all your Mexican favorites. Located in Palisades Village, the atmosphere at Qué Padre is totally chill and laid back, allowing you to sip on some tasty tequilas while dining out in the sun. Totally up my alley! Not to mention it’s adjacent to the grassy, park area so kiddies can play as well.

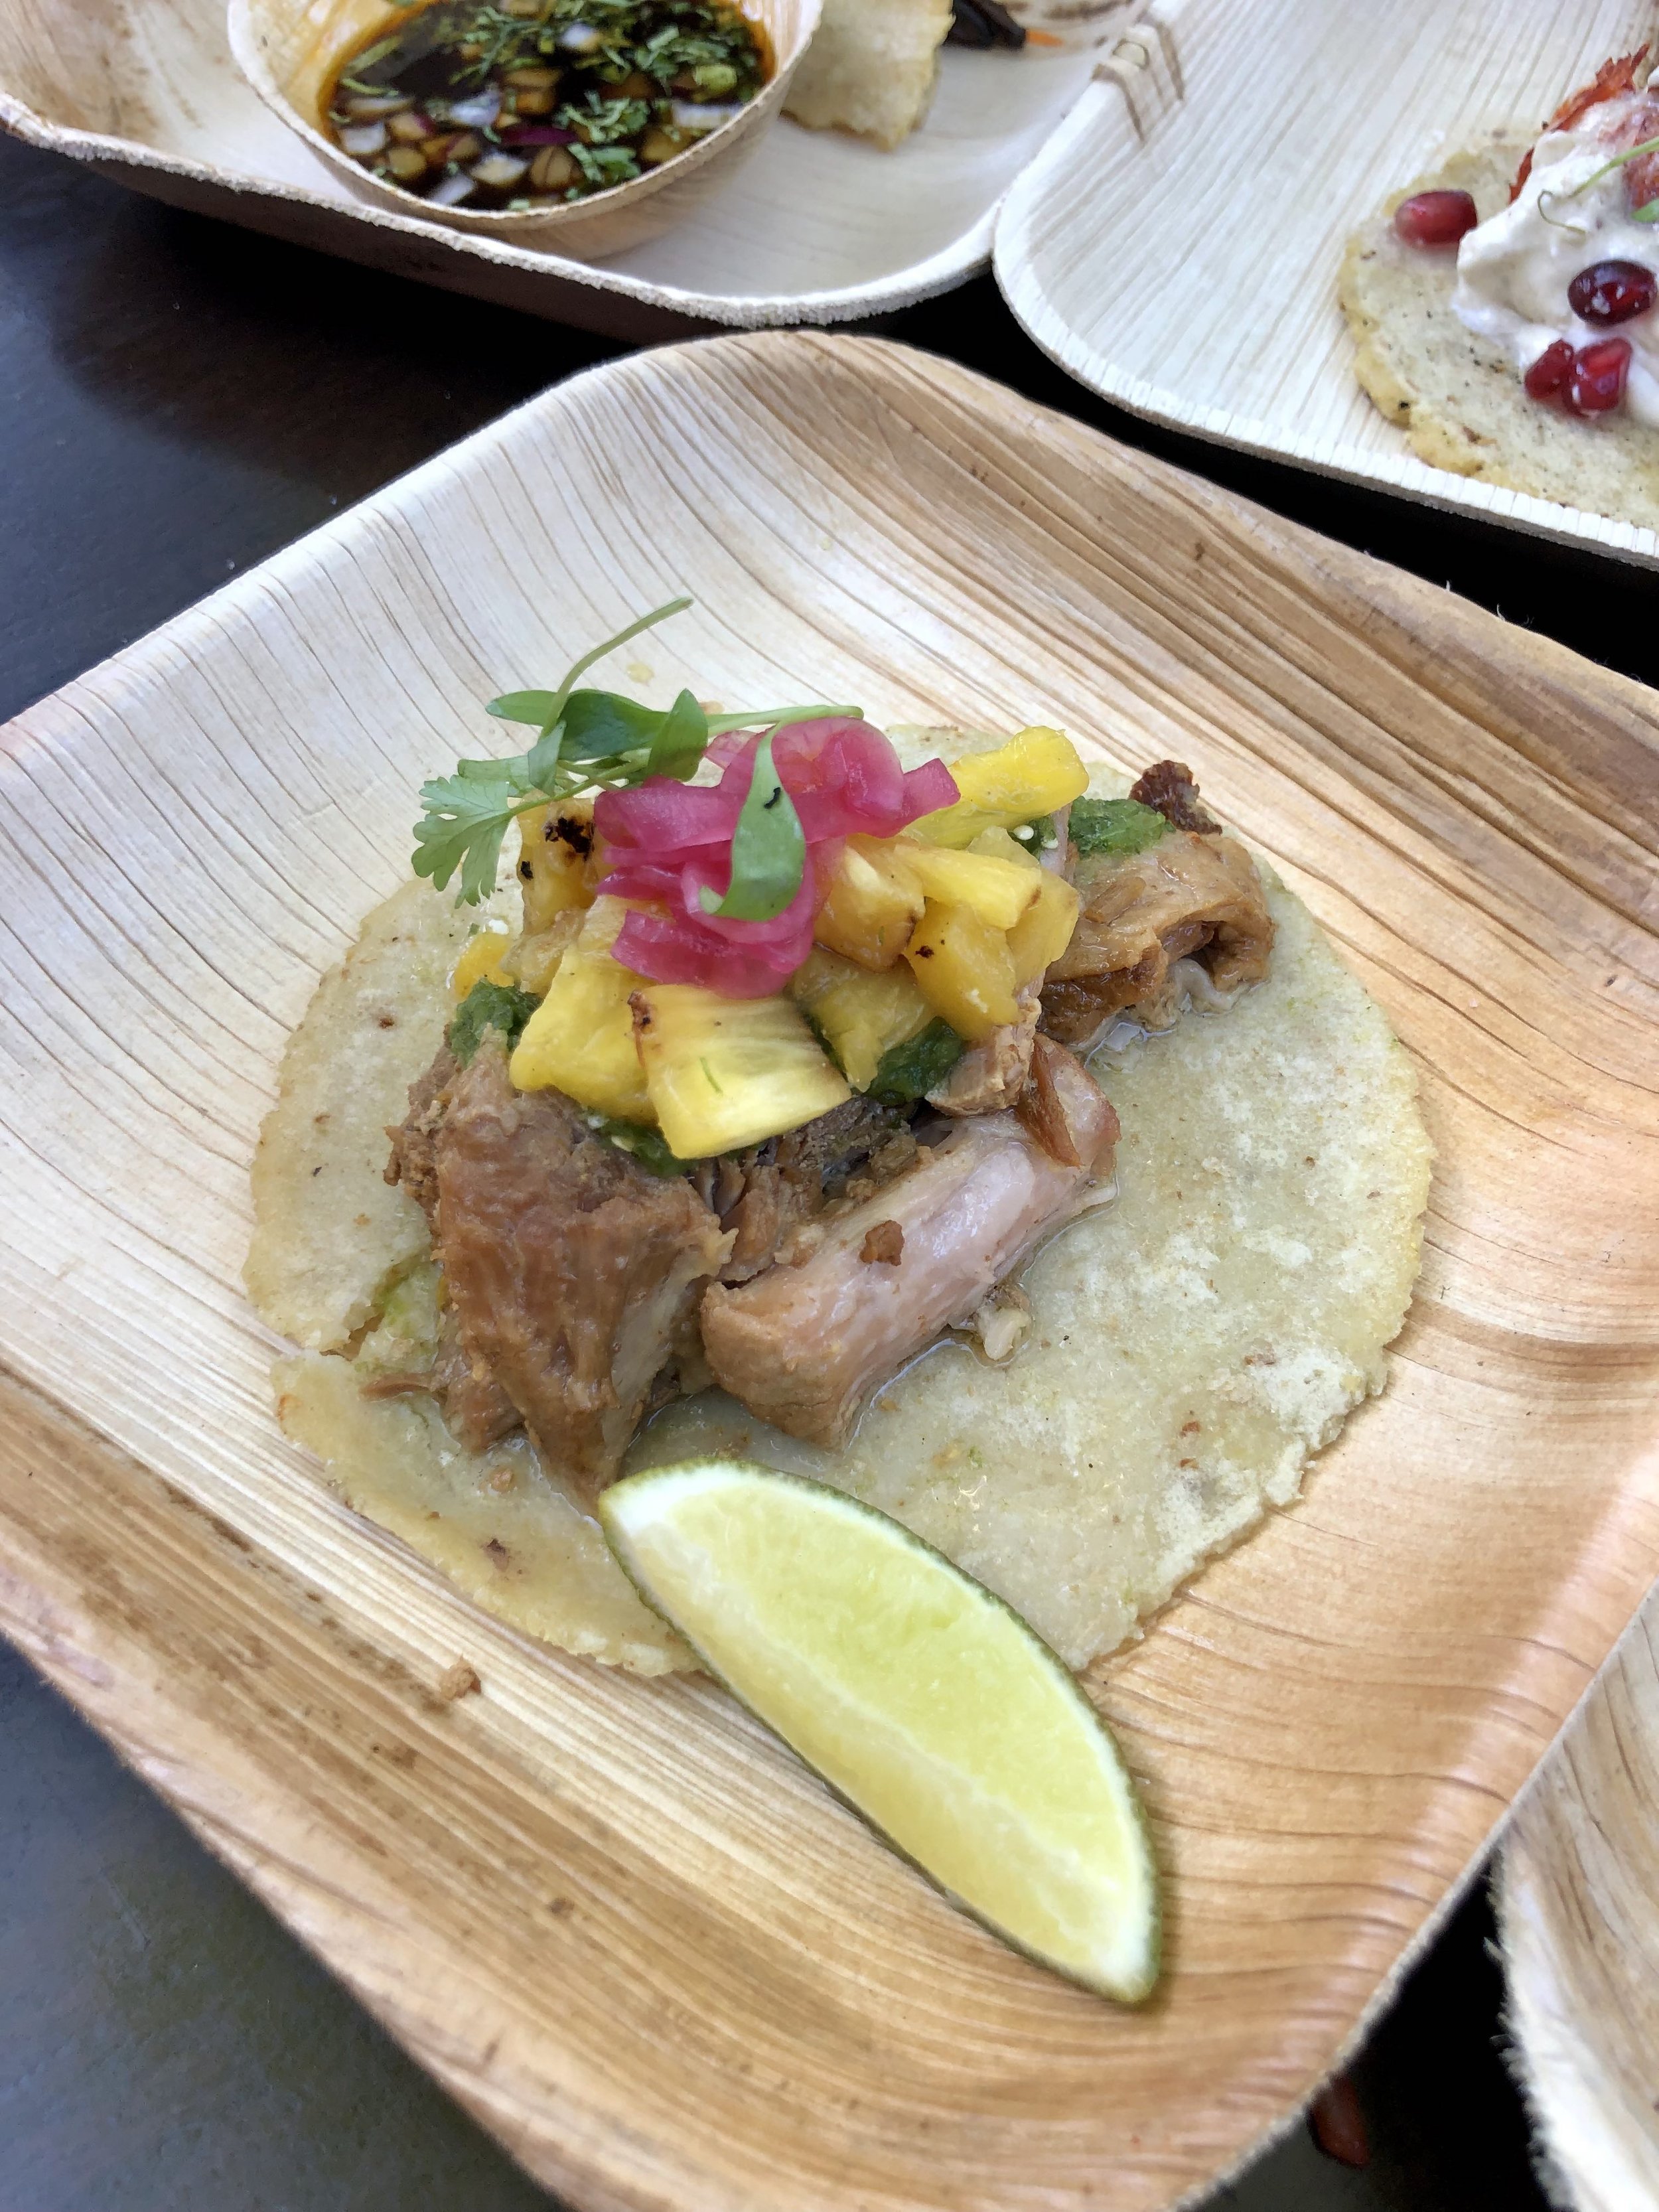
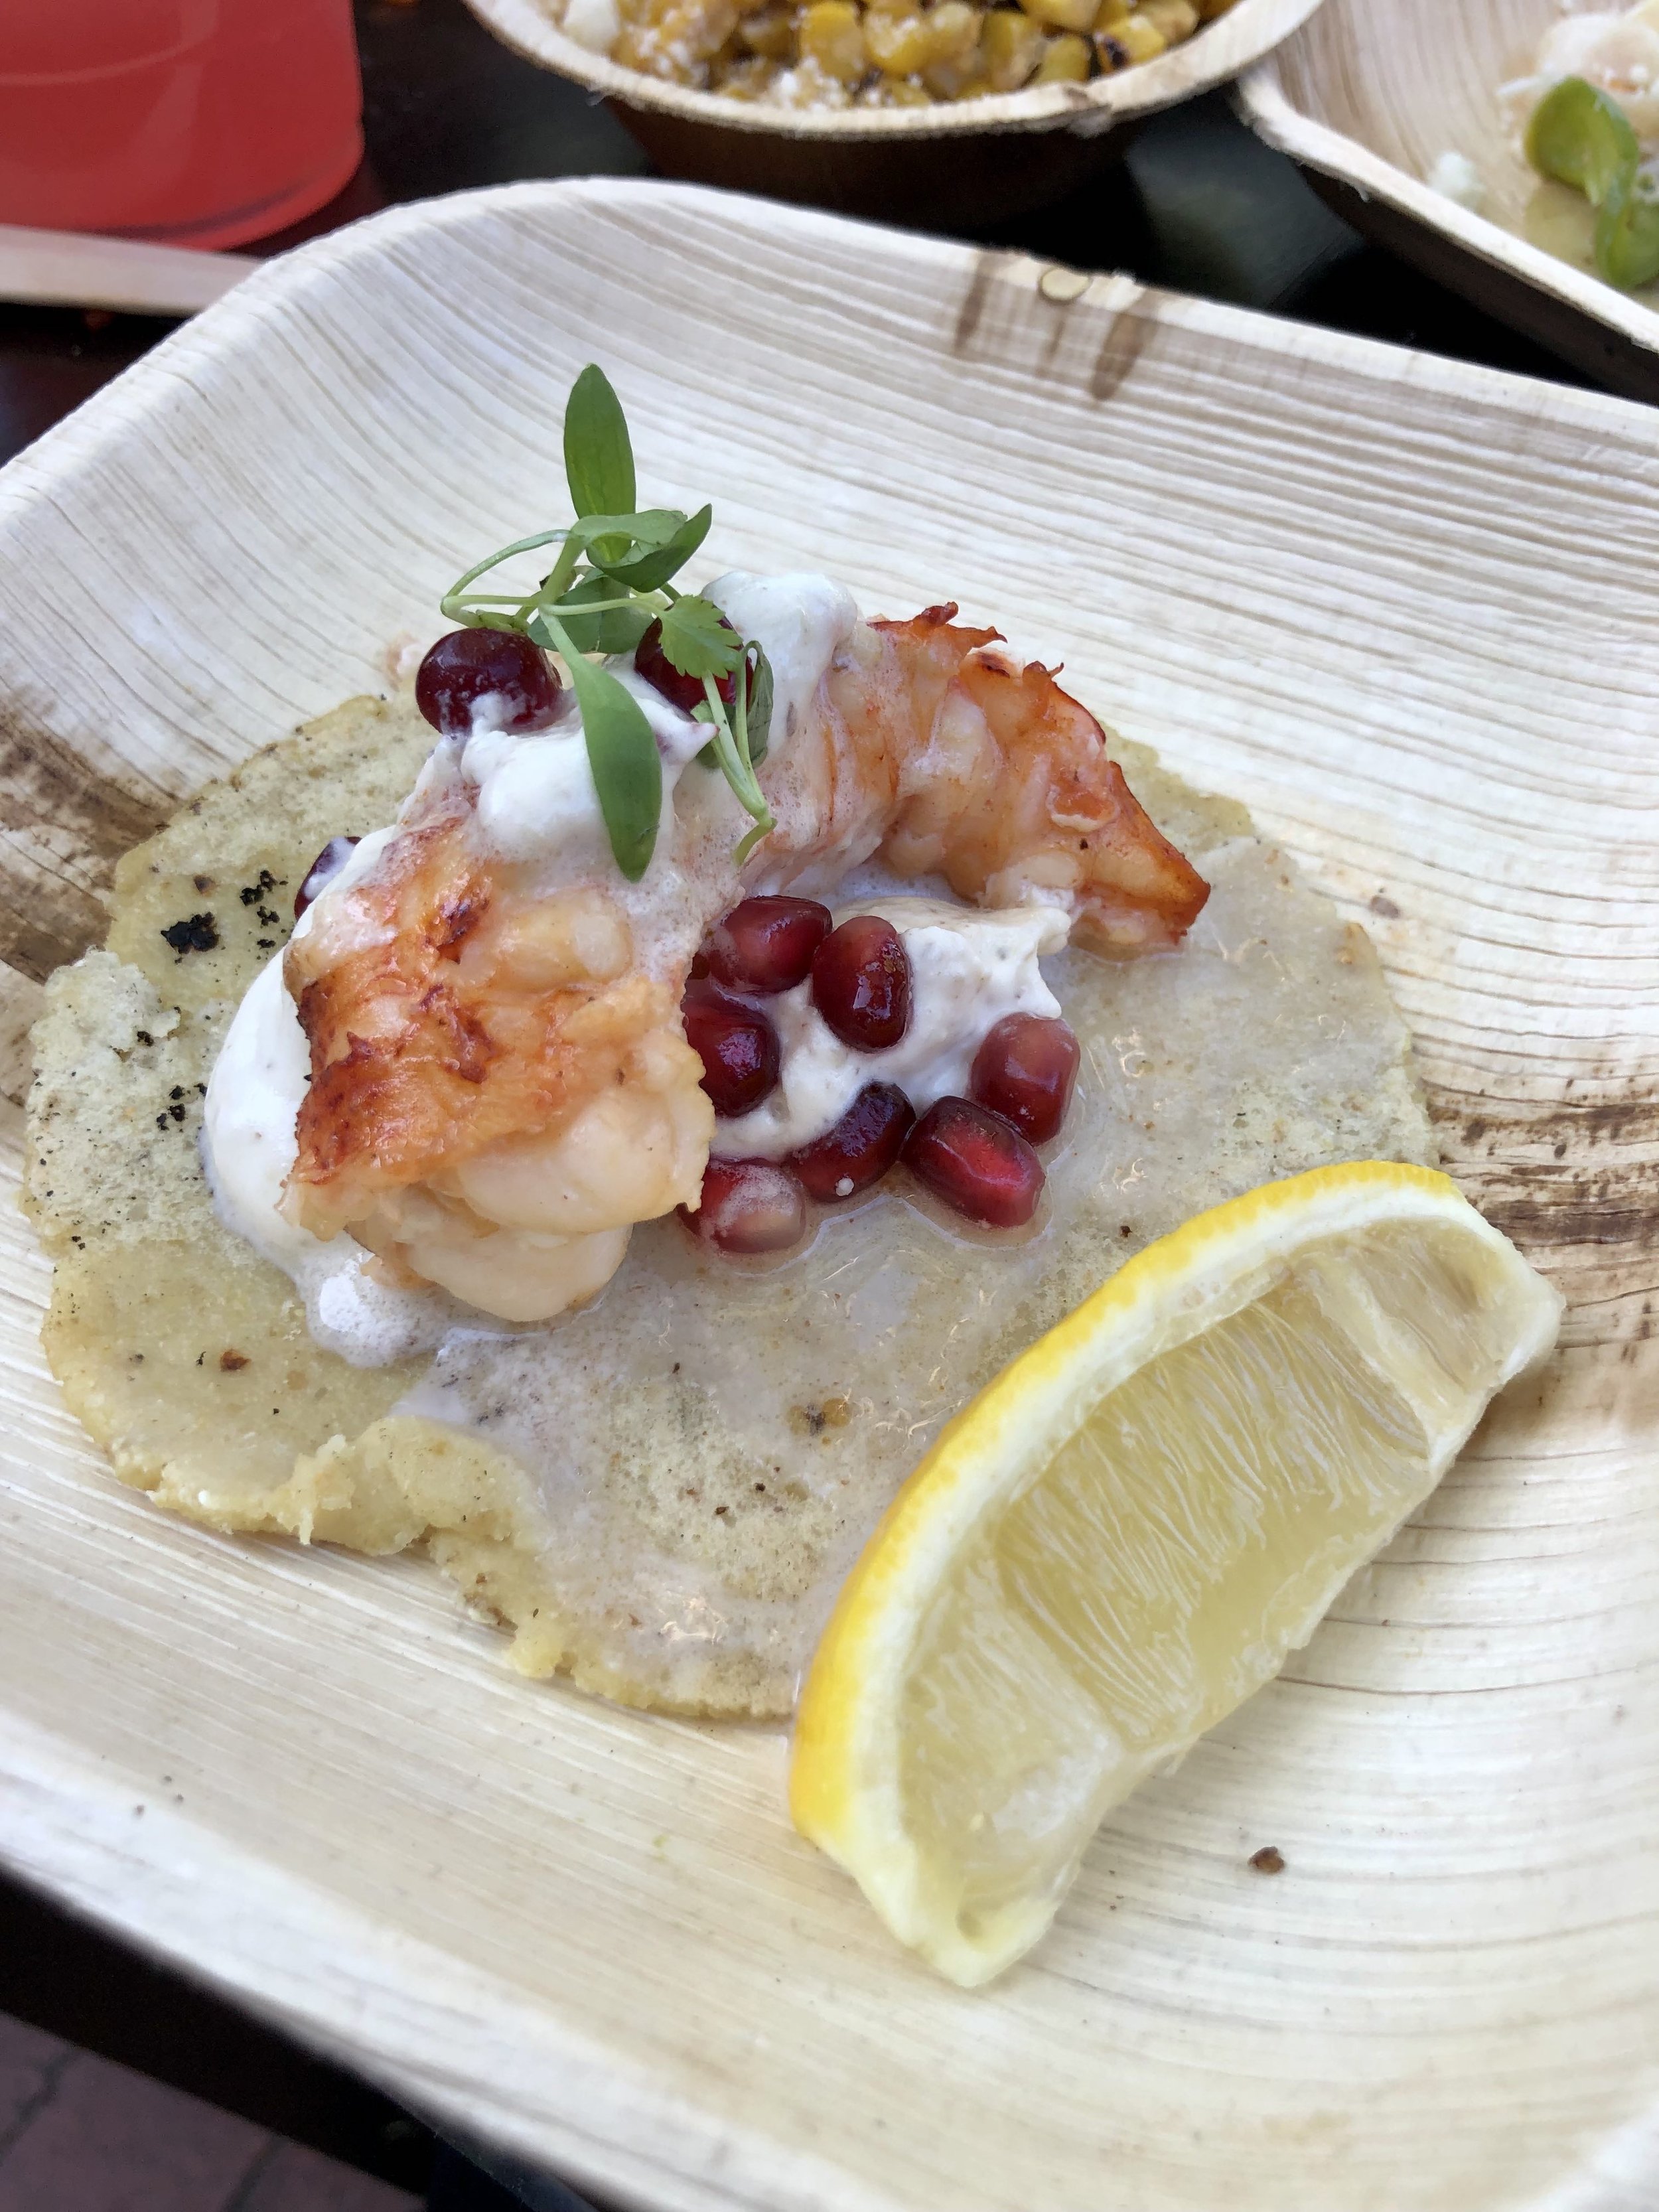
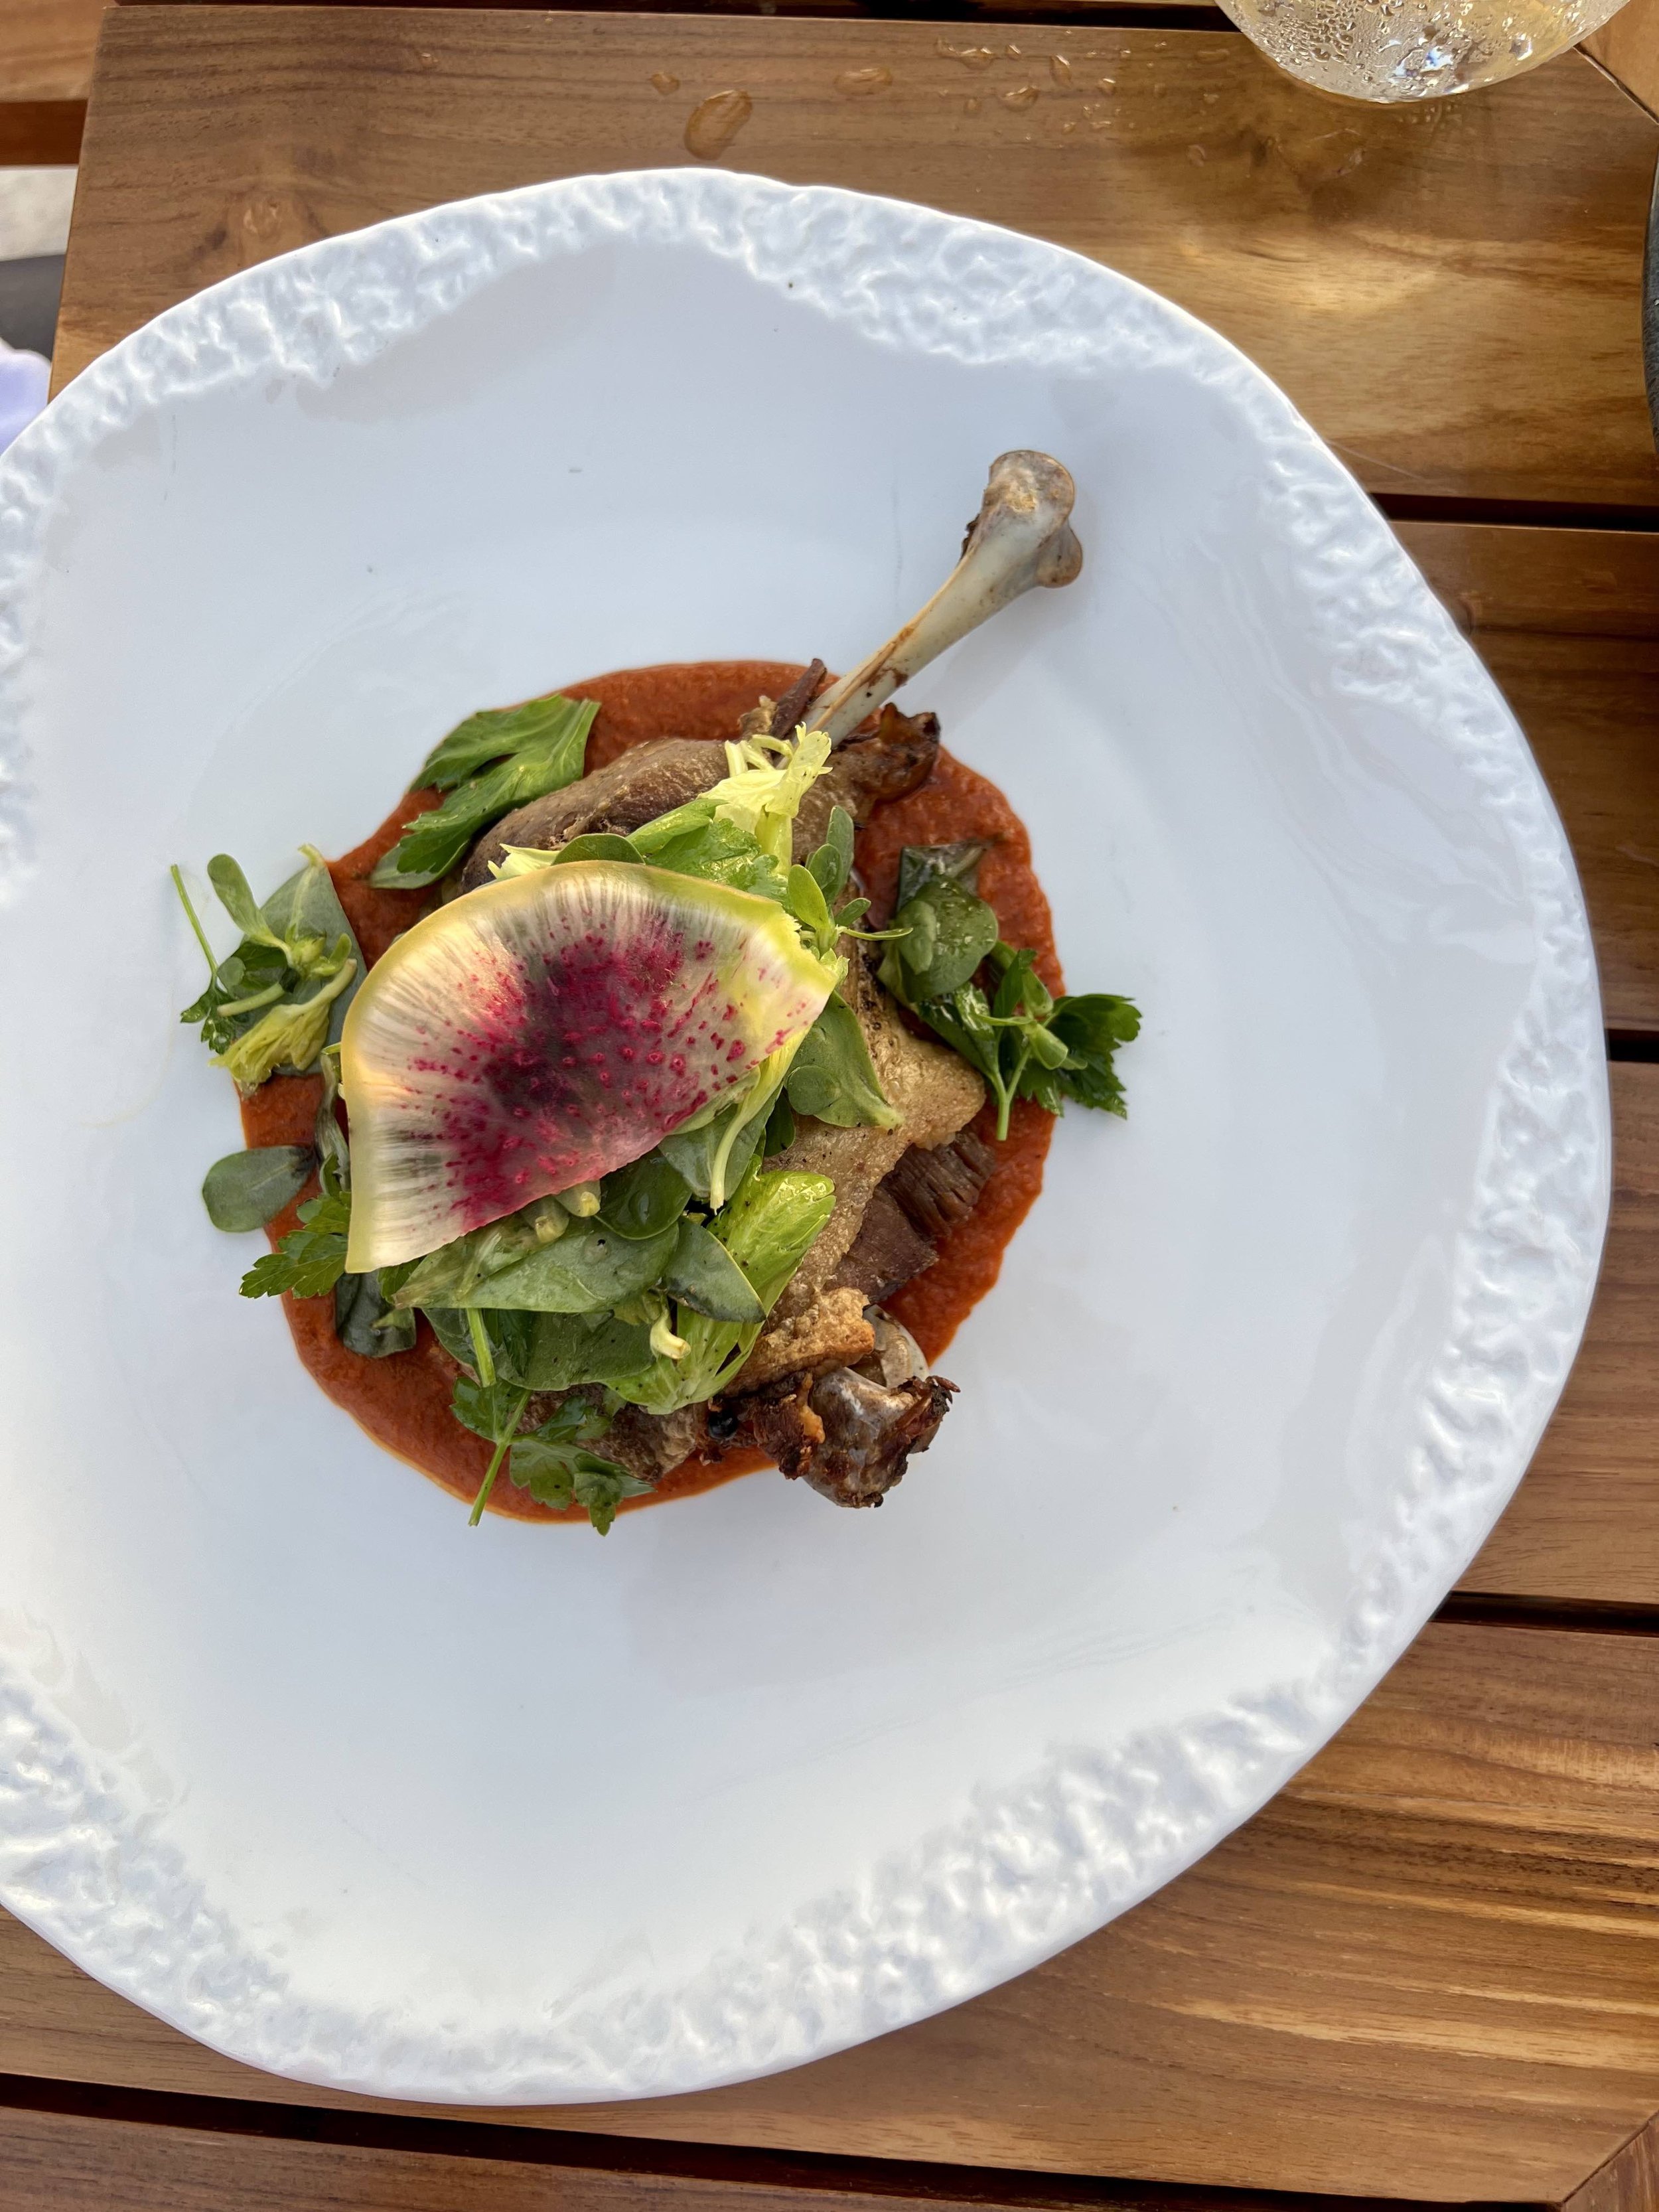
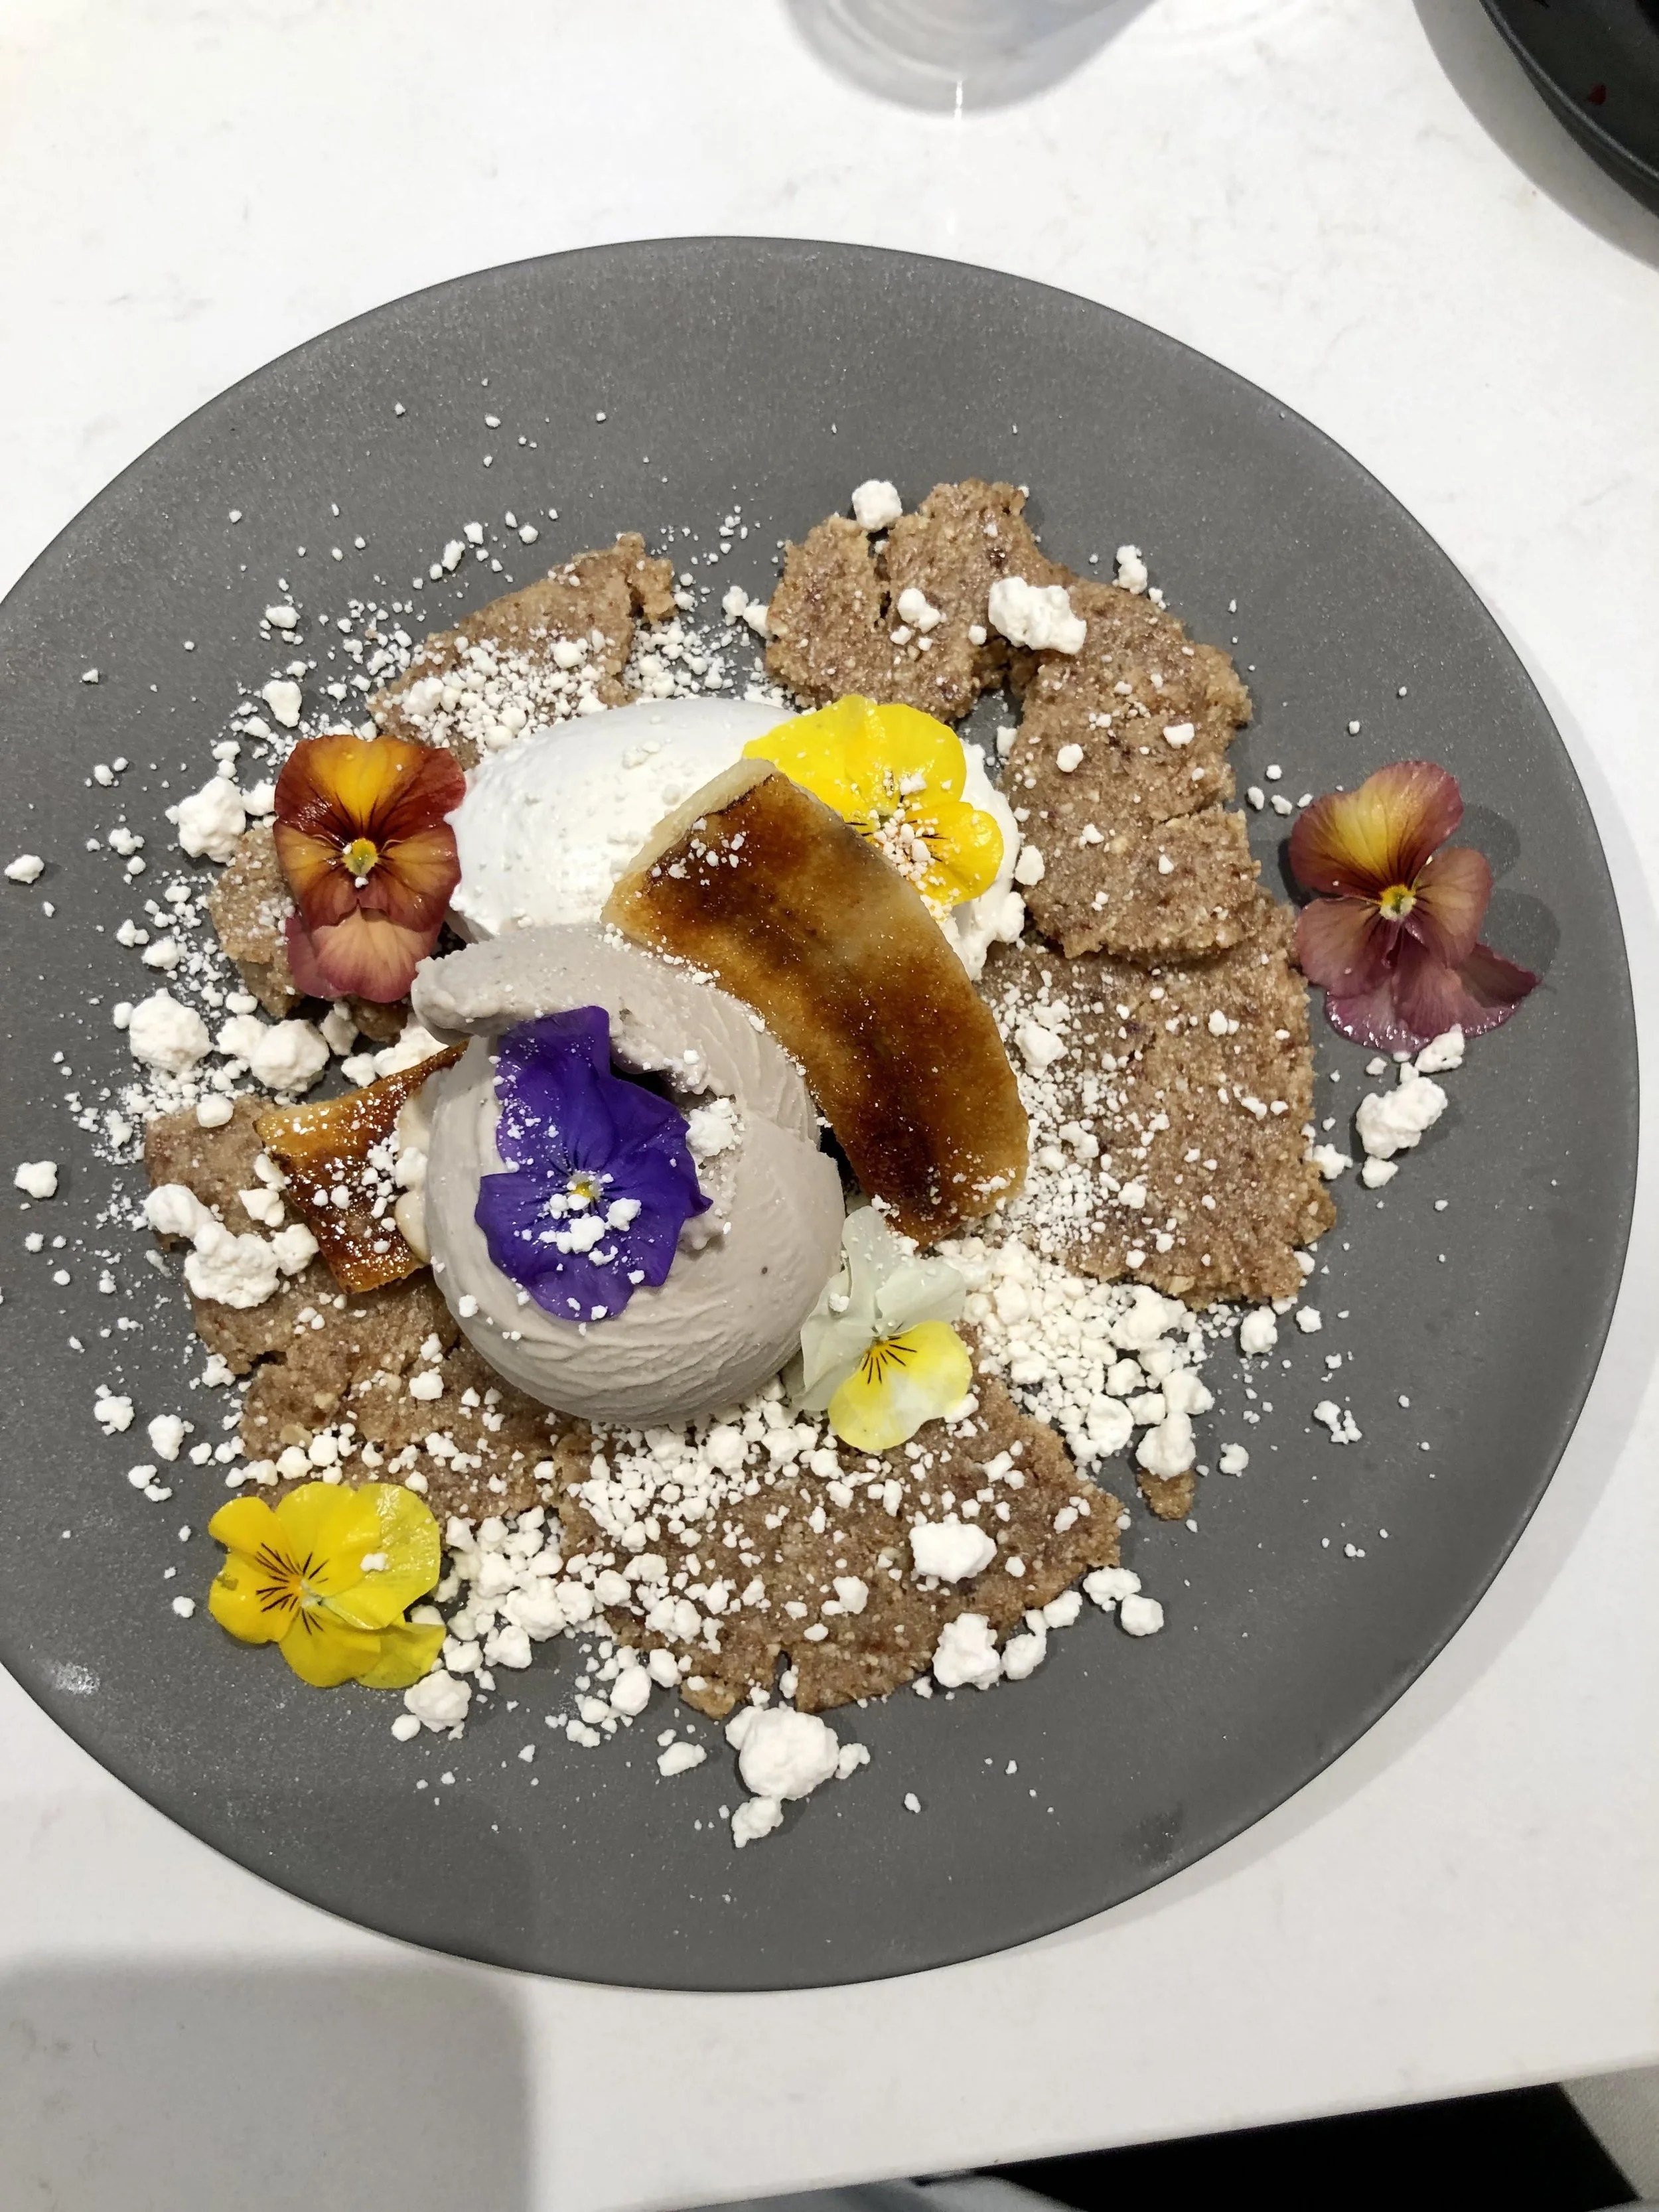
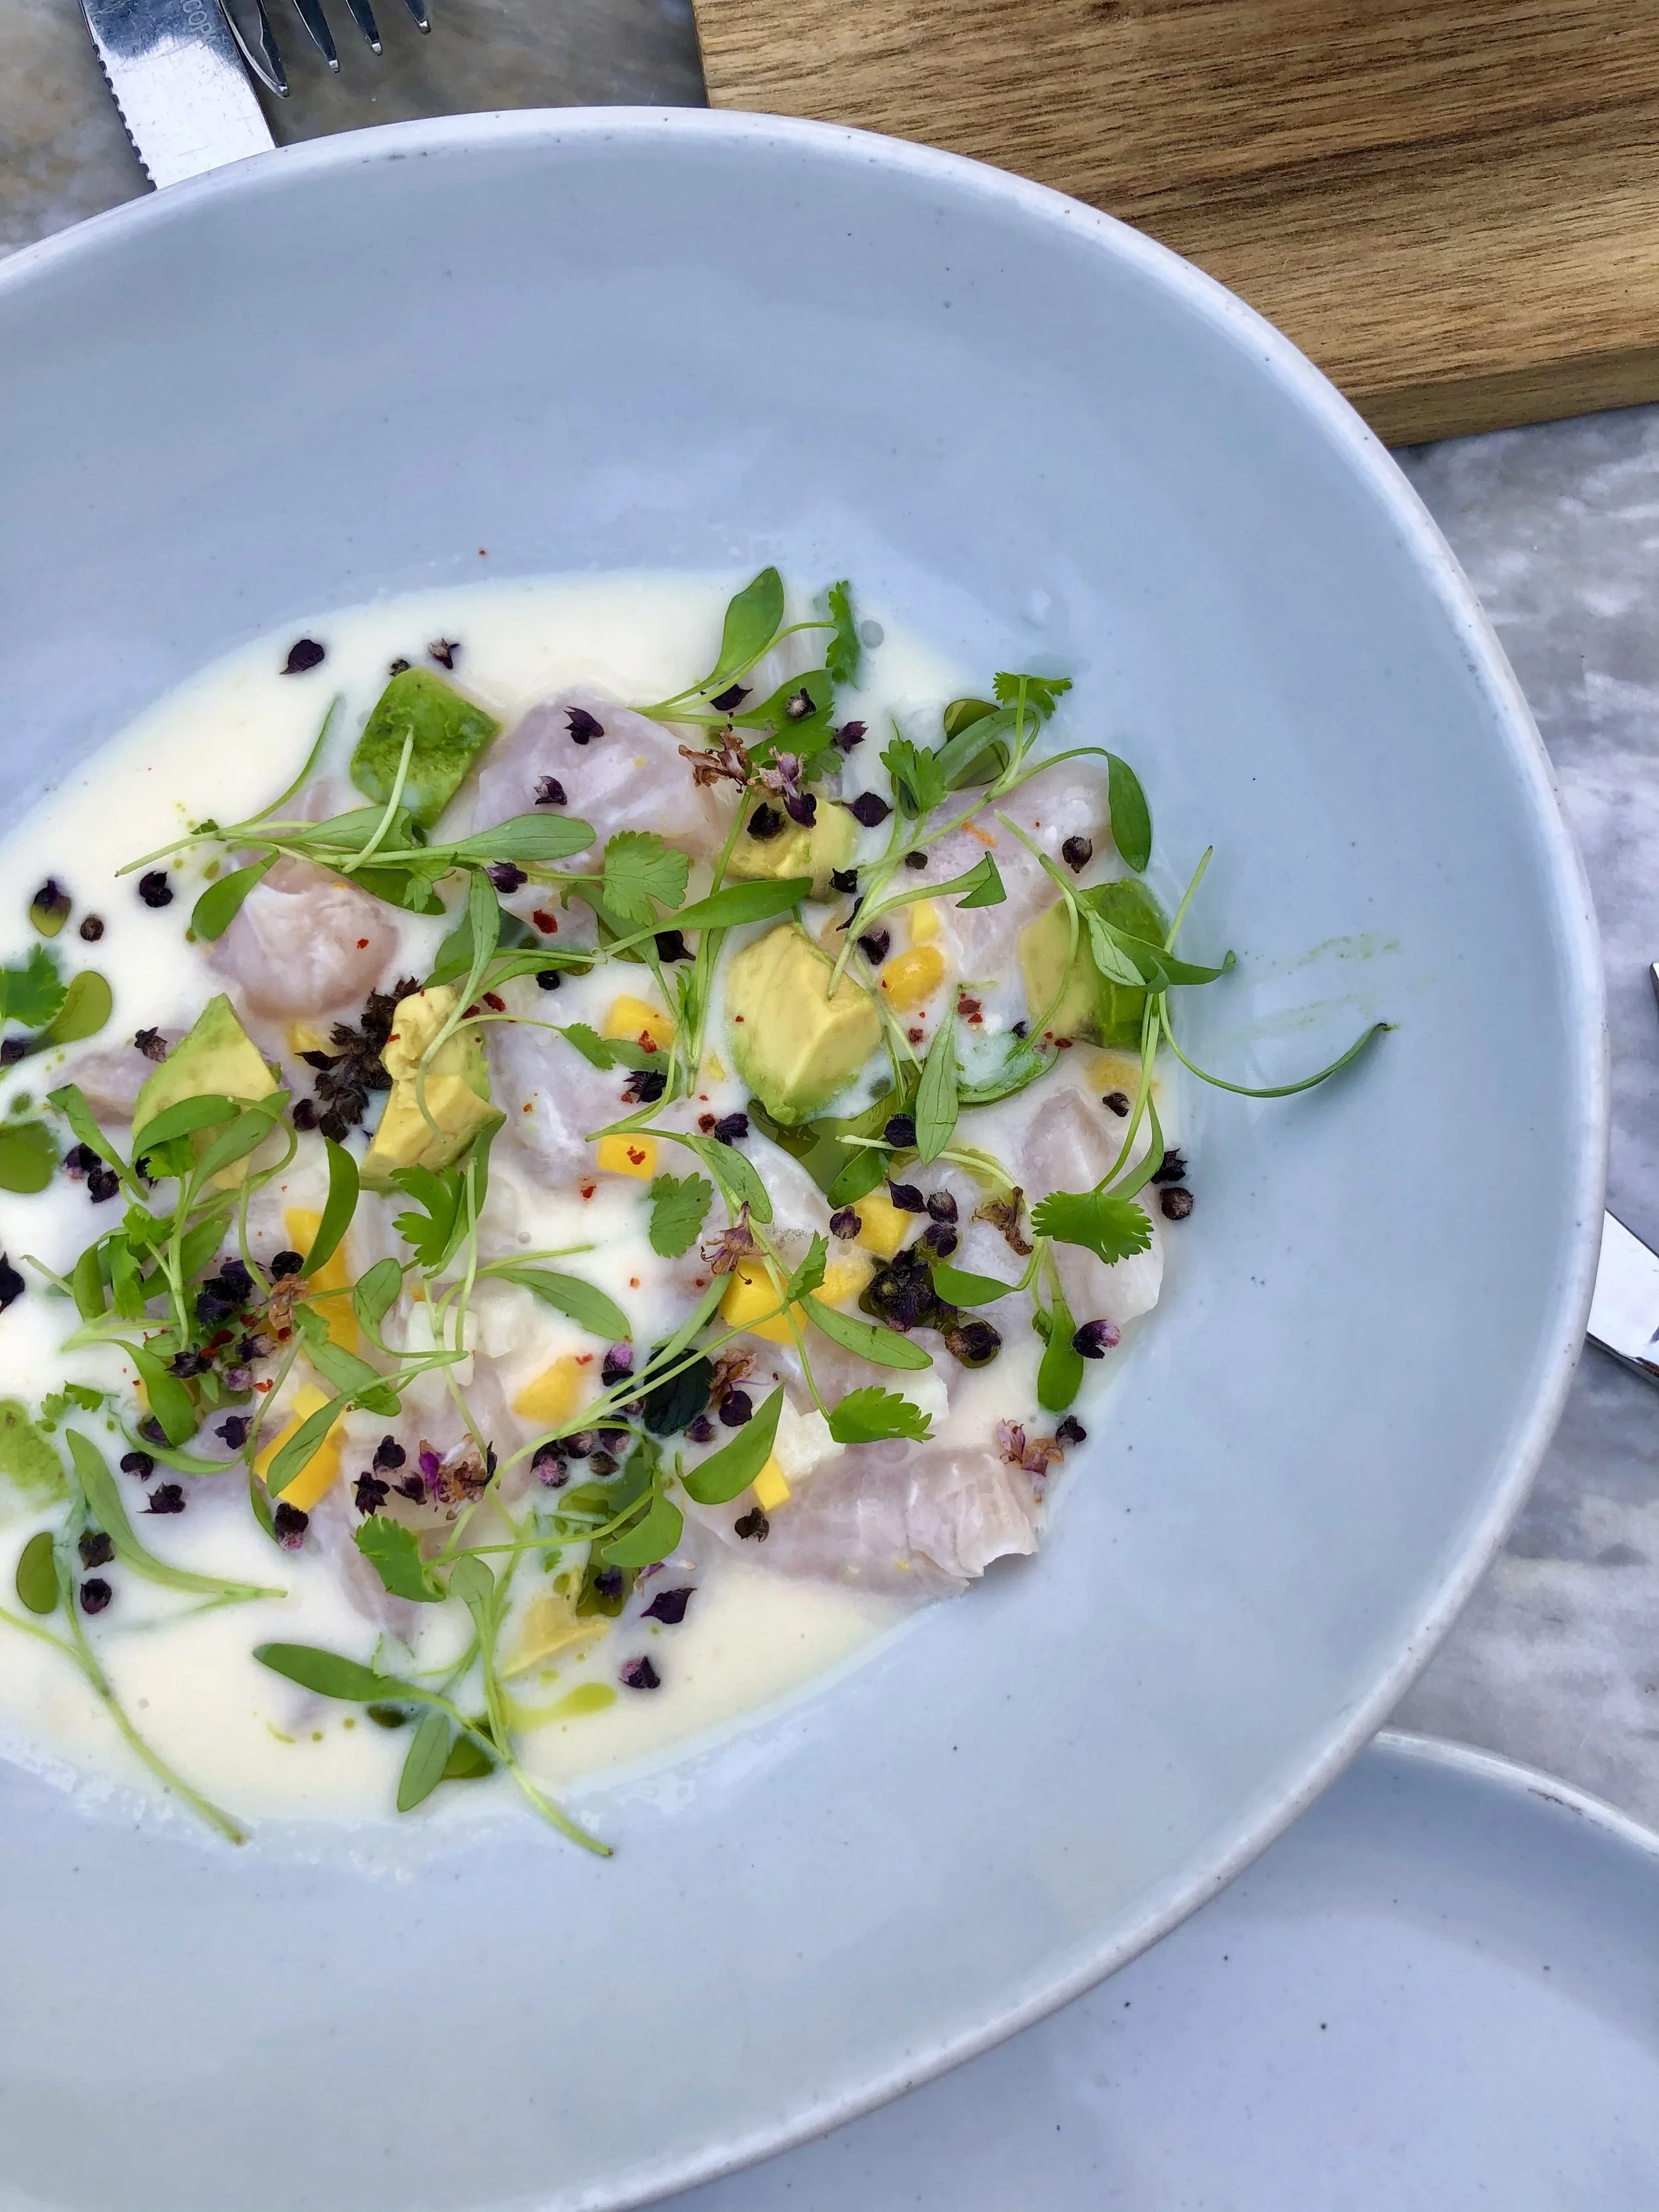
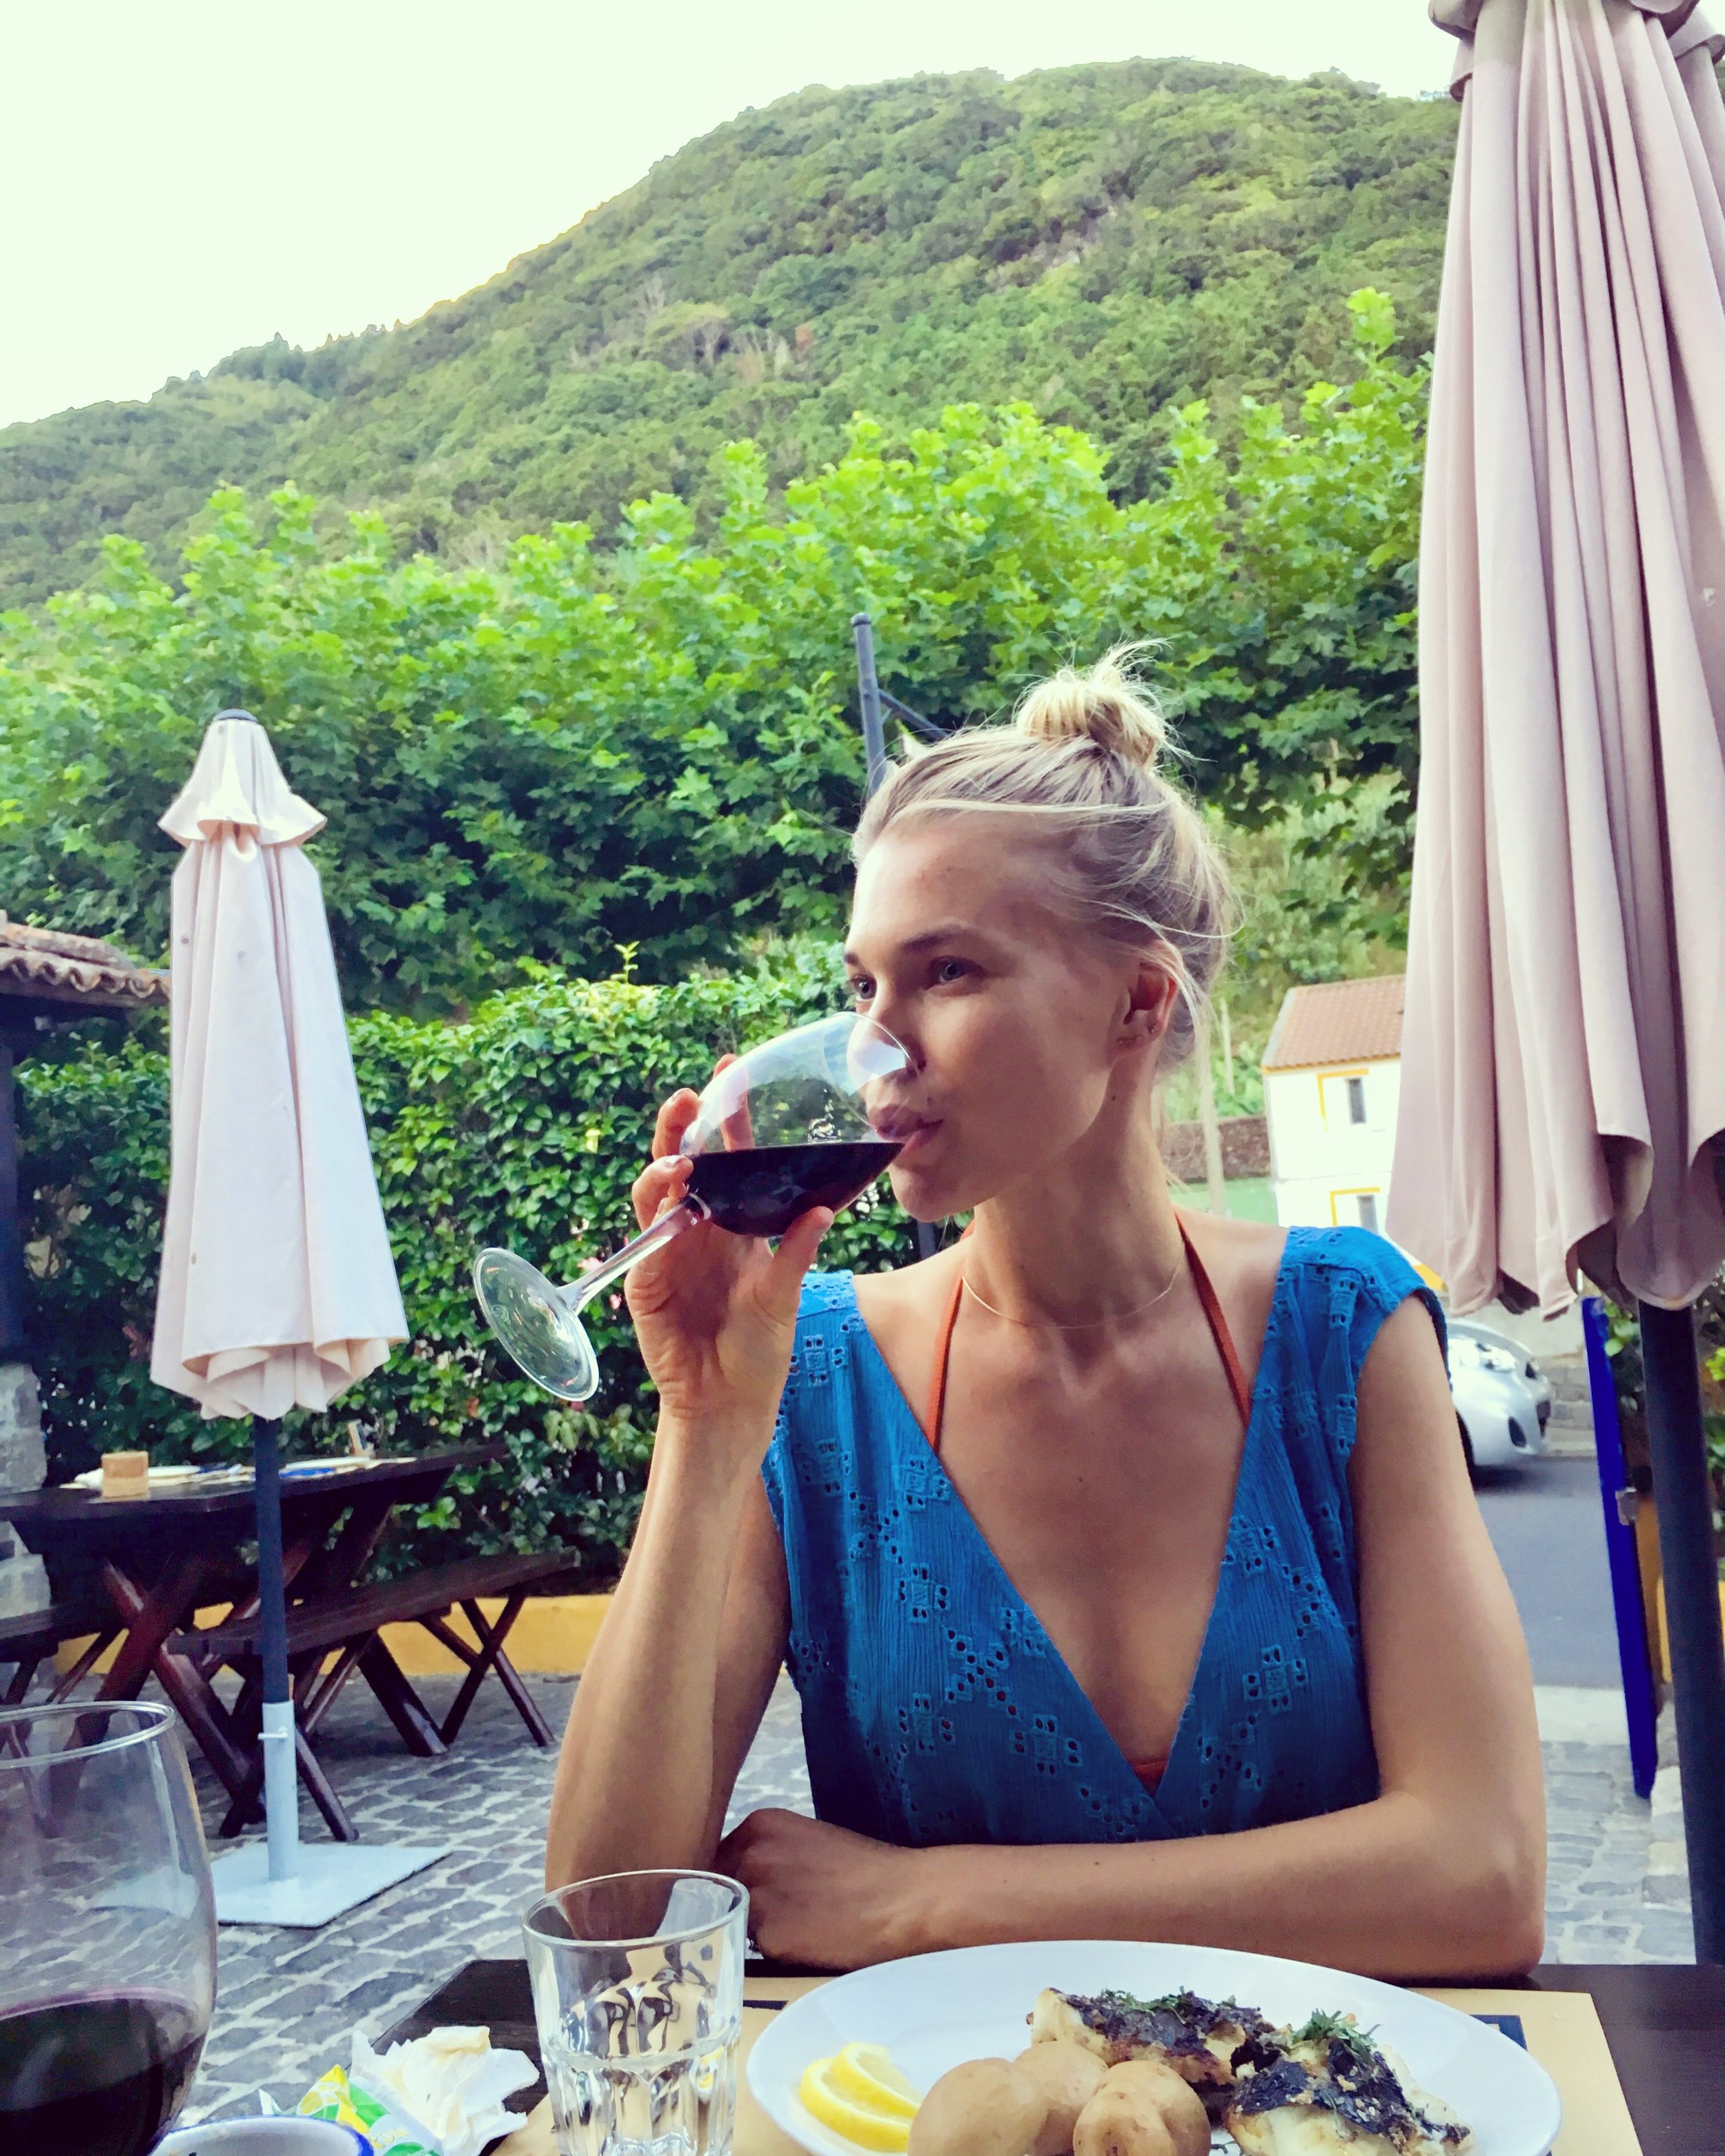
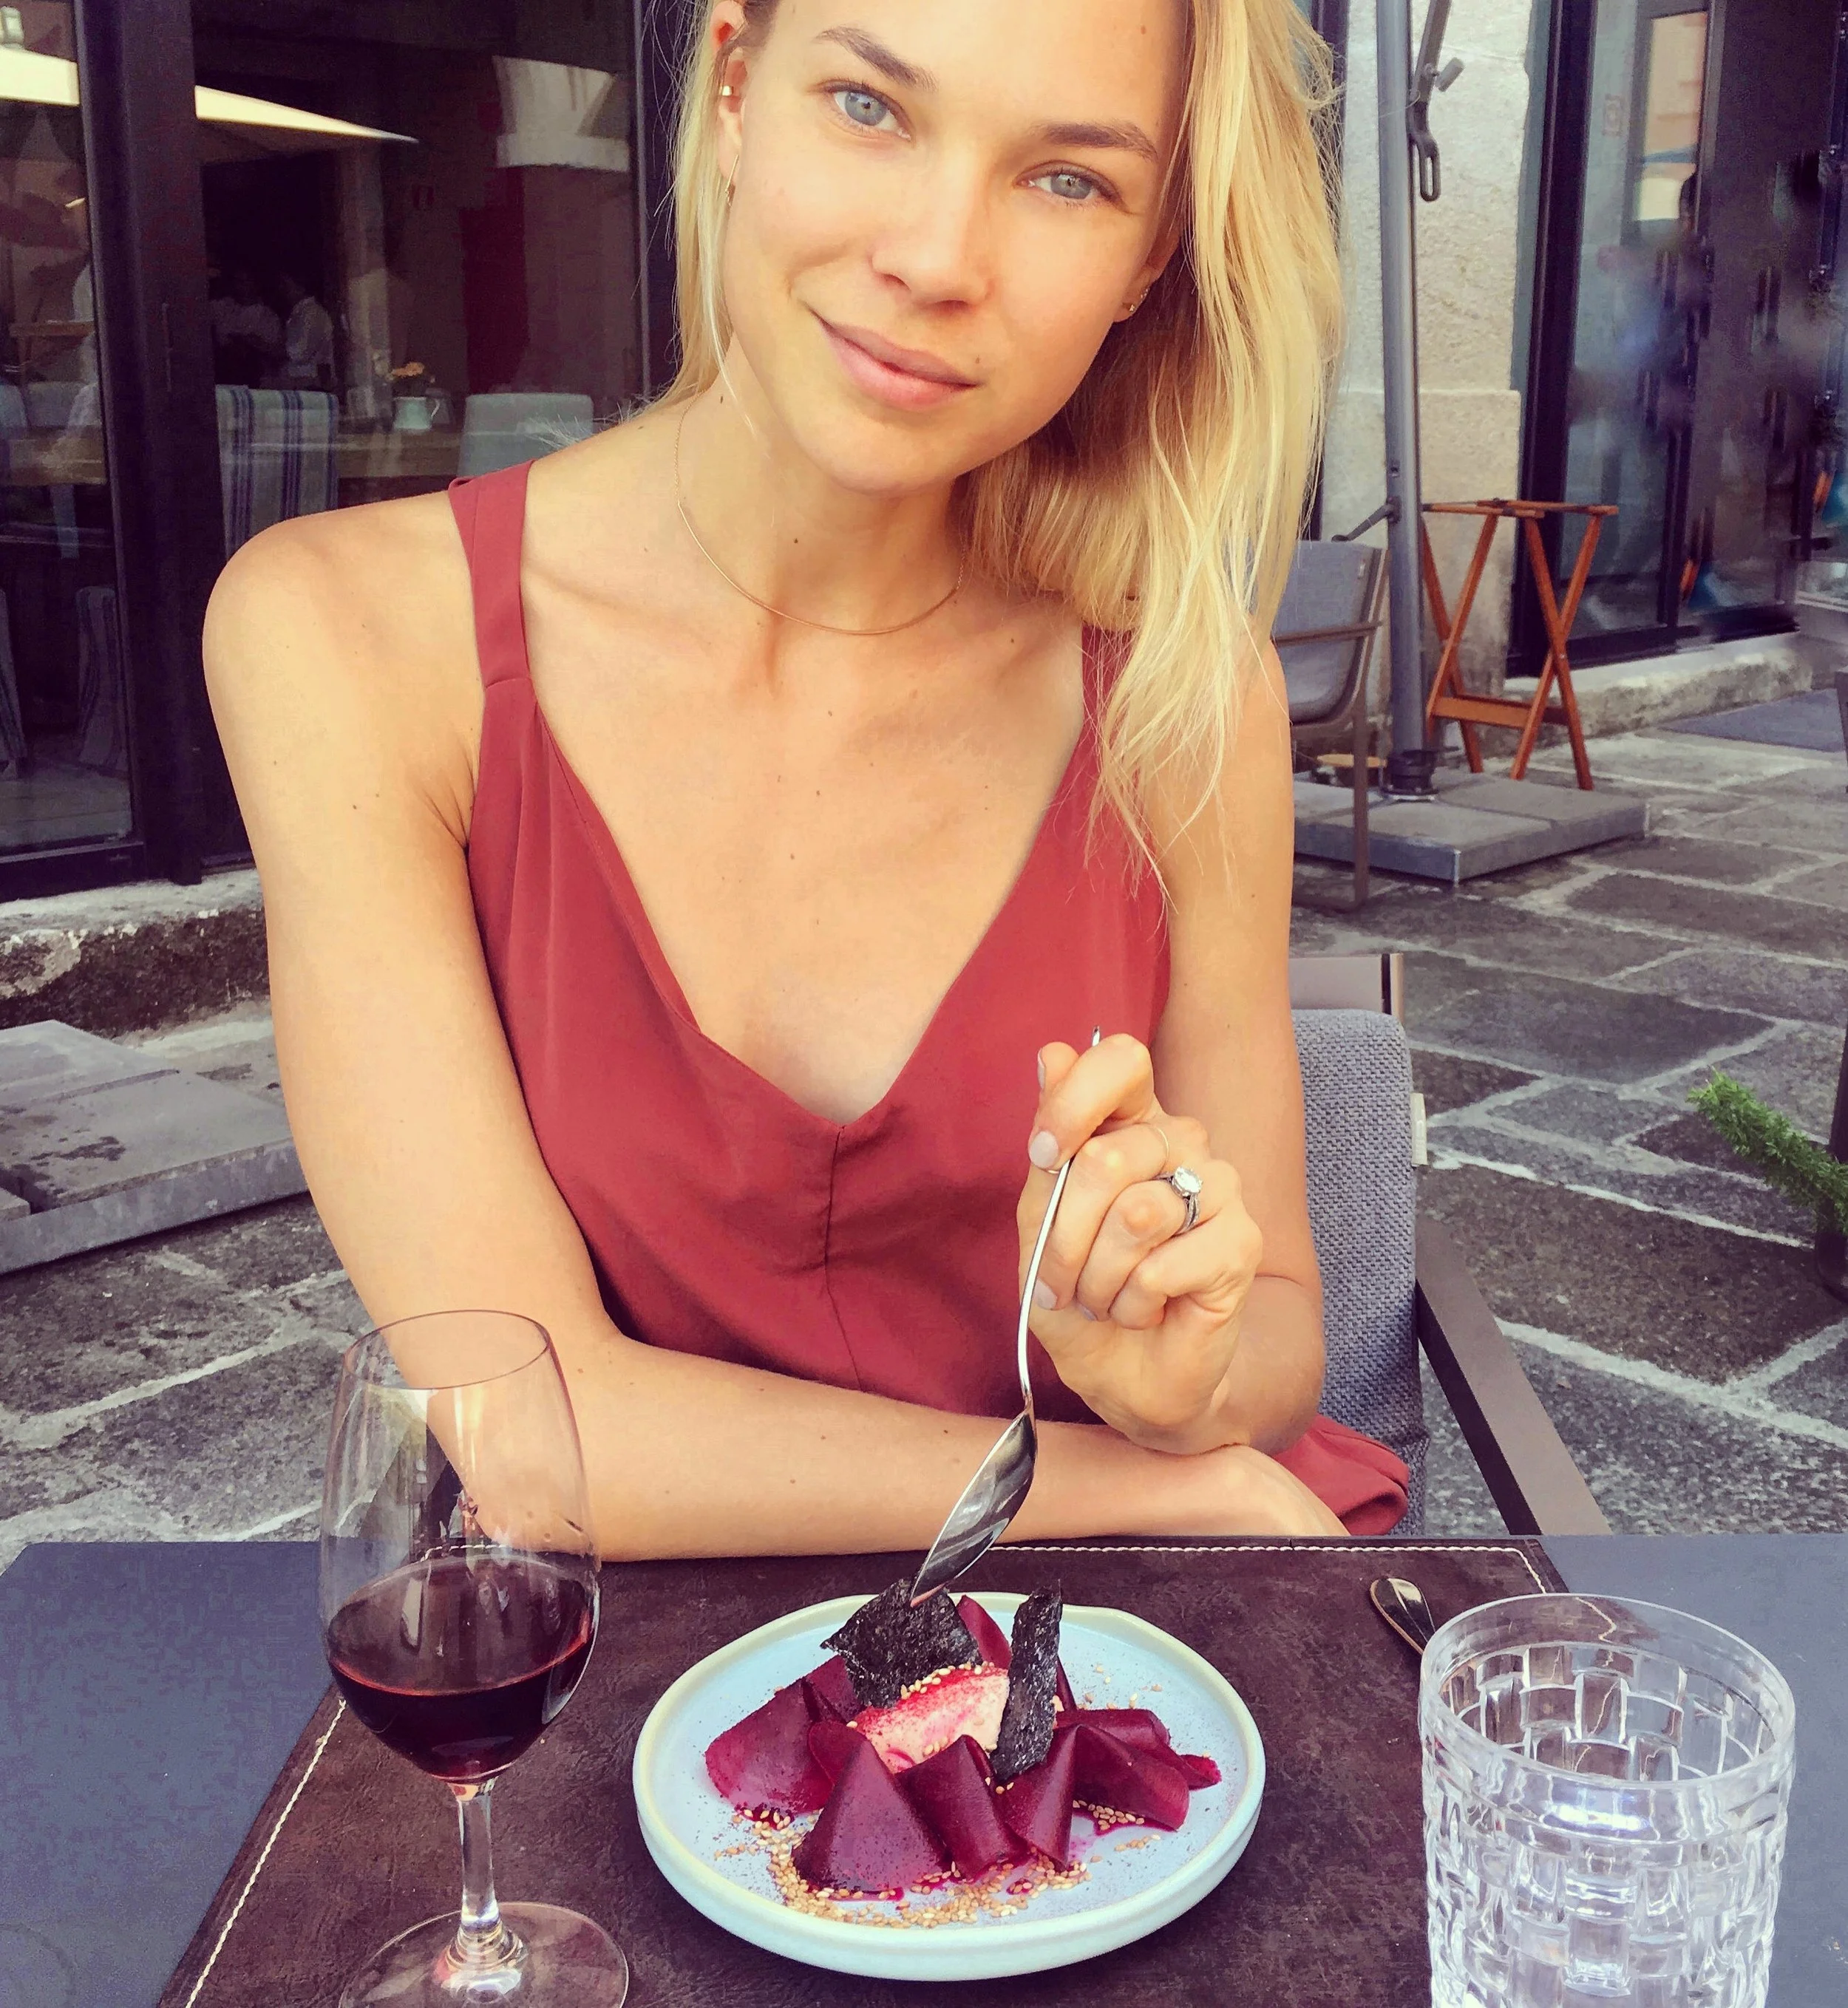
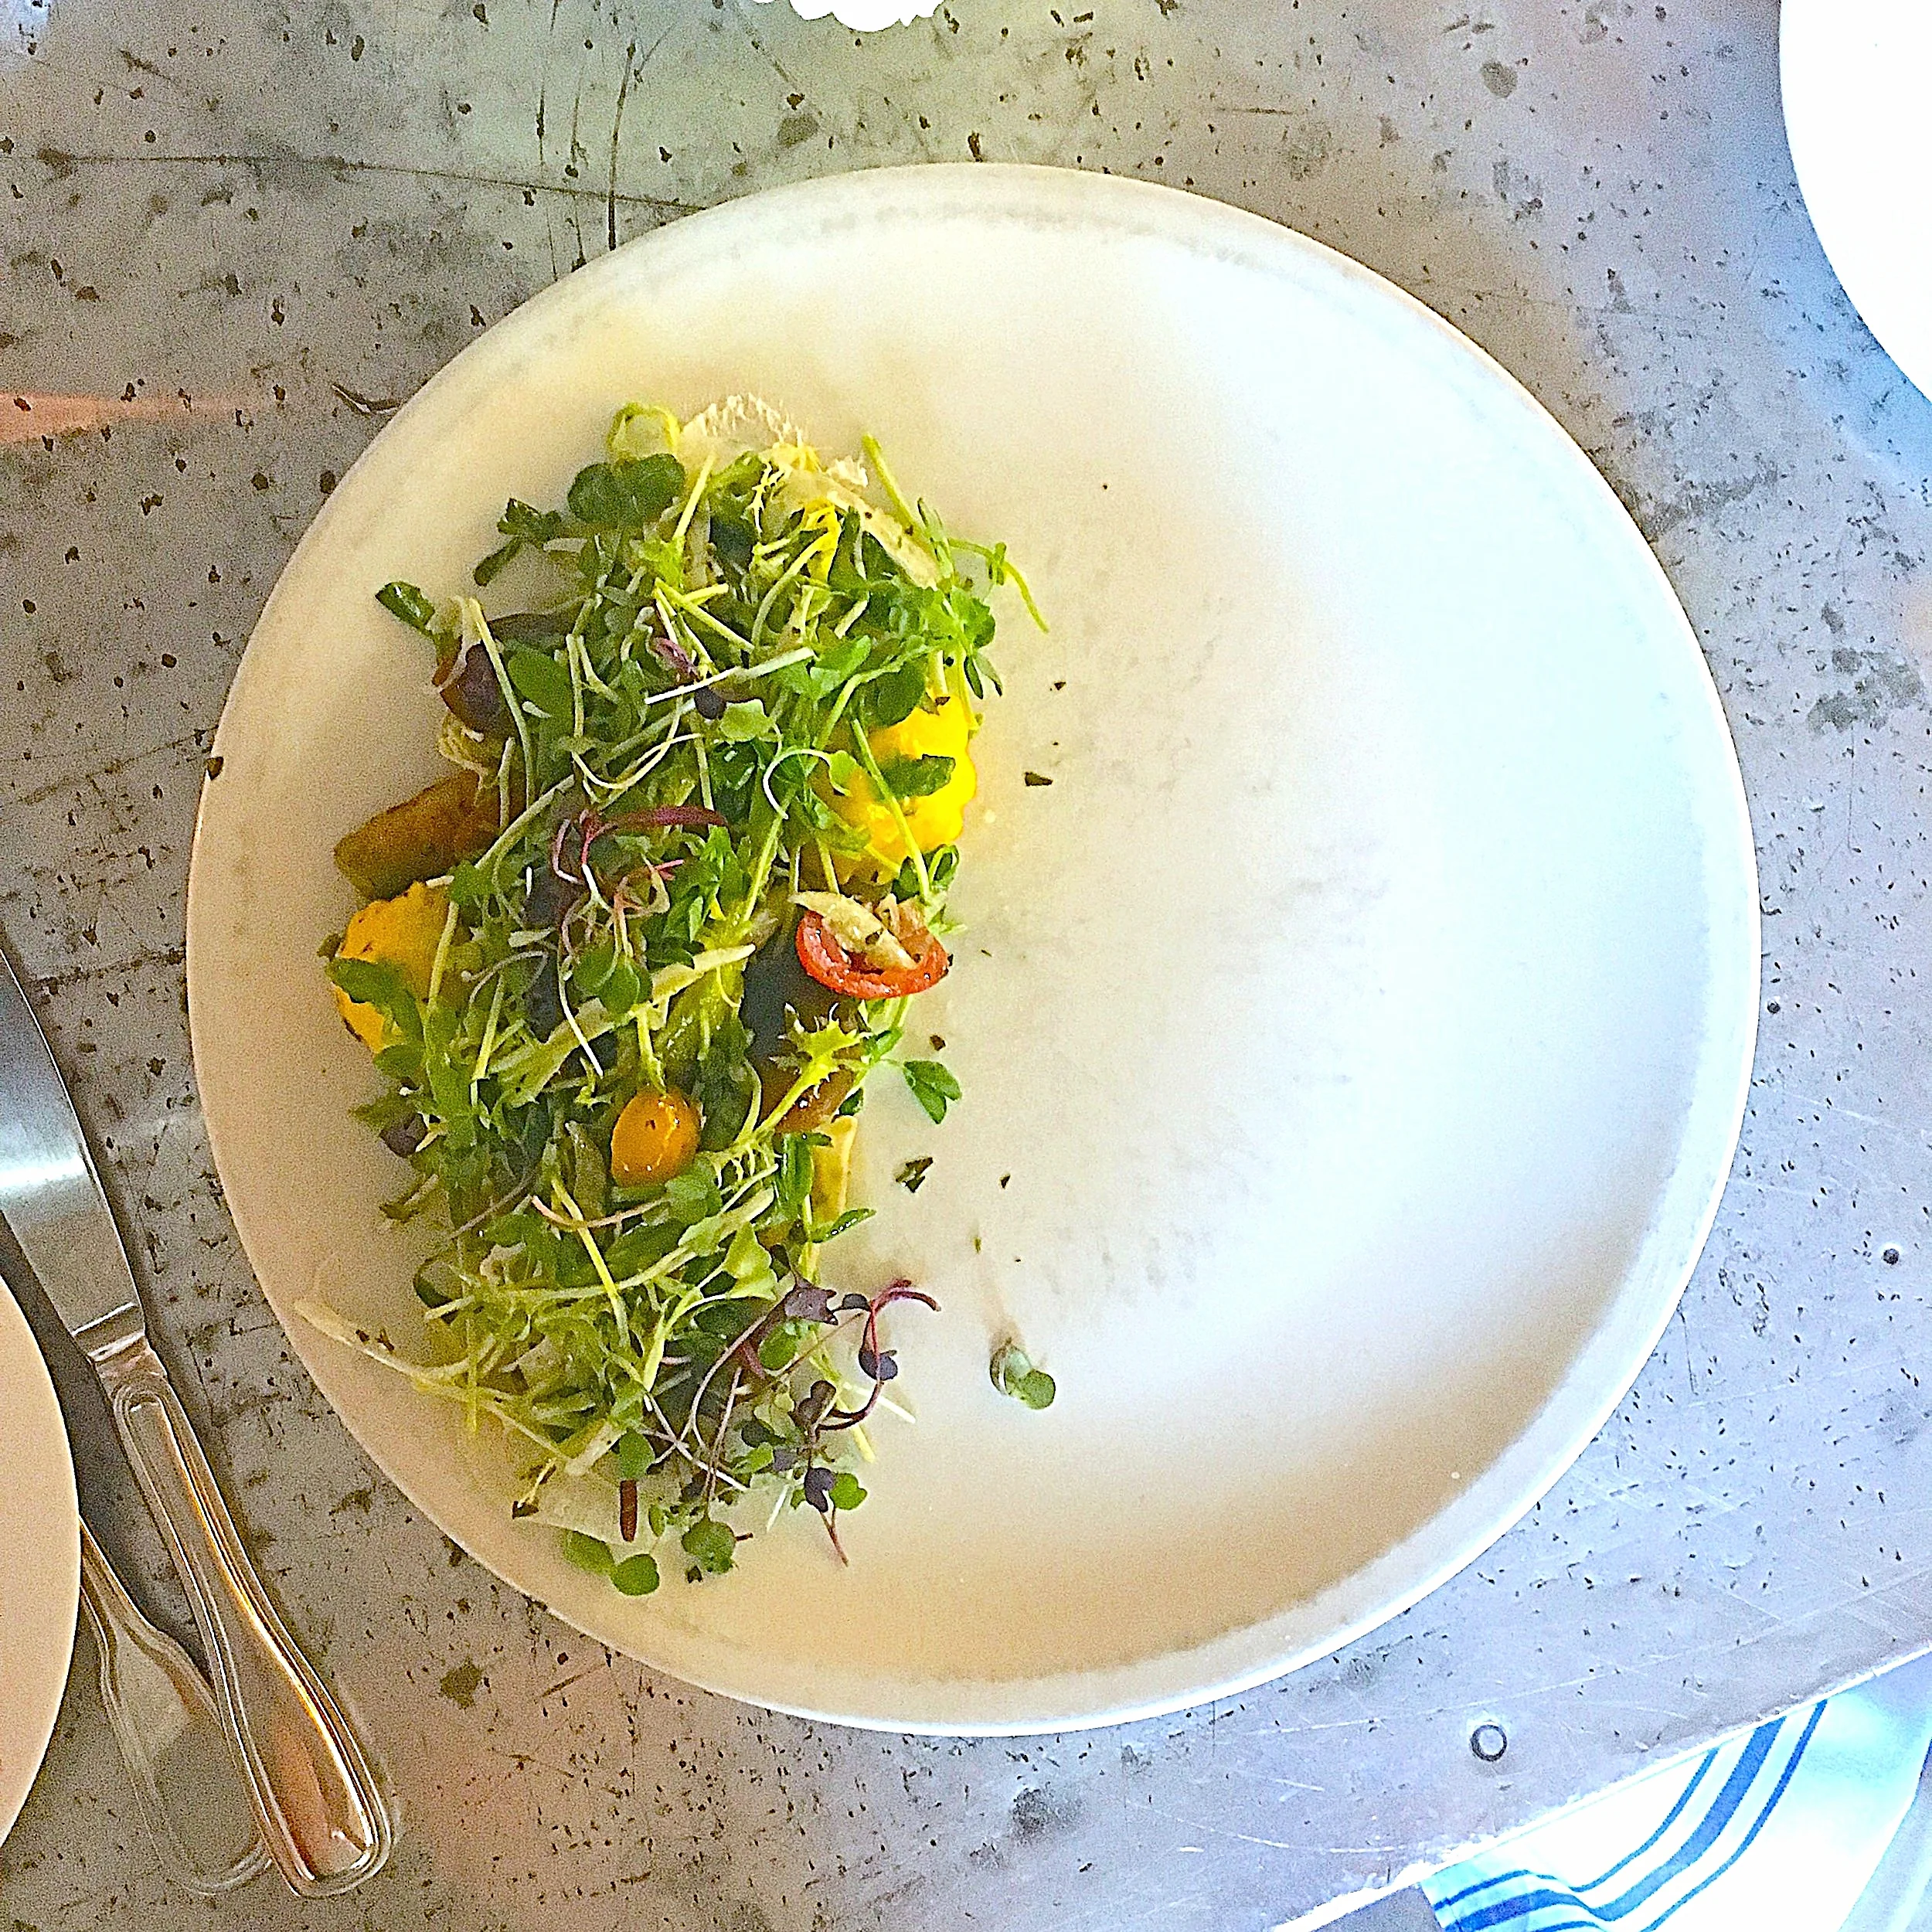
My boys and I got to enjoy a delicious taco feast soon after the grand opening, and we all left completely satisfied- and perhaps a bit too full! If you like a fun beverage, I definitely recommend browsing the cocktail & drinks menu. So many unique offerings (whether you’re in the mood for an alcoholic beverage or not)- from horchata (spiked or kid-friendly) to aguas frescas to an extensive tequila list to refreshing cocktails and more! I can’t resist a negroni, so tried their tequila version, which was super smooth and totally hit the spot. My hubby went the more traditional route, and was also quite pleased with his spicy margarita. Now, on to the food! Do yourself a favor and order the scallop ceviche, plus the lobster en nogada, camarón, and carnitas tacos. The little details (think mexican coke-braised pork, charred pineapple, jalapeño ash, poached lobster tail, morita black bean purée…) really allow the quality and flavors to shine through. So delish! You can totally taste the difference in the house-made corn tortillas too. And of course, since no meal of mine is complete without dessert, we had to indulge in the Mexican chocolate churros and the tres leches flan. My son & I couldn’t get enough of the chocolate dipping sauce. Heaven! Feel free to click through the photos for more details on each dish, and next time you’re in the Palisades, be sure to swing by Qué Padre for a taco.


brown butter peanut butter pretzel rice krispie treats

brown butter peanut butter pretzel rice krispie treats

I love a sweet and salty treat- it’s such an addicting and comforting combo for me. I can’t help but reach for more! Add in a delicious, childhood goodie like rice krispie treats, and you’ve got yourself quite the tasty (yet easy!) dessert! I’d been craving rice krispie treats lately, and while there’s nothing wrong with the tried and true classic, I wanted to shake things up a bit. Since I love adding mix-ins to my baked goods, I figured I’d toss in some creamy peanut butter and crunchy pretzels to take these to the next level. Plus, I browned my butter before adding the marshmallows to the pot, which really kicks things up a notch. That nutty, caramel flavor from the brown butter is just oh so good in these rice krispie treats. Feel free to swap out a different nut butter if you’re not into peanuts, or use gluten free pretzels if you need. I kept things classic in this case, and I must say- they’re super delish! The peanut butter glaze is just a lil extra somethin’ somethin’ on top. Totally not necessary, but a welcome addition for sure :) A few lil tips and tricks to pass along to make these extra tasty: 1) Instead of melting all the marshmallows into the browned butter, save 1-2 cups to mix in at the end with the cereal. This ensures you get ooey gooey pockets of marshmallow goodness in your finished product! 2) Use your empty butter wrapers or a greased spatula when spreading the treats into the pan, to prevent them sticking to everything! 3) Be careful not to pack down the rice krispie treats too hard in the pan! Just a gentle press, otherwise you’ll end up with thin, hard treats, and no one wants that! I hope you enjoy :)

Brown Butter Peanut Butter Pretzel Rice Krispie Treats:

Peanut Butter Glaze:

Line a 9×13 inch baking pan with parchment paper & grease with butter or cooking spray. Melt the butter over medium heat in a very large pot. Once melted, continue cooking for a few more minutes, constantly stirring. Mixture will bubble and foam, and you’ll know it’s browned when it’s a golden color and smells nutty. Careful not to burn it! Add all but 1 cup of marshmallows, and stir until completely melted.

Remove from heat, then immediately stir in the peanut butter, vanilla extract and salt. Lastly, fold in the Rice Krispies cereal, crushed pretzels, and remaining marshmallows. Make sure everything is evenly coated in the peanut butter marshmallow mixture. 

Transfer mixture to prepared pan. Using a rubber spatula (or the butter wrappers), gently spread mixture to fit the pan, careful not pack it down too hard. Allow treats to set for at least 1 hour at room temperature before slicing. Make the glaze in the meantime, if using. Whisk all ingredients together until smooth. You may warm the peanut butter first if need be to get it to a runnier consistency. Lift the rice krispie treats out of the pan using the parchment paper, drizzle the glaze on top, and cut into squares. Enjoy! These are best the day they’re made, but will stay fresh in an airtight container at room temperature for a few days. 

brown butter peanut butter pretzel rice krispie treats

sugarfish by sushi nozawa

Sugarfish by Sushi Nozawa had been on my must-visit list for a while now. This Los Angeles-based hotspot gets rave reviews from practically everyone for serving super fresh, high-quality sushi, sashimi, and hand rolls. More recently,  they've even opened a New York location as well. Sugarfish is known for its authentic and traditional Tokyo-style sushi, while working hard to combine old school values with new school vision. This means the best fish every morning, the rice is served warm, and the seaweed is a bit crisp, making for the swooniest sushi-eating experience of my life! You won't find any "American style" extravagant rolls or fusion dishes here, but rather pure, basic ingredients prepared in the best way.

The menu is quite small and to the point, and while you can choose to order a la carte, I highly recommend one of their Japanese omakase options. My "Trust Me" included a wonderful sampling of the freshest fish, including edamame, tuna sashimi, albacore, salmon, yellowtail, snapper, and scallop sushi, plus toro and blue crab hand rolls! Nozawa even makes his own soy and ponzu sauces, which are the perfect complement to the simplicity of the fish. Sugarfish's traditional vibe may not be for everyone (no extra sauce, salt, or rice is given; no avocado, brown rice, or soy paper available etc.), however, I definitely urge you to try it out for the experience alone! With multiple locations in Los Angeles, I'm already planning a return visit soon!


black rice & winter vegetable salad

I know the majority of recipes I post here are sweets, but I promise I do actually eat healthy things too! A lot of them, to be honest! While my husband is obviously the better chef in the family, I love to cook as well, just on a much simpler scale. My go-to savory dishes are easy and nutritious, and I typically prepare a lot of the components ahead of time, and make extra, so that I can just throw everything into a bowl and dig in! These bowls usually involve seasonal vegetables (roasted, shaved, etc.), whole grains of some sort (homemade bread or quinoa), a protein (likely chicken or legumes), and a good dressing (tahini or avocado-based). Various textural components, like nuts or sees, add a nice crunch as well. This one was being served as a side dish to meat and other dishes, so I kept this vegan and gluten free! There are a million ways to mix it up, so feel free to use whatever tastes good and is available to you!

Black Rice & Roasted Winter Vegetable Salad:

  • 2 cups black rice, rinsed
  • 2 bay leaves 
  • 4 sprigs thyme, separated
  • 1/4 cup chives, chopped
  • 2 sweet potatoes, cubed
  • 3 cups Brussels Sprouts, rooted & halved
  • 1 celery root, peeled & cubed
  • 1/4 cup extra virgin olive oil
  • 1 tsp ground cumin
  • 1 tsp ground paprika
  • salt & pepper, to taste
  • 1 red bell pepper, diced
  • 1/2 cup pumpkin seeds, toasted
  • 1 blood orange, segmented

Dressing:

  • 1/2 cup tahini
  • 1/4 cup apple cider vinegar
  • 1 tsp Sriracha
  • 1 tsp honey (or agave syrup)
  • 1 tsp blood orange zest
  • salt & pepper, to taste

Topping:

  • 2 tbsp pumpkin seeds, toasted
  • 1 blood orange, segmented
  • 2 tbsp chives, chopped
  • 1/2 cup micro-greens

Preheat oven to 450 F. Cook rice according to package instructions, seasoning the cooking liquid with salt, pepper, bay leaves and 2 sprigs thyme, until just al dente. Remove bay leaves and thyme stems. Spread out on sheet tray to cool completely, topping with chives and seasoning with salt & pepper to taste.

Drizzle sweet potatoes, 2 cups of Brussels sprouts (reserving one cup), and celery root with olive oil and season with salt, pepper, cumin, paprika, until cooked through, about 20 minutes. Allow to cool. Shave remaining cup of Brussels sprouts on a mandolin, and add to the rice. Add bell pepper, pumpkin seeds, blood orange segments, and the cooled roasted veggies to the rice mixture.

Whisk together all dressing ingredients in a small bowl. Add to rice mixture, and stir to combine. Top with extra pumpkin seeds, blood orange segments, chives, and micro-greens. Enjoy!