healthy nut & seed granola

Granola makes for a delicious breakfast or snack anytime of day, am I right? I’ve been known to enjoy it dry on its own, in a bowl with almond milk or Greek yogurt & fresh fruit, and even sprinkled on top of chia pudding or açaí bowls! And I have to say, it always hits the spot! Although it’s easy to buy granola pre-made, many store-bought versions are loaded with sugar and other unhealthy and unnecessary ingredients. At our house we tend to go through Costco-size bags of grain-free granola at a pretty rapid pace (it’s so addicting), and as I was finishing one off the other day, I decided to make some myself for a change! 

This recipe is super adaptable, so feel free to swap out other nuts and seeds if you prefer, or use what you have on hand. But do make sure to use plenty of them since they are the star- and super important for that tasty crunch! No one in my household avoids grains, so I did include rolled oats as well, since they make such a good base for granola. If you’d like to keep things gluten free, just make sure your oats are certified GF! My healthy nut & seed granola boasts a pretty impressive nutritional profile thanks to superfoods like chia & flax seeds, fiber-rich oats, and an extra dose of healthy fats from coconut oil. Plus, it’s lightly sweetened with pure maple syrup, which is much lower on the glycemic index than regular sugar and corn syrup, so it won’t spike your blood sugar! I definitely recommend adding pure vanilla extract and ground cinnamon for some added depth of flavor, but feel free to skip these if you prefer. You can also toss in some dried or freeze dried fruit after baking, if that’s your jam, as well. The options are endless! Homemade granola is so easy y’all- I don’t know why I haven’t done this more often, but I definitely will going forward! Not to mention it leaves your house smelling oh so delicious and fragrant! Enjoy!

Healthy Nut & Seed Granola:

healthy nut & seed granola

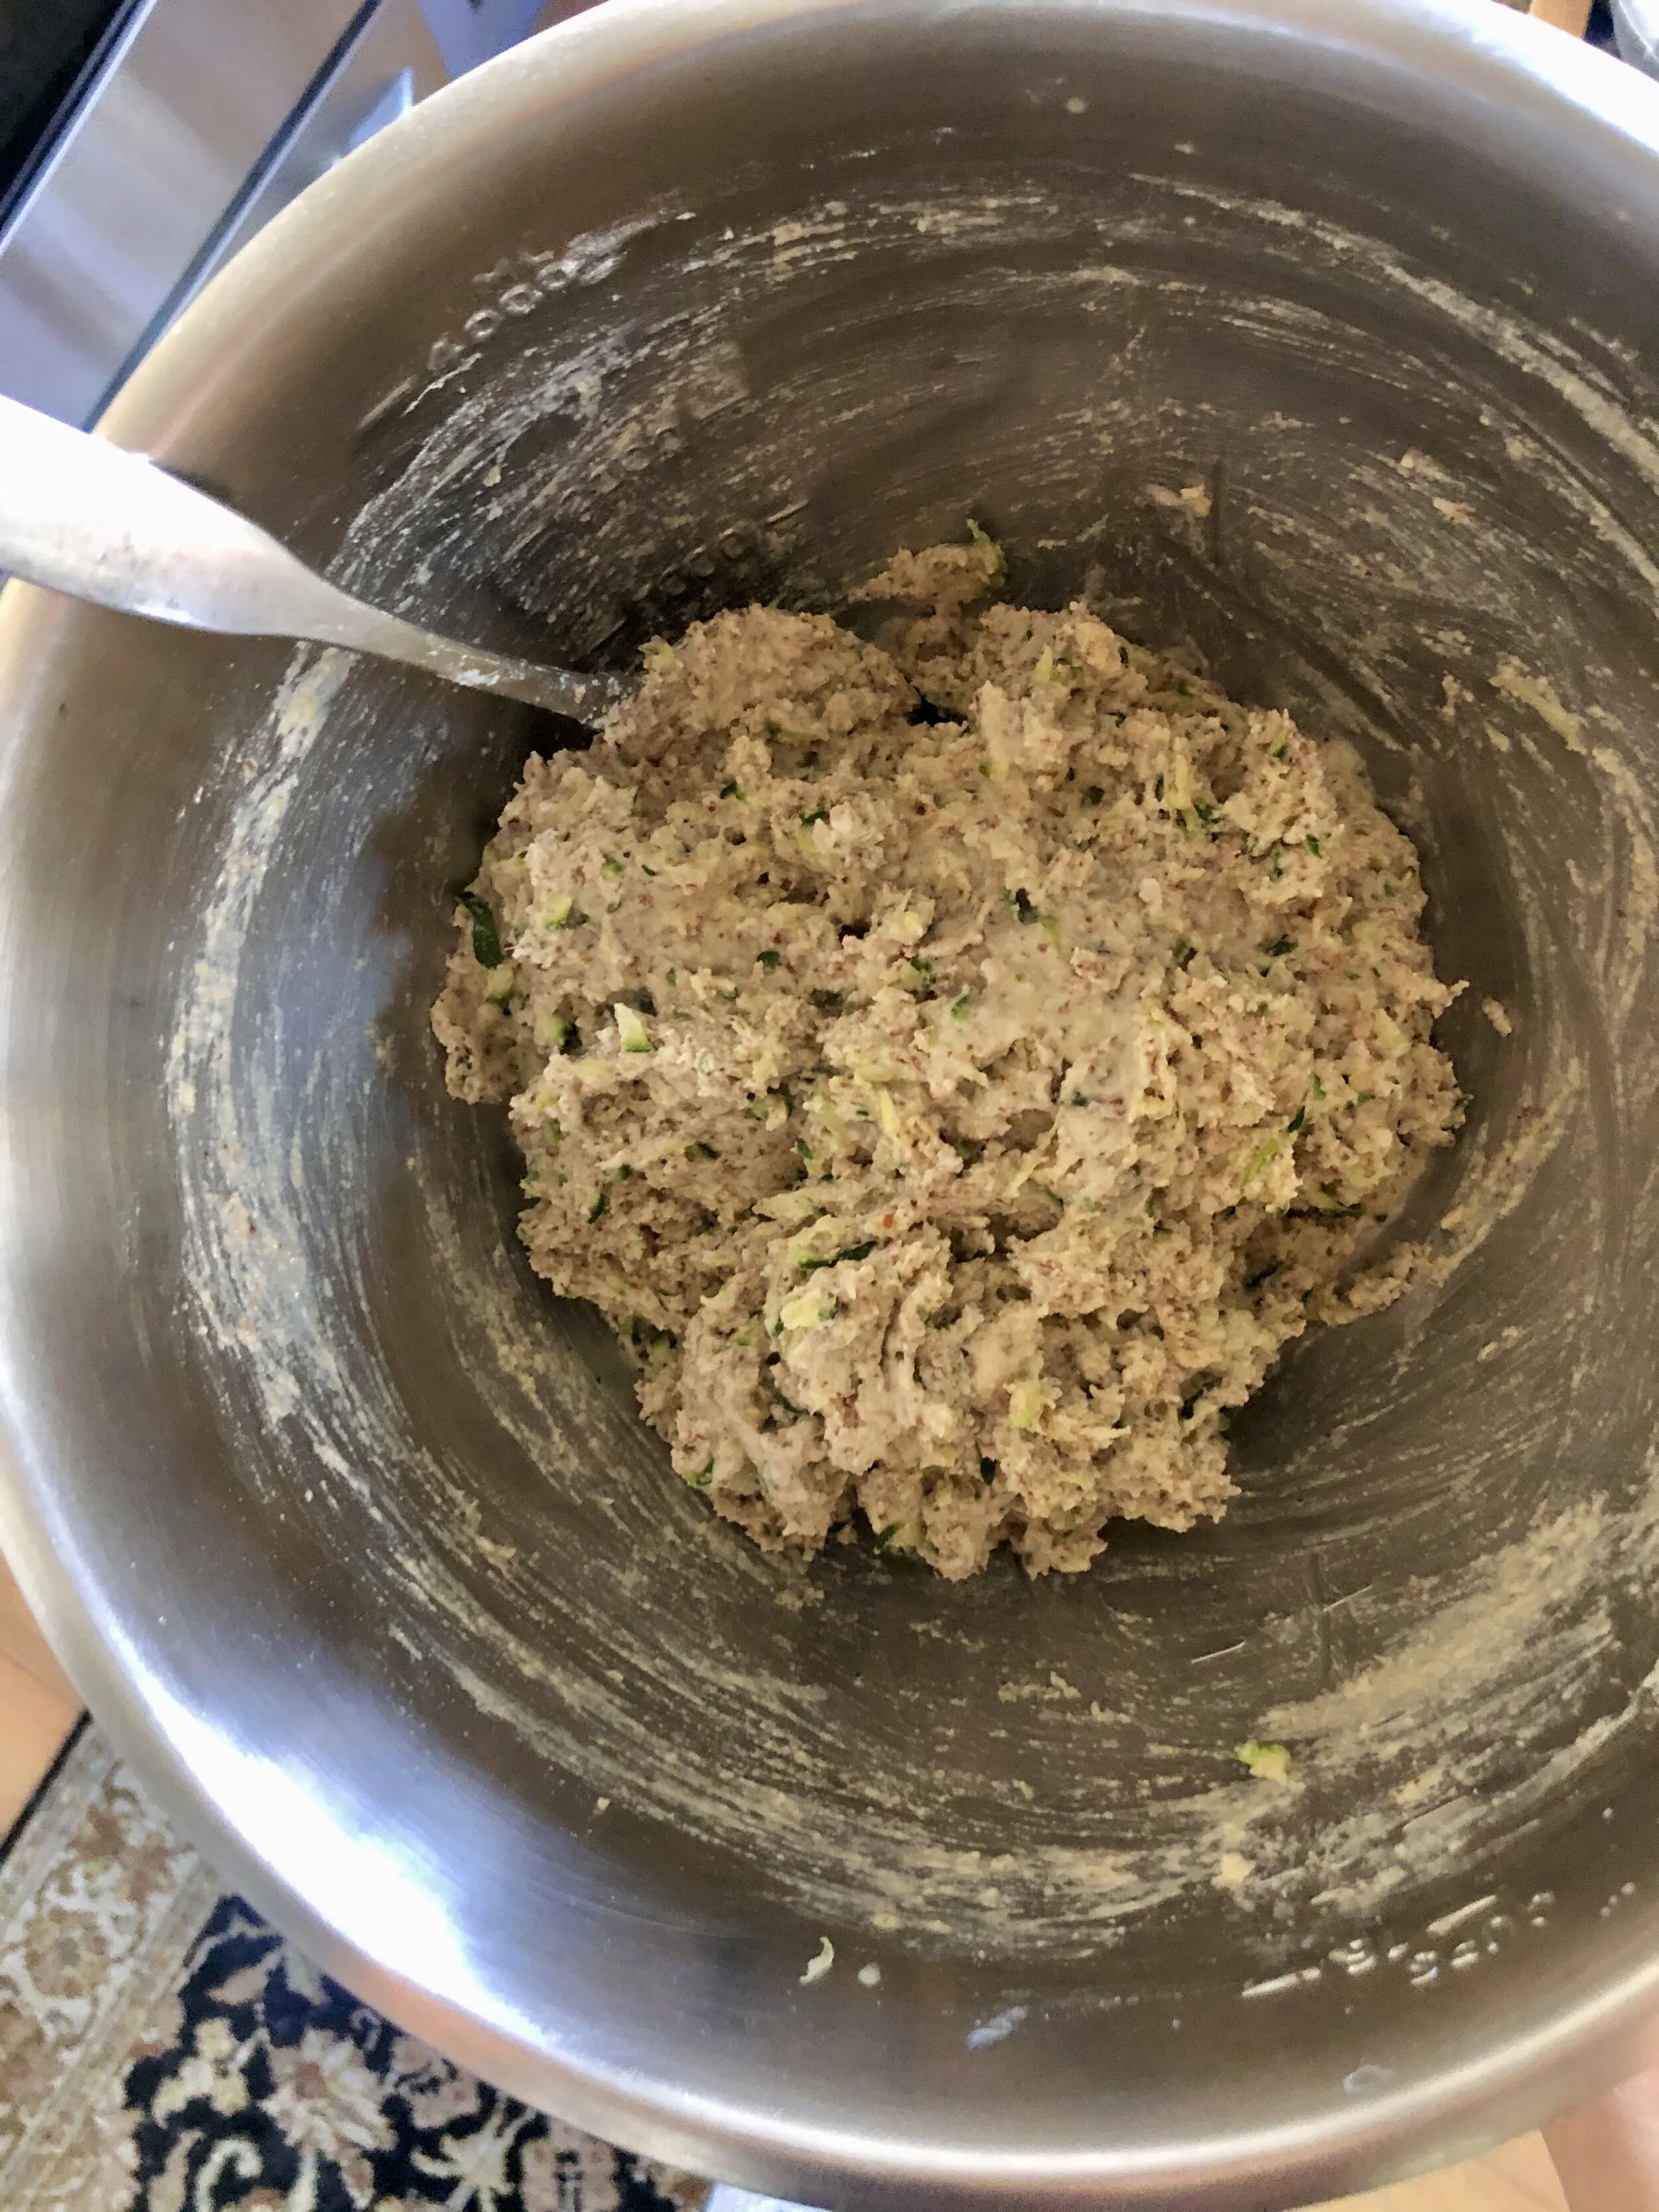
Preheat the oven to 300 degrees F. Line a half sheet pan or large cookie sheet with parchment paper. In a large bowl, stir together oats, nuts, seeds, cinnamon and salt (keep coconut separate for now). Set aside. In a separate bowl, heat the coconut oil and maple syrup until melted. Stir in vanilla extract. Pour over dry ingredients and mix well until oat mixture is completely coated.

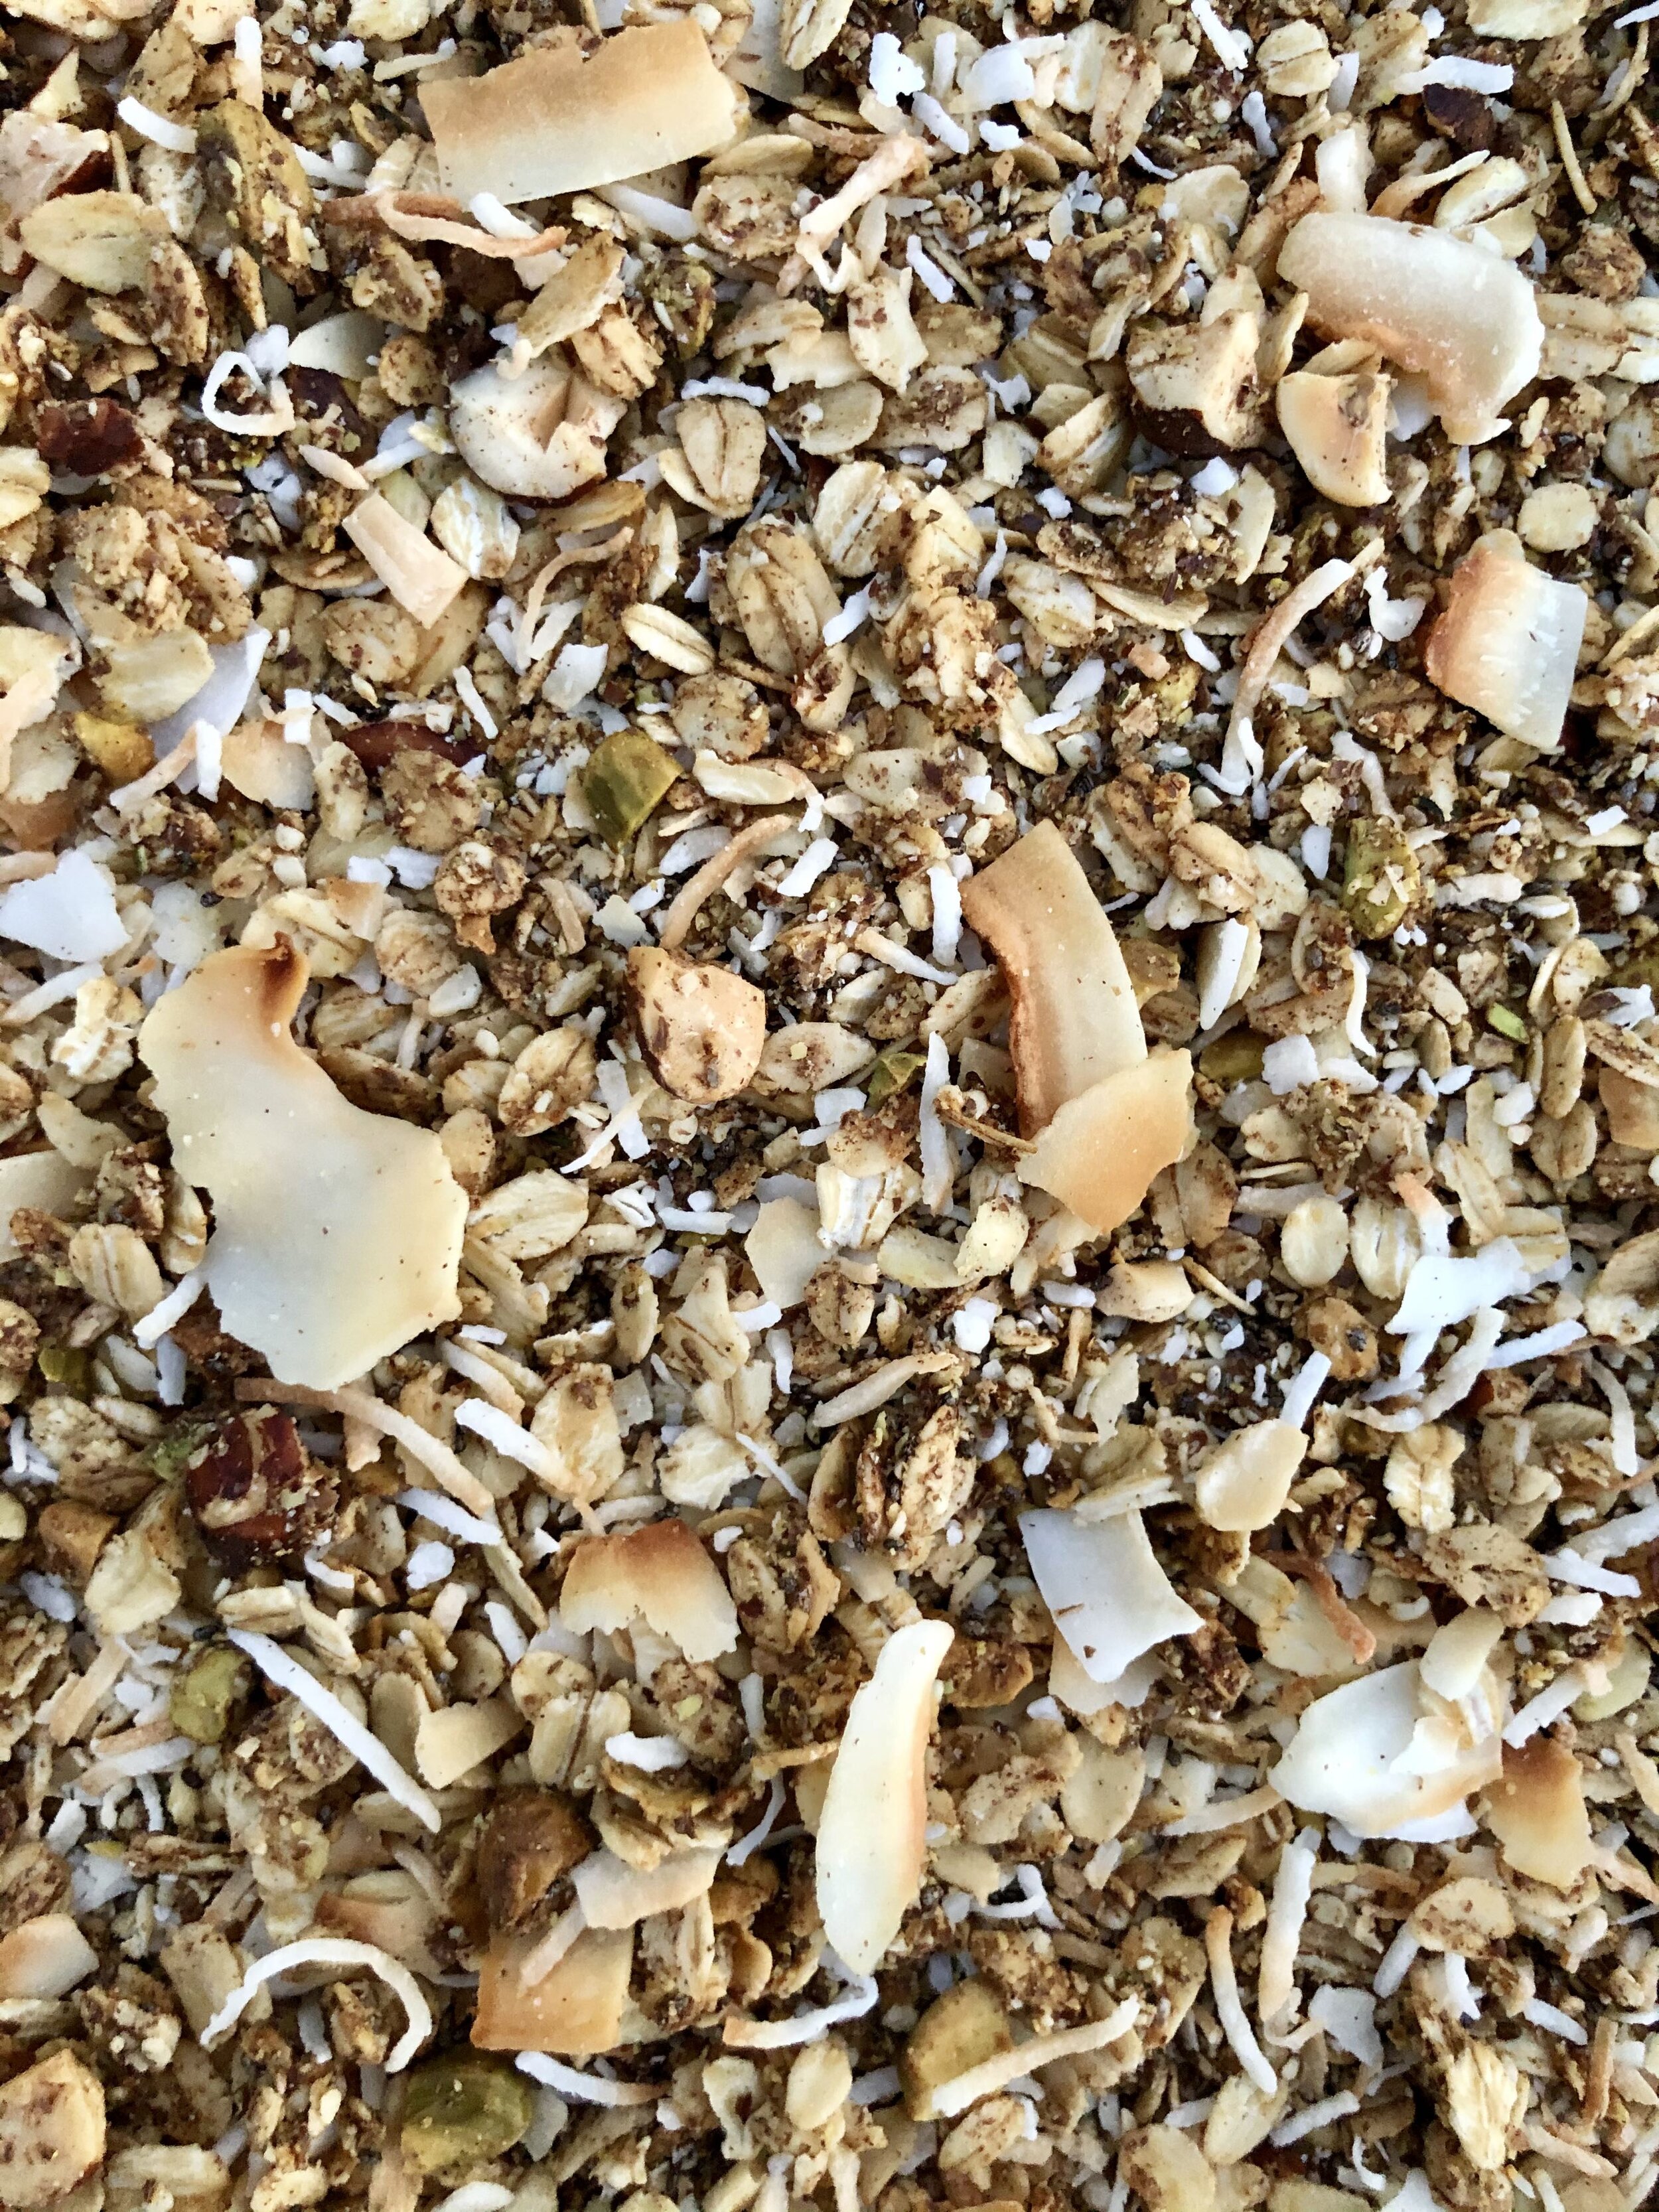
Spread the granola on the baking sheet in an even layer and press down evenly with a spatula. Bake for about 35 minutes, until golden brown. Sprinkle coconut flakes on top, and return to oven for a few more minutes, until just toasted. Granola should be nice and fragrant. Remove from the oven and allow the granola to cool on the baking sheet for 10-15 minutes to set. Feel free to break it into clumps or clusters if you prefer. Transfer to an airtight container or large mason jar.

Useful Tools:


tahini chocolate chip blondies

tahini chocolate chip blondies (gluten free, paleo, refined sugar free)

I’m obsessed with any and all things tahini. I eat it multiple times a day, whether it’s drizzled over roasted veggies and lamb meatballs for dinner or spooned into Medjool dates with chocolate chips for a sweet treat, tahini is the jam. It also makes for a delicious baking ingredient! Its creamy, fatty, smooth texture makes it a wonderful butter, oil, and/or nut butter alternative in many recipes. Plus, tahini and chocolate is such a tasty combo. This recipe uses wholesome, nutrient-dense ingredients, but still tastes oh so rich and decadent. Tahini chocolate chip blondies that are gluten & grain free, paleo, and refined sugar free as well? Sign me up!

Tahini Chocolate Chip Blondies:

Preheat oven to 350 degrees Fahrenheit. Line an 8x8 inch square baking pan (double recipe for 13x9 inch pan) with parchment paper and grease with coconut oil or nonstick cooking spray. In a large bowl or base of a stand mixer, whisk together eggs, maple syrup, tahini, and vanilla extract until smooth. In a separate bowl, mix together almond flour, coconut flour, baking soda and salt. Slowly stir dry ingredients into wet ingredients until just incorporated, careful not to over mix (it will be thick!). Fold in the chocolate chips. Add batter to the prepared pan and spread evenly. Bake for about 25-26 minutes until edges are just slightly golden, but center may seem slightly underdone. Check using a cake tester- if it comes out mostly clean, they should be ready. Don’t overbake as grain-free baked goods will continue to set in the pan. Let blondies cool in pan for about five minutes before removing and allowing them to cool completely on a cooling rack. Sprinkle with flakey sea salt and drizzle with tahini, if desired. Cut into bars and enjoy!

*Adapted from Paleo Chocolate Chip Tahini Blondies by Ambitious Kitchen.


ooey gooey pumpkin dream bars

I love baking seasonal desserts. This time of year, warmly spiced baked goods packed with pumpkin really just hit the spot, am I right? And yes- I know it’s now December, but fall weather is still upon us here in Cali, so I’m keeping that fall baking spirit alive! Just like my grain-free vanilla cake with pumpkin cream frosting, this tasty treat goes a bit beyond your regular ol’ pumpkin pie, and adds ingredients like cream cheese, chocolate, and coconut to the mix! Let’s just say it takes things to a whole other level ;) These ooey gooey pumpkin dream bars are reminiscent of those decadent seven layer bars everyone loves, but with a festive twist! A buttery graham cracker crust, layered with a rich, cinnamon-spiced pumpkin cheesecake filling, and topped with a generous amount of chocolate chips and toasted coconut? Yes please! Crumbly graham crackers, creamy pumpkin, and melty chocolate are quite the addicting combo, if I do say so myself. 

Pumpkin butter is easy to find in stores these days, but it’s also easy to make if you have an extra can of pumpkin purée lying around. Some toasted nuts would be great in these as well- perhaps crushed up into the crust or sprinkled on top? Pumpkin dream bars are delish served warm or cold, topped with ice cream of course! Happy baking, y’all :)

Ooey Gooey Pumpkin Dream Bars:

Preheat the oven to 350 degrees F. Line a 9x13 inch baking dish with parchment paper and grease with nonstick spray. Pulverize graham crackers in a food processor, or crush in a bag with a rolling pin, until you have a fine crumb mixture. In a large bowl, stir together the graham cracker crumbs and melted butter until well combined. Press the mixture into the bottom of the baking dish to create a crust, using the back of a measuring cup to flatten if needed.

In the base of a stand mixer fitted with a whisk (or use a handheld mixer), add the cream cheese and beat until creamy. then beat in the pumpkin butter, pumpkin puree, brown sugar, eggs, vanilla, cinnamon, ginger, nutmeg, and salt. Beat on medium speed until creamy and combined and no lumps remain. Pour the mixture on top of the graham crust.

Sprinkle the chocolate chips generously over the top. Bake for about 22-24 minutes, then remove the dish and sprinkle the coconut on top. Bake for another 28-30 minutes, until the coconut is golden, and the center of the bars is still just a bit underdone. If your coconut is toasting too quickly and getting brown, you may cover with foil for the last 10 minutes or so.

Let cool for about 15-20 minutes in the pan, and then use the parchment paper to remove the bars, allowing them to cool completely on a cooling rack before cutting so that they can set. These bake up super well ahead of time, and are equally delicious served warm or cold out of the fridge. Either way, top with ice cream, and extra chocolate chips and coconut. Enjoy!

*Adapted from Pumpkin Gooey Bars by How Sweet Eats.

IMG_5438 2.jpg

grain free vanilla cake with pumpkin cream frosting

I love fall. The weather, the colors, the fashion… The flavors and food! It’s oh so comforting and delicious, and this vanilla cake with pumpkin cream is just that. Pumpkin spice and pumpkin pies are everywhere this time of year, but they can be a bit boring, no? I’m more of a cake than pie person anyway, to be honest… This cake goes a bit beyond your typical pumpkin dessert- moist vanilla cake makes up the base, topped with layers of smooth pumpkin frosting (basically a cream cheese & buttercream hybrid!), and finished with plenty of shredded coconut! Plus, since you can mix up the frosting flavor with whatever fruit you fancy, it’s adaptable for all seasons. Win! This cake is actually grain-free as well, so even those with gluten sensitivities can enjoy a piece. The vanilla really comes through thanks to the use of whole vanilla bean pods, as opposed to just vanilla extract, so don’t skip out if you can get your hands on some! But if you can’t find them, just up the vanilla extract to one tablespoon, and you’ll be fine. It’ll be delicious either way. I think this cake is even better the next day, which is great for all your holiday meals when the kitchen gets busy. Just bake it ahead of time and decorate before serving! I hope you enjoy.

Grain-Free Vanilla Cake:

Pumpkin Cream Frosting:

  • 1/2 cup unsalted butter, room temperature

  • 1/2 cup cream cheese, at room temperature

  • 1/2 cup pumpkin puree

  • 1 tsp pure vanilla extract

  • 1/2 tsp ground cinnamon

  • 1/4 tsp ground ginger

  • 1/4 tsp ground nutmeg

  • pinch of salt

  • 4 cups powdered sugar

  • 1-3 tablespoons milk of choice, if needed

Preheat oven to 350F. Line two 9” round cake pans (or three 6” round cake pans) with parchment paper and grease them with butter or nonstick spray, then set aside. In the bowl of a stand mixer (or hand mixer), whip butter, coconut oil and sugar together on high until smooth, then reduce speed and add eggs, one at a time. Reduce speed to low, and add in milk, vanilla bean seeds, and vanilla extract until well mixed. In a separate mixing bowl, combine almond flour, coconut flour, baking powder and sea salt. Use a spatula or fork to get rid of any large lumps. Slowly add flour mixture into wet ingredients in small batches with mixer on low speed until fully incorporated. Careful not to over-mix (it will be thick)! Divide batter into cakes pans, spreading evenly with a spatula. I like to bang the cake pans a couple times on the counter to remove any air bubbles. Bake cakes for about 38-40 minutes, or until a cake tester comes out clean. Allow them to cool for at least 30 minutes in the pans on a cooling rack before flipping them out onto a the rack to cool completely before frosting.

While the cakes cool, make your buttercream frosting. Place softened butter, cream cheese and pumpkin puree in the bowl of a stand mixer with whisk attachment, and whip until creamy. Add vanilla extract, spices, and salt, mixing until combined. Slowly add the powdered sugar and mix on high for a few minutes, until frosting is light and fluffy. If it’s too thick, add milk 1 tbsp at a time, until it gets to desired consistency. You may make this ahead of time, and store in the fridge for a couple days. Just bring to room temperature and re-whip before frosting. To decorate, use a sharp knife to level off the tops of cakes, if needed, then layer on cake stand (or revolving cake stand) and decorate with frosting, as desired. Top with shredded coconut. Slice and enjoy!

*Adapted from Grain Free Vanilla Cake by Everyday Maven.


classic fudge brownies

There is not much better than a super rich and decadent brownie. I prefer mine with a chewy, fudgy, almost-raw batter consistency as opposed to one that is cake-like, and I’m happy to say these fit the bill perfectly. Use high quality chocolate, like Guittard, Valrhona, or Ghirardelli, if possible. One tip for making sure your brownies get that beautiful, shiny, and crackly top- whisk the sugars into the warm, melted chocolate mixture. This allows the sugar to rise to the top while baking, and creates the perfect crackly top over a deliciously fudgy interior. Also, you’ll notice I use no leavener (baking soda or powder) in this recipe. Most fudgy brownies don’t need it, but if you prefer a slightly airier, cakey brownie, then you can add 1/4 tsp of baking soda. These are a classic staple in my household, and I love whipping up a batch whenever the chocolate craving hits!

Classic Fudge Brownies:

Preheat the oven to 350° F. Line a 9-inch square pan with parchment paper, allowing for extra to come up over the sides. Nonstick spray (or butter) both the pan and the parchment paper.

In a saucepan, melt the butter with both chocolates over low heat, stirring occasionally. Remove from the heat, whisk in both sugars until dissolved and mixture is grainy. Add in eggs, vanilla and coffee (if using), whisking until frothy. Fold in flour, cocoa powder, and salt until just combined. Lastly, add any mix-ins, if desired. 

Pour the batter into the prepared pan and smooth the surface. Sprinkle extra salt over the batter. Bake for about 30 minutes, until the edges are set but the center is still a bit soft. You may test with a cake tester, and be careful not to overbake! Lift the brownies from the pan using the loose ends of parchment paper, and allow to cool completely. Cut the brownies into squares and enjoy! Store in an air-tight container at room temperature or in the refrigerator. Makes 9 large brownies.

*Adapted from Chewy Fudge Brownies by NYT CookingExtra Nutty Dark Chocolate Fudge Brownies by Joy the Baker, and Ultimate Brownies by Handle the Heat.

Useful Tools:

 * This post may contain affiliate links. If you buy something through one of these links, it won’t cost you a penny more, but I’ll earn a small commission. This allows me to continue to generate content for you, and helps keep the site up and running. Thanks for your support! 


healthy zucchini bread

It’s that time of year when zucchini squash are abundant, and I have to say, I’m not mad about it. While it’s common to use zucchini in savory meals like fired up on the grill alongside some meat, or turned into zoodles (aka zucchini noodles), they also make a wonderful baking ingredient! When grated and drained of their moisture, you can add this green veggie to countless baked good without compromising flavor. It’s such a clutch way to sneak in an extra serving of veggies for toddlers, or any picky eater for that matter! There are tons of zucchini bread recipes out there, and just like banana bread, you can make it as healthy or as sinful as you desire. This version is hearty and nutrient-packed, not too sweet, but still super delish thanks to ingredients like banana, flaxseed, almond flour, and (duh) zucchini. You can do a mix of flours like I did, or stick to one, but I find using a combo of both heartier and lighter flours is a nice way to balance things out. I went with a gluten-free version here (paleo if you sub out the brown rice flour as well), but feel free to use whole grain flours if you prefer. I typically do! I should note, since it’s sweetened just with banana, this bread is not overwhelmingly sweet. Make sure to use super ripe bananas, or if you prefer things on the sweeter side, you can opt to add a touch of maple syrup. I find once I add various toppings (fig jam, perhaps?), it’s sufficiently sweet for my tastes. Not to mention the citrus zest (use a microplaner) really adds a nice little kick. Mix-ins are another must in my book- they make for such great texture- so feel free to add in whatever your heart desires. Toasted nuts, raisins, shredded coconut, or even chocolate chips would all be tasty here. I kept things a bit simple this time, as I wanted my one year old to be able to dig in without any choking hazards ;) I’ll take a slice toasted and spread with a generous smear of nut butter, please. Yum!

Healthy Zucchini Bread:

  • 1 cup mashed banana (about 2 medium bananas)

  • 2 cups grated zucchini, excess moisture drained (about 2 medium zucchini)

  • 3 large eggs

  • 1/4 cup melted coconut oil

  • 1 tsp pure vanilla extract

  • 1 tsp citrus zest (orange, lemon, or lime!)

  • 2 cups flour (I did a mix of almond, coconut & brown rice)

  • 1/2 cup ground flaxseed

  • 1 tsp baking powder

  • 1/4 tsp baking soda

  • 1 tsp ground cinnamon

  • 1/4 tsp ground nutmeg

  • 1/4 tsp kosher salt

  • 1/2 cup preferred mix-ins (walnuts, raisins, coconut, chocolate chips etc)

Preheat oven to 350 degree. Line a loaf pan with parchment paper, and add a bit of coconut oil or nonstick spray. In a large bowl whisk together banana, zucchini, eggs, coconut oil, vanilla extract & citrus zest until smooth. In a separate bowl, combine flours, flaxseed, baking powder, baking soda, cinnamon, nutmeg & salt. Then mix dry ingredients into wet until just incorporated. If your batter is super thick, you may thin it out a bit with 1/4-1/2 cup almond milk. Stir in any desired mix-ins. Add batter to loaf pan and bake for 45-55 minutes (or until cake tester comes out clean). Allow the bread to cool a few minutes before removing it from the pan with the ends of the parchment. Place it on a cooling rack to cool completely. Slice and enjoy with your preferred spread- butter, nut butter, or marmalade are all great choices!

*Adapted from The Best Paleo Zucchini Bread by RachL Mansfield.