brown butter peanut butter pretzel rice krispie treats

brown butter peanut butter pretzel rice krispie treats

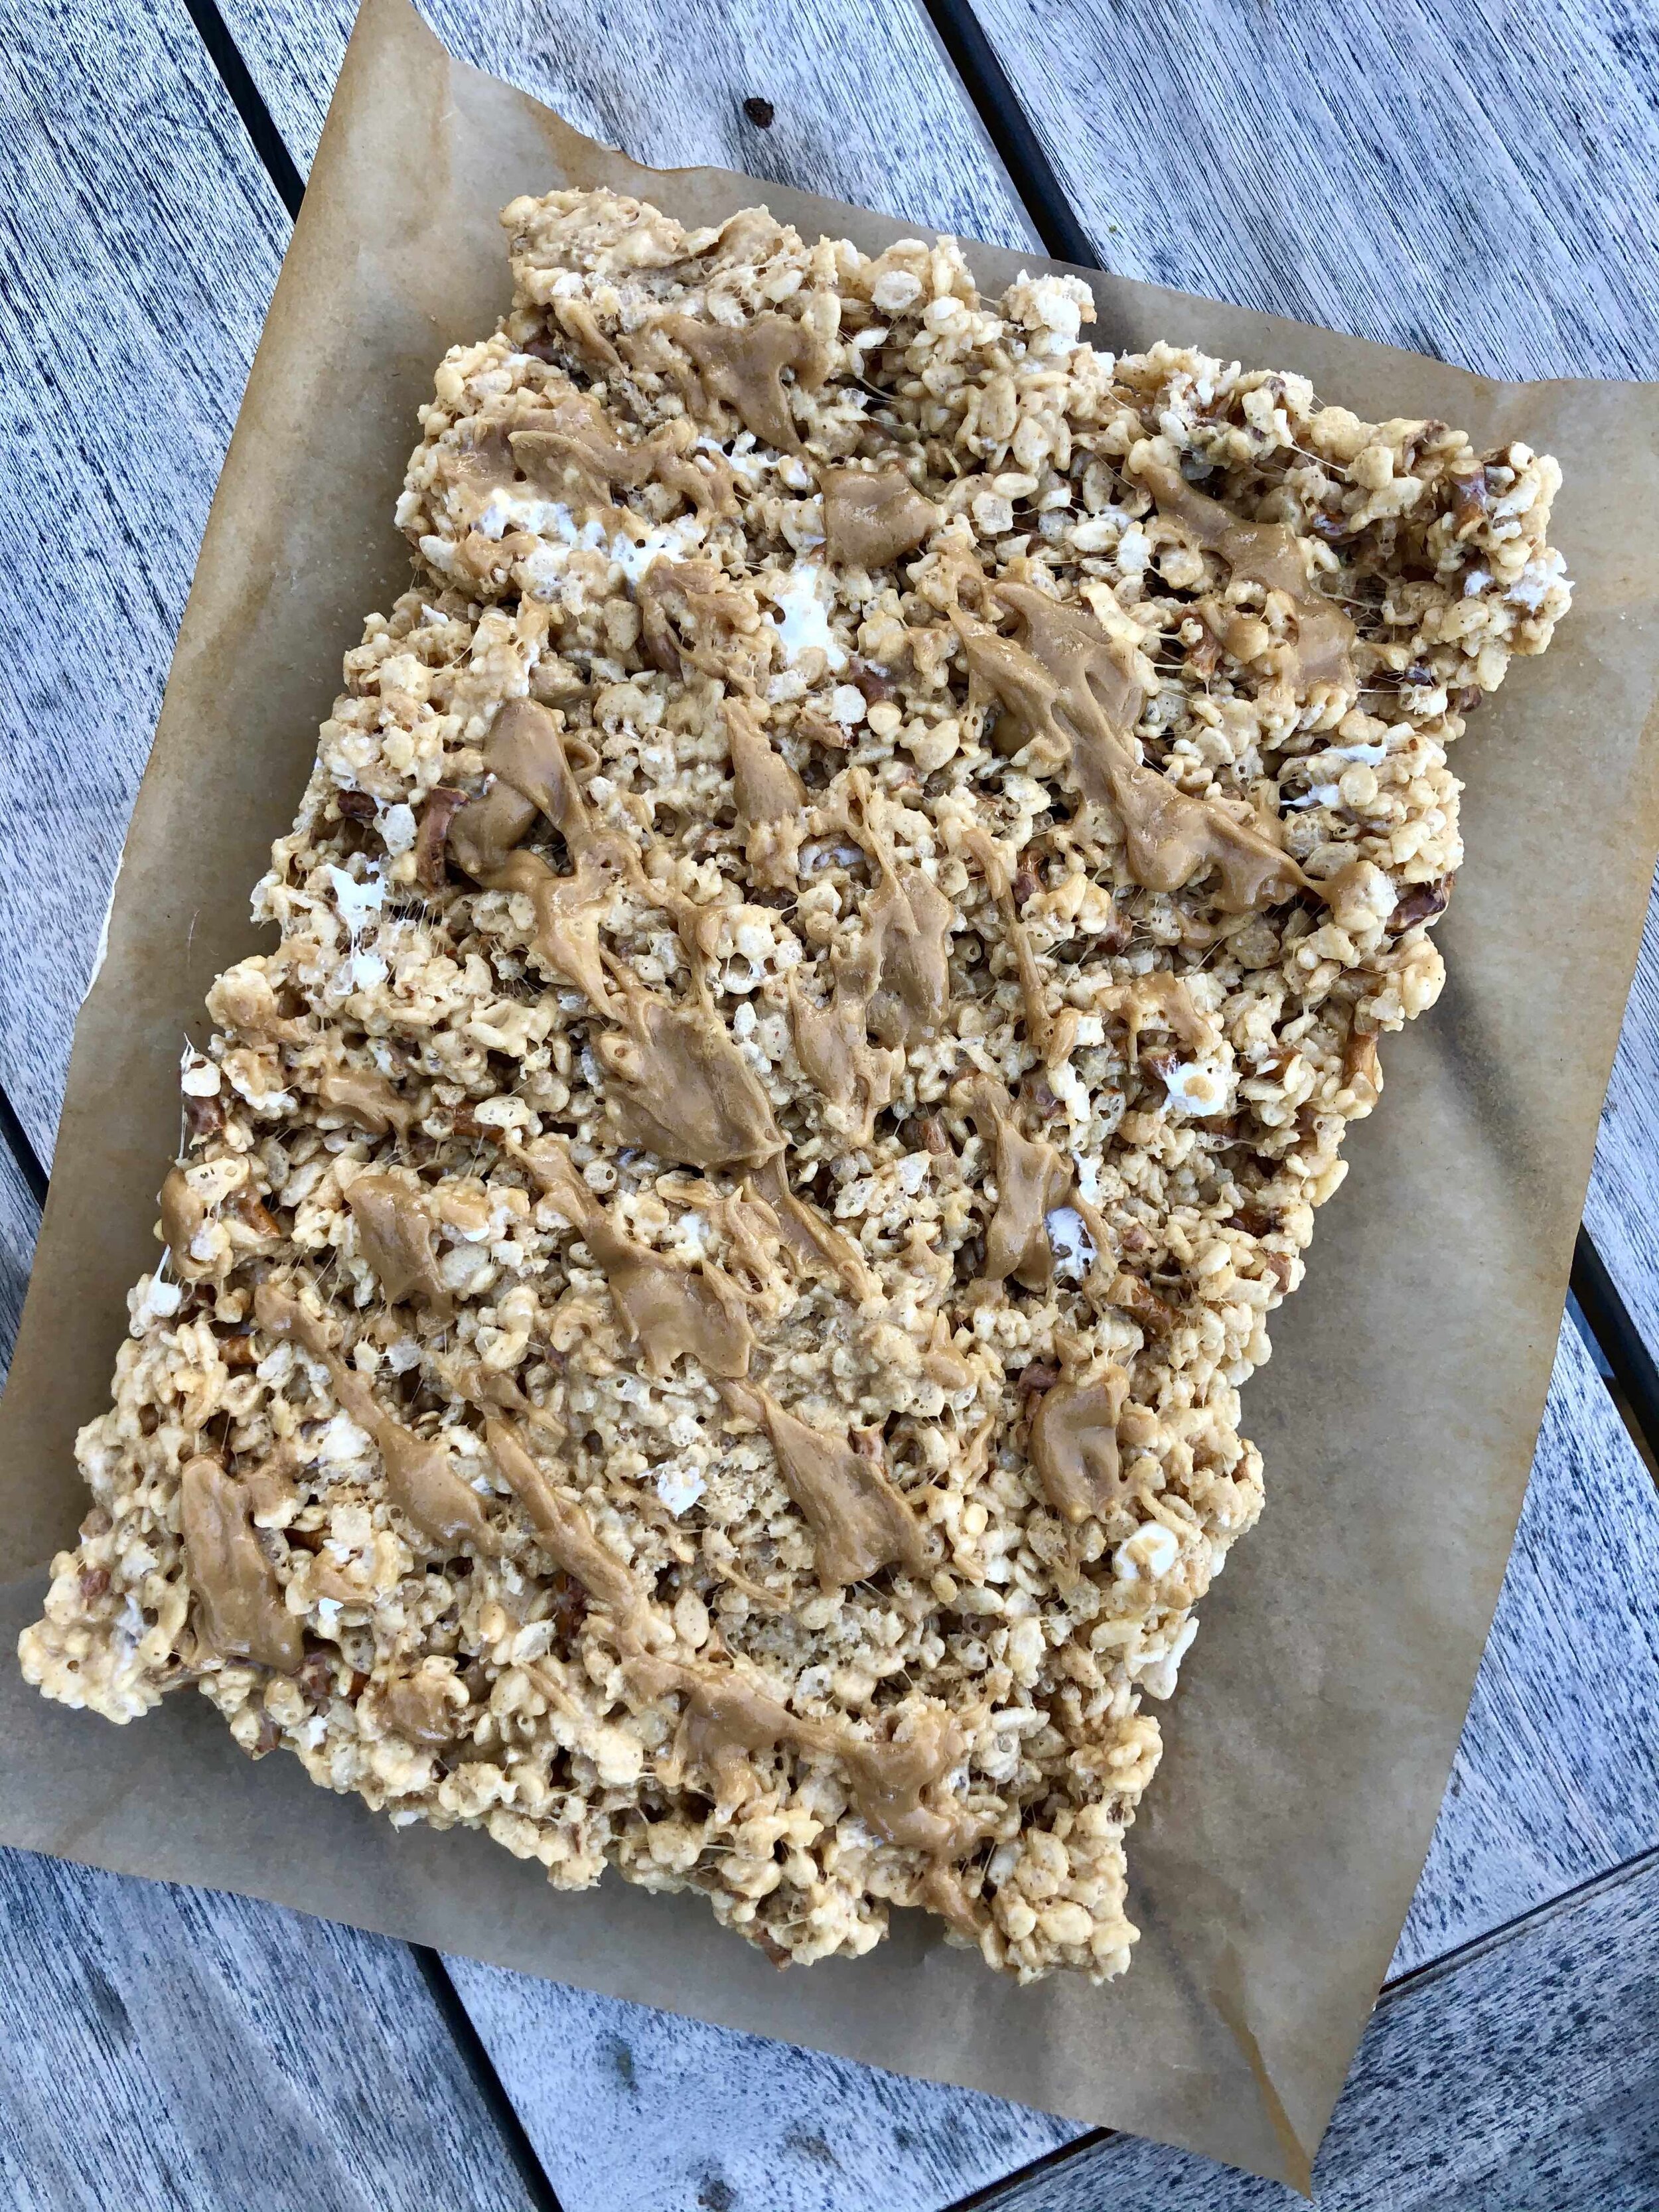
I love a sweet and salty treat- it’s such an addicting and comforting combo for me. I can’t help but reach for more! Add in a delicious, childhood goodie like rice krispie treats, and you’ve got yourself quite the tasty (yet easy!) dessert! I’d been craving rice krispie treats lately, and while there’s nothing wrong with the tried and true classic, I wanted to shake things up a bit. Since I love adding mix-ins to my baked goods, I figured I’d toss in some creamy peanut butter and crunchy pretzels to take these to the next level. Plus, I browned my butter before adding the marshmallows to the pot, which really kicks things up a notch. That nutty, caramel flavor from the brown butter is just oh so good in these rice krispie treats. Feel free to swap out a different nut butter if you’re not into peanuts, or use gluten free pretzels if you need. I kept things classic in this case, and I must say- they’re super delish! The peanut butter glaze is just a lil extra somethin’ somethin’ on top. Totally not necessary, but a welcome addition for sure :) A few lil tips and tricks to pass along to make these extra tasty: 1) Instead of melting all the marshmallows into the browned butter, save 1-2 cups to mix in at the end with the cereal. This ensures you get ooey gooey pockets of marshmallow goodness in your finished product! 2) Use your empty butter wrapers or a greased spatula when spreading the treats into the pan, to prevent them sticking to everything! 3) Be careful not to pack down the rice krispie treats too hard in the pan! Just a gentle press, otherwise you’ll end up with thin, hard treats, and no one wants that! I hope you enjoy :)

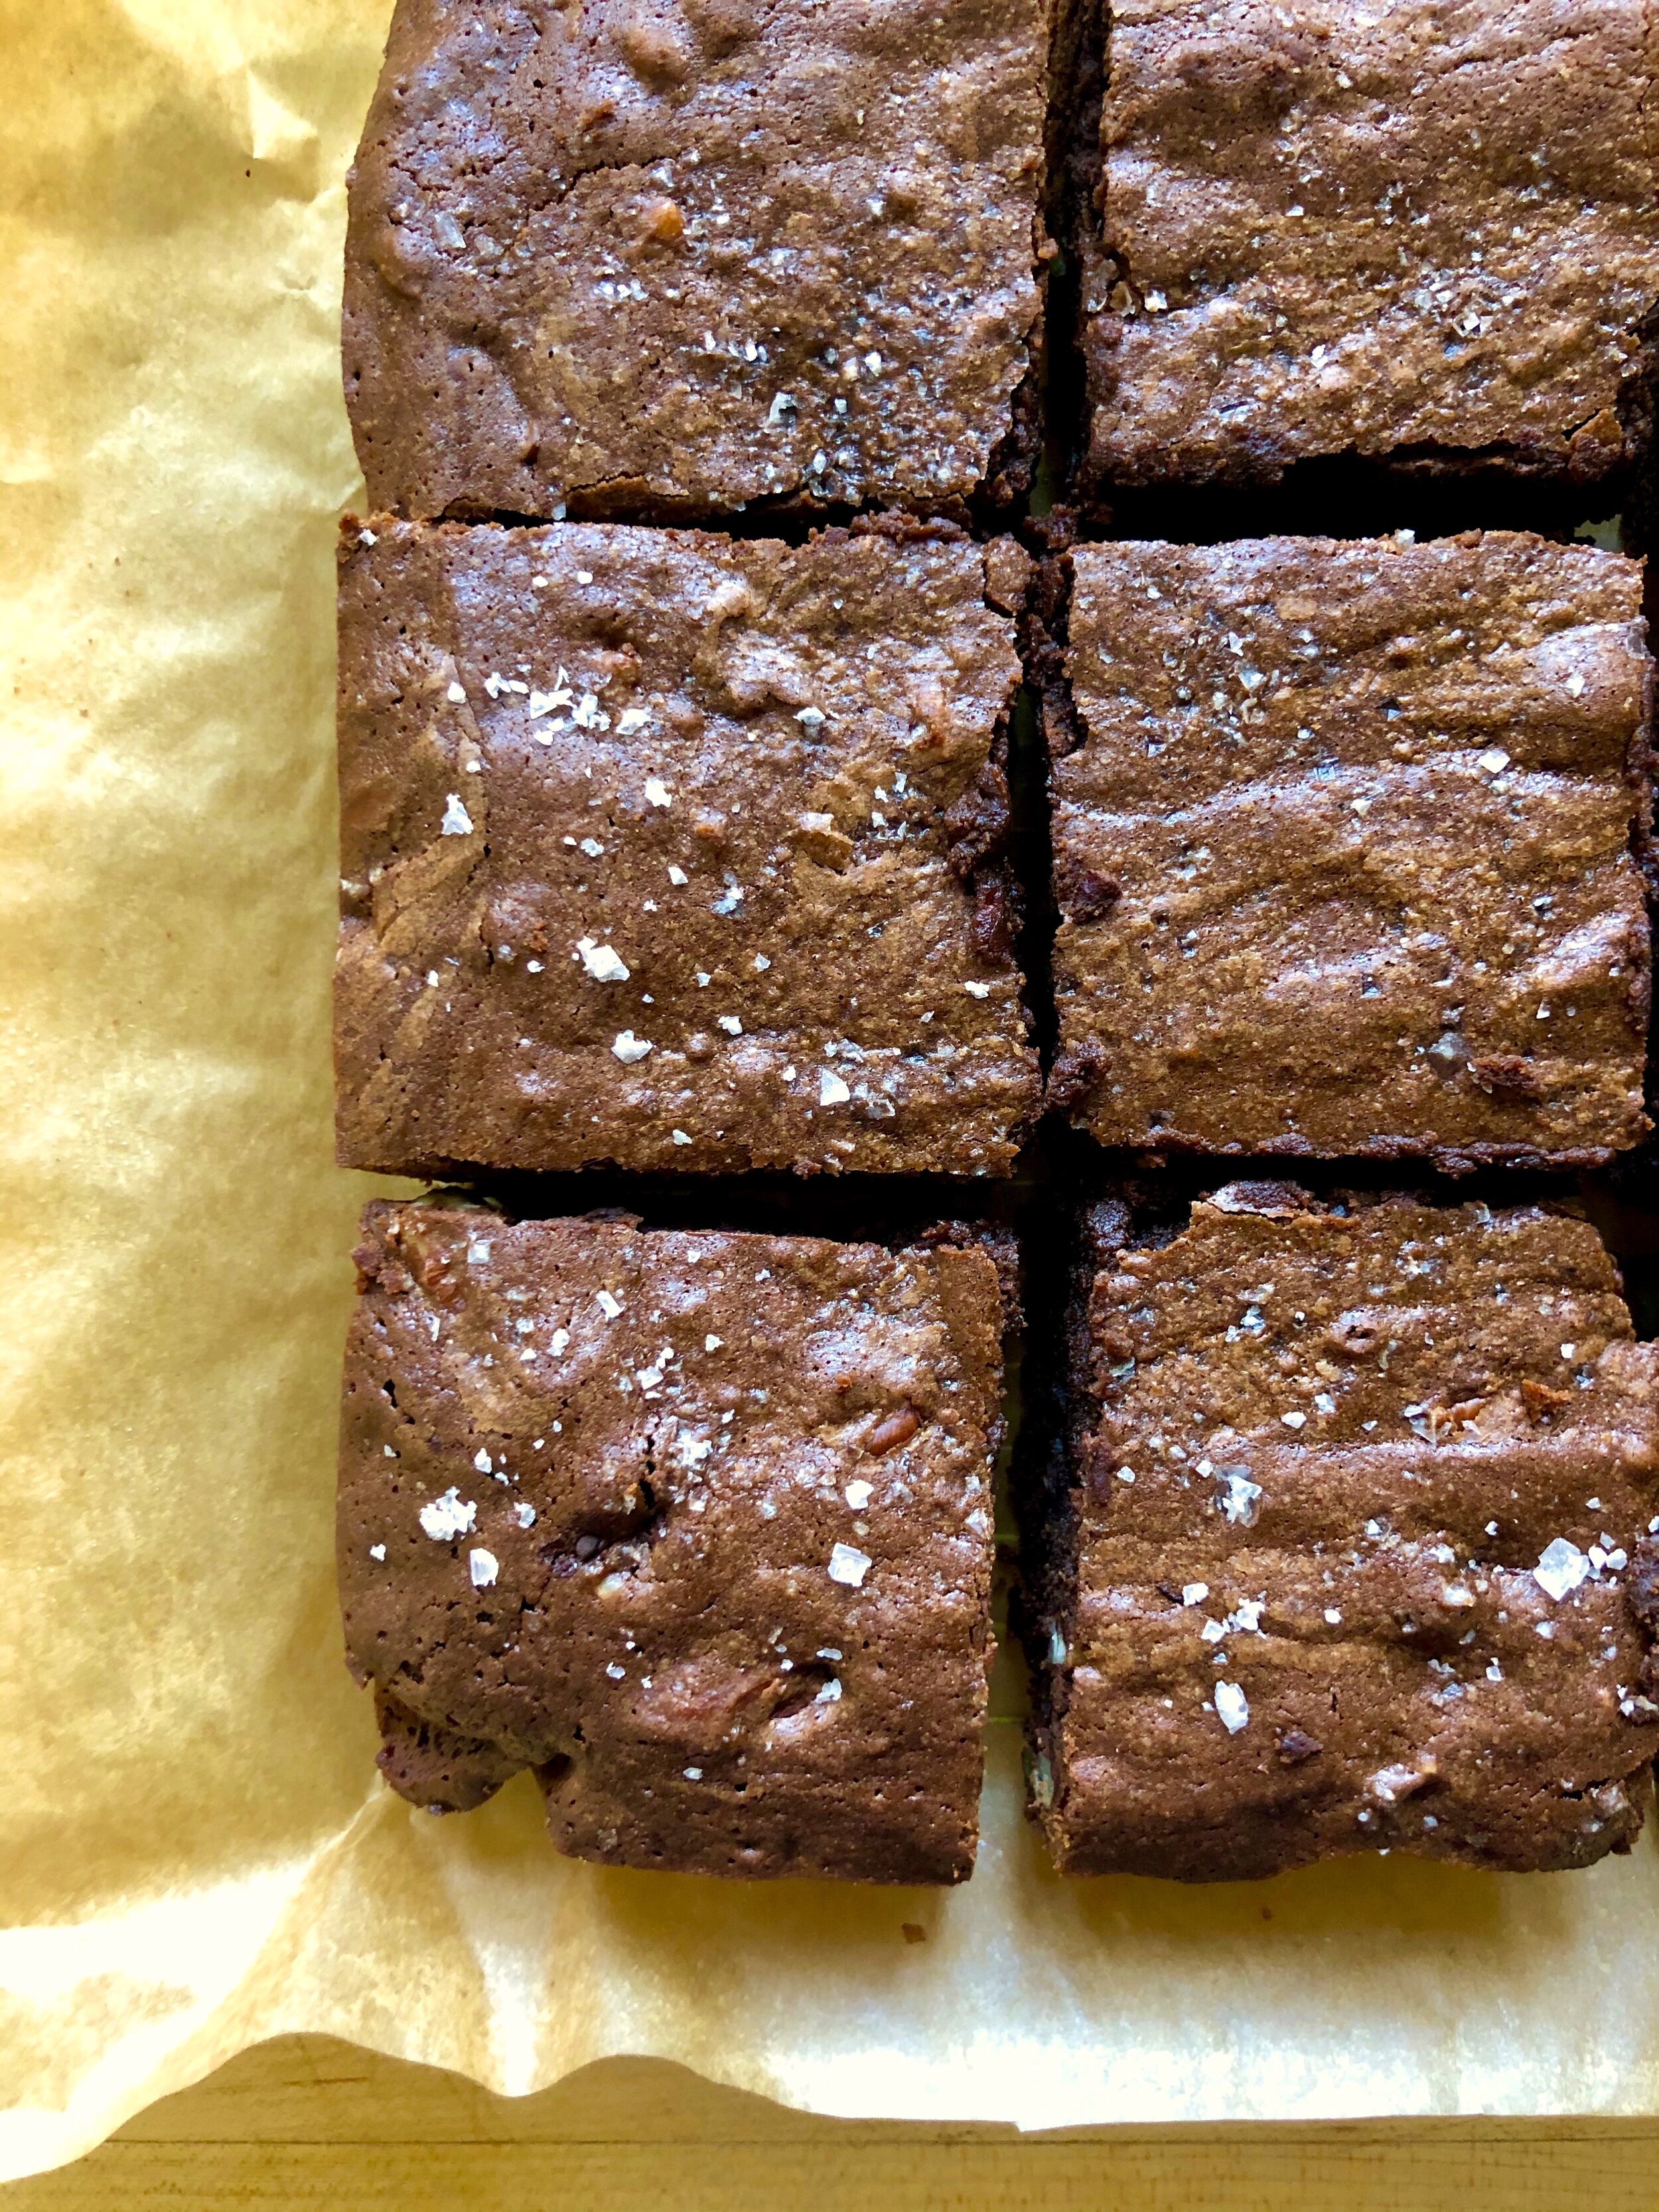
Brown Butter Peanut Butter Pretzel Rice Krispie Treats:

Peanut Butter Glaze:

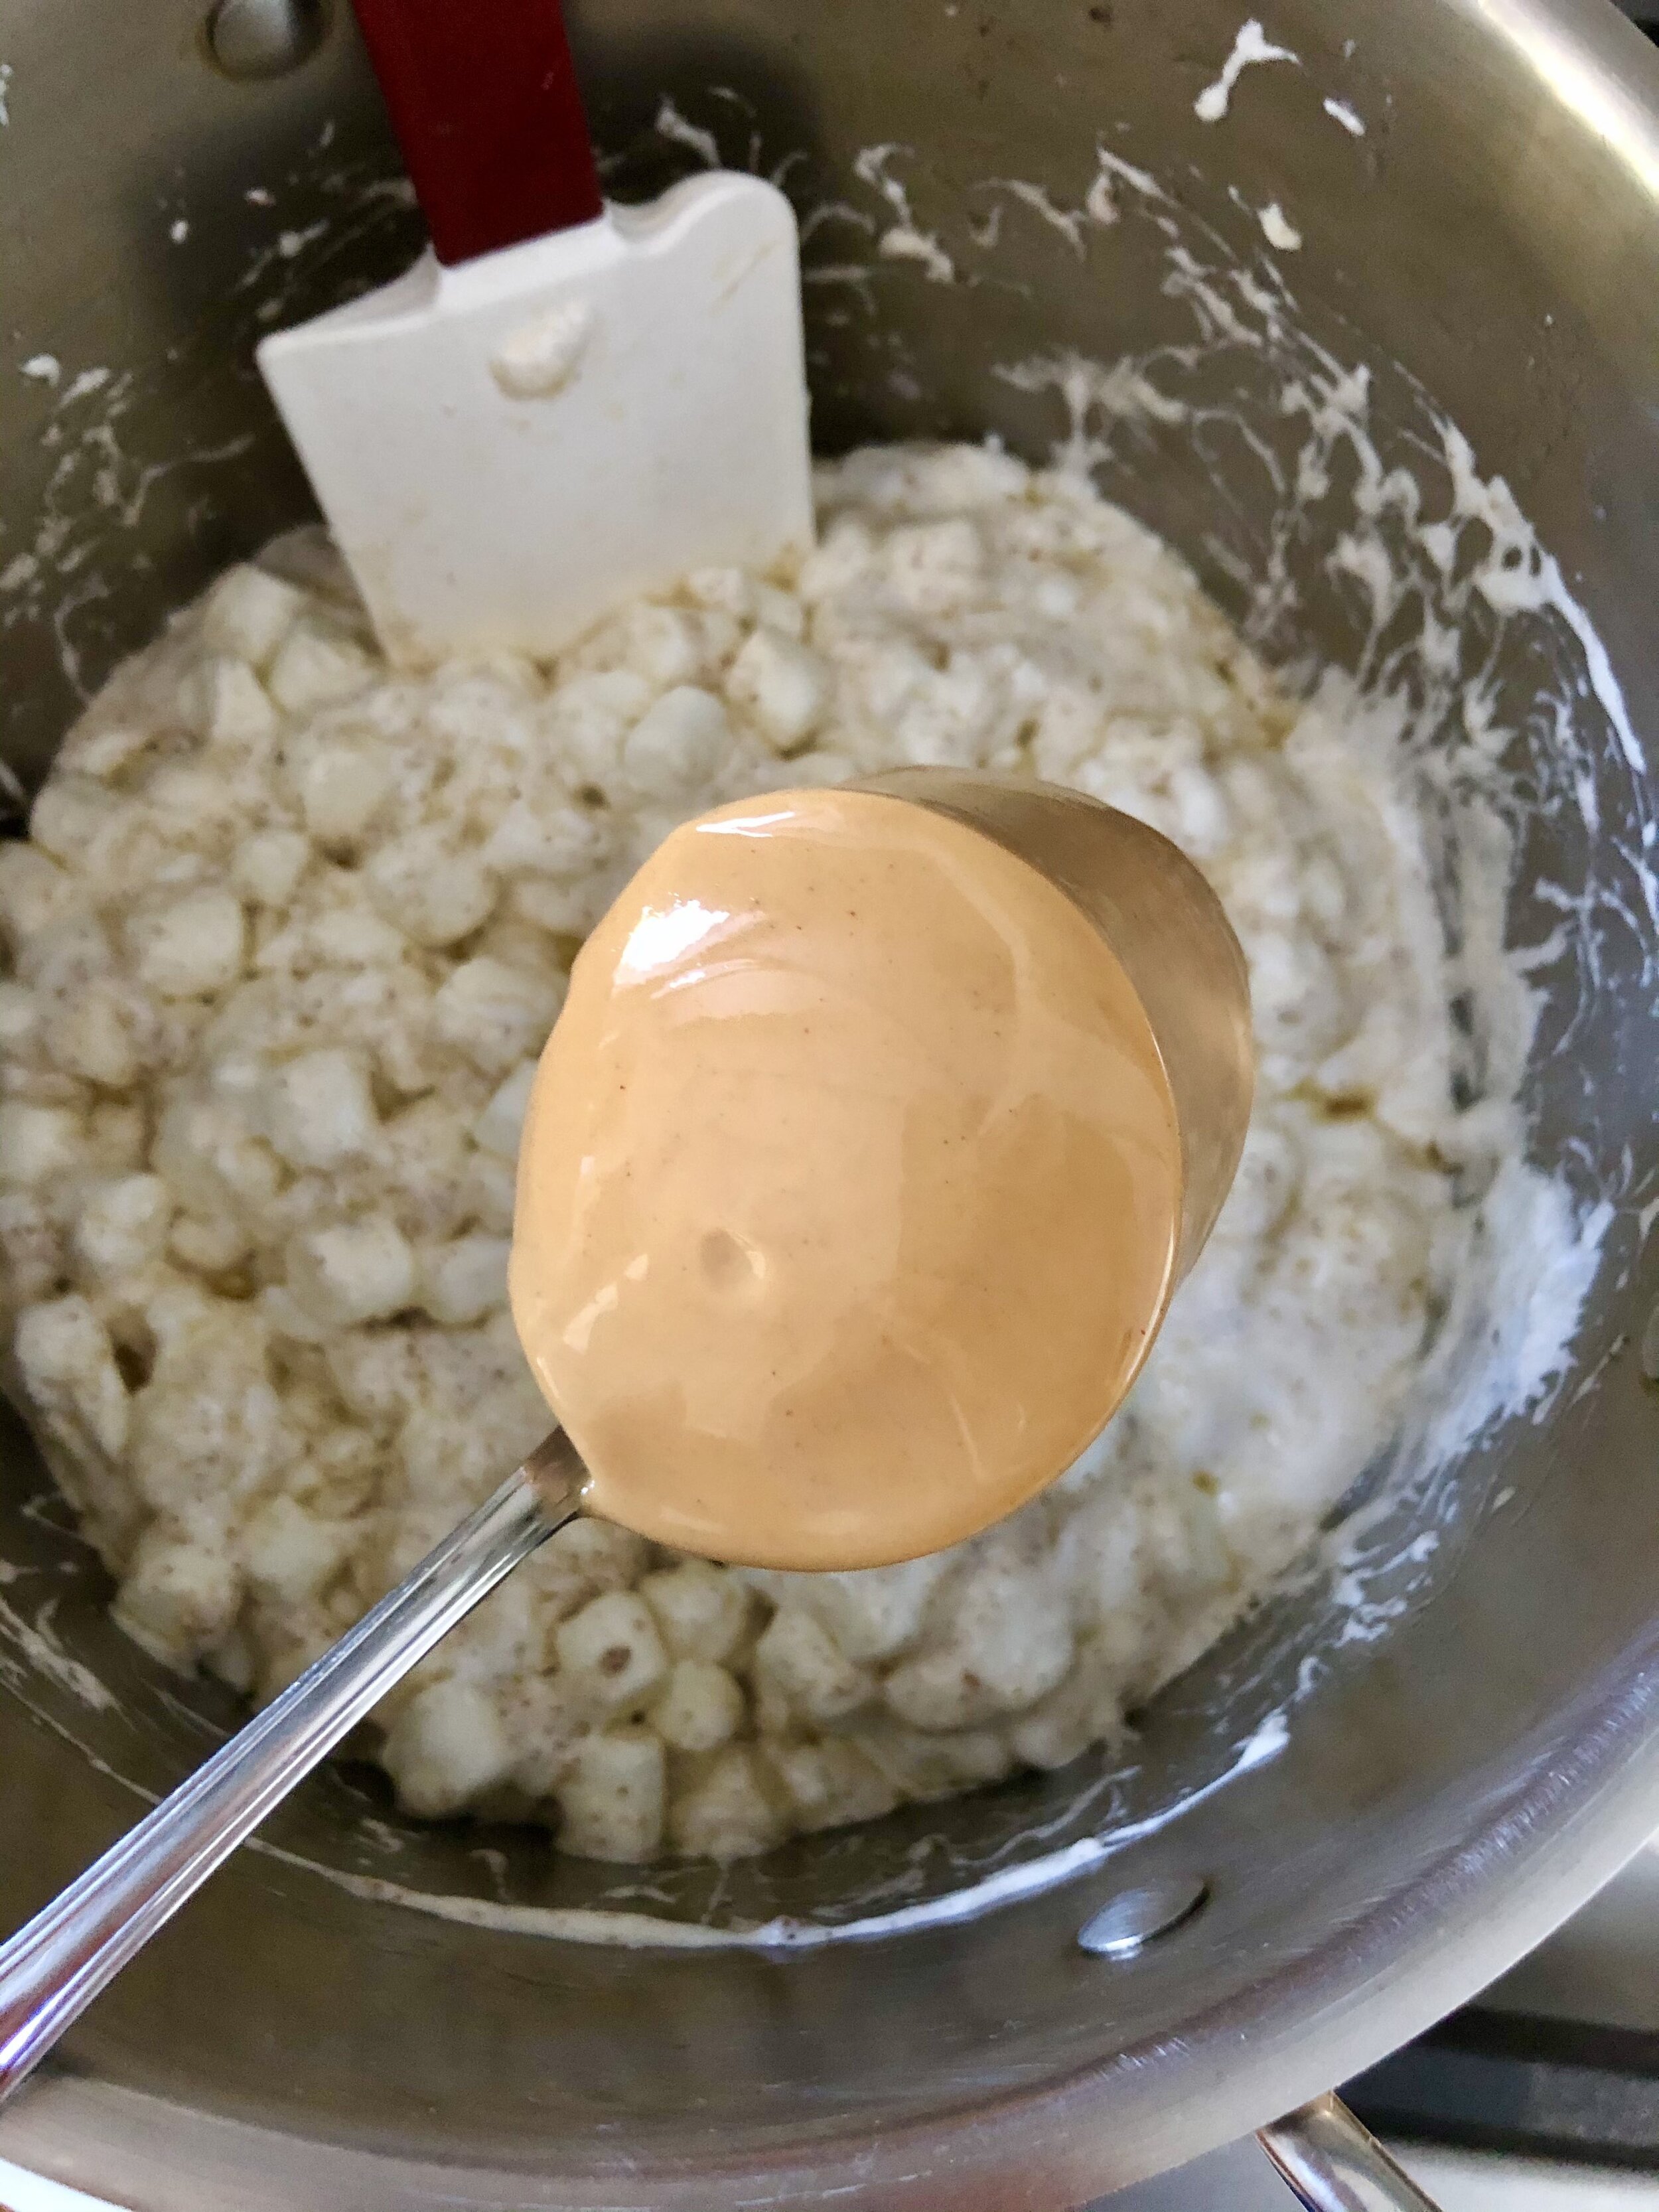
Line a 9×13 inch baking pan with parchment paper & grease with butter or cooking spray. Melt the butter over medium heat in a very large pot. Once melted, continue cooking for a few more minutes, constantly stirring. Mixture will bubble and foam, and you’ll know it’s browned when it’s a golden color and smells nutty. Careful not to burn it! Add all but 1 cup of marshmallows, and stir until completely melted.

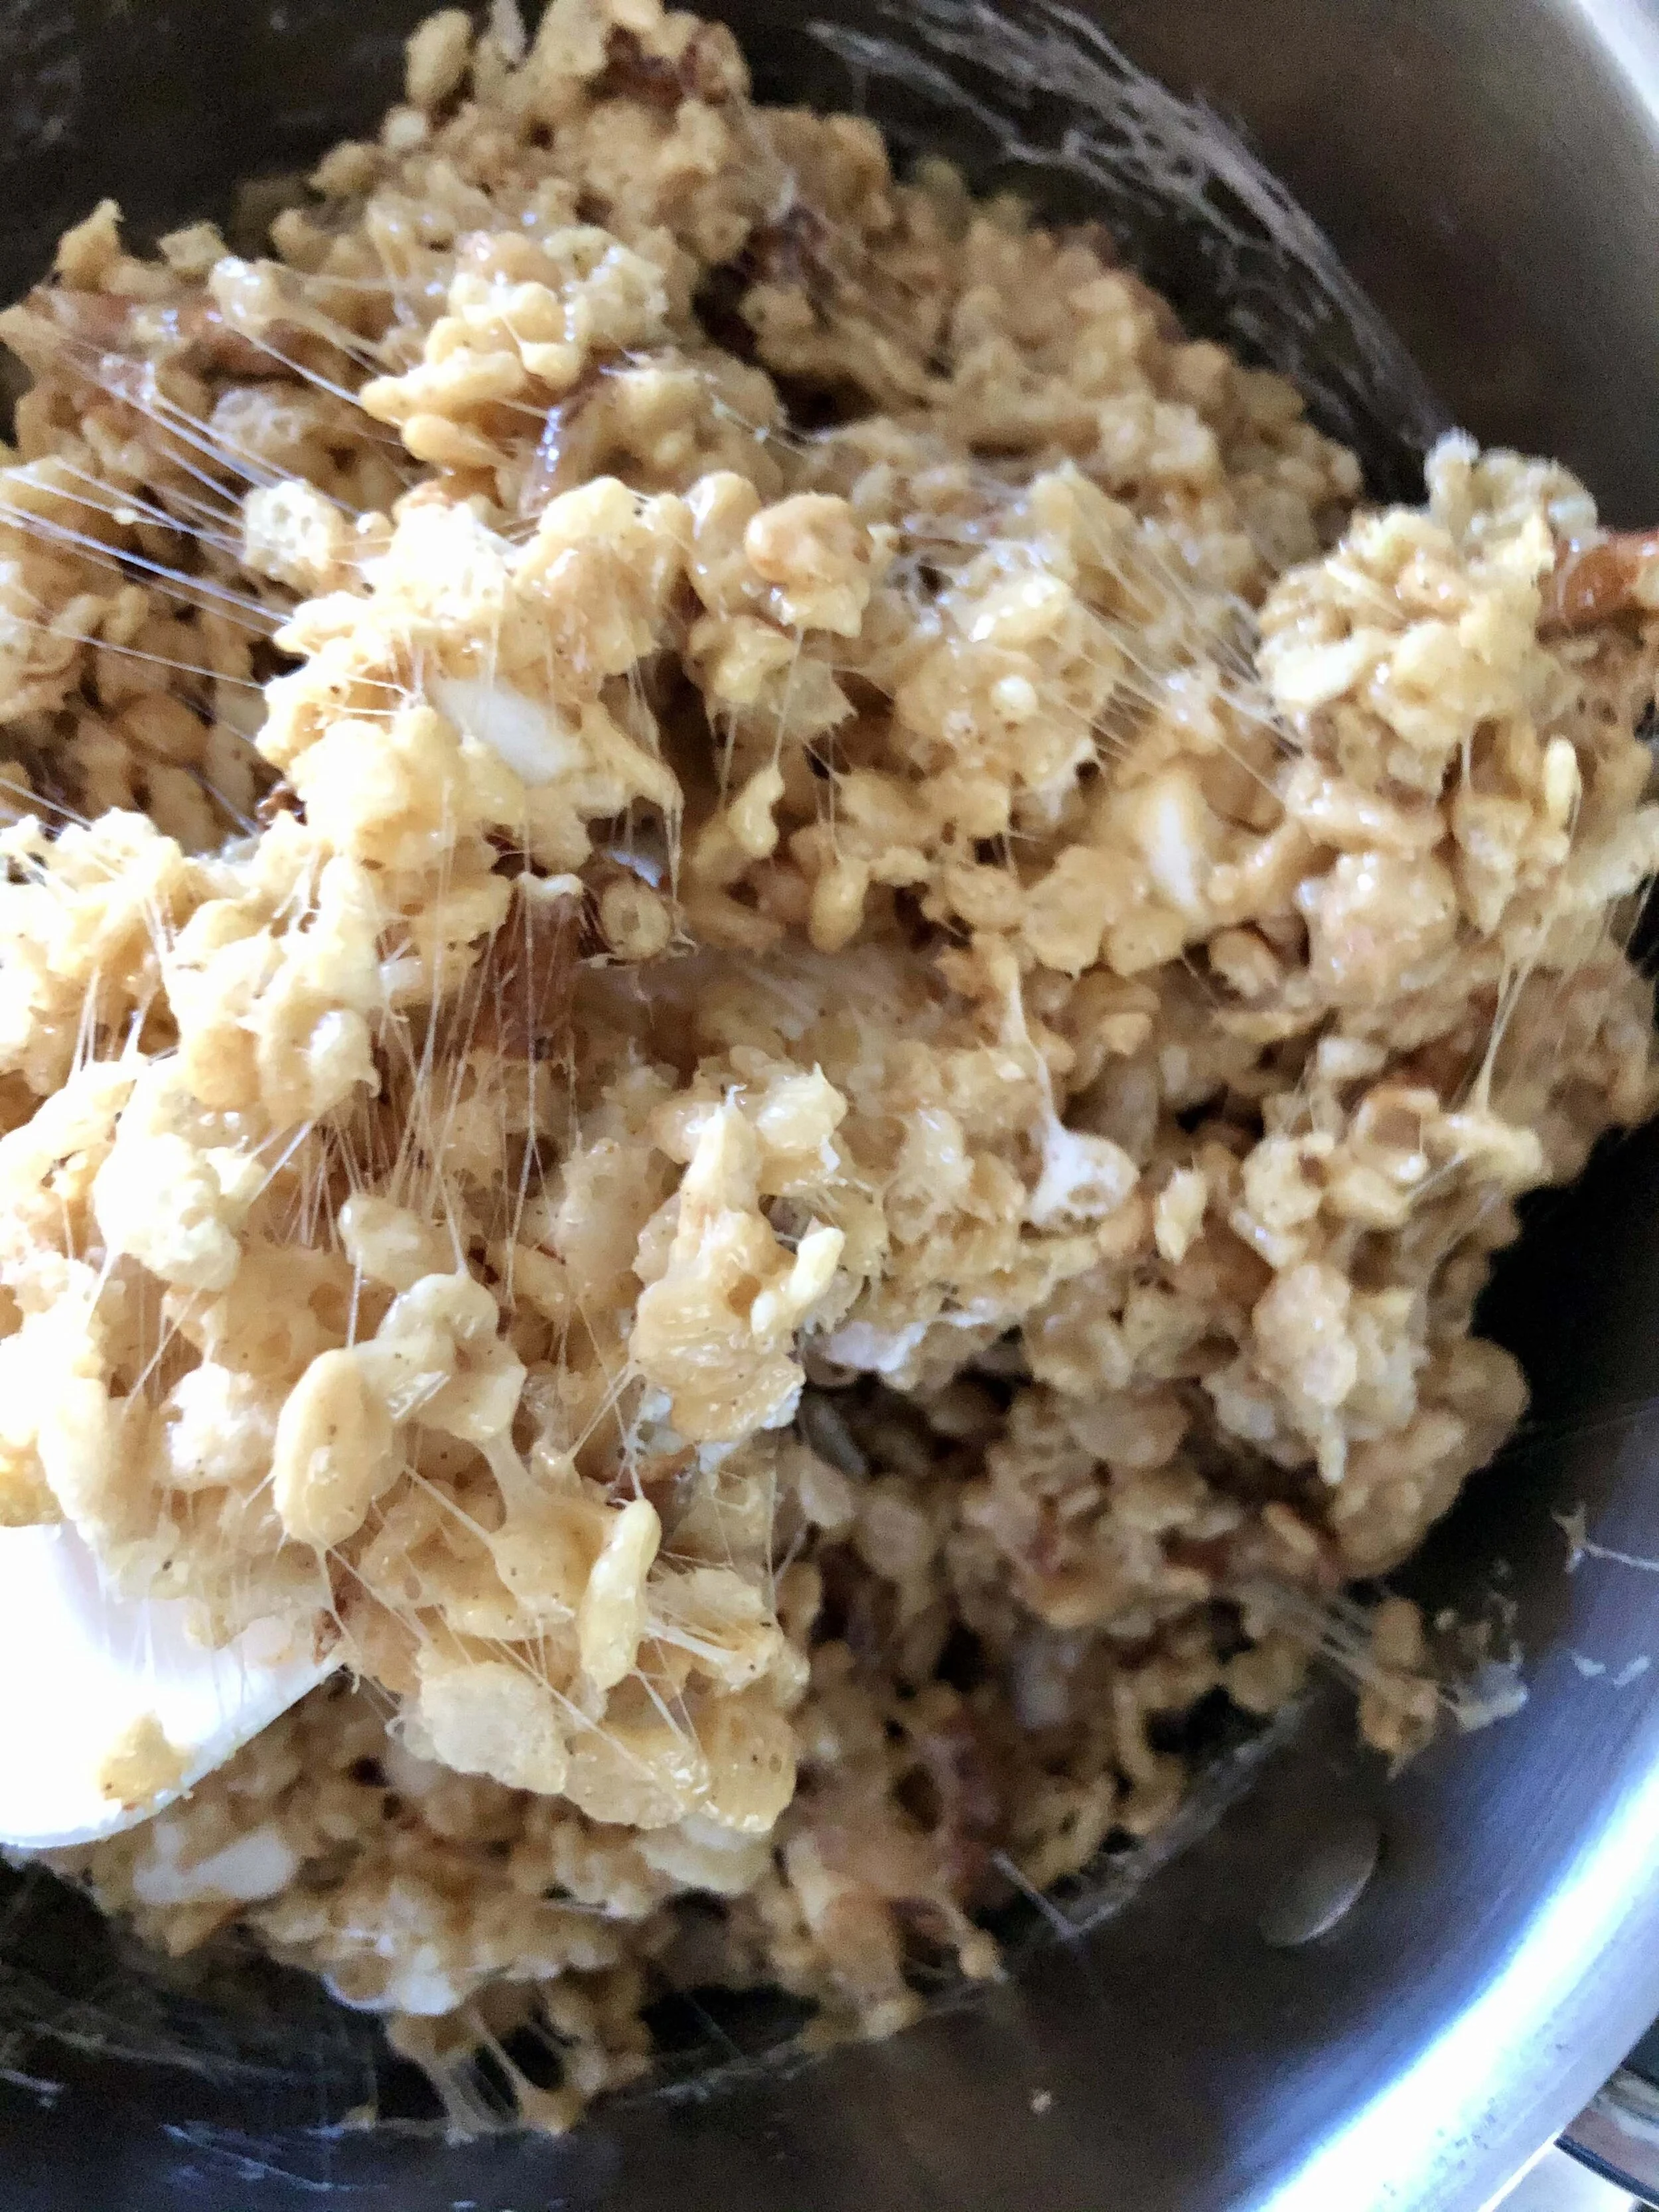
Remove from heat, then immediately stir in the peanut butter, vanilla extract and salt. Lastly, fold in the Rice Krispies cereal, crushed pretzels, and remaining marshmallows. Make sure everything is evenly coated in the peanut butter marshmallow mixture. 

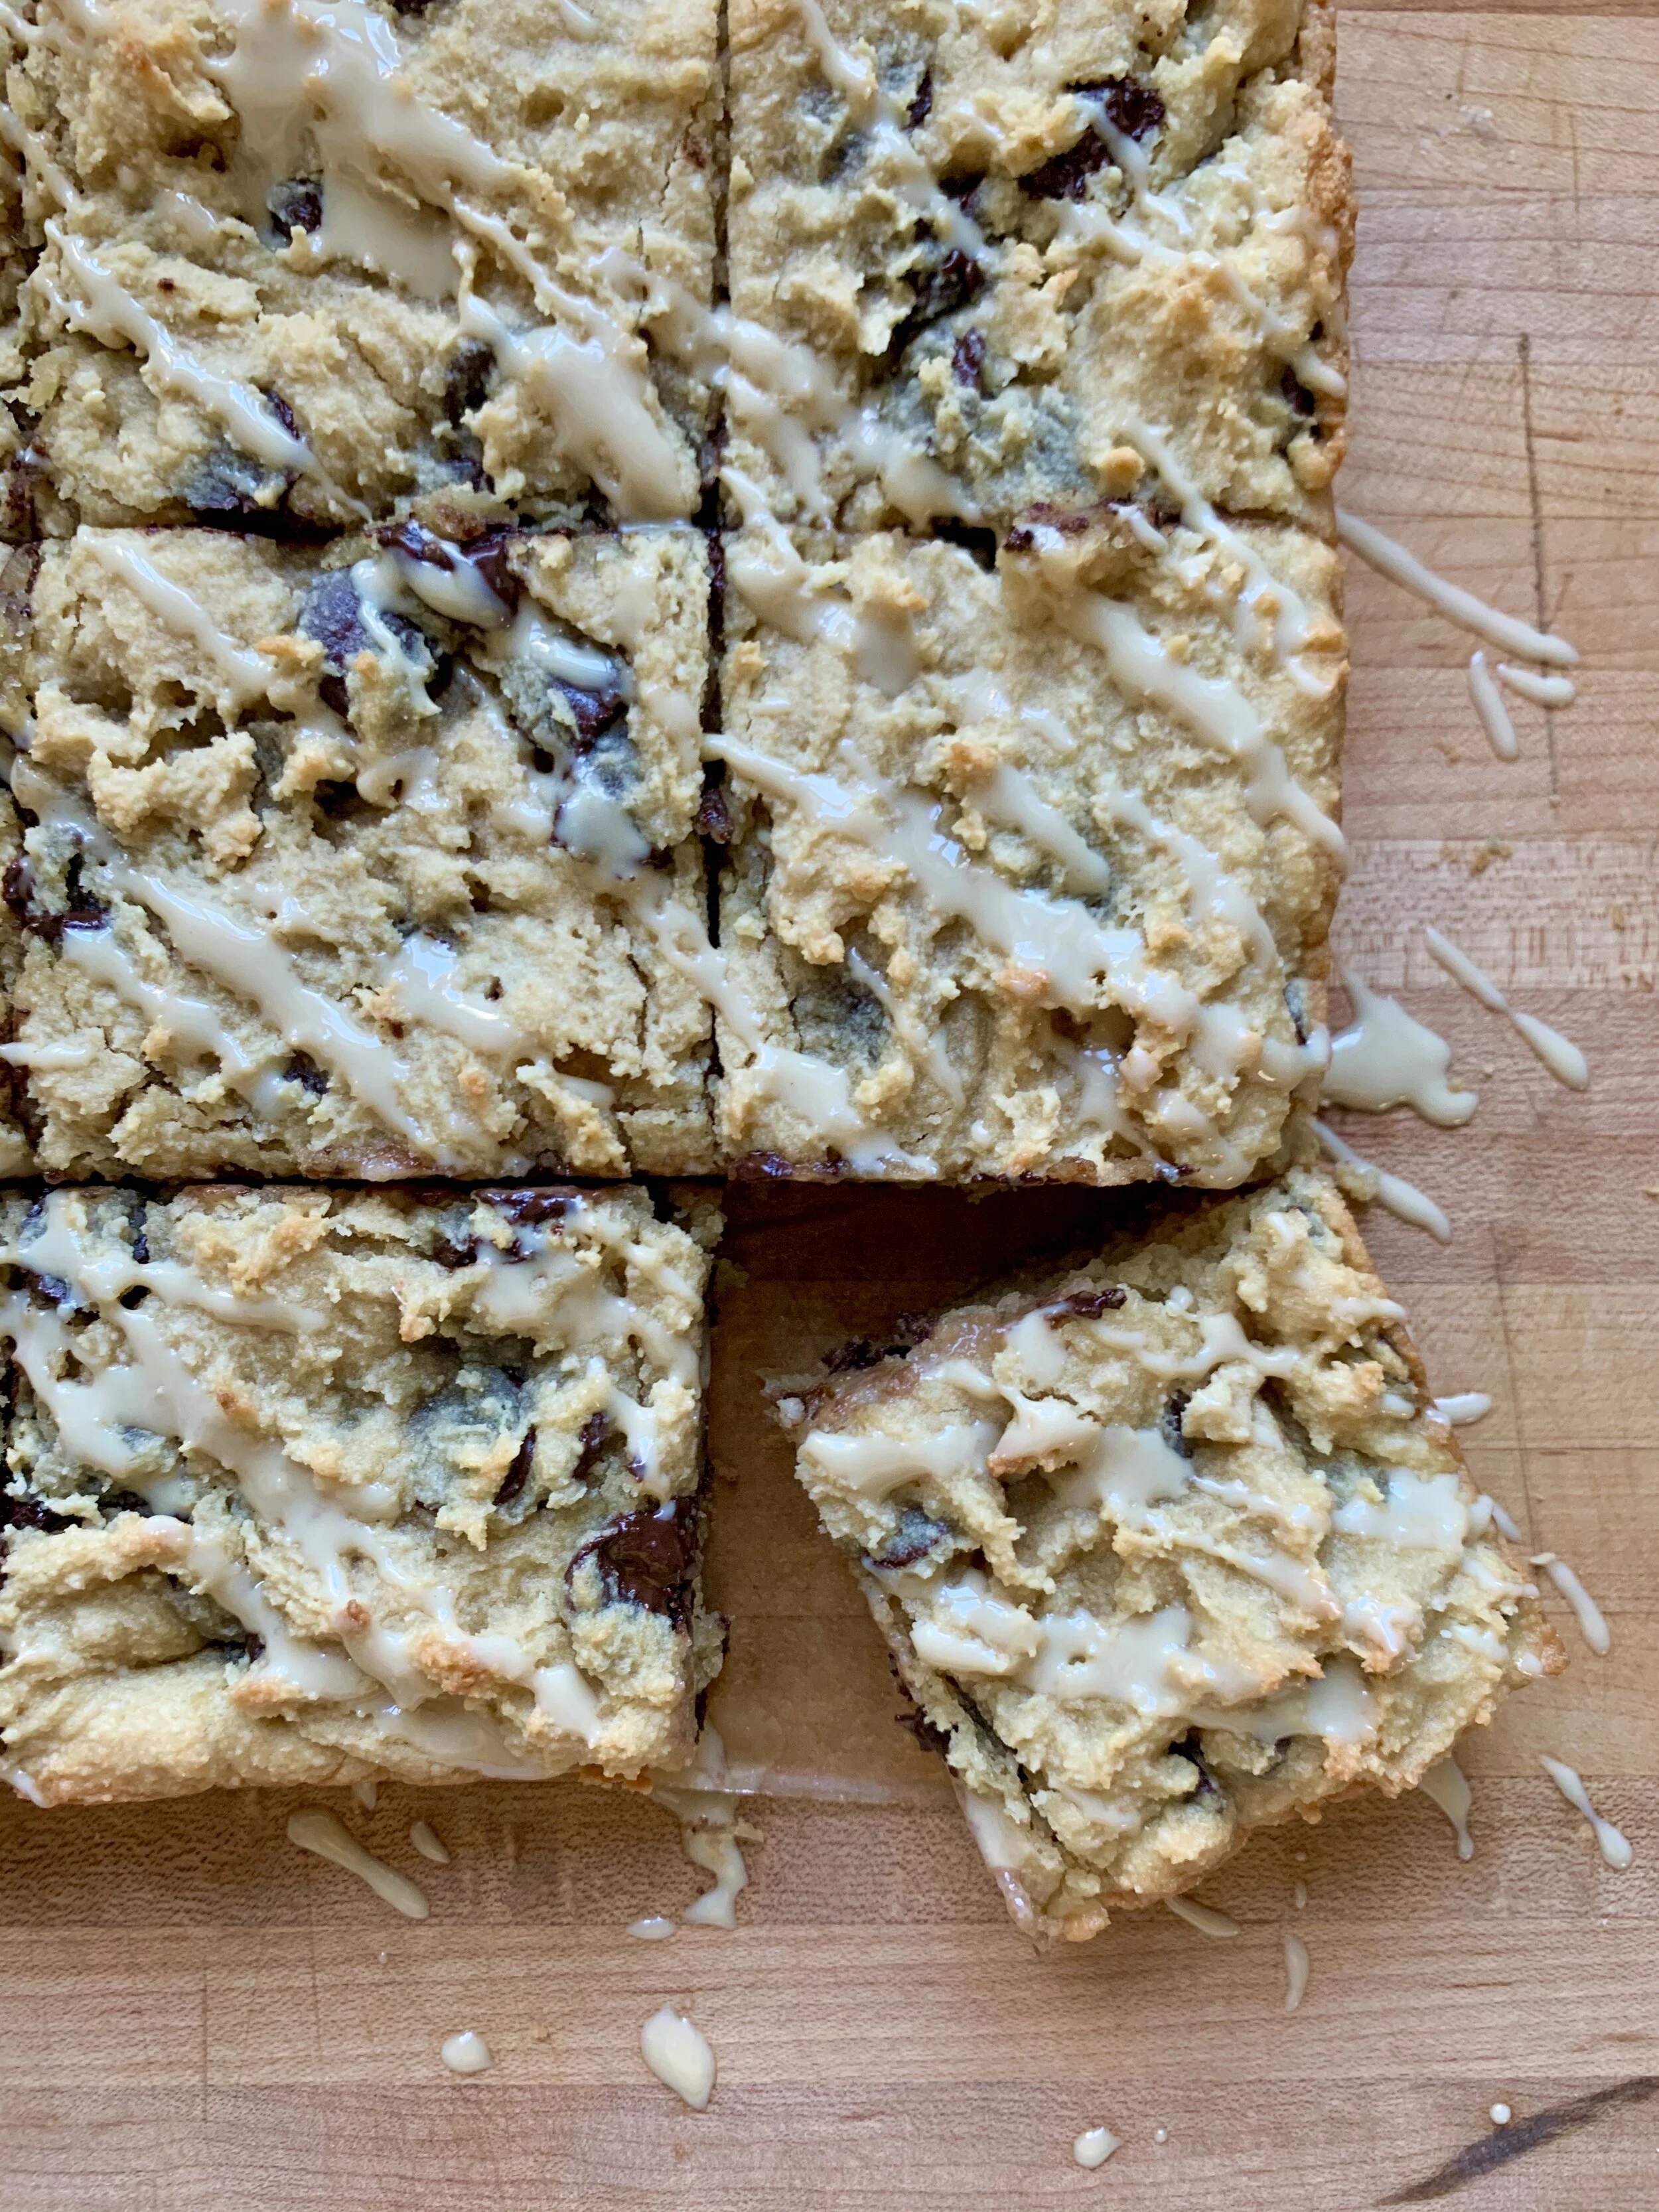
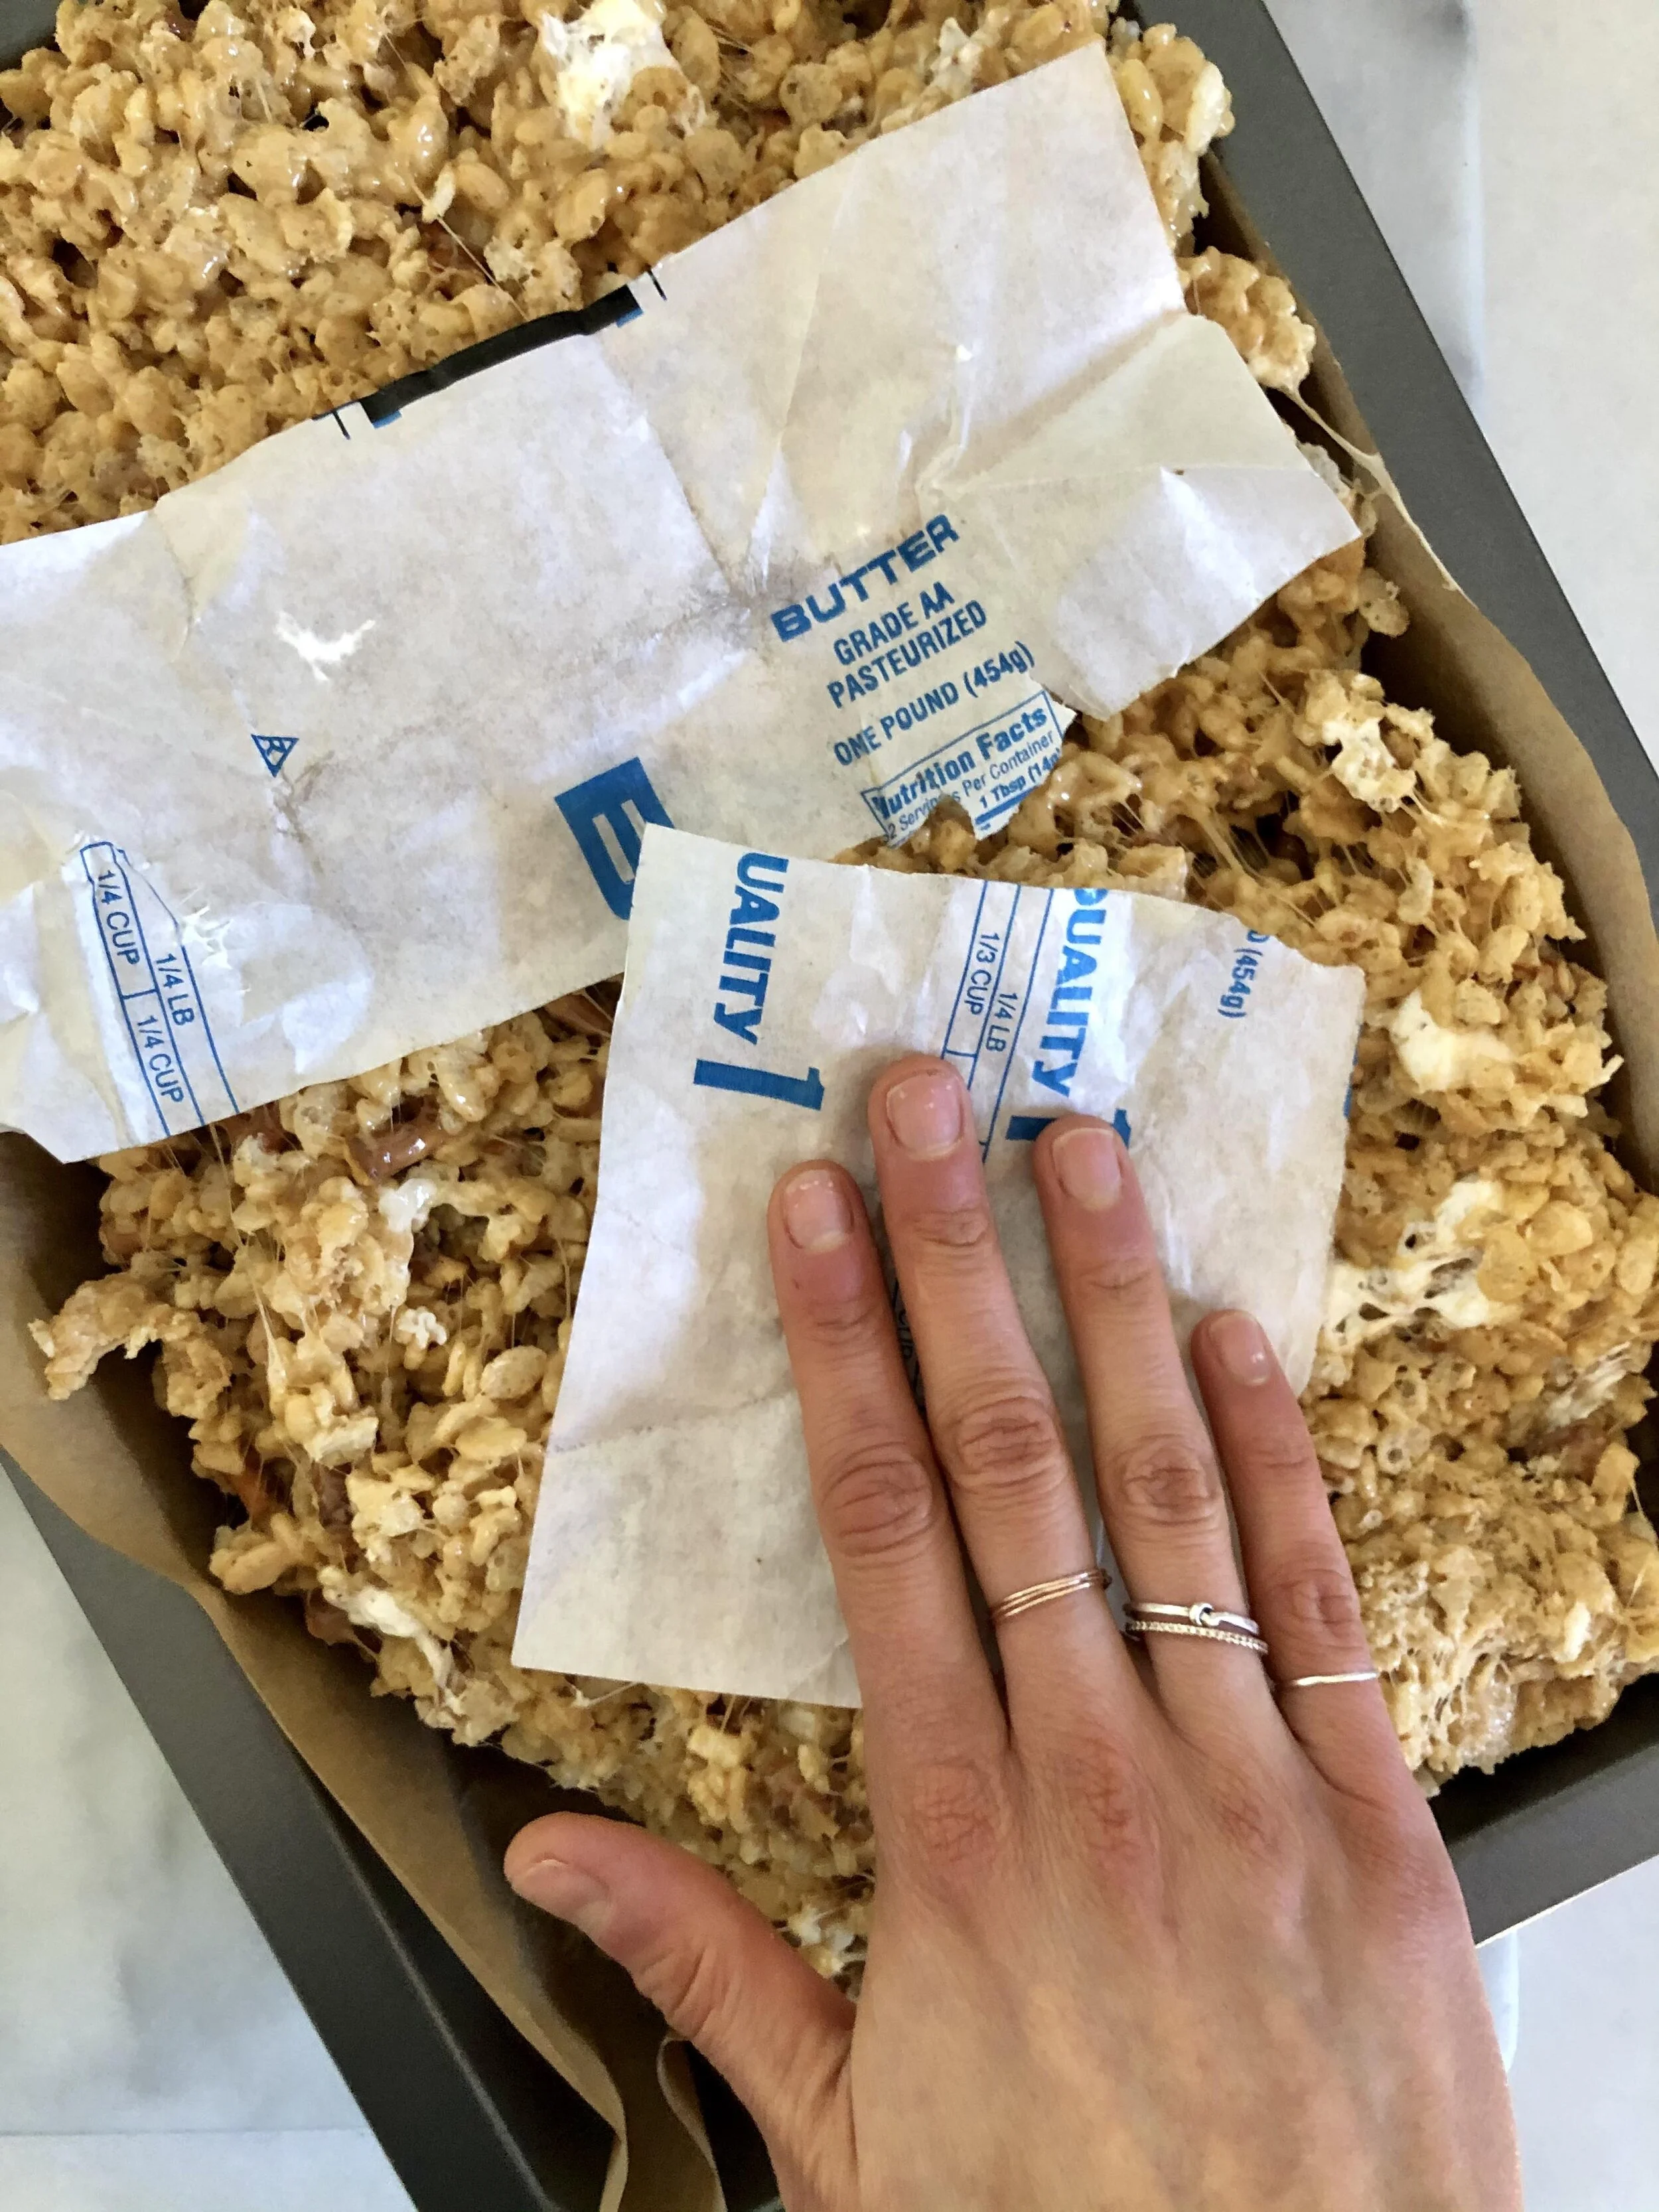
Transfer mixture to prepared pan. Using a rubber spatula (or the butter wrappers), gently spread mixture to fit the pan, careful not pack it down too hard. Allow treats to set for at least 1 hour at room temperature before slicing. Make the glaze in the meantime, if using. Whisk all ingredients together until smooth. You may warm the peanut butter first if need be to get it to a runnier consistency. Lift the rice krispie treats out of the pan using the parchment paper, drizzle the glaze on top, and cut into squares. Enjoy! These are best the day they’re made, but will stay fresh in an airtight container at room temperature for a few days. 

brown butter peanut butter pretzel rice krispie treats

xi'an famous foods

Let’s talk about a classic New York spot for delicious, fast-casual Chinese food, shall we? Xi’an Famous Foods, which has several locations around the city, is super popular for good reason. The chain of restaurants focuses on Western Chinese fare, and I’m particularly fond of their hand-ripped (or pulled) noodles! They’re perfectly tender yet chewy, and come offered in a variety of sauces and soups (think stewed oxtail, spicy beef, & pork belly). I’m partial to the spicy cumin lamb version: Xi’an’s wide hand-ripped biangbiang noodles topped with sauteed slices of spicy cumin lamb, seasoned with a proprietary sauce consisting of soy sauce and vinegar, and served in lamb broth. BRB, drooling!

For a tasty vegetarian option, definitely check out the spicy & sour spinach dumplings. These are classic boiled Chinese dumplings, stuffed with a filling of ground spinach, eggs, wood-ear mushrooms, and vermicelli noodles, and then wrapped with green flour wrappers made with spinach juice. They’re served in a sour and spicy sauce, and garnished with cilantro and sesame seeds- yes please! The spicy cumin lamb burger is another fave of mine- a bit different than your traditional burger, of course, but delicious nonetheless. I’m a big fan of the warm & crispy flatbread-like bun it comes on. Pro tip- get an order of the spicy cucumber salad, and add some to the burger for an extra flavorful meal! If you’re craving Asian cuisine in NYC, I highly recommend checking out Xi’an Famous Foods for a quick, comforting and satisfying meal.


classic fudge brownies

There is not much better than a super rich and decadent brownie. I prefer mine with a chewy, fudgy, almost-raw batter consistency as opposed to one that is cake-like, and I’m happy to say these fit the bill perfectly. Use high quality chocolate, like Guittard, Valrhona, or Ghirardelli, if possible. One tip for making sure your brownies get that beautiful, shiny, and crackly top- whisk the sugars into the warm, melted chocolate mixture. This allows the sugar to rise to the top while baking, and creates the perfect crackly top over a deliciously fudgy interior. Also, you’ll notice I use no leavener (baking soda or powder) in this recipe. Most fudgy brownies don’t need it, but if you prefer a slightly airier, cakey brownie, then you can add 1/4 tsp of baking soda. These are a classic staple in my household, and I love whipping up a batch whenever the chocolate craving hits!

Classic Fudge Brownies:

Preheat the oven to 350° F. Line a 9-inch square pan with parchment paper, allowing for extra to come up over the sides. Nonstick spray (or butter) both the pan and the parchment paper.

In a saucepan, melt the butter with both chocolates over low heat, stirring occasionally. Remove from the heat, whisk in both sugars until dissolved and mixture is grainy. Add in eggs, vanilla and coffee (if using), whisking until frothy. Fold in flour, cocoa powder, and salt until just combined. Lastly, add any mix-ins, if desired. 

Pour the batter into the prepared pan and smooth the surface. Sprinkle extra salt over the batter. Bake for about 30 minutes, until the edges are set but the center is still a bit soft. You may test with a cake tester, and be careful not to overbake! Lift the brownies from the pan using the loose ends of parchment paper, and allow to cool completely. Cut the brownies into squares and enjoy! Store in an air-tight container at room temperature or in the refrigerator. Makes 9 large brownies.

*Adapted from Chewy Fudge Brownies by NYT CookingExtra Nutty Dark Chocolate Fudge Brownies by Joy the Baker, and Ultimate Brownies by Handle the Heat.

Useful Tools:

 * This post may contain affiliate links. If you buy something through one of these links, it won’t cost you a penny more, but I’ll earn a small commission. This allows me to continue to generate content for you, and helps keep the site up and running. Thanks for your support! 


classic birthday cake

Happy Birthday! A classic birthday cake is one of those recipes any good baker should have up his or her sleeve, to whip up whenever an occasion so presents itself. Over the spring and summer months, it seems like there are hundreds of birthdays being celebrated amongst my family and friends, and this cake is a tried and true winner. While this one in particular is a vanilla cake with raspberry filling and a Swiss meringue buttercream, you can customize it in various ways based on your heart's desire: make a chocolate frosting, switch up the filling, add nuts- you get the idea! I highly recommend checking out my wedding cake post for more specific details and instructions on baking, assembling, and decorating the perfect (or close enough!) layer cake! I hope you enjoy it as much as I do :)

Classic Vanilla Birthday Cake with Raspberry Compote Filling & Swiss Meringue Buttercream:

Cake:

  • 4 cups cake flour

  • 2 tsp baking powder

  • 1 1/2 tsp baking soda

  • 1 tsp salt

  • 1 cup unsalted butter, softened

  • 1 1/2 cup cane sugar

  • 1 tbsp pure vanilla extract

  • 4 large eggs, at room temperature

  • 2 cups buttermilk

Buttercream:

  • 1 cup sugar

  • 4 large egg whites

  • 1 1/2 cup unsalted butter, cubed & softened

  • 1 tsp pure vanilla extract

Filling:

  • 2 cups fresh raspberries

  • 1/2 cup granulated sugar

  • 2 tbsp corn starch

  • 1/4 cup water

  • 2 tsp lemon juice

  • fresh raspberries, for serving

Preheat oven to 350°F. Spray two 9" round cake pans with nonstick spray, line with parchment paper, and spray the parchment as well. Mix together flour, baking powder, baking soda, and salt in a medium bowl. In the base of a stand mixer fit with whisk attachment, beat butter and sugar at medium speed until pale and fluffy, then beat in vanilla. Add eggs, beating well and scraping down the bowl to ensure they are fully incorporated. Reduce the speed to low, then mix in buttermilk until just combined. Don't be alarmed if the mixture looks curdled at this point. Add flour mixture until just incorporated, careful not to over-mix. Pour batter evenly among cake pans, and bake until golden, about 35-40 minutes. Allow to cool for a few minutes in the pan, then completely on a cooling rack. 

To prepare raspberry compote, cook raspberries, sugar, cornstarch, water, and lemon juice in a small saucepan until the berries start to break down, about 10 minutes. Lower the heat and simmer until the compote is thick, about 5 minutes. Remove from heat and let cool completely. Store in an airtight container in the fridge (this can be made a week ahead of time). Makes 1 cup.

While cakes are baking, make the buttercream. Whisk egg whites and sugar together in a bowl over a double boiler until sugar is fully dissolved. Transfer mixture into the stand mixer (make sure it's clean & dry!) fit with paddle attachment and whip until it turns white glossy. Add the vanilla, then the butter and continue to whip until buttercream comes together. This may take a good 10-15 minutes, so don't worry if things look curdled or soupy at the start!

Once cakes have cooled, you may level and assemble them, adding filling between the two layers. Spread buttercream evenly around the outside, creating a pattern if desired, and finish with toppings if you choose! You may also make this a 3-layer cake by baking in 6" round cake pans, just make sure you adjust baking time accordingly. Check out my wedding cake post for more assembly and cake decorating instructions. Enjoy!

*Adapted from Best Birthday Cake and Swiss Meringue Buttercream by Smitten Kitchen.

Useful Tools:


ponta do garajau

I think one of the best parts about traveling is discovering little gems of restaurants all around the world. They don't have to be fancy, Michelin-starred spots either- maybe they're off the beaten path, and even better if they aren't your typical tourist trap! My advice: ask a local! My husband and I visited the Azores (specifically São Miguel Island) off the west coast of Portugal last fall, and after relaxing at the beautiful black sand beach of Ribeira Quente, we were on the hunt for some fresh, local grub.

Restaurante Ponta do Garajau came highly recommended to us, but we were warned that we may not be able to get in without a reservation on such short notice. We figured we'd test our luck, and showed up right when they opened, slightly sandy from the beach (and a bit worried we may be underdressed to be honest). Practically all the tables were reserved for reservations, but they were able to squeeze us in at a lovely communal table right in the middle of the outdoor dining space. Ponta do Garajau really fits in perfectly in the cute fisherman's village of Ribeira Quente, filled with rustic decor and an old-fashioned kitchen.

Let's be clear- you come to Ponta do Garajau for the seafood (it's literally just off the beach), and as soon as the food started arriving, we knew we were in the right place. I let my husband choose from the extensive menu (most of which was in Portuguese), and they even give you a "Consumer's Guide to Azorean Seafood" to help you navigate all the different fish available. We tried the octopus salad, smooth Azorean Limpet (clam-like sea snails that arrive sizzling in a grand display), Bluemouth Rockfish, and Black Scabbardfish, as well as ice cream for dessert, of course. Along with some homemade bread, cheese, olives, and wine, it was truly a memorable meal! Everything was fresh and delicious, and simply prepared in a way that allowed the seafood to shine. I cannot recommend Ponta do Garajau enough if you ever find yourself in the Azores!


al fassia

First off, I want to apologize for the photos in this post. The lighting at Al Fassia is pretty dim at night, but the food couldn't be more delicious! For some of the best traditional Moroccan food in Marrakech, I cannot recommend Al Fassia enough. This place, which is located in Gueliz (new city) as opposed to the medina (old city) where we were staying, came highly recommended by numerous people, and I now totally understand why. We hopped in a taxi one evening and ventured out of the medina in search of some tasty, traditional eats, and couldn't have been more pleased with our meal. After seeing a colorful assortment of small plates on many other tables, we decided to start with the selection of fine salads. This consisted of beets, eggplant, carrots, and tomatoes (among others) prepared in various ways, some fresh and marinated, and others cooked down into a dip or spread. Everything was just bursting with flavor, and was the perfect complement to the freshly baked bread. I loved the beautifully hand-painted plates as well! For our entrées, we both chose chicken tagines, which seemed to be somewhat of a specialty here. Mine came with caramelized pumpkin, while my husbands was topped with caramelized onions and raisins. Both came served in their own sauce from the tagine, with a side of simple cous cous to soak up all that juicy goodness! Glory, my mouth is watering just thinking about it all again now! This was a truly memorable meal in Marrakech, one that I hope I get to experience again in the future!