brown butter peanut butter pretzel rice krispie treats

brown butter peanut butter pretzel rice krispie treats

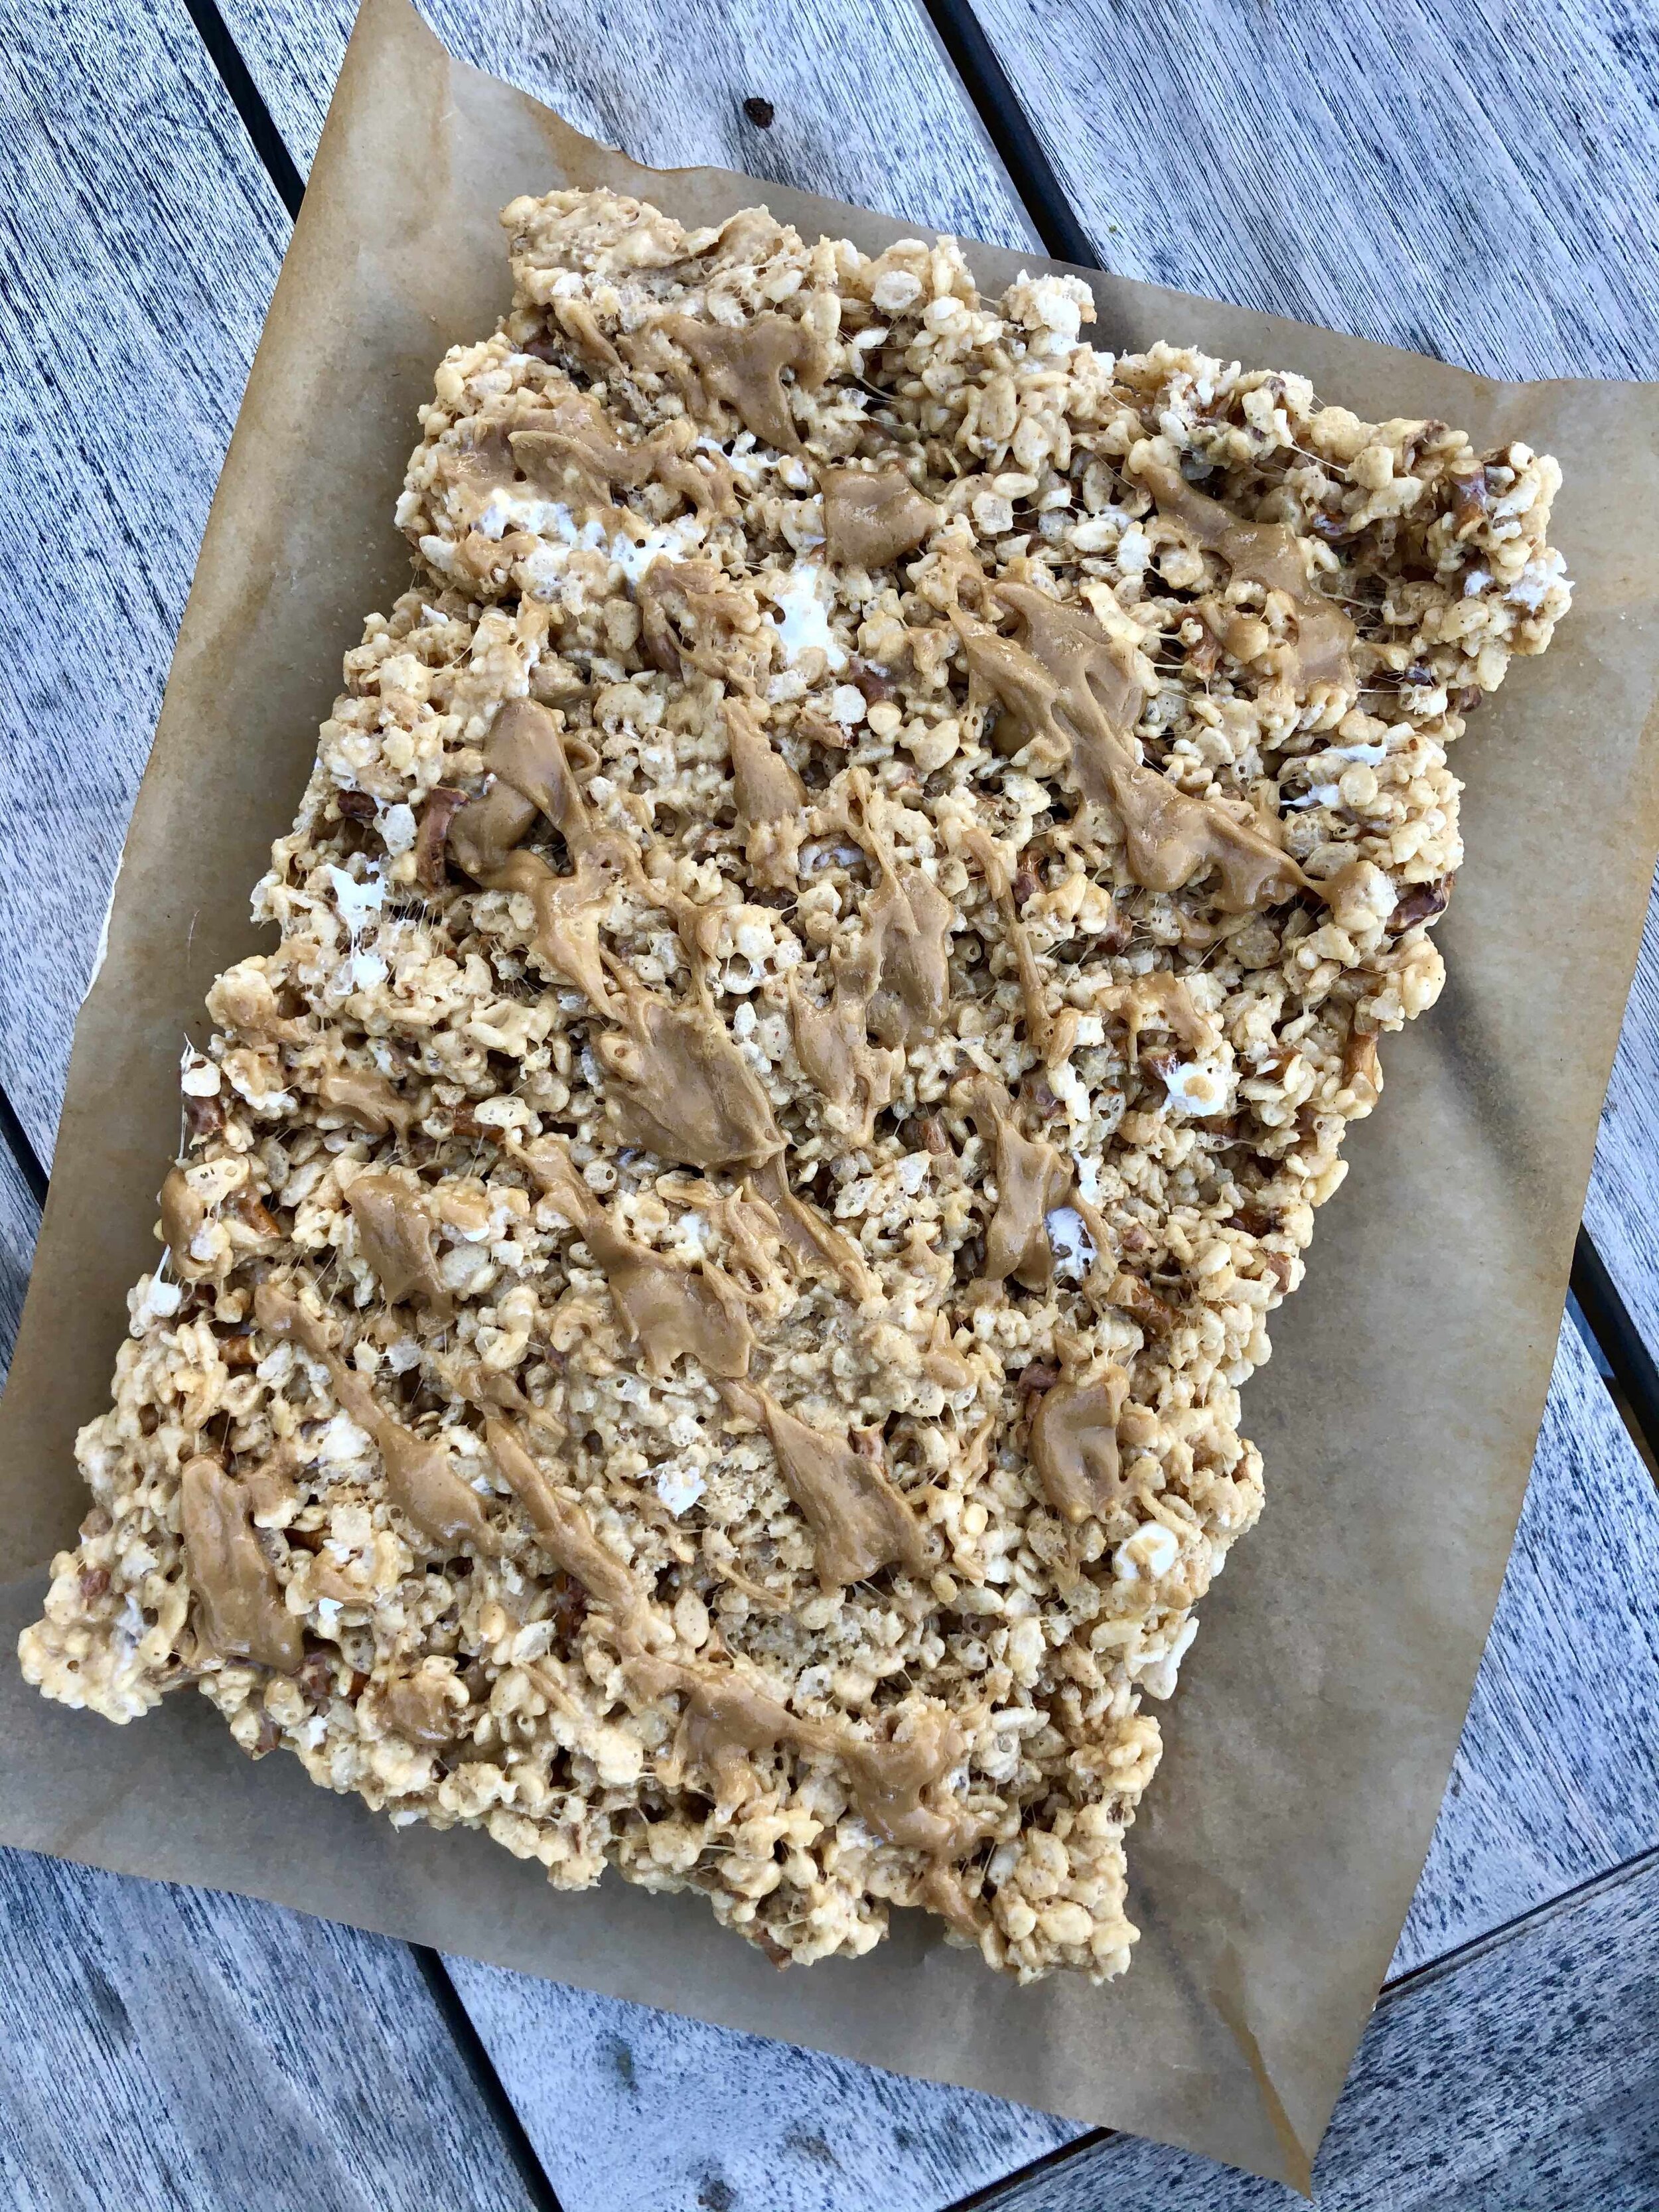
I love a sweet and salty treat- it’s such an addicting and comforting combo for me. I can’t help but reach for more! Add in a delicious, childhood goodie like rice krispie treats, and you’ve got yourself quite the tasty (yet easy!) dessert! I’d been craving rice krispie treats lately, and while there’s nothing wrong with the tried and true classic, I wanted to shake things up a bit. Since I love adding mix-ins to my baked goods, I figured I’d toss in some creamy peanut butter and crunchy pretzels to take these to the next level. Plus, I browned my butter before adding the marshmallows to the pot, which really kicks things up a notch. That nutty, caramel flavor from the brown butter is just oh so good in these rice krispie treats. Feel free to swap out a different nut butter if you’re not into peanuts, or use gluten free pretzels if you need. I kept things classic in this case, and I must say- they’re super delish! The peanut butter glaze is just a lil extra somethin’ somethin’ on top. Totally not necessary, but a welcome addition for sure :) A few lil tips and tricks to pass along to make these extra tasty: 1) Instead of melting all the marshmallows into the browned butter, save 1-2 cups to mix in at the end with the cereal. This ensures you get ooey gooey pockets of marshmallow goodness in your finished product! 2) Use your empty butter wrapers or a greased spatula when spreading the treats into the pan, to prevent them sticking to everything! 3) Be careful not to pack down the rice krispie treats too hard in the pan! Just a gentle press, otherwise you’ll end up with thin, hard treats, and no one wants that! I hope you enjoy :)

Brown Butter Peanut Butter Pretzel Rice Krispie Treats:

Peanut Butter Glaze:

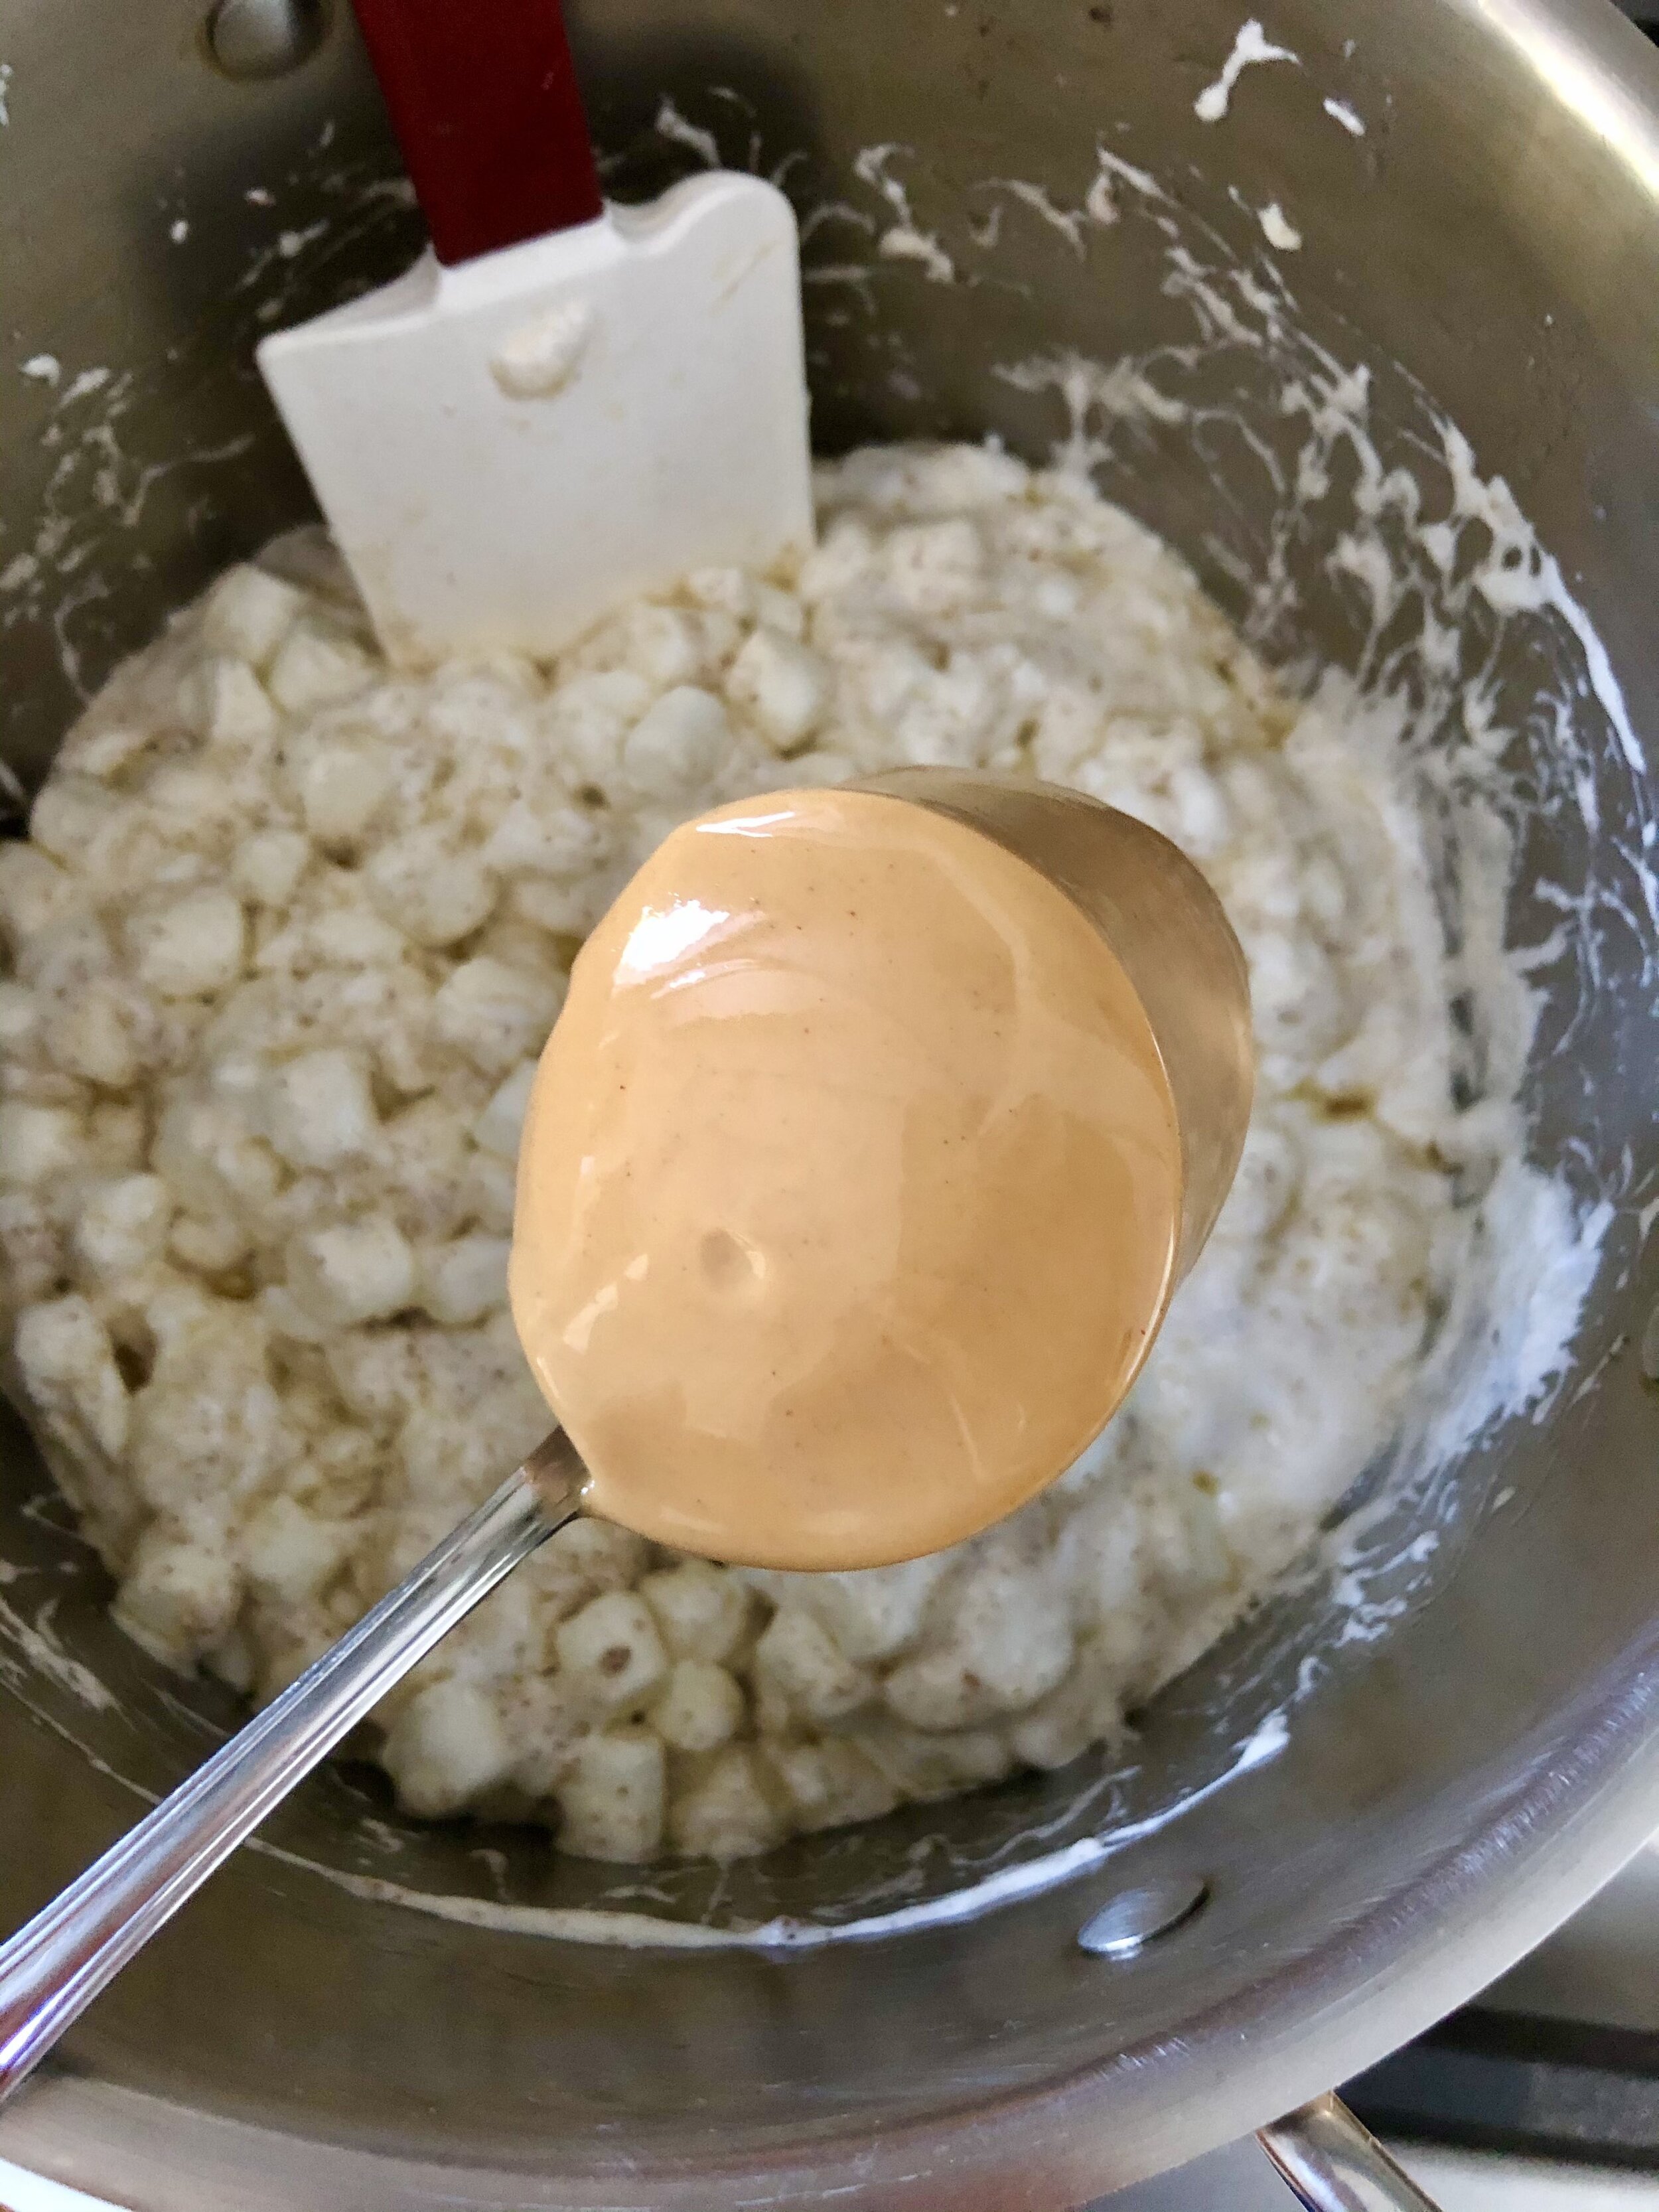
Line a 9×13 inch baking pan with parchment paper & grease with butter or cooking spray. Melt the butter over medium heat in a very large pot. Once melted, continue cooking for a few more minutes, constantly stirring. Mixture will bubble and foam, and you’ll know it’s browned when it’s a golden color and smells nutty. Careful not to burn it! Add all but 1 cup of marshmallows, and stir until completely melted.

Remove from heat, then immediately stir in the peanut butter, vanilla extract and salt. Lastly, fold in the Rice Krispies cereal, crushed pretzels, and remaining marshmallows. Make sure everything is evenly coated in the peanut butter marshmallow mixture. 

Transfer mixture to prepared pan. Using a rubber spatula (or the butter wrappers), gently spread mixture to fit the pan, careful not pack it down too hard. Allow treats to set for at least 1 hour at room temperature before slicing. Make the glaze in the meantime, if using. Whisk all ingredients together until smooth. You may warm the peanut butter first if need be to get it to a runnier consistency. Lift the rice krispie treats out of the pan using the parchment paper, drizzle the glaze on top, and cut into squares. Enjoy! These are best the day they’re made, but will stay fresh in an airtight container at room temperature for a few days. 

brown butter peanut butter pretzel rice krispie treats

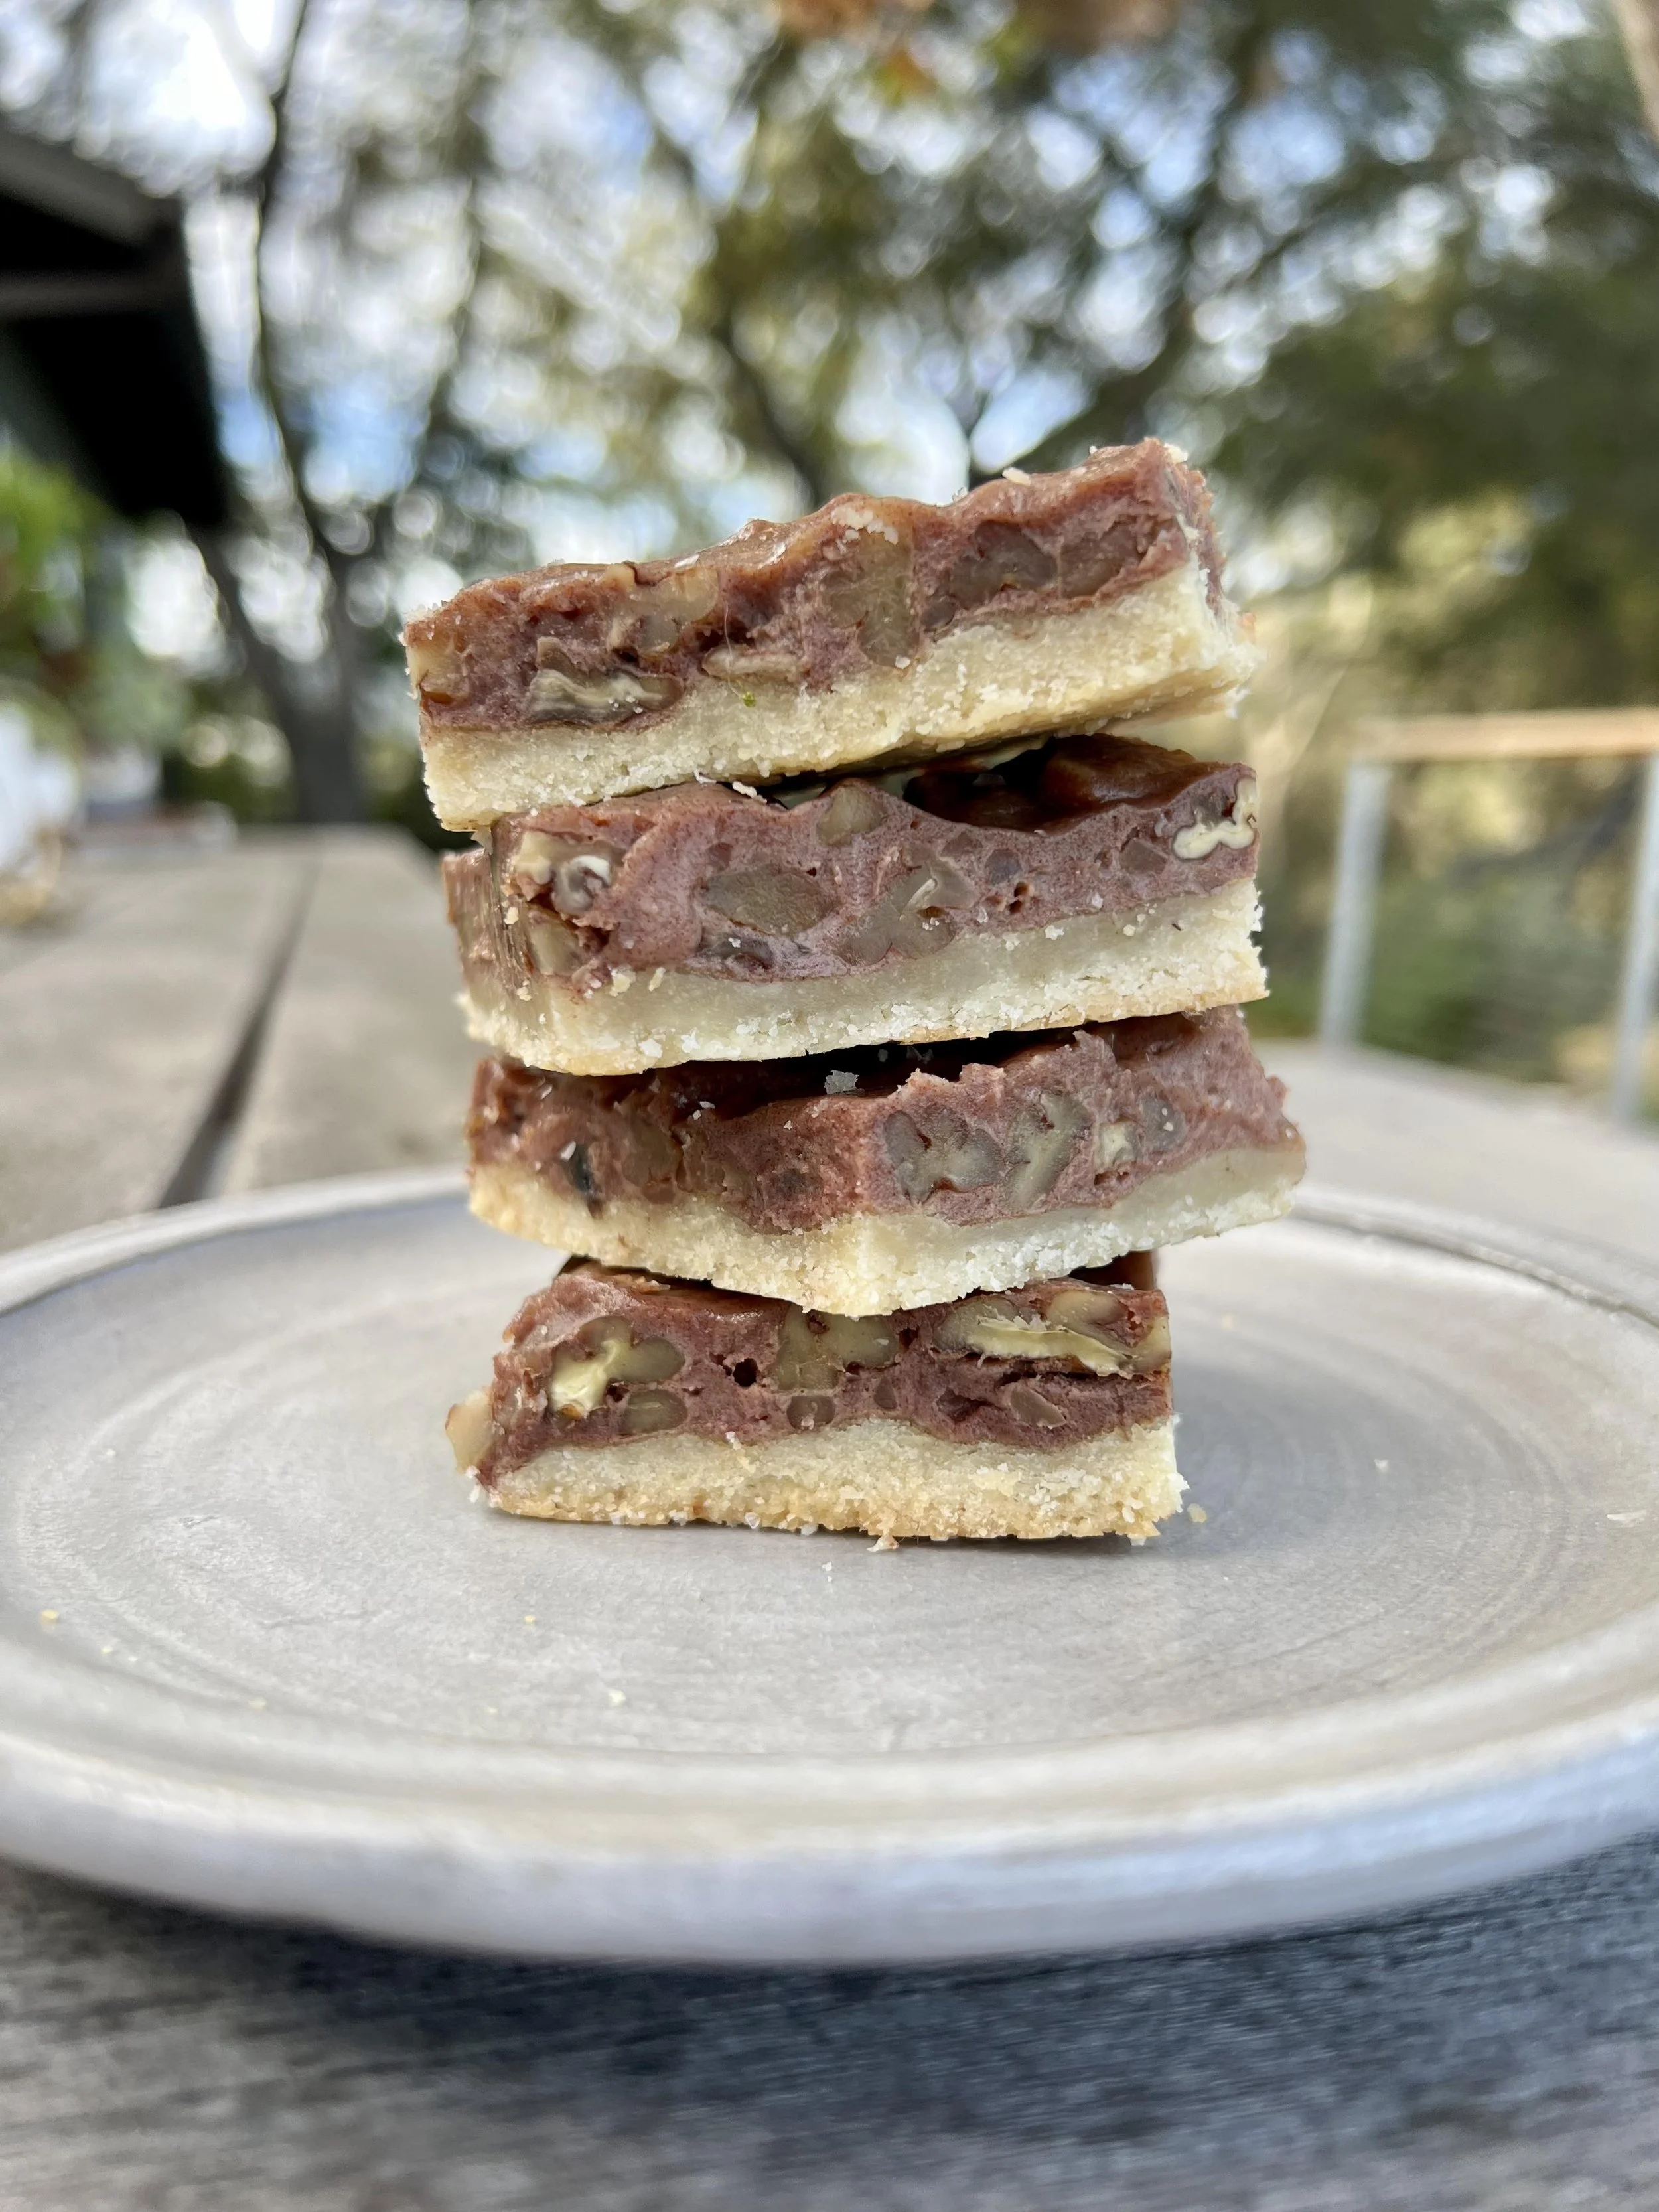
cheesecake brownies

My husband loves chocolate and cheesecake, so when I'm baking something for him, those flavors always come to mind. A decadent combination of the two would pretty much be the ideal combo to him, so cheesecake brownies seemed like an easy, but perfect solution! Rich and fudgy brownies are already great on their own, and I like 'em the fudgier the better! But now add a layer of cheesecake to the mix, and you've got yourself one seriously tasty treat. If you want, you can lightly swirl in the cheesecake batter to the brownie batter, creating a cool marbled effect on your brownies! I got a little carried away in mixing, so no picture-perfect marbling, but I promise they tasted great anyway! PS- I like using flatter, wider chocolate feves or discs instead of regular chips, and Valrhona makes great ones!

Cheesecake Brownies:

  • 1/2 cup unsalted butter, cut into pieces

  • 1 cup bittersweet chocolate chips, divided

  • 3/4 cup turbinado sugar

  • 2 large eggs

  • 1/2 tsp pure vanilla extract

  • 2/3 cup all-purpose flour

  • 2 tbsp unsweetened cocoa powder

  • 1/4 tsp salt

  • 8 oz. cream cheese, well softened

  • 1/3 cup turbinado sugar

  • 1 large egg yolk

  • 1/4 tsp pure vanilla extract

Preheat oven to 350°F and butter an 8-inch square baking pan. For the brownie batter, melt butter and 1/2 cup chocolate chips in a double boiler over simmering water, stirring occasionally, until smooth. Remove from heat and whisk in sugar, eggs, and vanilla until well combined. Whisk in flour, cocoa powder, and salt until just combined and spread batter evenly into baking pan.

For the cheesecake batter, whisk together cream cheese, sugar, egg yolk, and vanilla in a small bowl until smooth. Dollop large spoonfuls over brownie batter, then swirl in with a butter knife to create a marbled effect. Alternatively, you may mix the two together more evenly.

Sprinkle remaining chocolate chips over the batter. Bake until edges are slightly puffed and center is just set, about 35 minutes, then allow to cool. These are equally as delicious warm out of the oven as they are at room temperature or chilled, although the brownies will be much easier to cut if chilled. Makes nine 3" square, thick brownies.

*Adapted from cheesecake-marbled brownies by Smitten Kitchen.

Useful Tools:


sticky toffee pudding

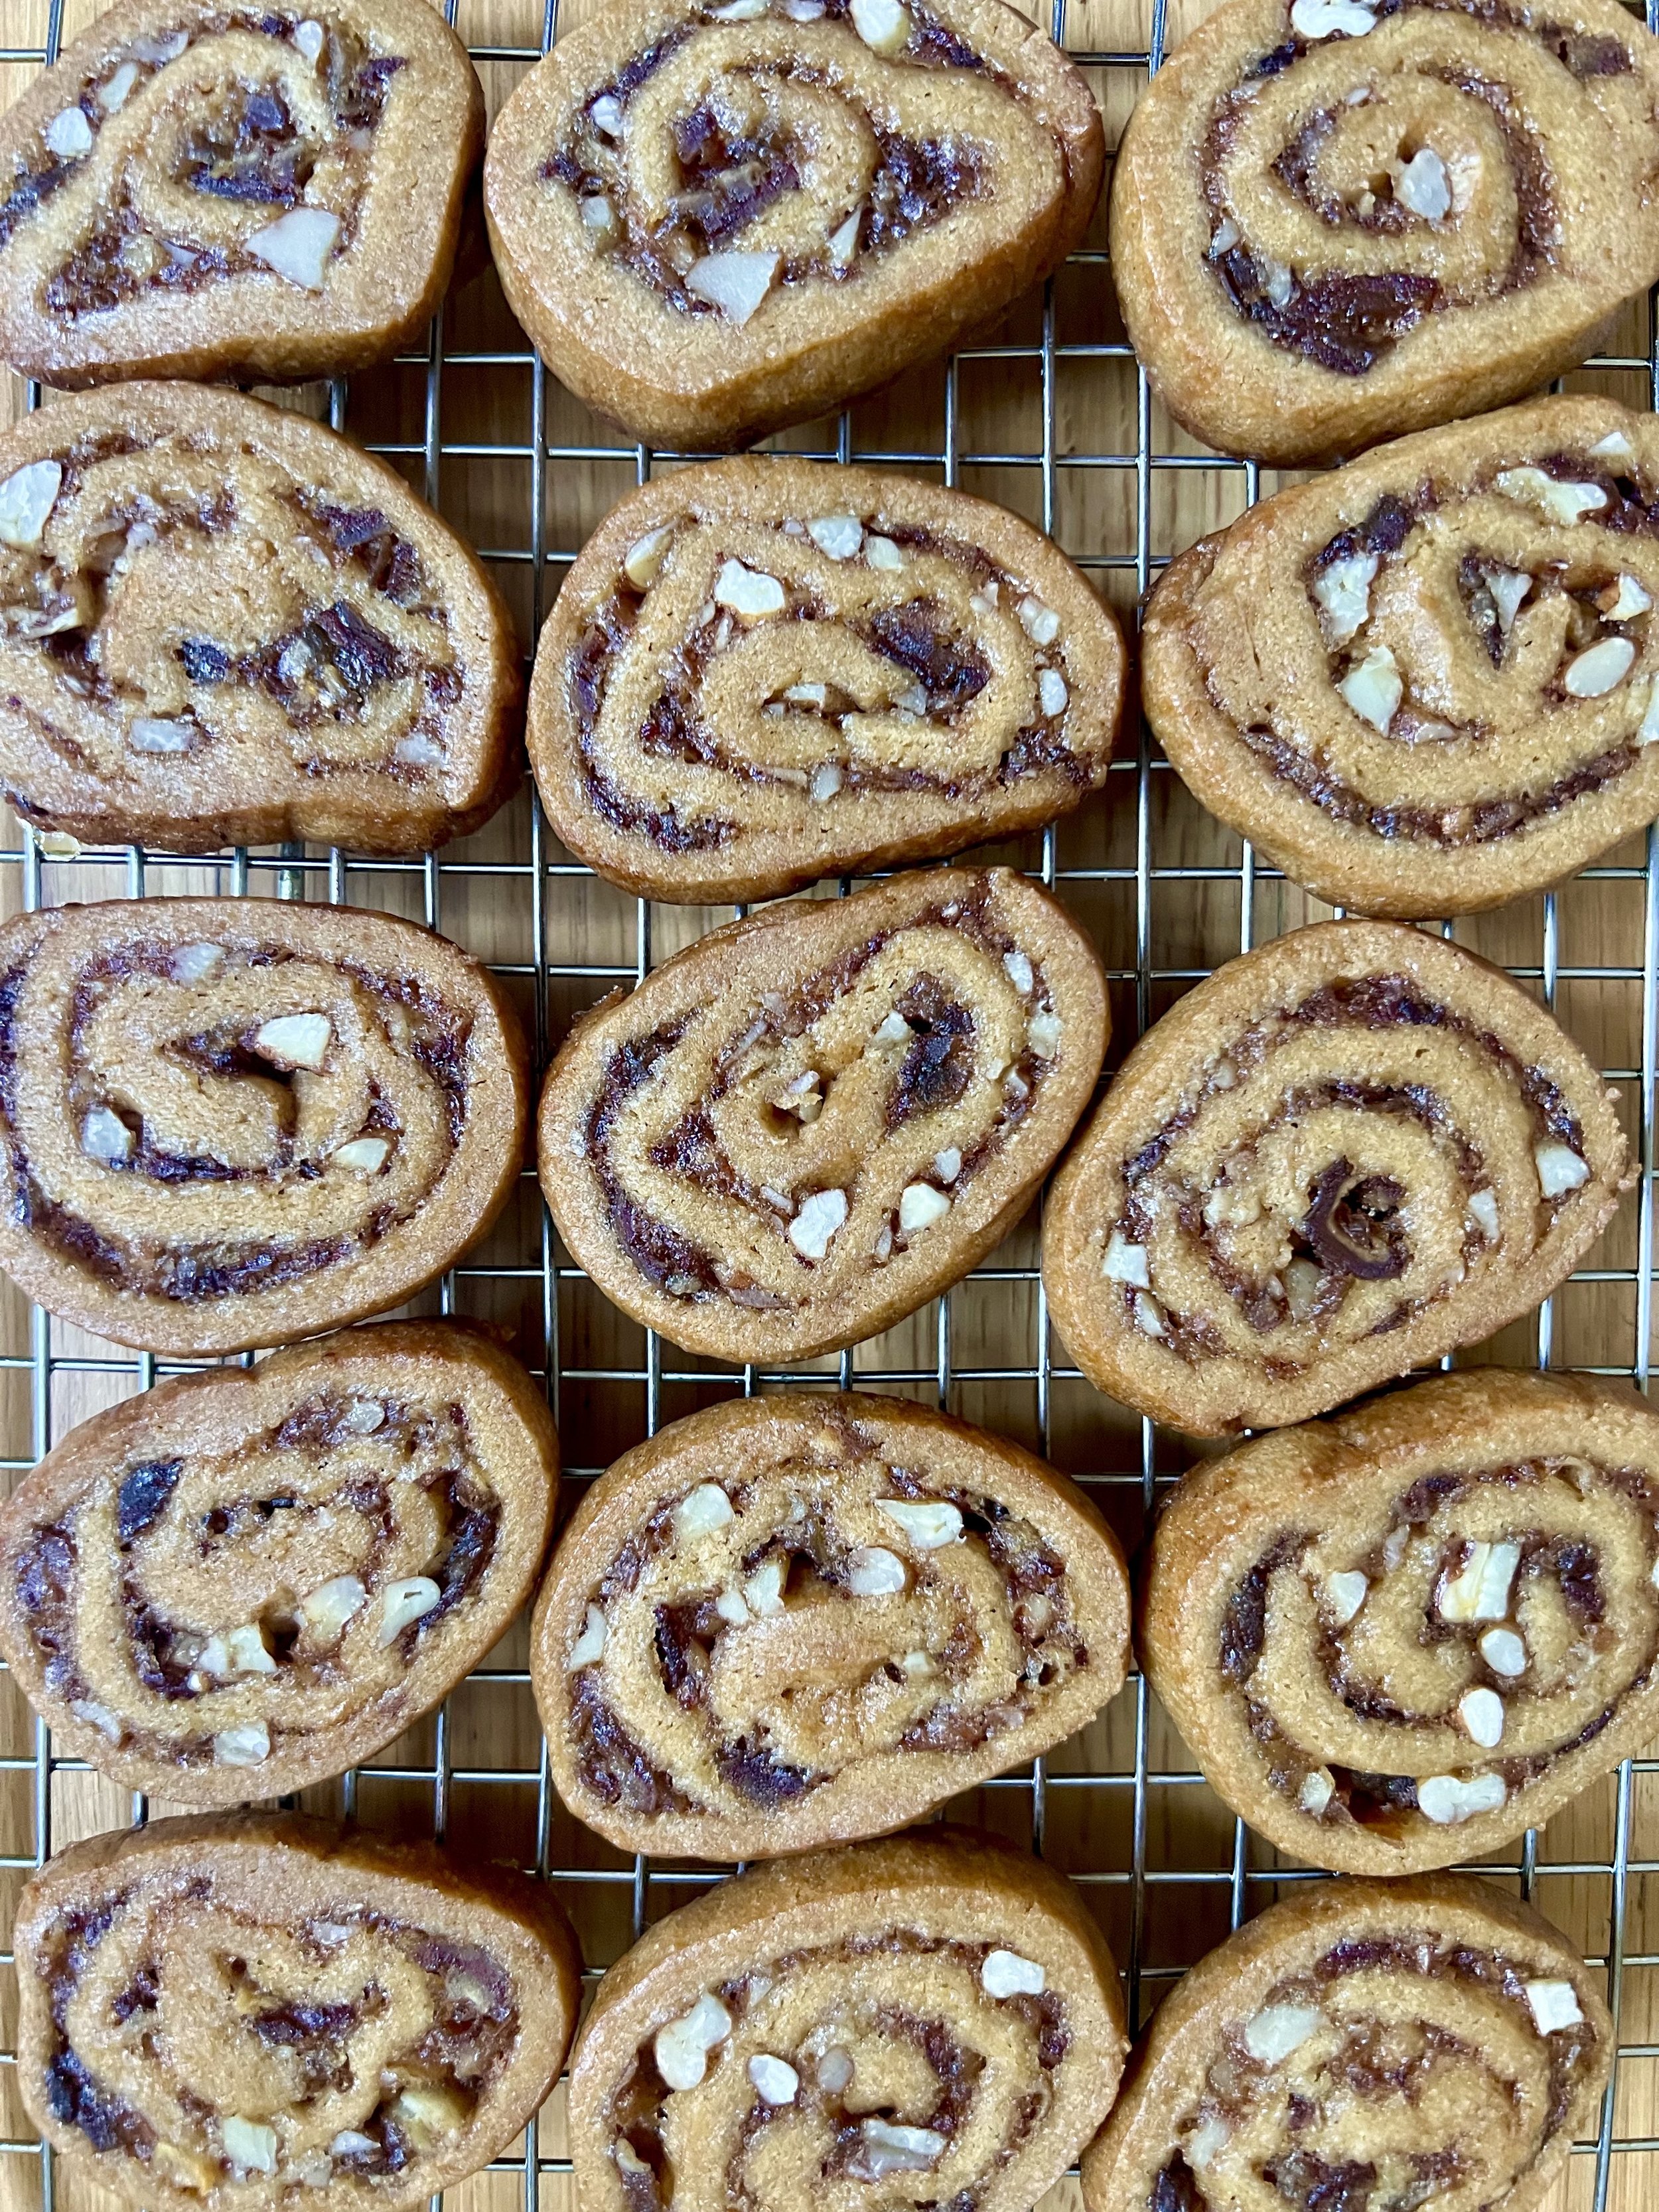
I've had a love affair with sticky toffee pudding for quite a while now. This British dessert made from dates and toffee sauce is less a pudding (by American standards), but rather a rich and gooey cake. Since I was in London last week, I took the opportunity to seek out and indulge in a few versions of this local dessert- all in the name of research, of course- so that I could recreate a worthy version at home just in time for Easter brunch. Sticky toffee pudding is seriously decadent, super unique, and utterly delicious, making it the perfect Easter dessert in my book. It's best served warm out of the oven, so if you need to bake the cake ahead of time, just wait to poke holes and pour the sauce over it until just before serving. Cover and reheat at 300ºF for about 20 minutes. While this cake is super delicious as-is, a little ice cream or whipped cream never hurt anybody, right? Throw on some toasted nuts and the rest of the warm toffee sauce, and you'll be adding this to your dessert rotation in no time!

Sticky Toffee Pudding:

Date Cake:

  • 1 cup Medjool dates, pitted & chopped

  • 1 1/4 cup boiling water

  • 1 teaspoon baking soda

  • 3/4 cup all-purpose flour

  • 1/2 cup whole wheat flour

  • 1 teaspoon baking powder

  • 1/2 teaspoon kosher salt

  • 1/2 cup unsalted butter

  • 1/2 cup turbinado sugar

  • 1/4 cup dark brown sugar

  • 2 large eggs, at room temperature

  • 1 teaspoon vanilla extract

Toffee Sauce:

  • 1 cup unsalted butter

  • 1 cup heavy cream

  • 1/2 cup dark brown sugar

  • 2 tsp pure vanilla extract

  • pinch salt

Toppings:

  • whipped cream or ice cream

  • pecans, toasted & chopped

  • extra toffee sauce

Preheat the oven to 350ºF and butter an 8 1/2 or 9 inch square (or round) baking dish. Place chopped dates in a heat-proof bowl, and cover with the boiling water. Mix in baking soda, then set aside to let soften. 

In the bowl of a stand mixer, beat the butter and sugars together until light and fluffy. Gradually beat in the eggs, then the vanilla until fully combined. In a separate bowl, sift together the flours, baking powder, and salt. Slowly add the flour and date mixtures to the stand mixer, alternating 1/2 of each at a time. Careful not to over-mix. 

Pour the batter into the baking dish and bake for about 45 minutes, or until a toothpick inserted into the center comes out with some moist crumbs still attached. Remove from the oven, and let cool a few minutes. While the cake bakes, make the toffee sauce. Bring the butter, cream, brown sugar, vanilla and salt to a boil in a saucepan, then lower to simmer. Whisk or stir constantly for about 10 minutes until sauce thickens and coats spoon. Remove from heat and set aside.

While cake is still warm, poke several holes over the entire surface with a chopstick. Pour toffee sauce over top of the cake, spreading it around evenly and allowing it to be absorbed into the cake. Repeat another time, leaving about 1/4 of the sauce for serving. If desired, turn oven to broil and return the cake to the oven for just one minute for extra caramelization! Careful not to let it burn.

To serve, you may cut squares, use a ring-mold, or simply spoon portions of the cake into serving bowls. Top with additional warm toffee sauce, whipped cream (or ice cream), and toasted pecans.

*Adapted from Date Cake with Toffee Sauce by Smitten Kitchen and Warm Sticky Toffee Pudding by David Lebovitz.

Useful Tools:


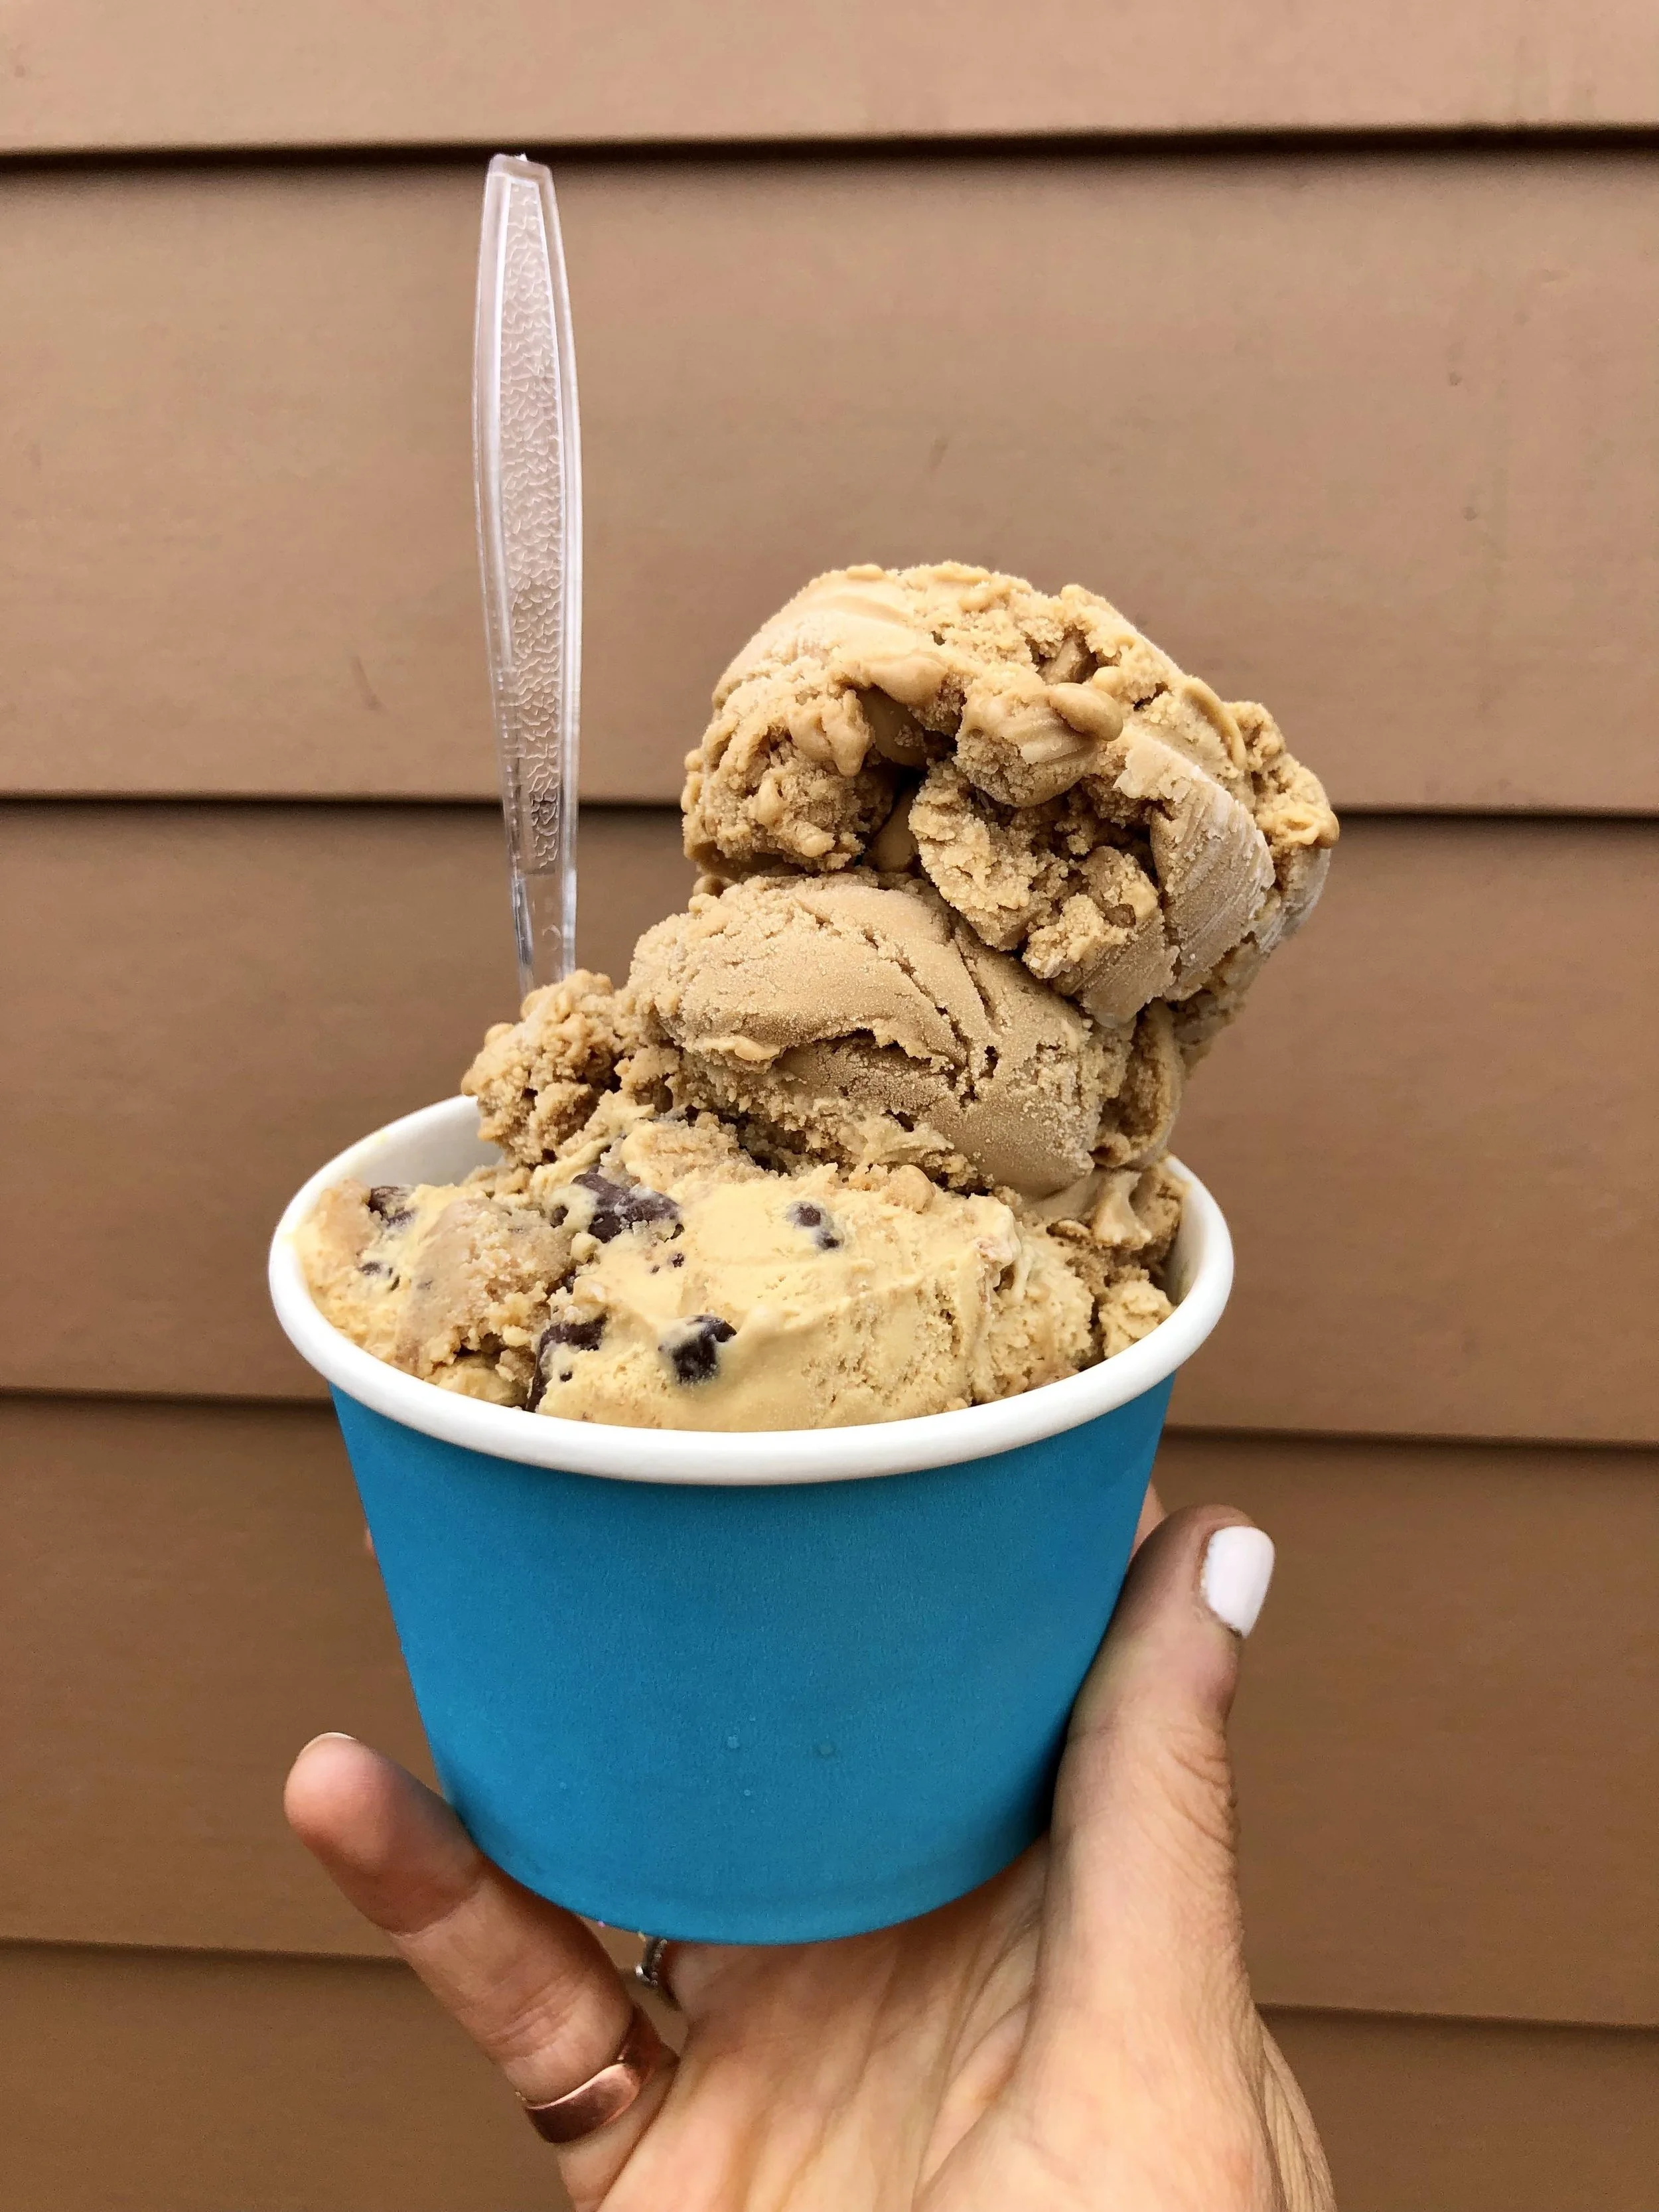
levain bakery


In my opinion, the BEST cookie in NYC (or the world?) comes from Levain Bakery. It's huge, weighing in at 6 ounces, and has the perfect mix of textures. The outside is crisp and chewy, while the center is basically warm, almost-raw cookie dough. Their cult classic is a chocolate chip walnut cookie, but you cannot go wrong with any of their offerings. I’d happily eat any (all?) of them any day of the week, but my favorites are the dark chocolate peanut butter chip and the oatmeal raisin cookies! I only wish they were located closer to me, but it's probably for the best that they aren't! Of course, Levain, if you want to open in Williamsburg, Brooklyn, I wouldn't say no... YUM! I love these so much that I created a Levain Bakery Wannabe Cookie recipe, which I definitely recommend checking out to get your fix in the comfort of your own kitchen. You can also order them online if that sounds more up your alley! Either way, I hope you enjoy :)