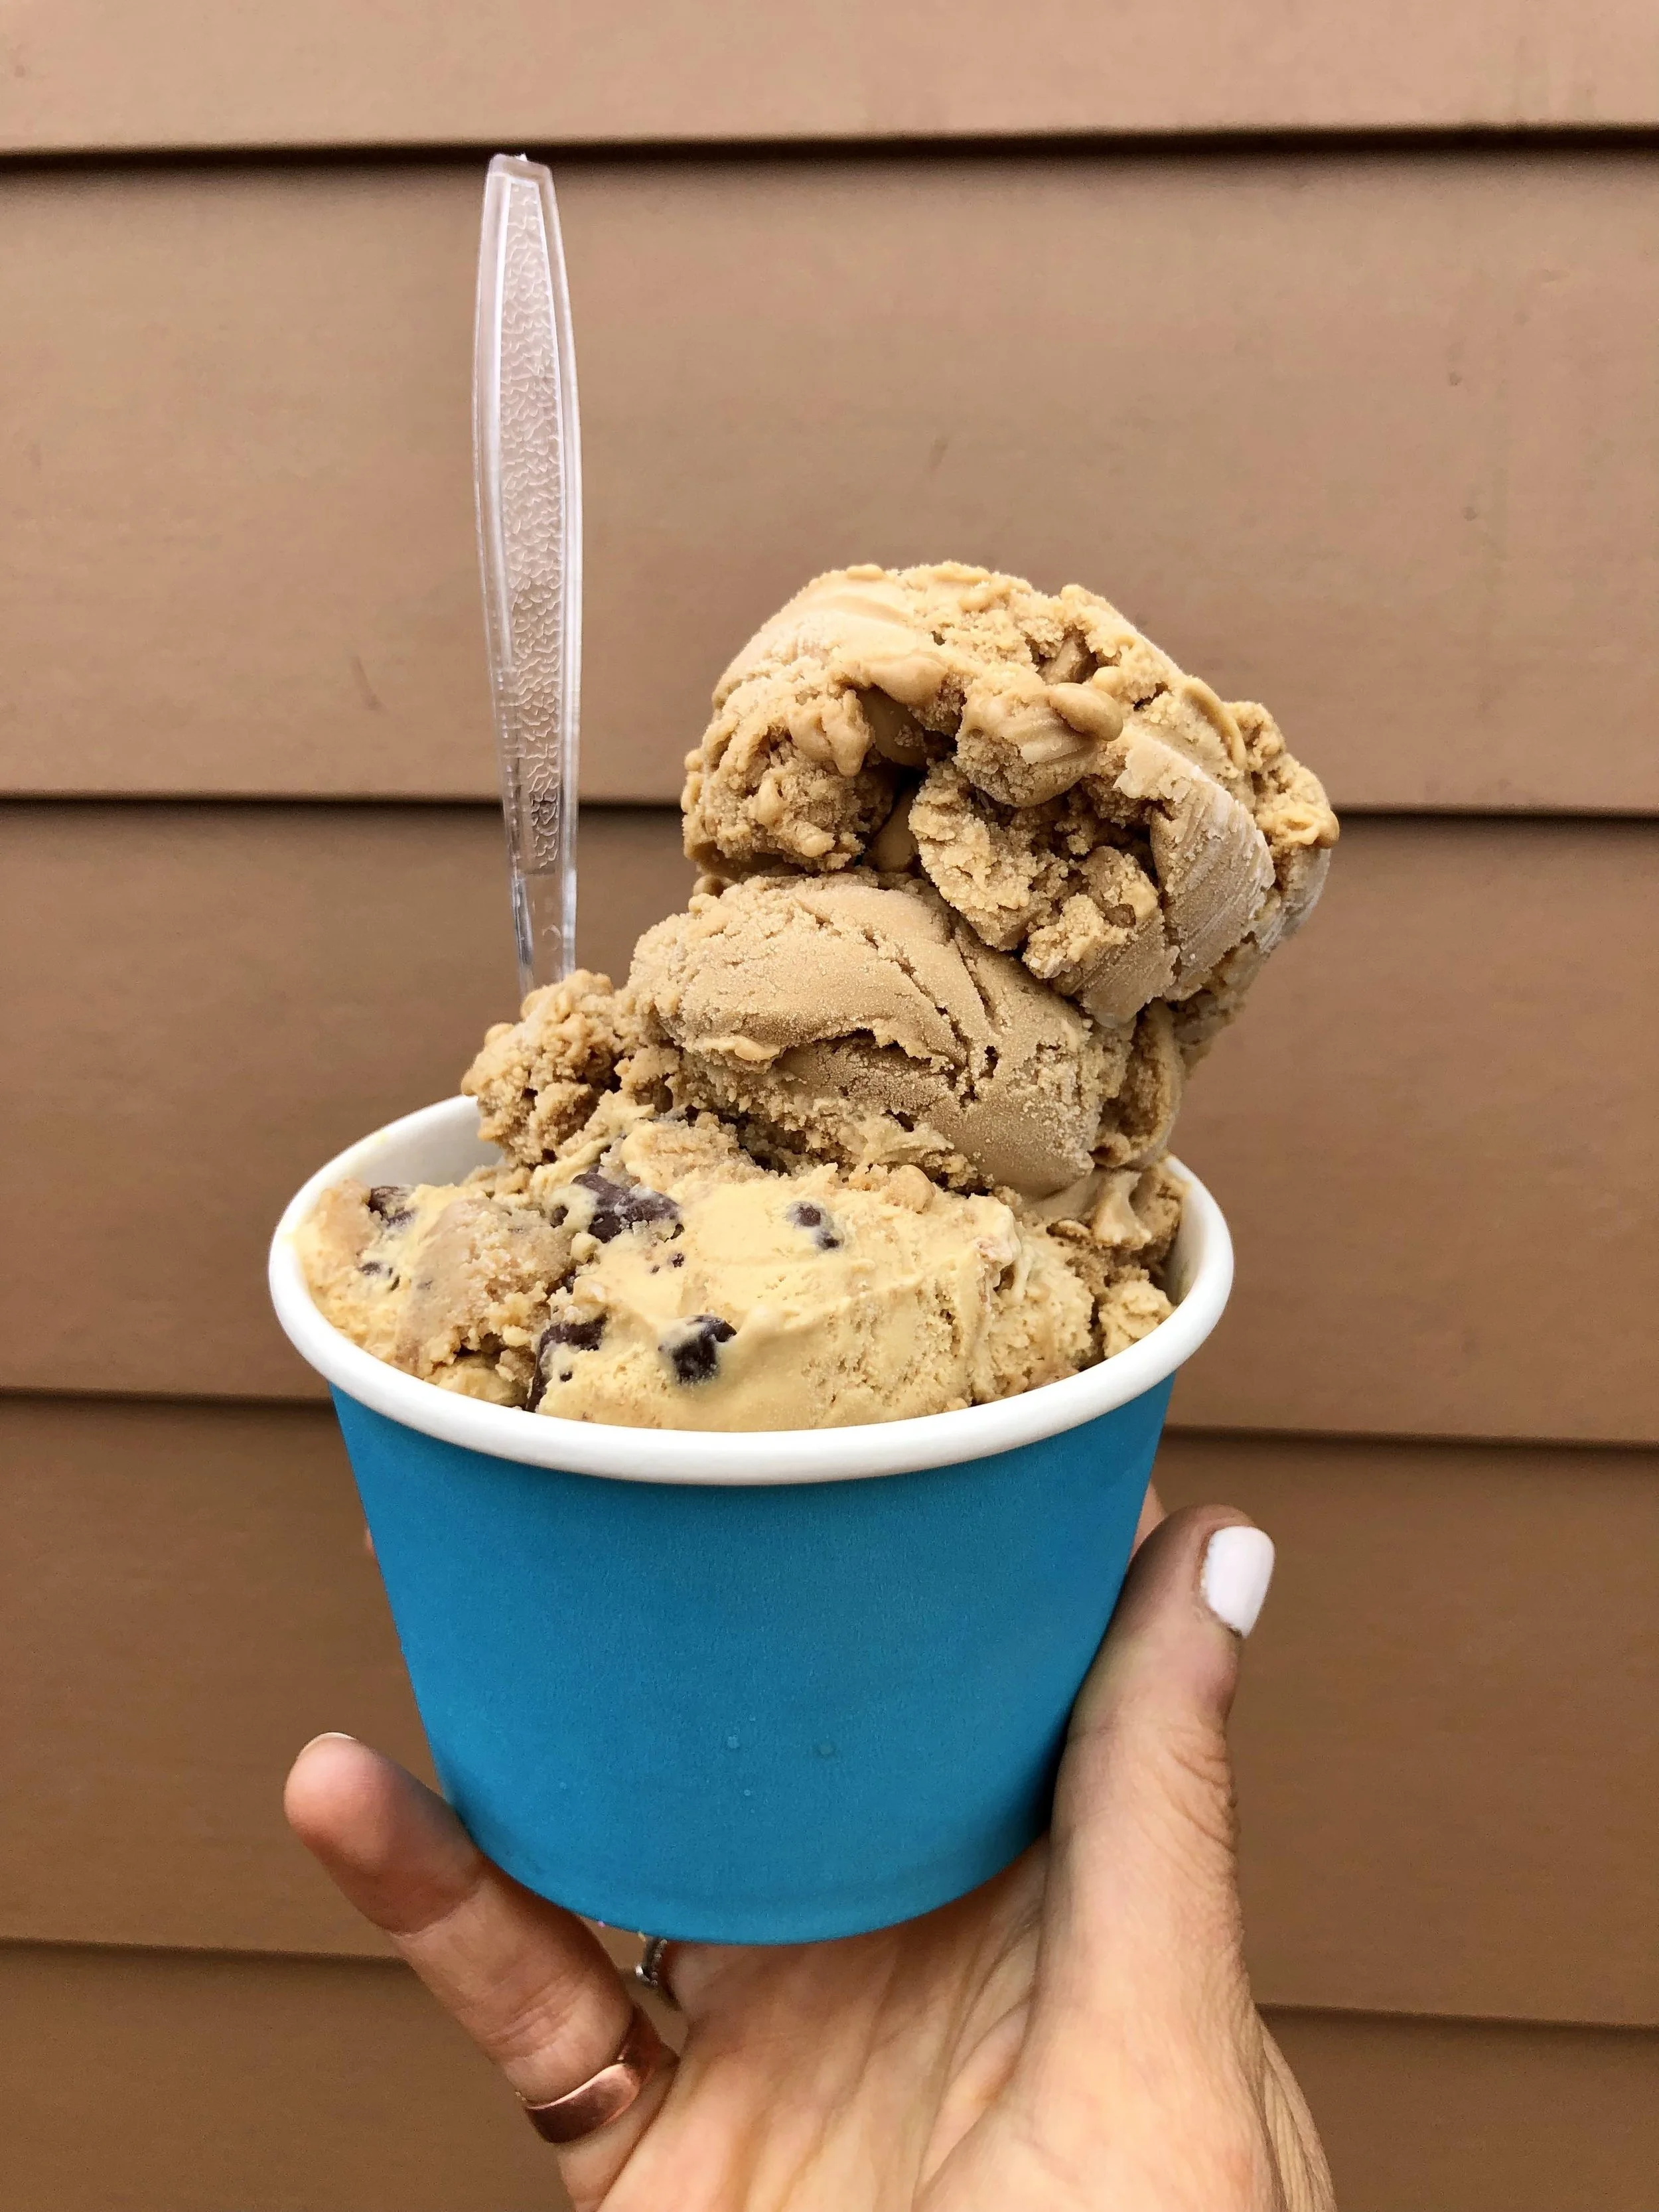
I love funky sweets, so I was super pumped to try Coolhaus Ice Cream from the moment I discovered them on social media. They started as an ice cream truck, but have gotten so popular that they now have scoop shops in LA and Dallas, as well as several mobile trucks in LA, NYC, and Dallas ! The idea is simple, but delicious: build your own ice cream sandwich from a scrumptious list of freshly baked cookies and housemade ice creams. Mix and match if you want, and there are even vegan and gluten free options available as well! Ice creams come in tasty and unique flavors like campfire s'mores, balsamic fig & mascarpone, and fried chicken & waffles, while the cookie options range from classic double chocolate to peanut butter Captain Crunch to confetti whoopie pie! The sandwiches are named after architects and architectural movements that inspired the design-minded owners (hence the "cool houses" created from ice cream & cookies). Plus, they're served in an edible wrapper, so don't be afraid to get messy as you dig in! I guess you could say I'm a big fan, as I've visited the truck in both NYC and Texas- I guess now I just need to find them in LA :) But good news for me and everyone else: Coolhaus is now sold in many retail stores, as well as available for purchase online! Trust me on this one, get you some Coolhaus ice cream, stat!


cheesecake brownies
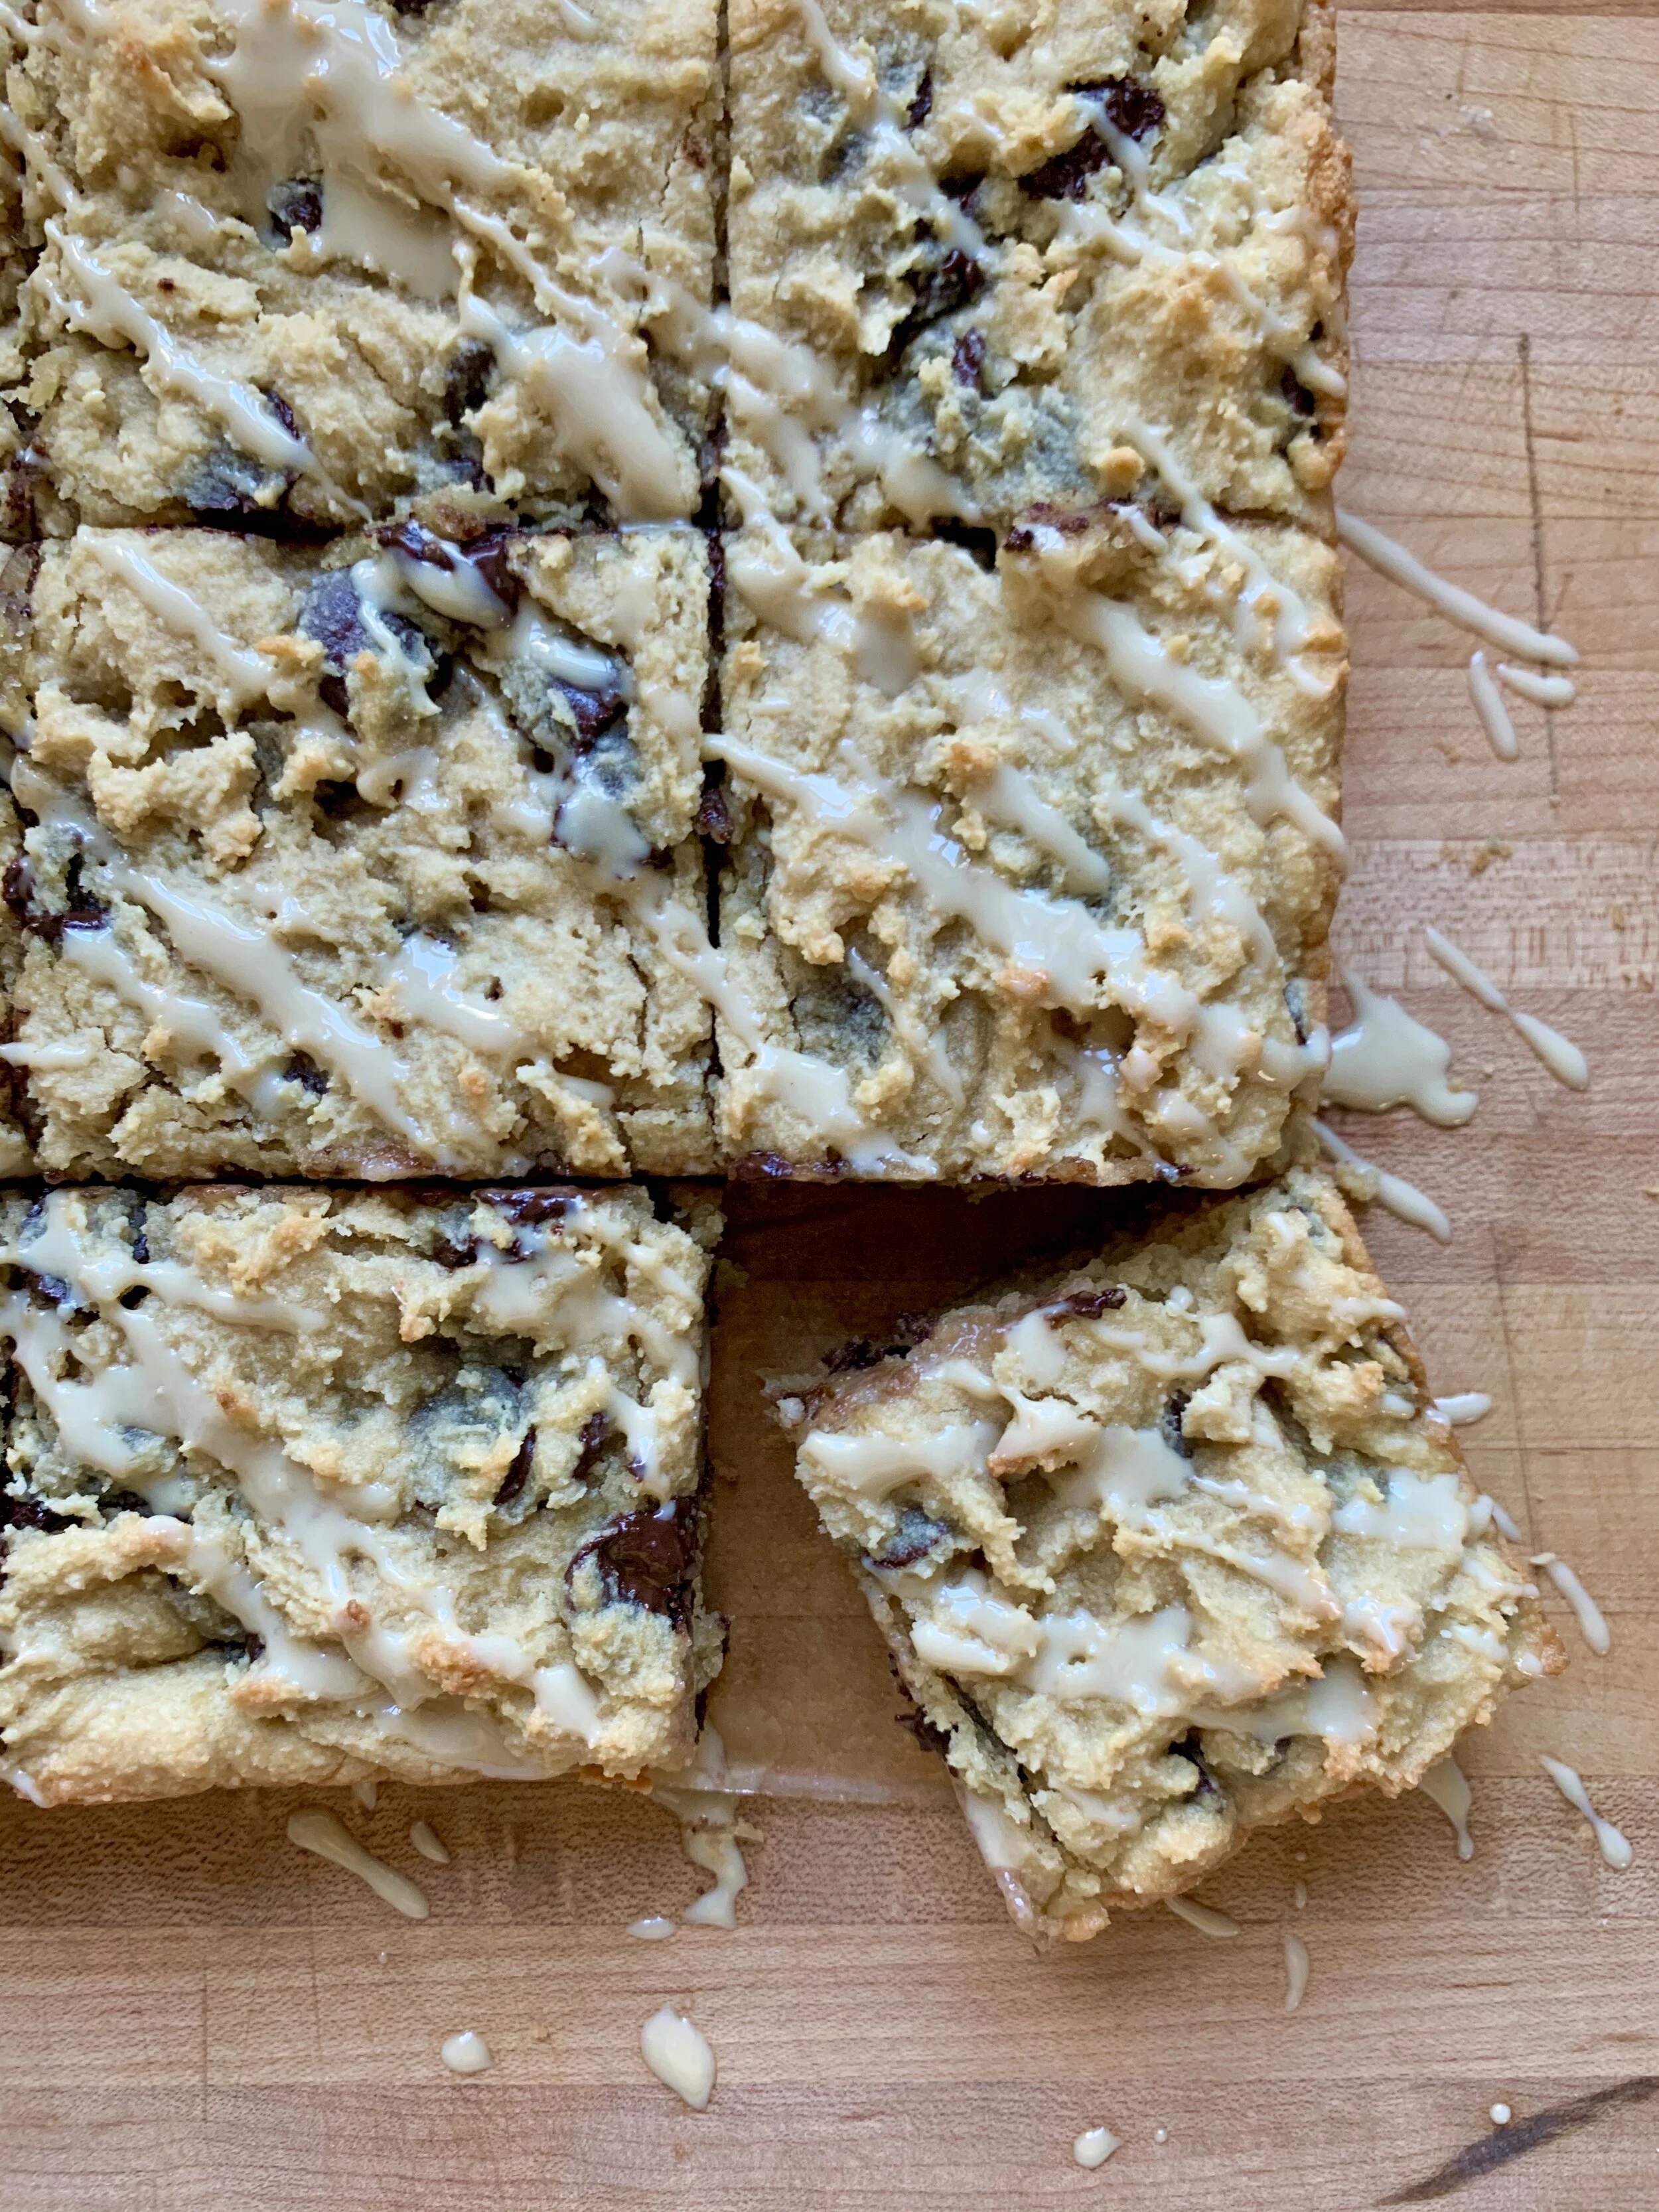
My husband loves chocolate and cheesecake, so when I'm baking something for him, those flavors always come to mind. A decadent combination of the two would pretty much be the ideal combo to him, so cheesecake brownies seemed like an easy, but perfect solution! Rich and fudgy brownies are already great on their own, and I like 'em the fudgier the better! But now add a layer of cheesecake to the mix, and you've got yourself one seriously tasty treat. If you want, you can lightly swirl in the cheesecake batter to the brownie batter, creating a cool marbled effect on your brownies! I got a little carried away in mixing, so no picture-perfect marbling, but I promise they tasted great anyway! PS- I like using flatter, wider chocolate feves or discs instead of regular chips, and Valrhona makes great ones!
Cheesecake Brownies:
1/2 cup unsalted butter, cut into pieces
1 cup bittersweet chocolate chips, divided
3/4 cup turbinado sugar
2 large eggs
1/2 tsp pure vanilla extract
2/3 cup all-purpose flour
2 tbsp unsweetened cocoa powder
1/4 tsp salt
8 oz. cream cheese, well softened
1/3 cup turbinado sugar
1 large egg yolk
1/4 tsp pure vanilla extract
Preheat oven to 350°F and butter an 8-inch square baking pan. For the brownie batter, melt butter and 1/2 cup chocolate chips in a double boiler over simmering water, stirring occasionally, until smooth. Remove from heat and whisk in sugar, eggs, and vanilla until well combined. Whisk in flour, cocoa powder, and salt until just combined and spread batter evenly into baking pan.
For the cheesecake batter, whisk together cream cheese, sugar, egg yolk, and vanilla in a small bowl until smooth. Dollop large spoonfuls over brownie batter, then swirl in with a butter knife to create a marbled effect. Alternatively, you may mix the two together more evenly.
Sprinkle remaining chocolate chips over the batter. Bake until edges are slightly puffed and center is just set, about 35 minutes, then allow to cool. These are equally as delicious warm out of the oven as they are at room temperature or chilled, although the brownies will be much easier to cut if chilled. Makes nine 3" square, thick brownies.
*Adapted from cheesecake-marbled brownies by Smitten Kitchen.
Useful Tools:


lighthouse
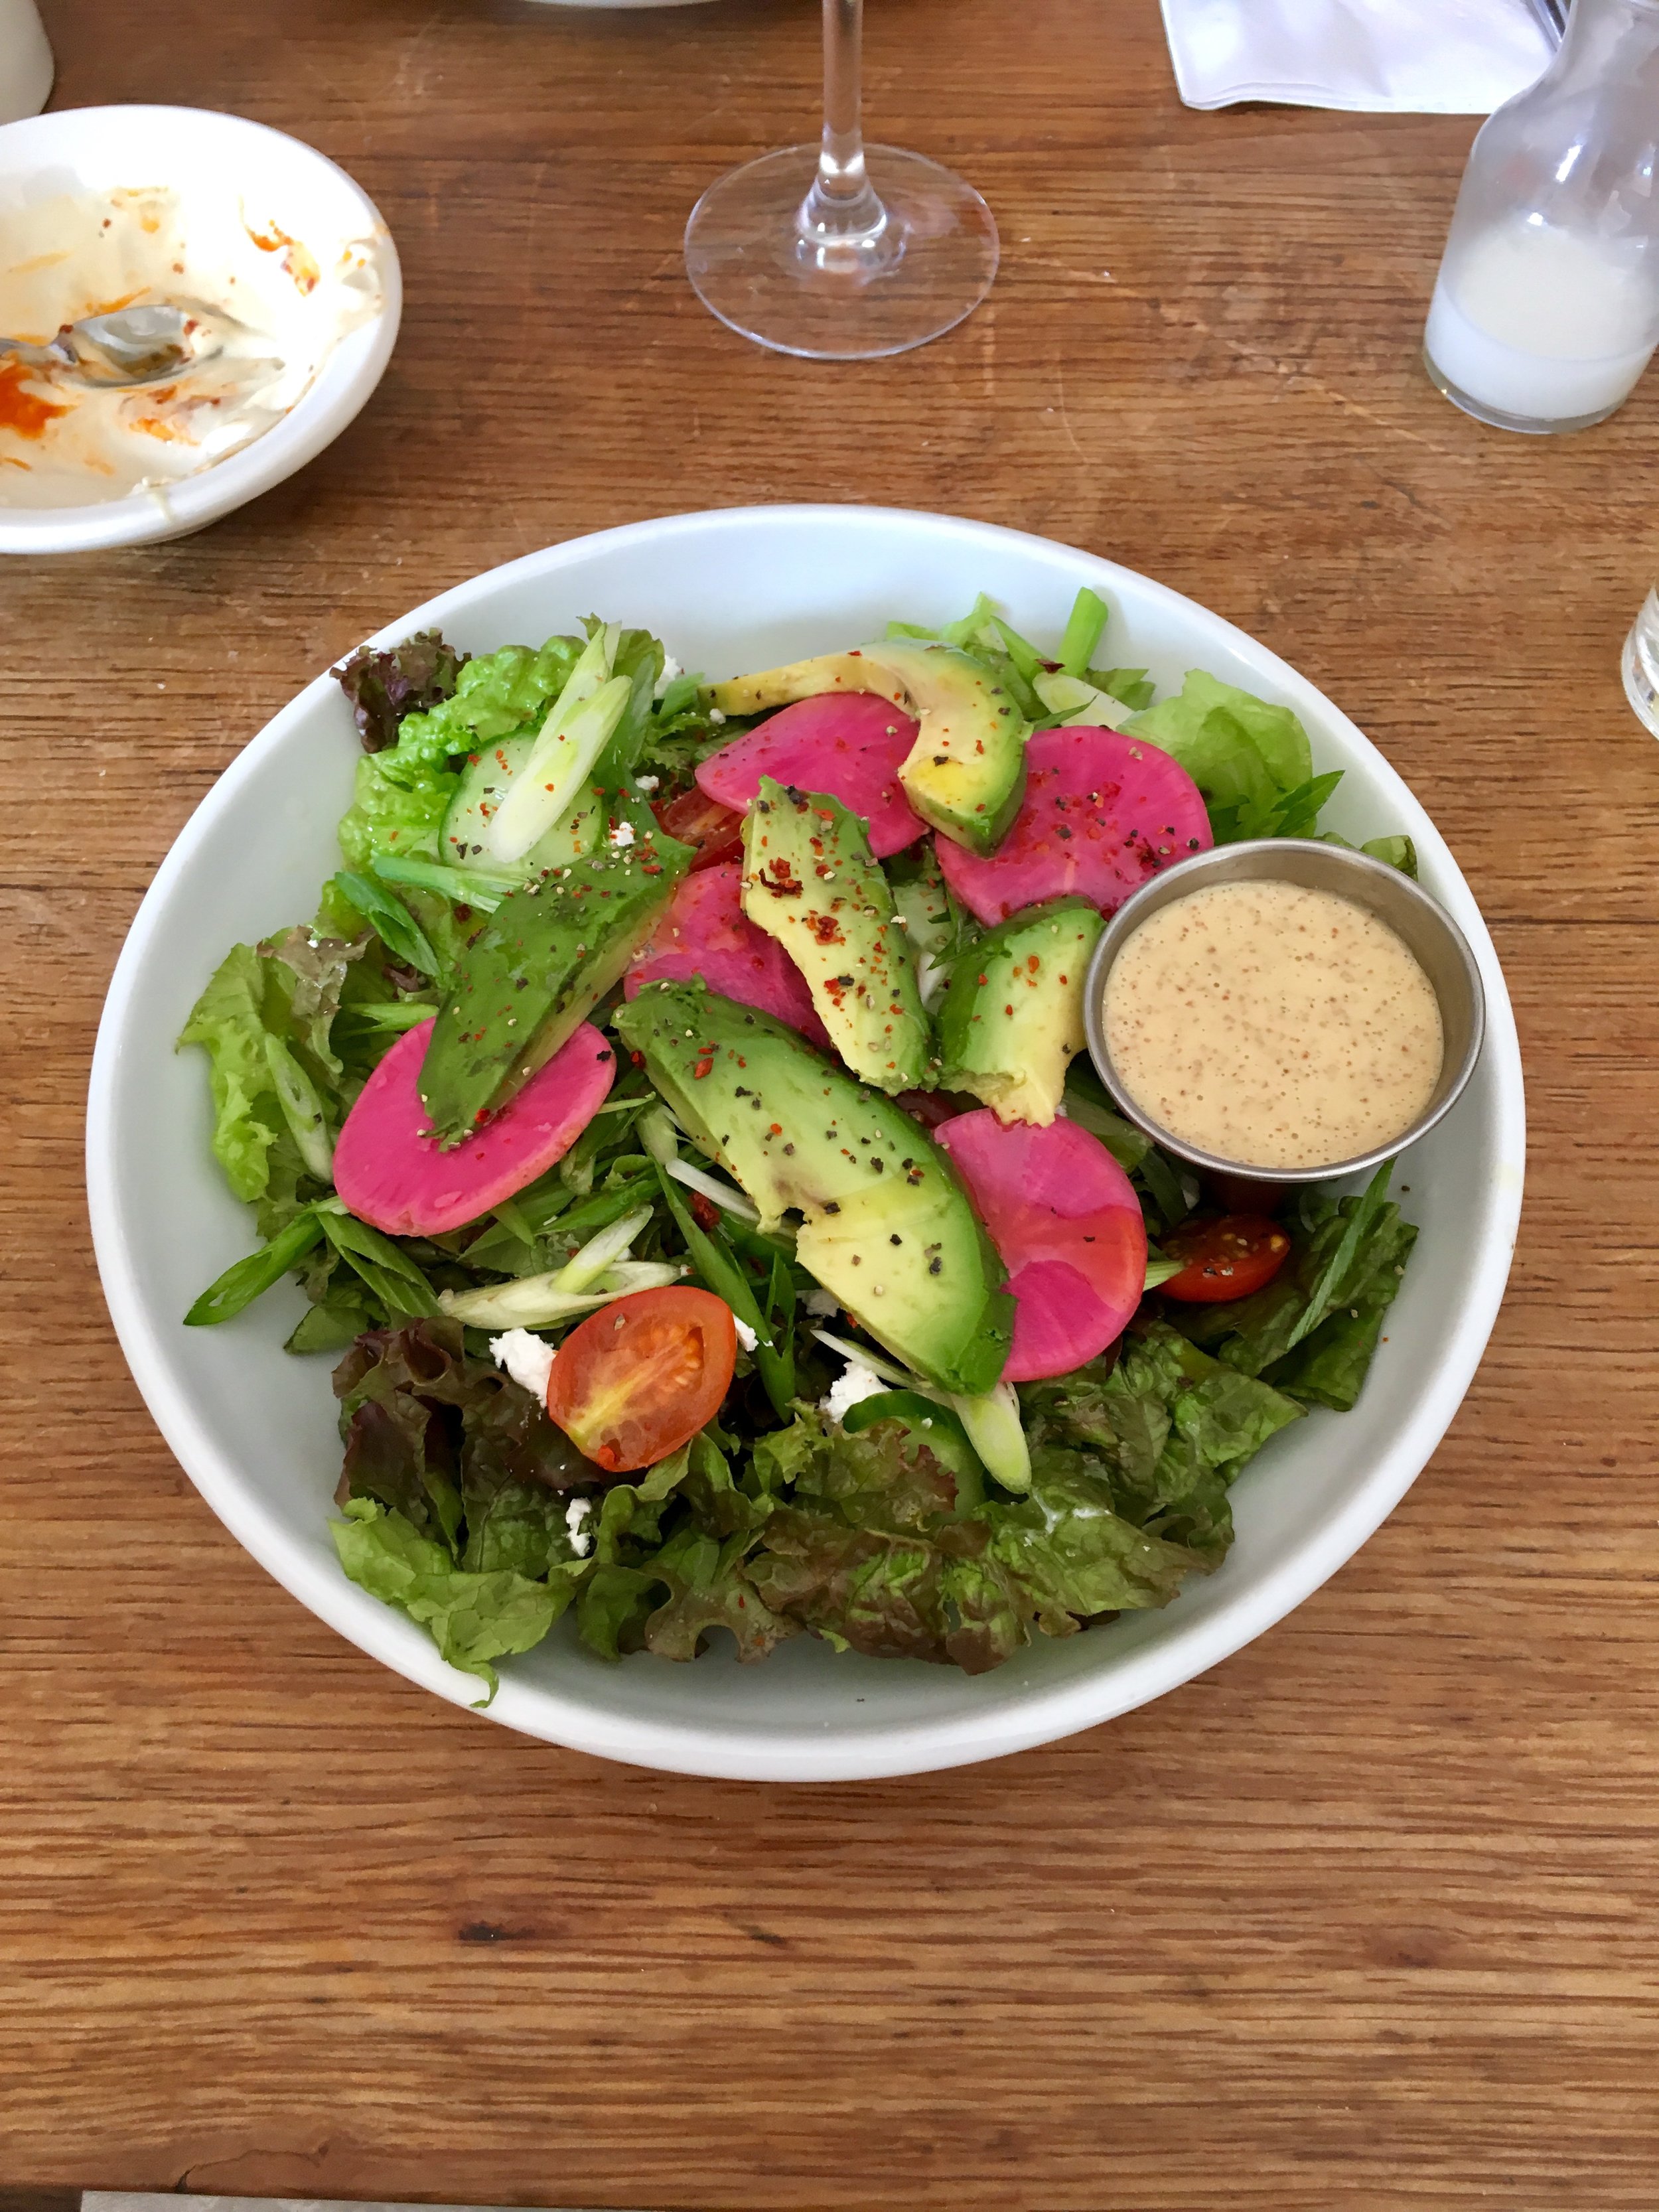
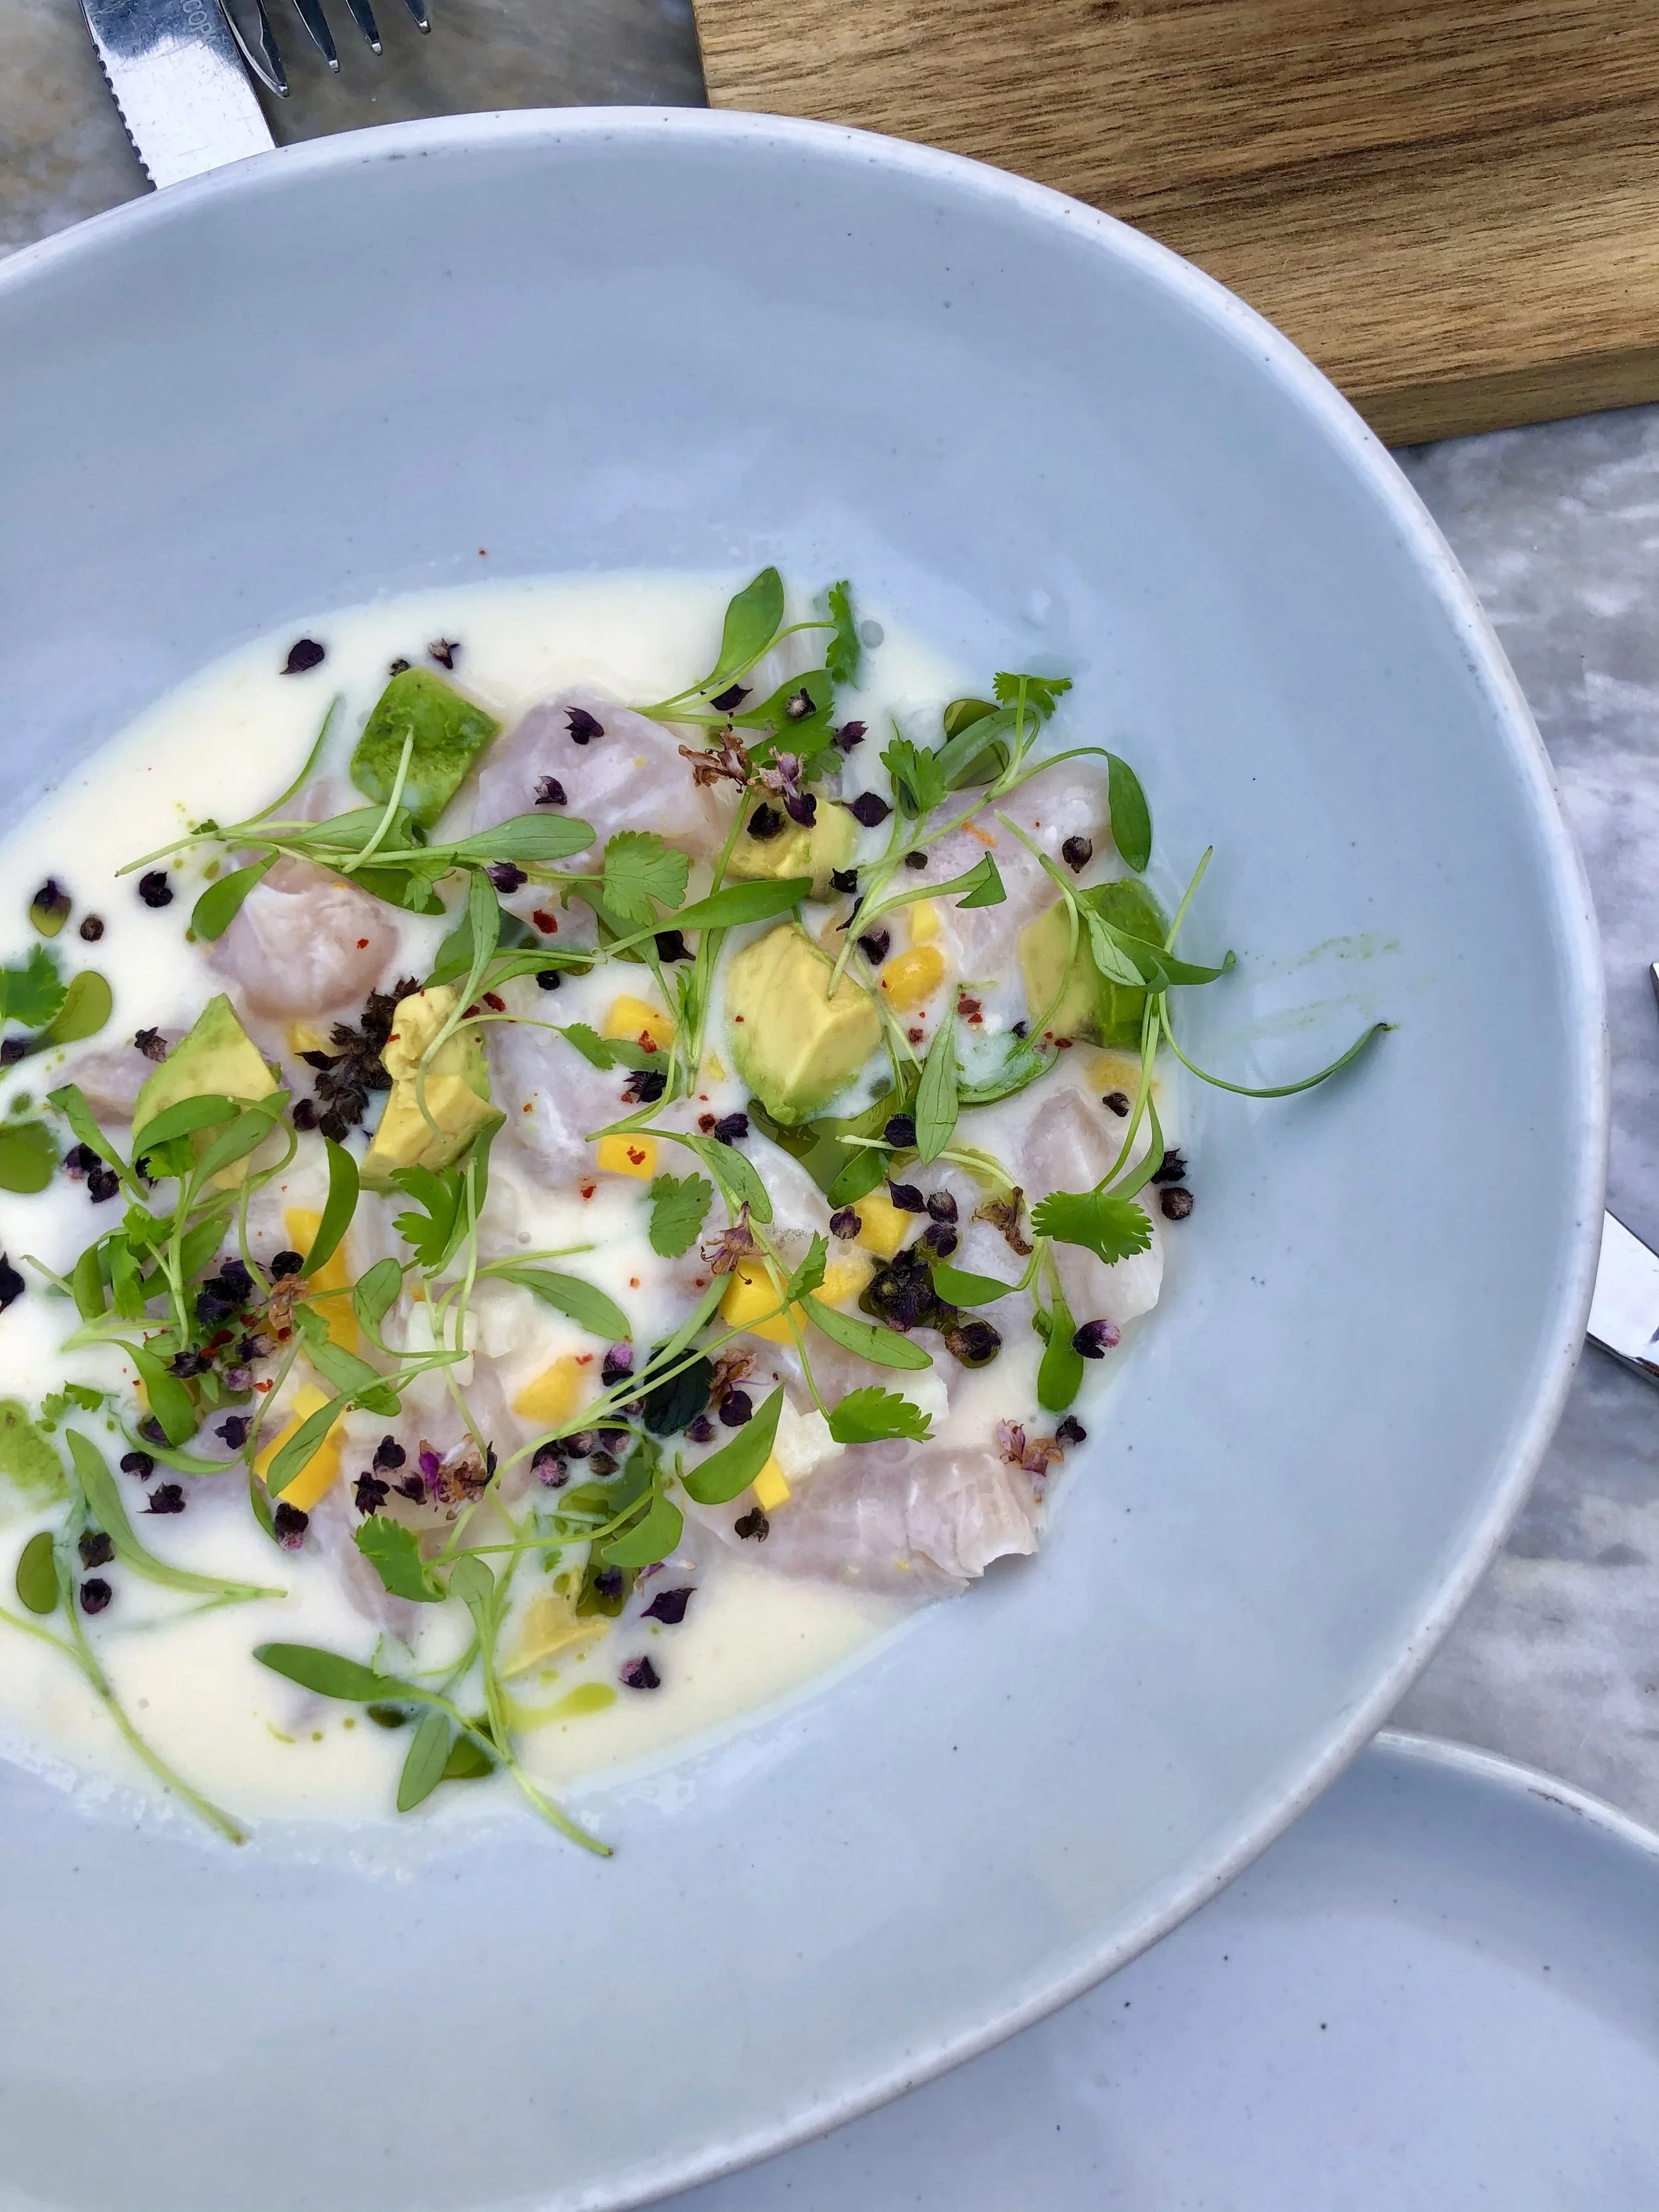
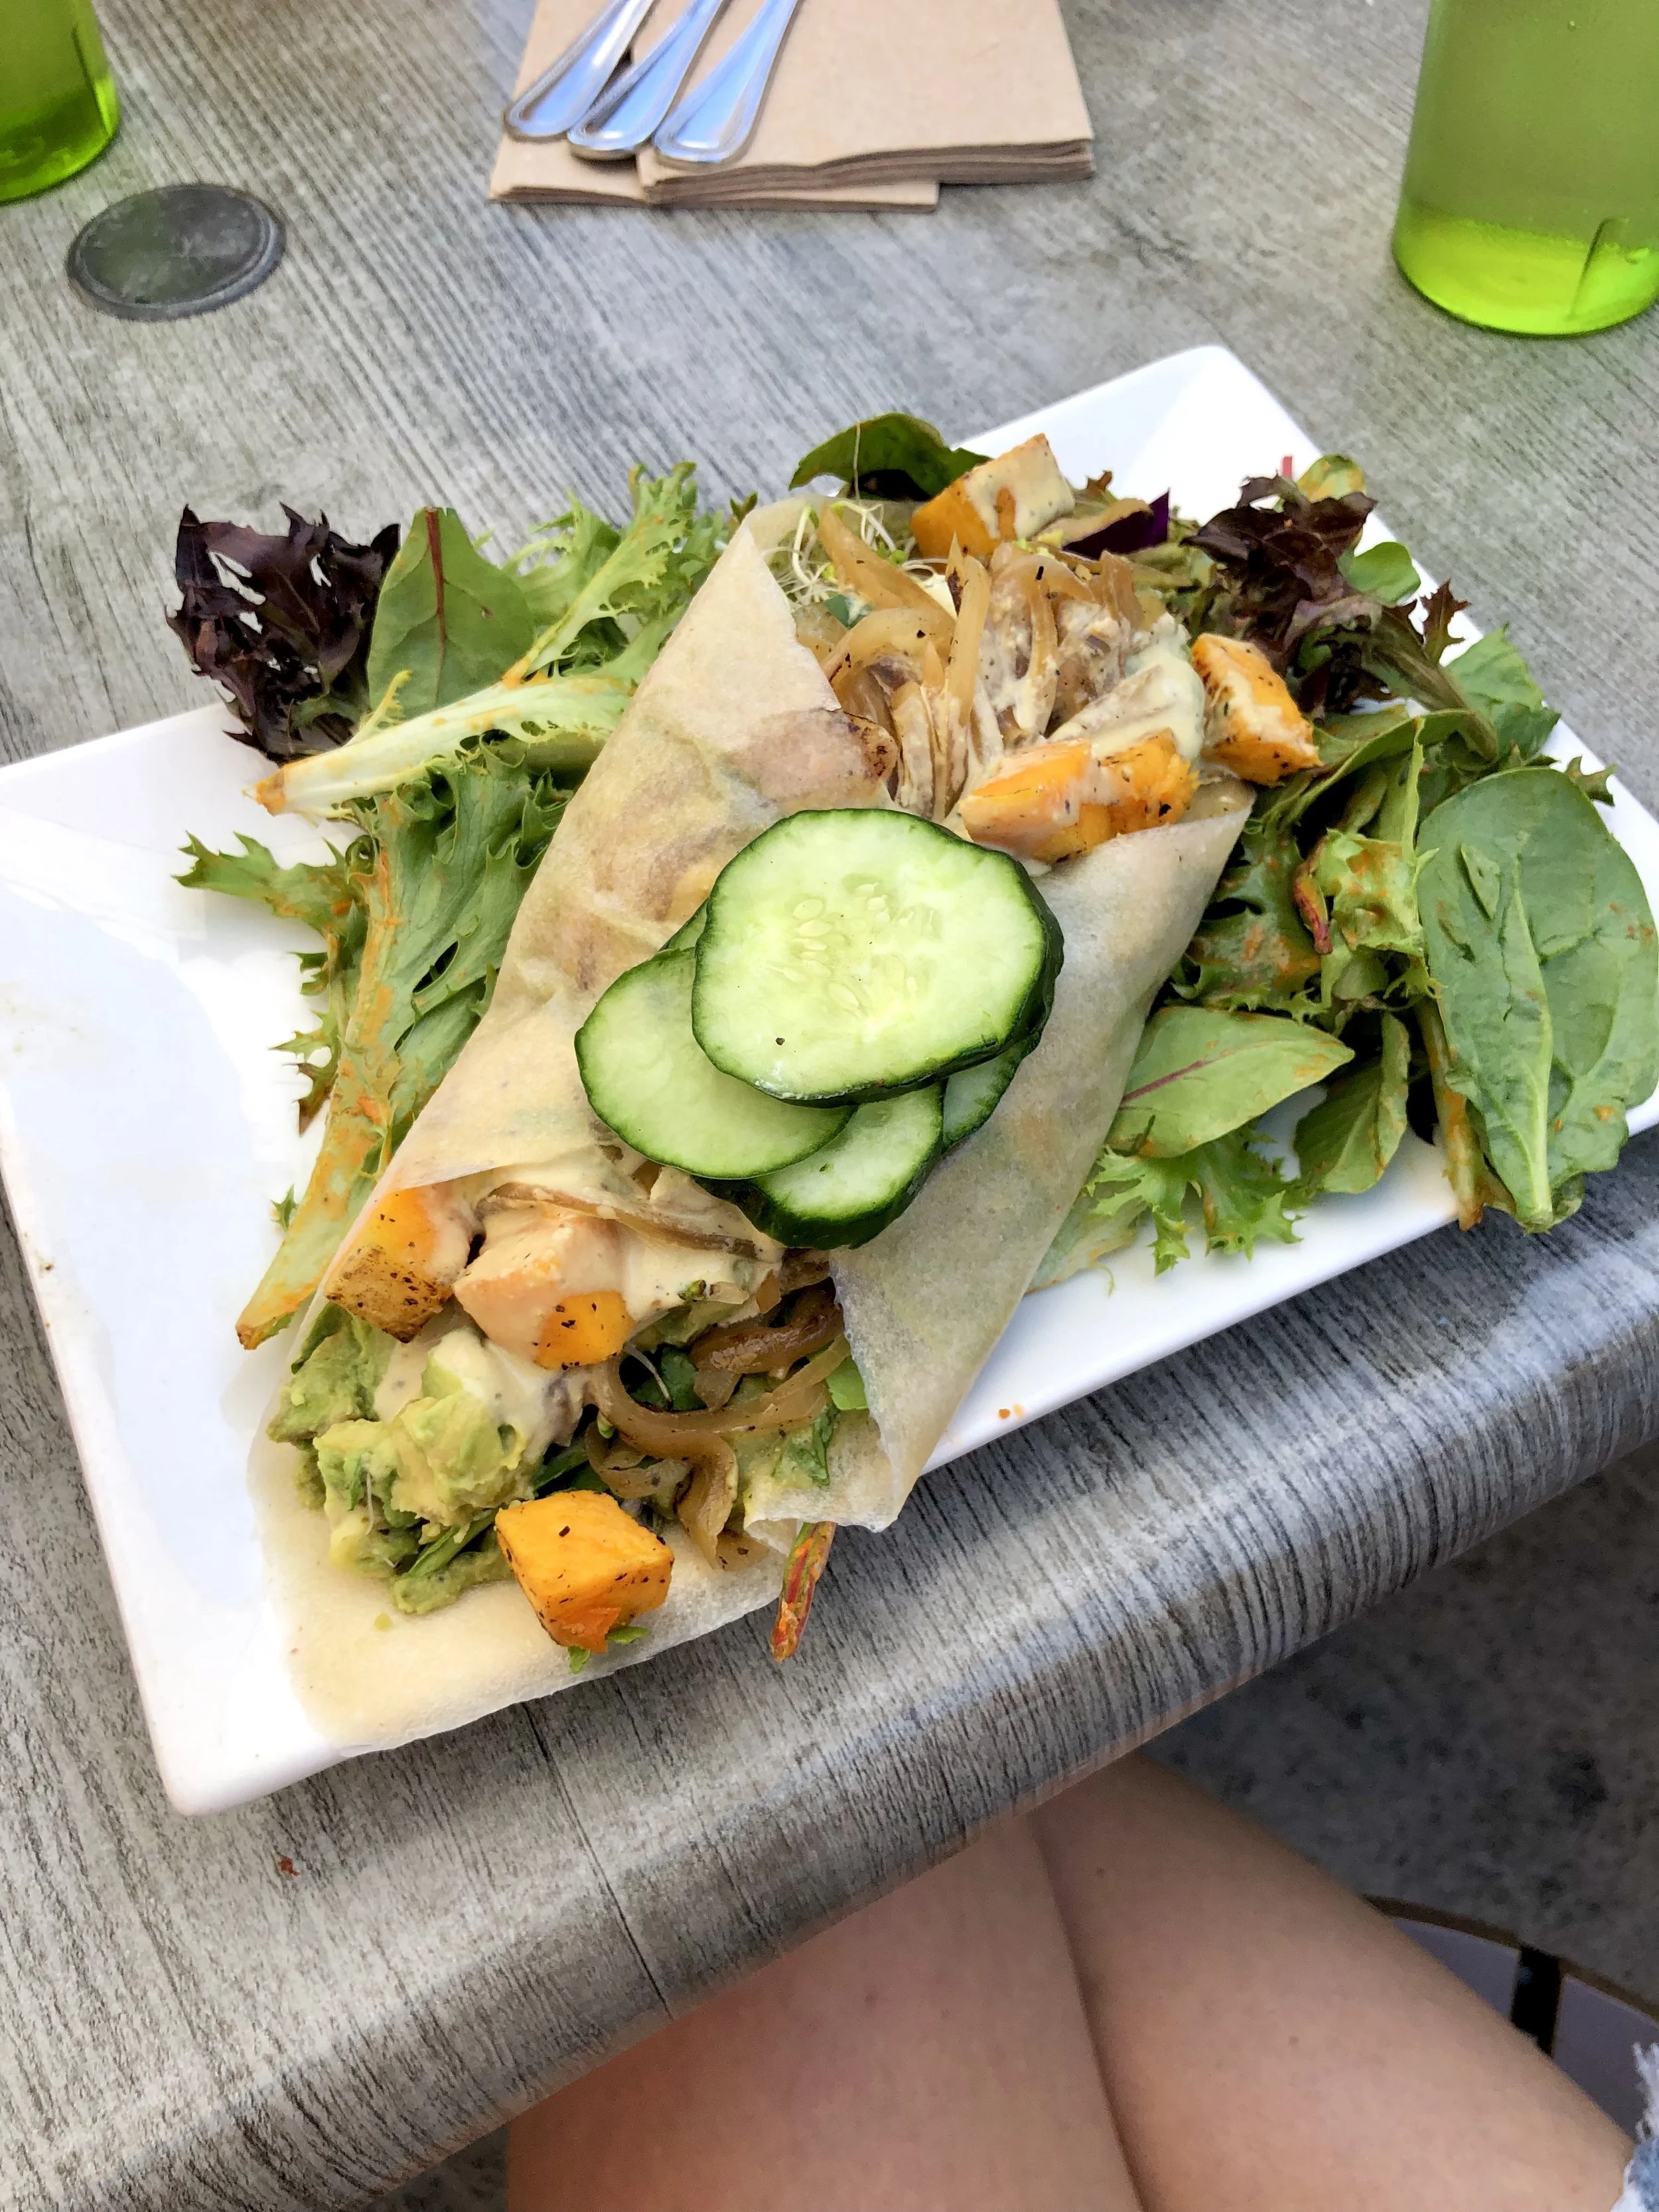
I'm all about a seasonal menu with tons of healthy, fresh food- even better if it's got a slightly Mediterranean vibe! Lighthouse is all those things and more, with a focus on sustainability and local produce! I was excited to stop in for brunch with some girlfriends recently, and I love the laid back feeling of home you get from the moment you walk in. The whole place gets tons of light from the huge windows, and there's plenty of outdoor seating as well, which I'm sure makes the perfect spot for brunch or happy hour come summer. We started with their signature freshly baked challah bread with housemade tahini and pickles. There's not much better than fresh baked bread, except when it's slathered in rich and creamy tahini. We chose an assortment of entrees, and I loved all the bright colors involved! From vegetable salads to grilled chicken bowls to chilaquiles to ceviche, there's certainly something for everyone! I really want to try the charred eggplant bowl with green coconut rice and tahini as it sounds totally up my alley, and I think my husband would be all about the duck pita with calabrian chili! Guess we will just have to head back soon :) Make sure to click through the photos for more details on our delish meal!


- you may also be interested in -


abcV


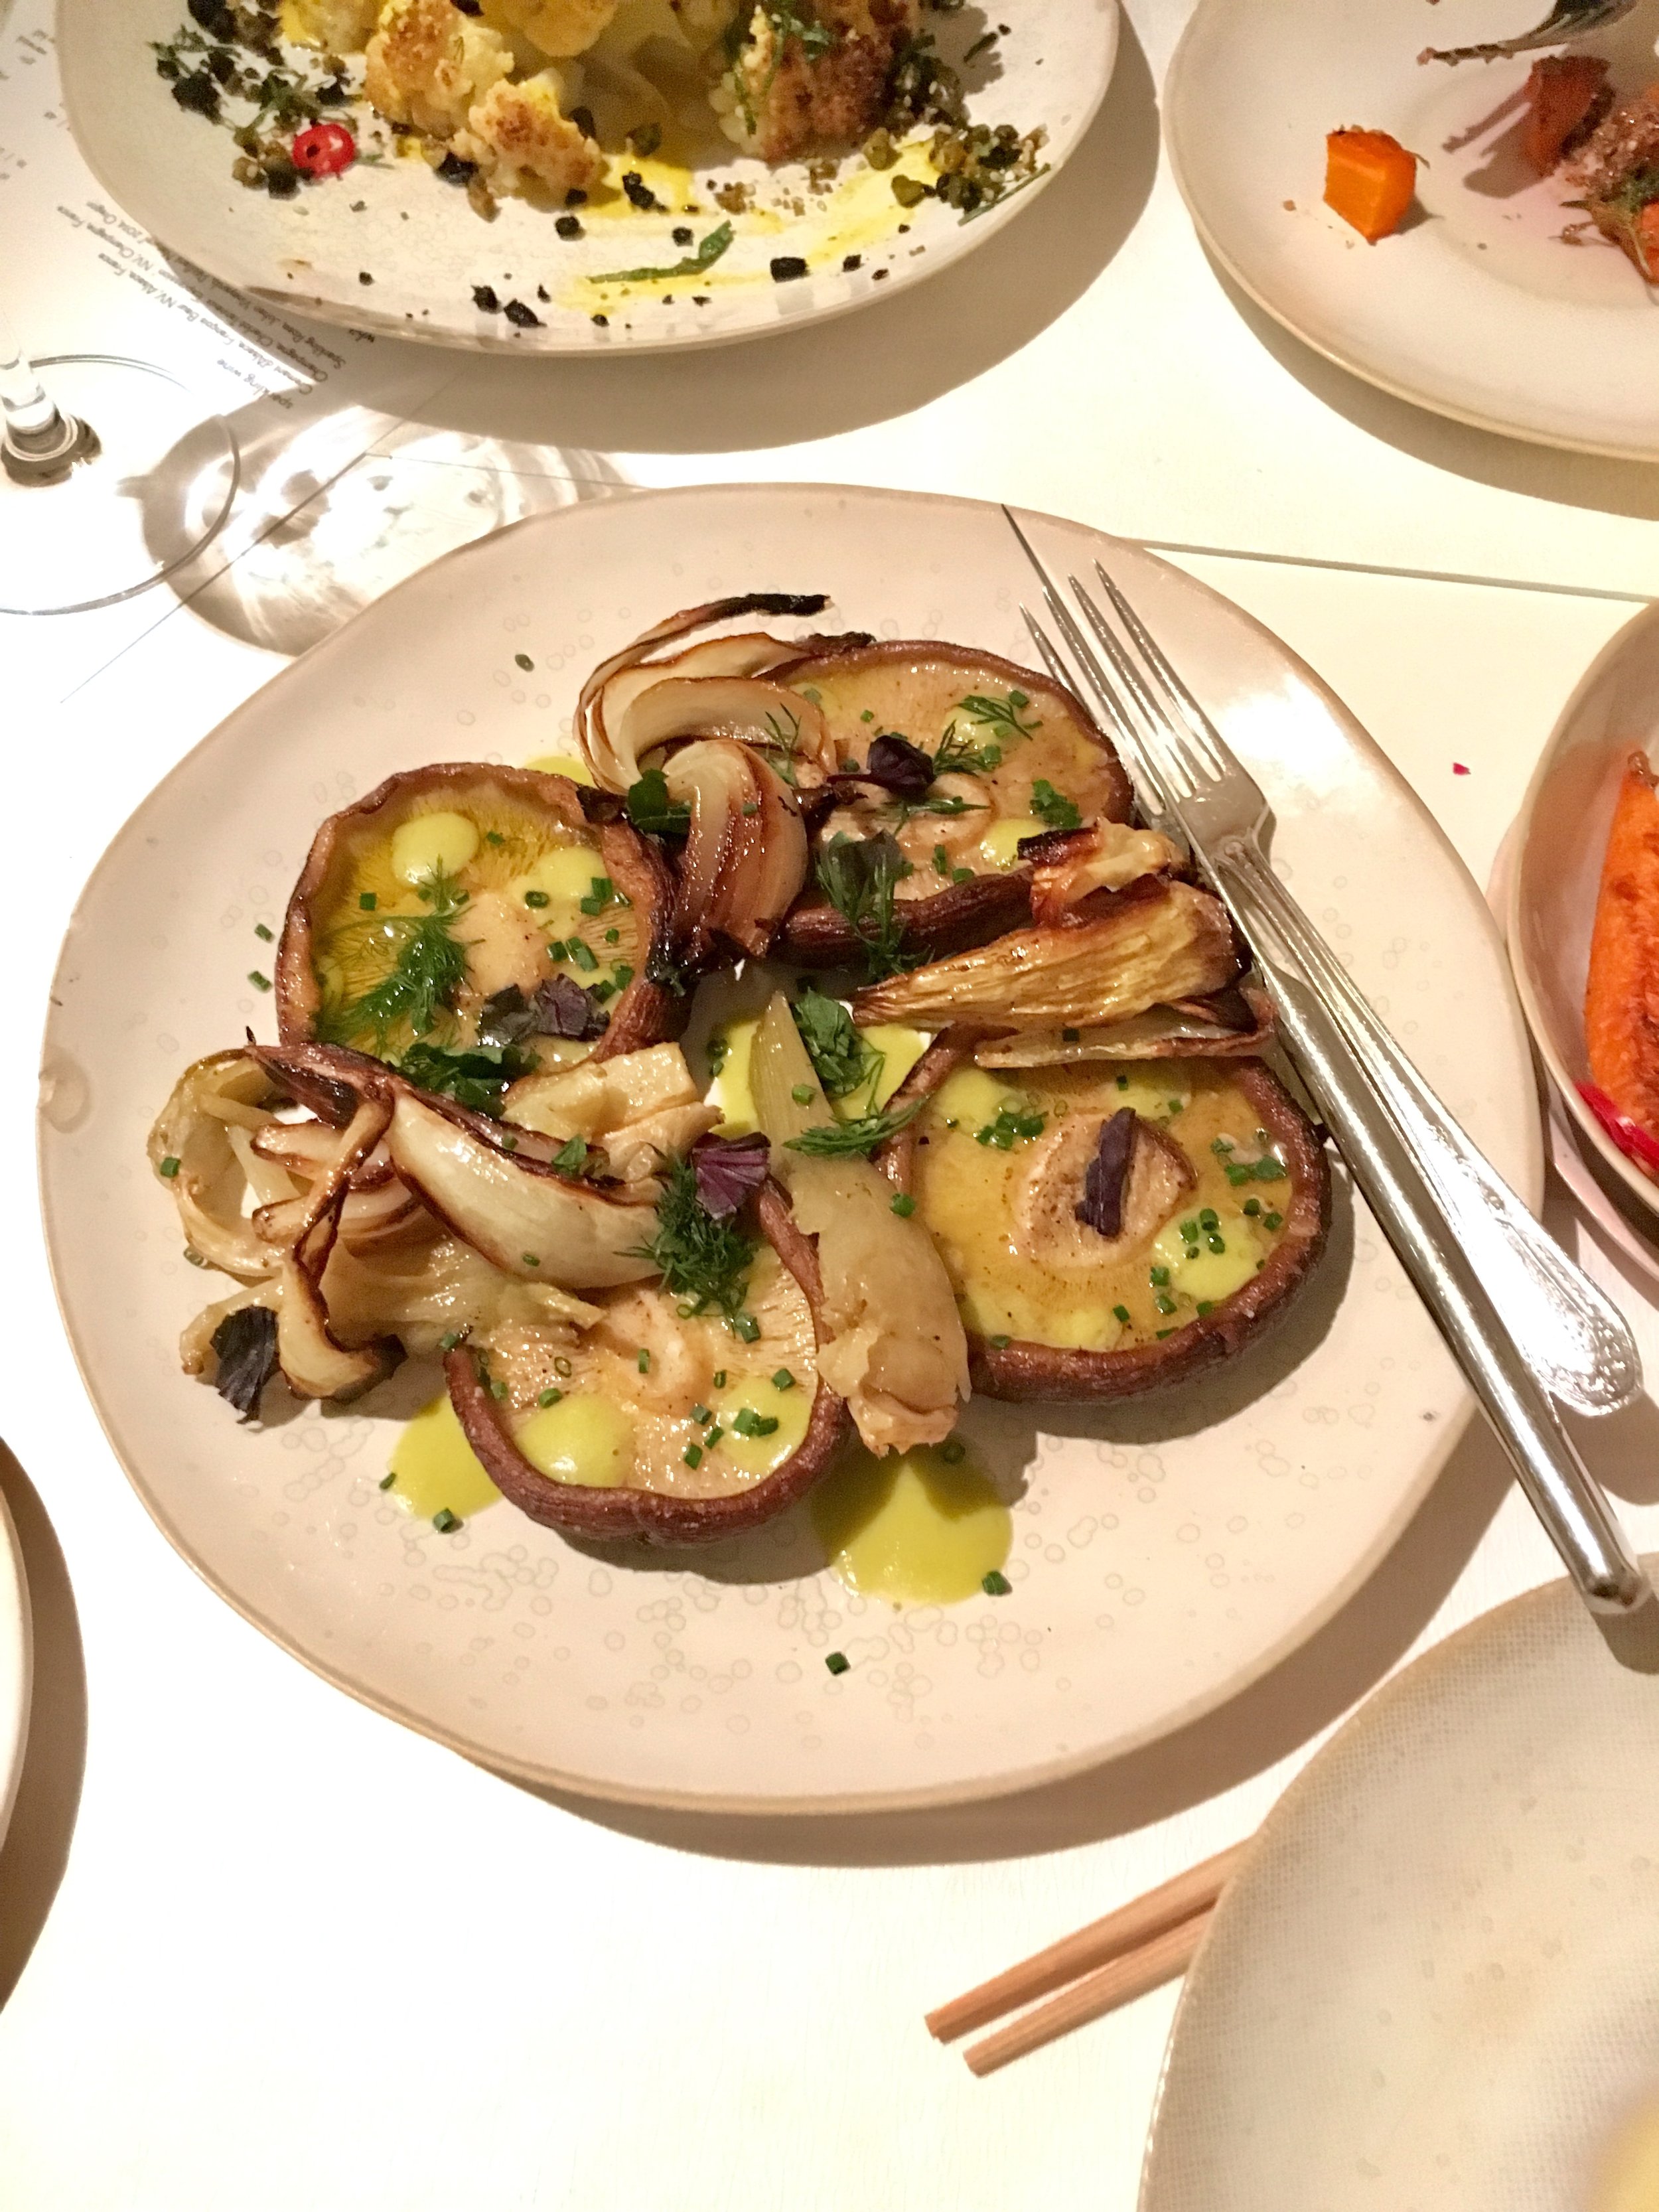
The latest restaurant in the abc line up from Jean Georges is abcV, a plant-based eatery with a focus on sustainable and organic ingredients. Everything on the menu is vegetarian, and most of it is vegan, or can easily be made so. I got the chance to dine at abcV with my vegan bestie, and we ordered a bunch of dishes to share so as to try as much as possible! Highlights for me included the pine nut and lemon dip with harissa and dried apricots- such a unique and flavorful take on hummus! The stone ground nut and seed butter layered underneath roasted carrots created the perfect sweet and savory dish, and its richness was cut nicely by chilies and lime. As I'm obsessed with all things tahini, it was no surprise I loved the roasted cauliflower drizzled in turmeric tahini and topped with crunchy pistachios! Yum!

Plenty of other dishes tempted our tastebuds as well, however, we were getting full! If you can believe it, we didn't even have room for dessert, so reluctantly skipped this part of the meal. I know- who even am I? Next time for sure though, as I recall absolutely loving the salted caramel ice cream sundae with candied peanuts and popcorn from abc kitchen! I'm also looking forward to returning for brunch soon, as the creative brunch bowls and dosas sound super delish. Be sure to click through the photos to see descriptions of each dish, and definitely make a reservation at abcV stat!


samesa
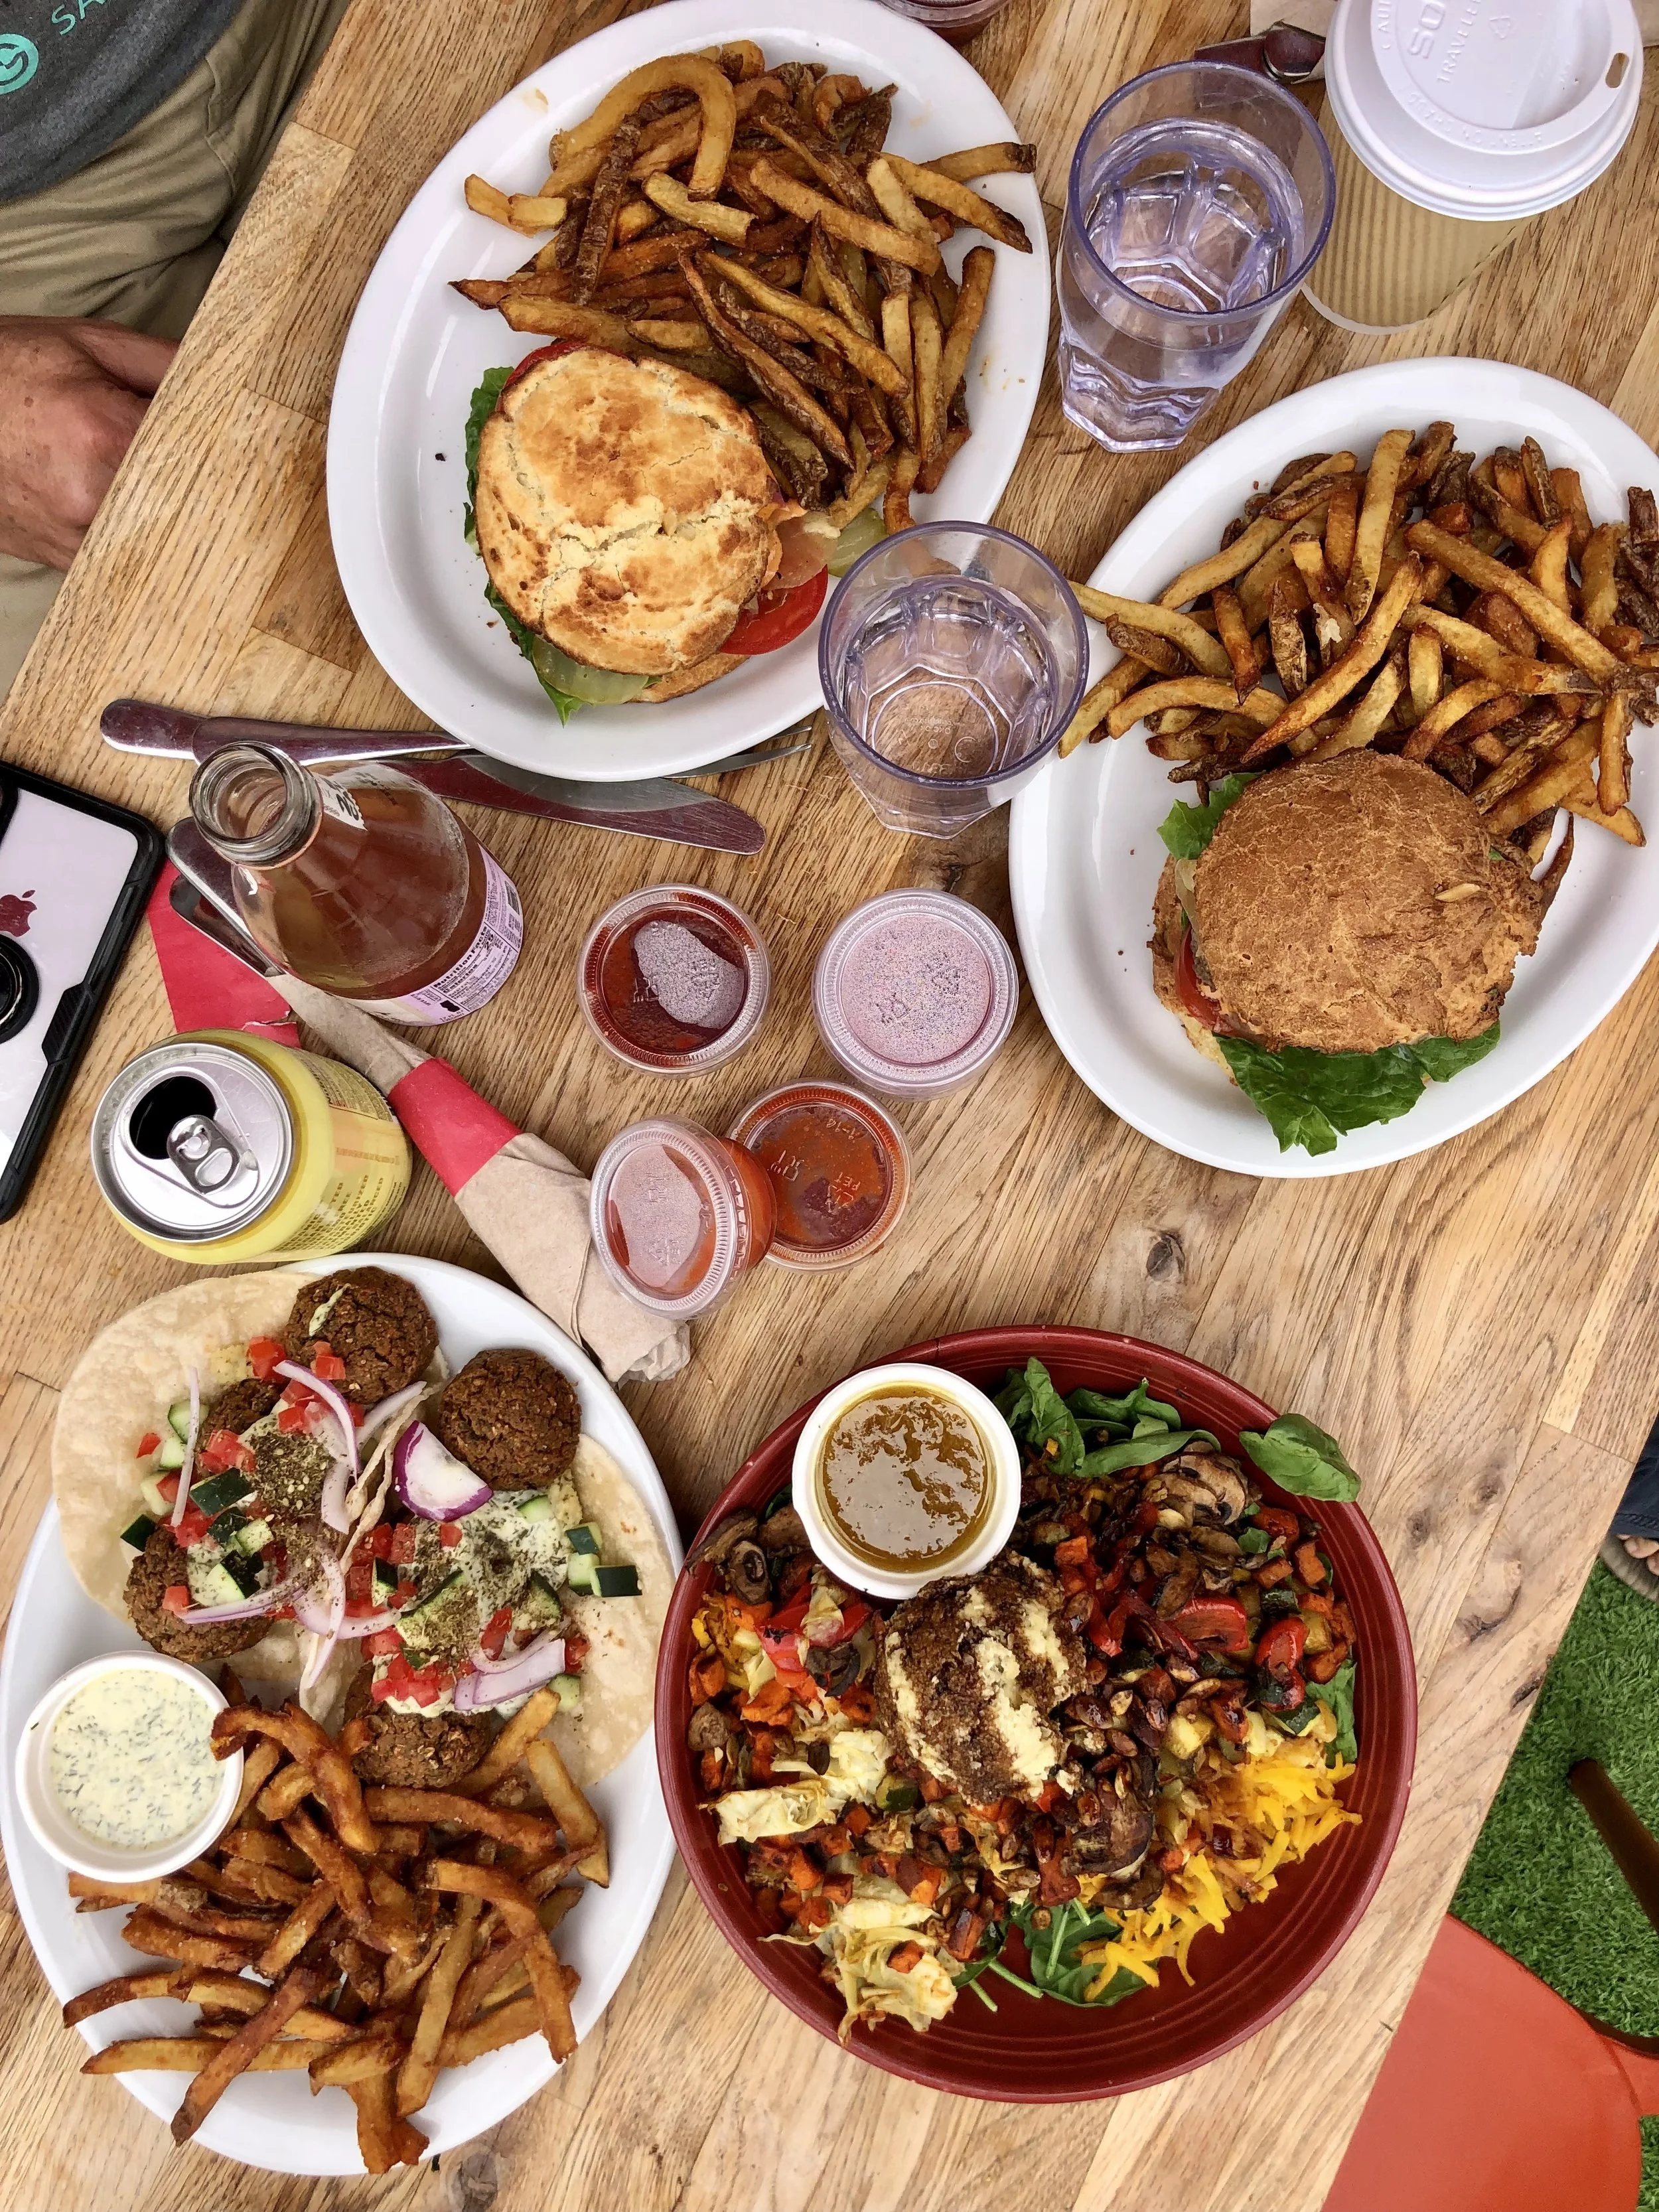
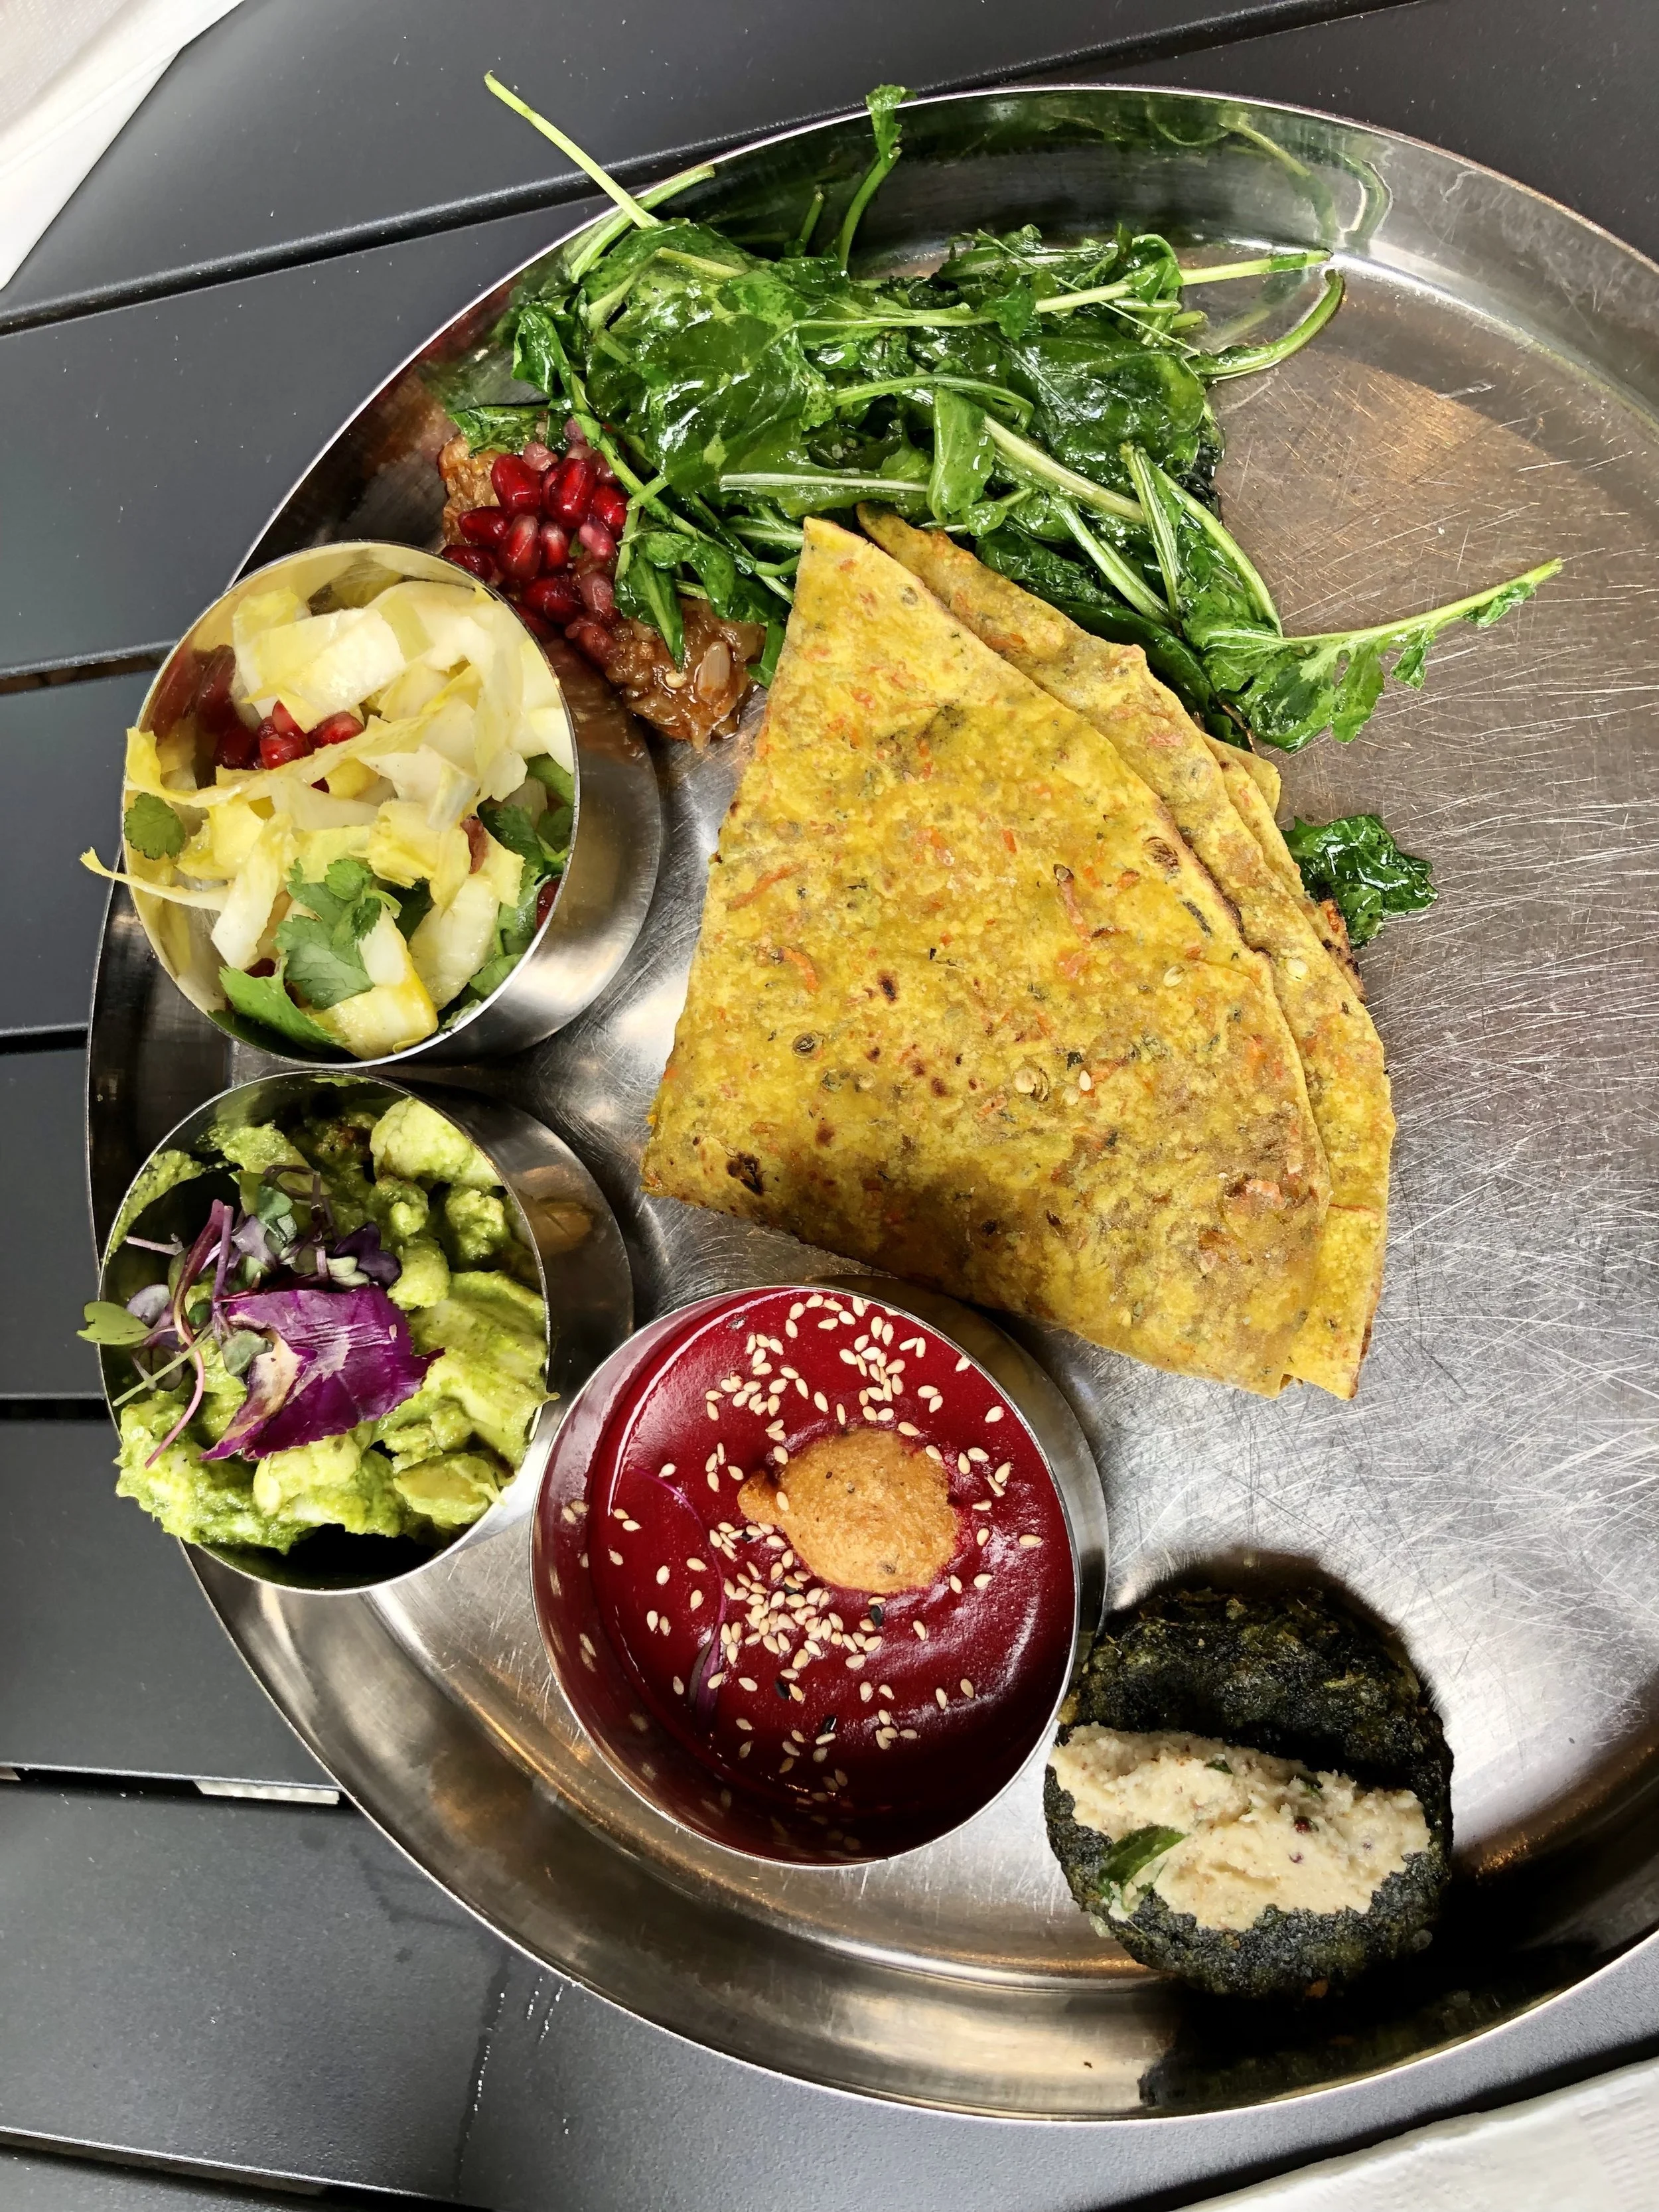
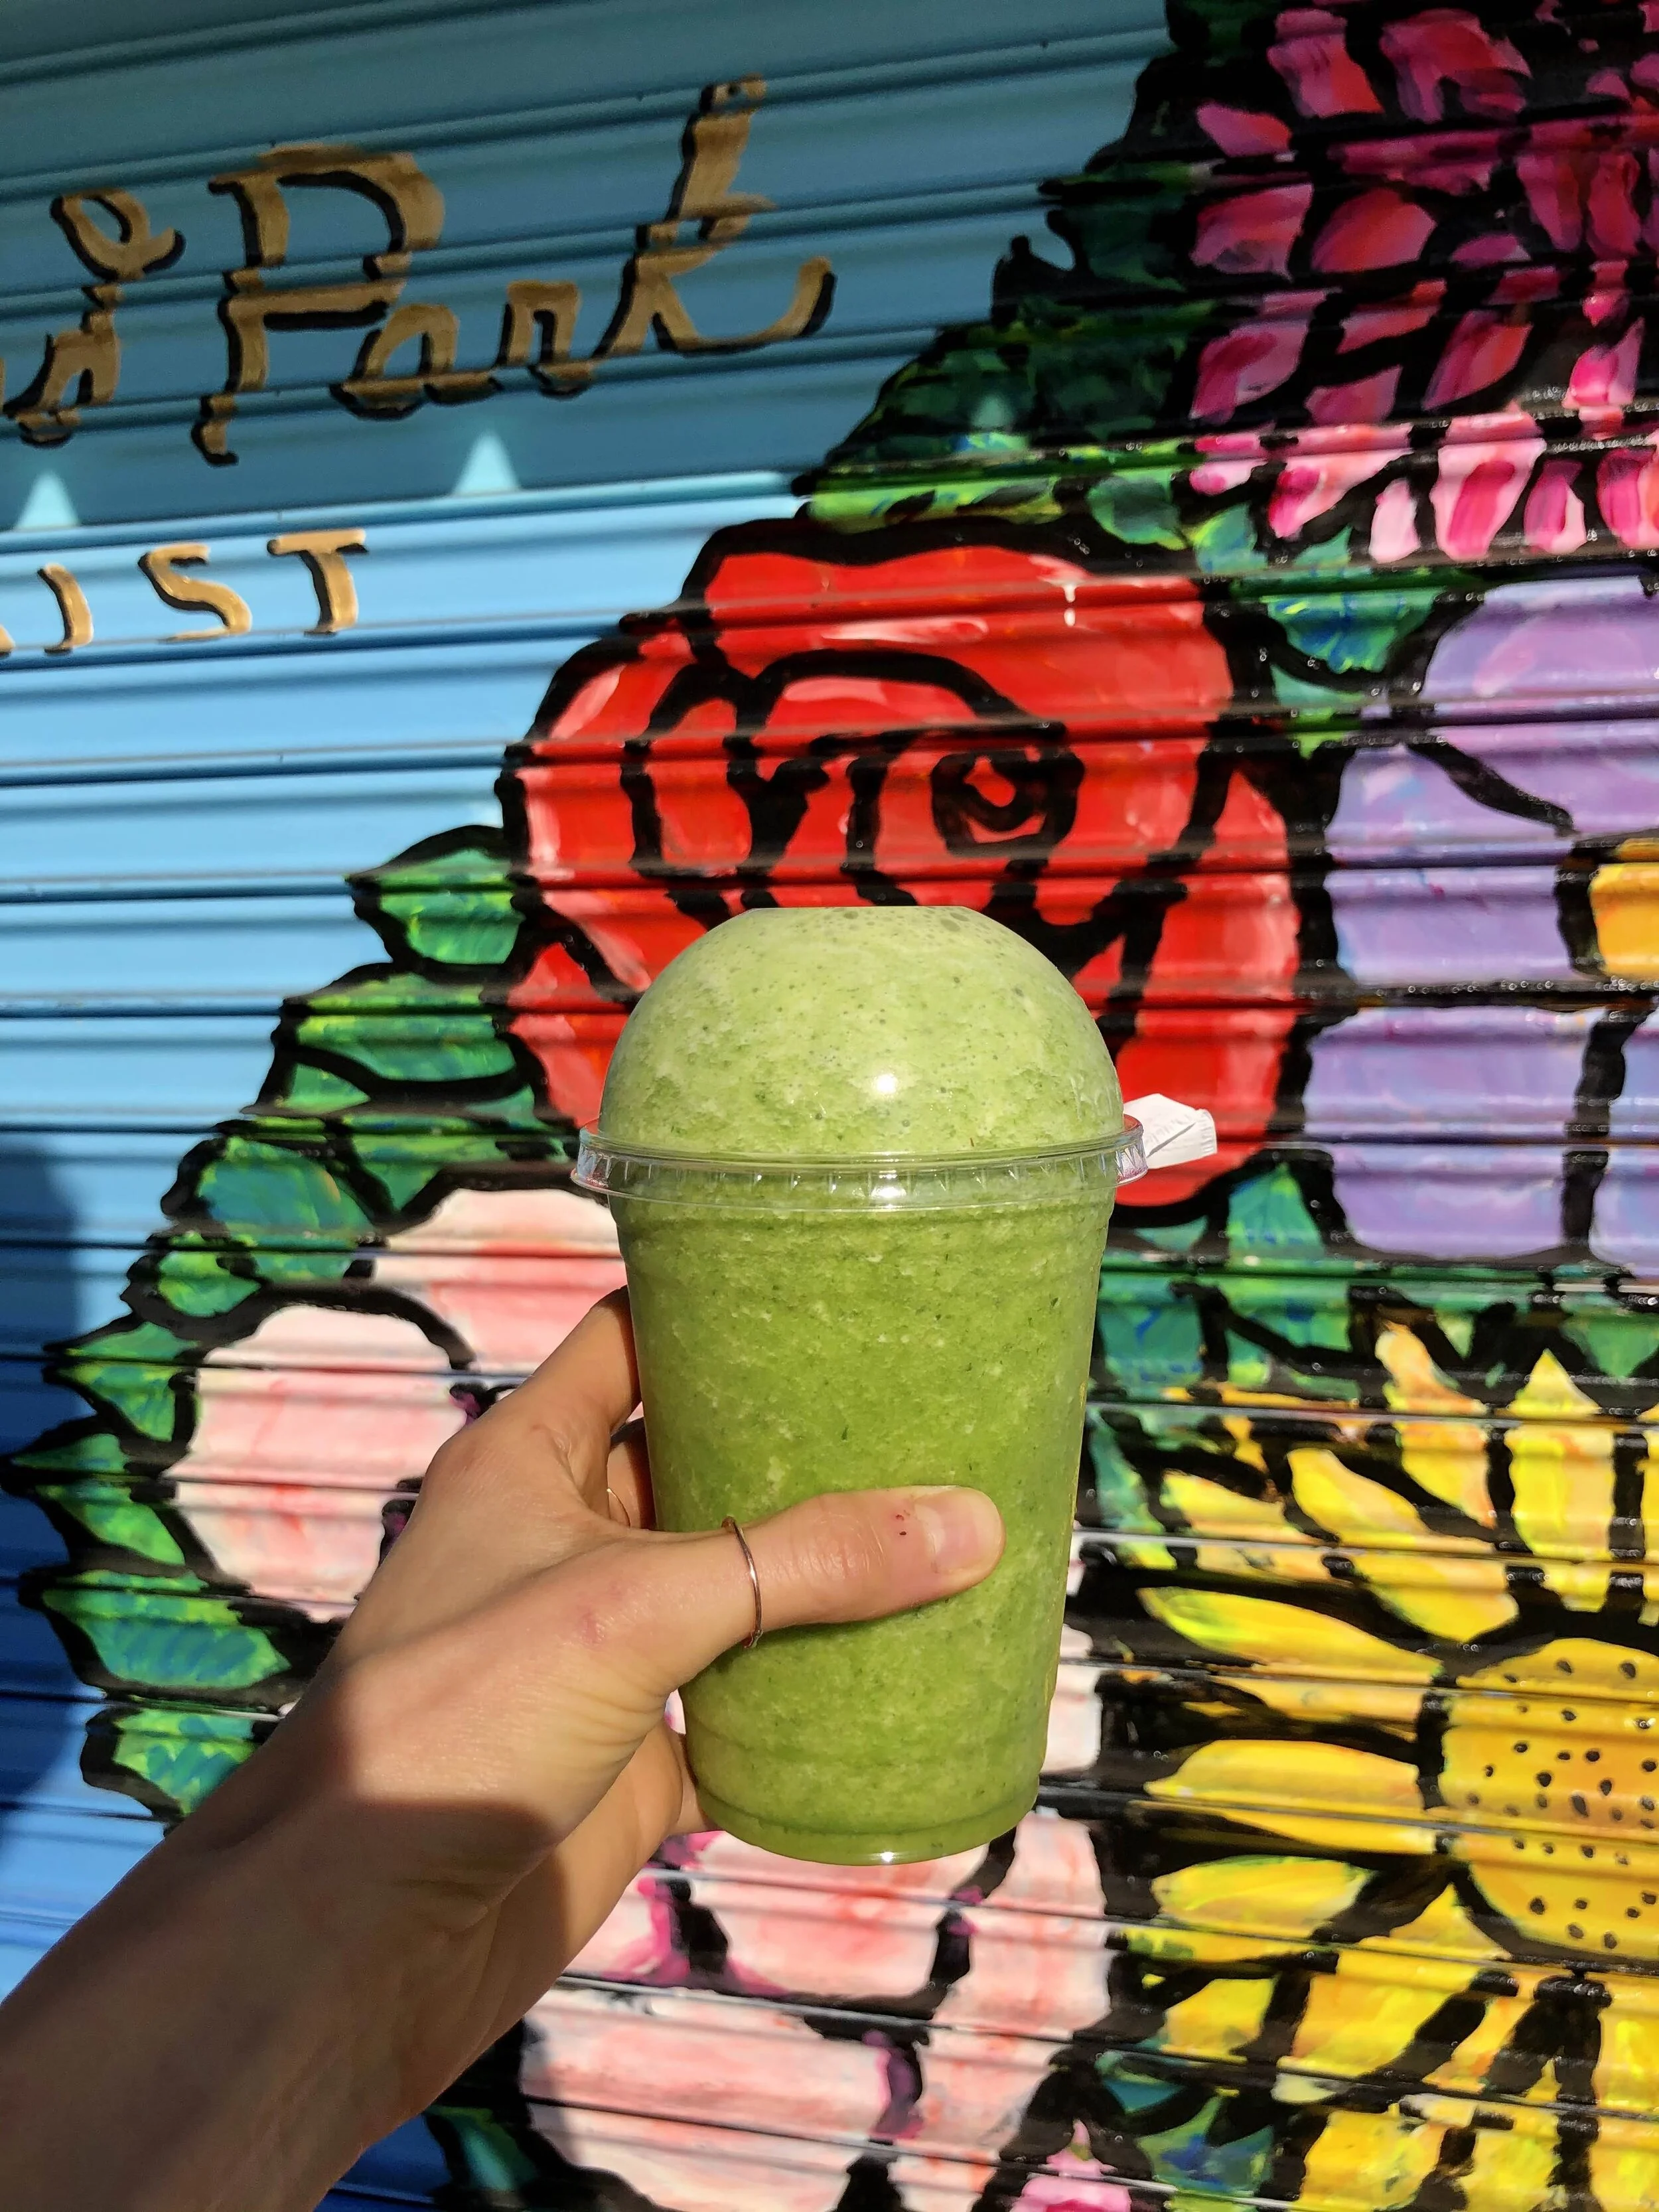
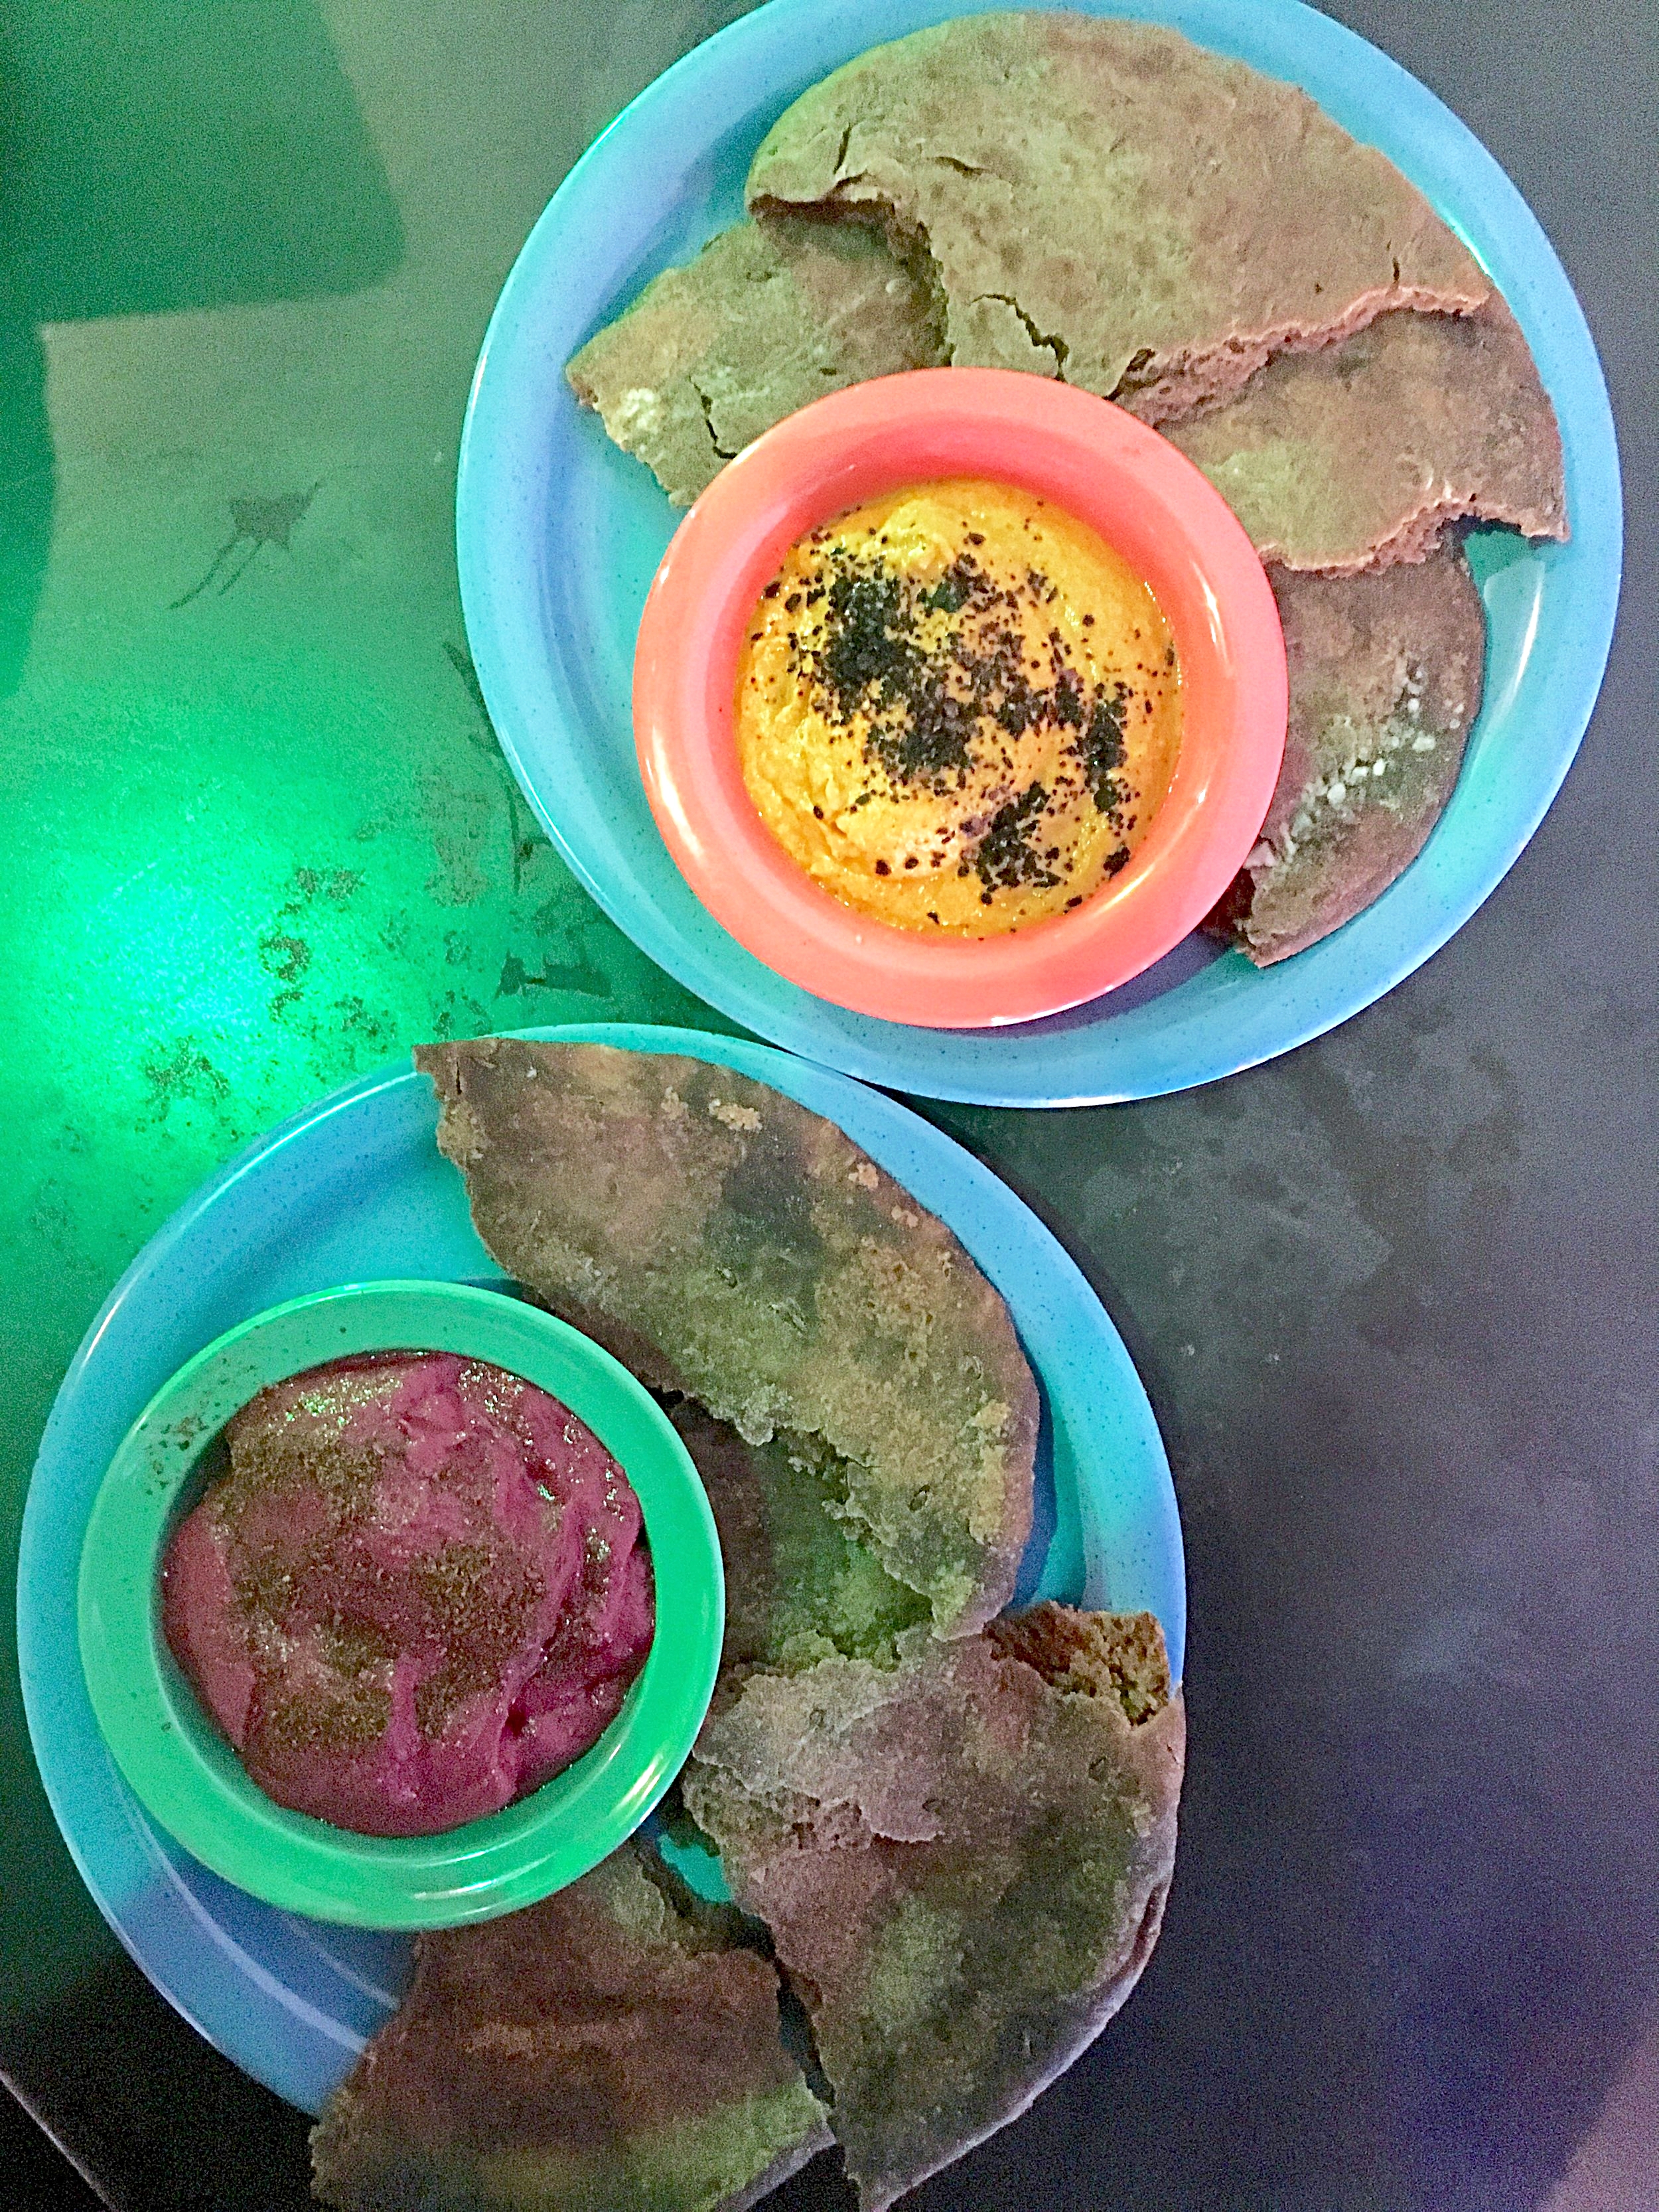
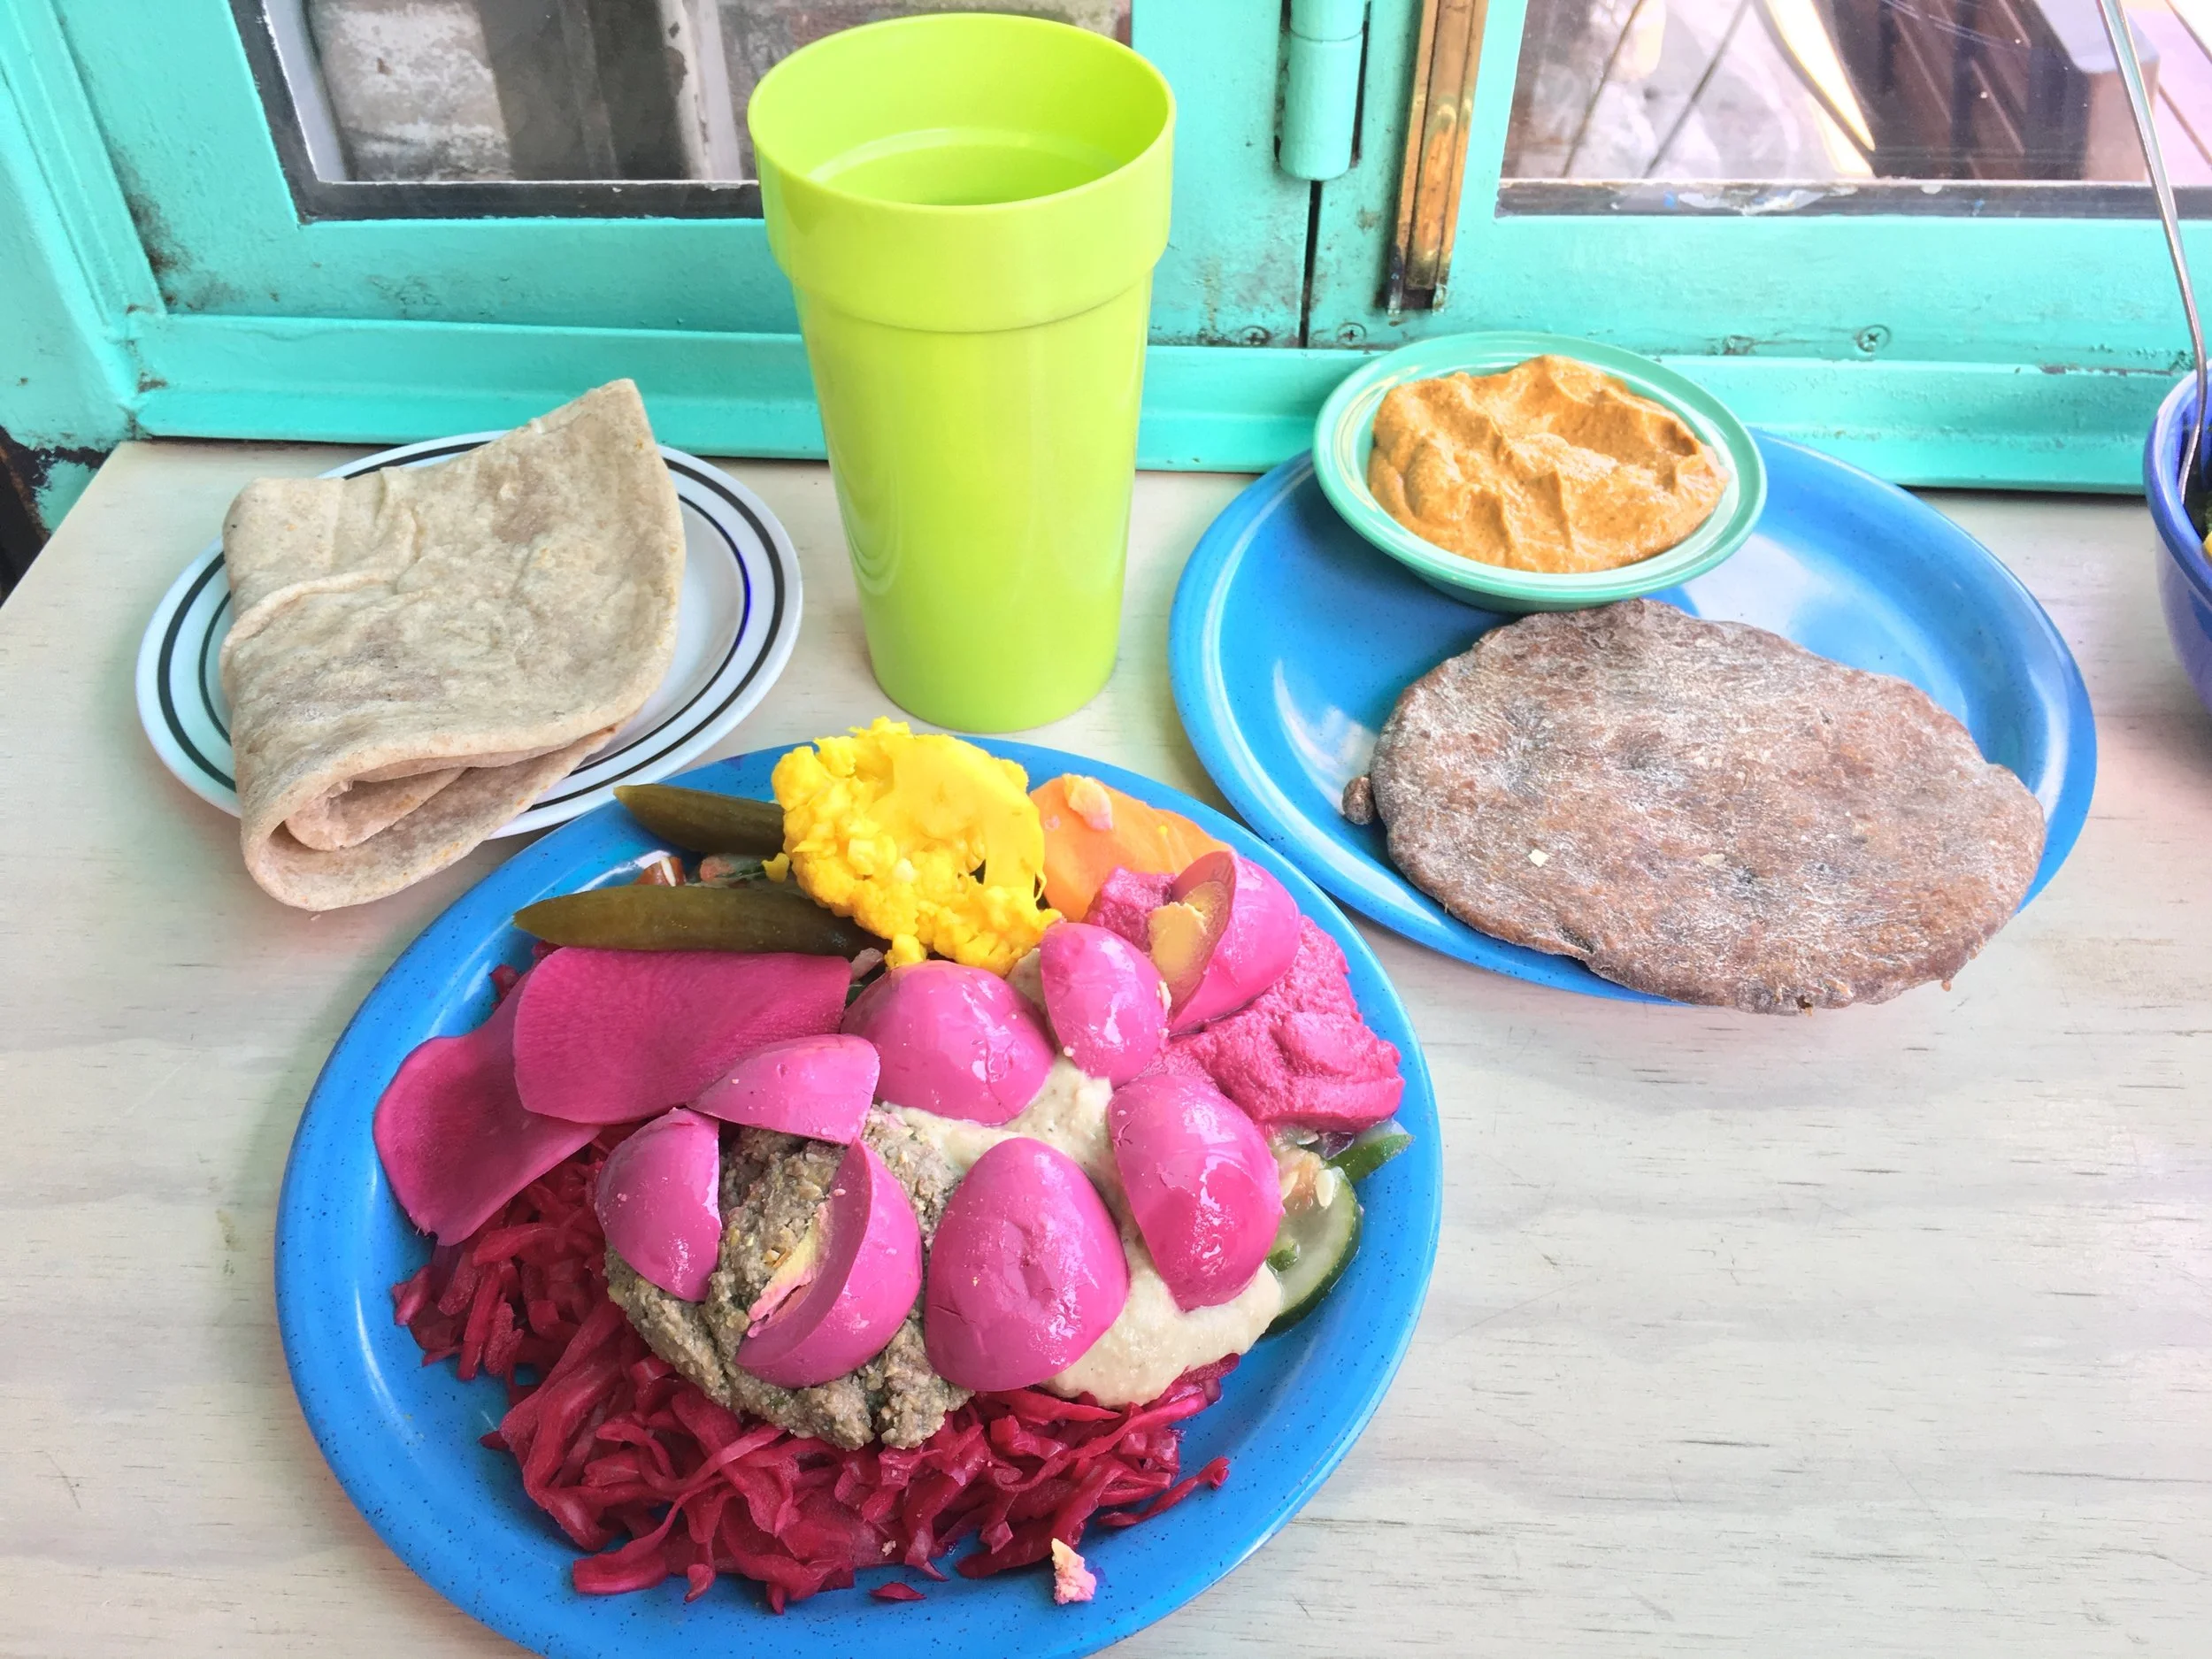
For a casual, Middle Eastern lunch in Williamsburg, Samesa is where it's at. This tiny spot, inspired by a hole-in-the-wall falafel joint, offers a some seriously colorful, vibrant, and flavorful food. Both meat and veggie options abound, and I always tend to start with some of their freshly baked pumpernickel pita and housemade dips. The carrot romesco with urfa biber and roasted beet with sumac dips are both faves of mine, but you really can't go wrong with any of them. The mezze plate above makes for a legit lunch in itself, and involves beet-pickled eggs along with the chef's choice of various dips, salads, and other pickled goodies- so delish! Fresh dishes like the raw squash and zucchini salad with smoky eggplant purée make for a light and healthy option, while the braised lamb and chickpea sandwich is the perfect choice for the meat-eaters. Samesa also makes some pretty tasty and unique smoothies- the tahini date with coconut & cinnamon tastes like a creamy milkshake, but is actually vegan! As you can see, there's truly something for everyone, and I highly recommend you check it out, stat!


wedding cake
Everyone knows my love for baking and all things sweets-related, so when I got asked to make one of my best friend's wedding cakes, I jumped at the opportunity. What an honor, and so exciting to be a part of their big day! Don't get me wrong, though- this was a huge undertaking, and I had not baked on this scale before, so practice rounds were definitely required! I researched quite a bit, and was not surprised to find that Deb of Smitten Kitchen had published several posts with steps detailing her own "Project Wedding Cake". These became my wedding cake bible, through her trial and error, and attention to detail, I was able to gain the confidence I needed to tackle my own project wedding cake!
I did a tasting for the bride and groom so that they could decide on flavors, and we ended up going for a classic vanilla buttermilk cake, with raspberry compote and salted coconut caramel fillings (one for each tier), all finished with luxurious Swiss meringue buttercream! The decorations were to be simplistic, with a rustically finished frosting along with florals and greenery from the farm where the wedding was taking place. This calmed my nerves a bit, as I am not one for the tiny, meticulous, perfectly designed cakes. Luckily the rustic look fit in perfectly with the entire vibe of the wedding. I've linked to Deb's posts below, since I only made minor changes to her stellar recipes, and included my own for the fillings as well. One word of advice I can give is to prep and get certain things done ahead of time if possible! My husband's catering company Beck & Call was doing the food for the entire wedding weekend, so I knew he would have his hands full and couldn't expect much help. Not to mention I was a bridesmaid in the wedding as well, so had plenty of other "duties" and fun things to tend to. My planning and organizing skills really came in handy here, and I can safely say after successfully finishing my cake that I had a blast doing it, and look forward to making another!
Vanilla Buttermilk Cakes:
My layer cake recipe comes from the super-talented Deb of Smitten Kitchen. This one in particular is for a classic birthday cake, but she also makes a wedding cake as well. They both use the same ingredients, just in different ratios, and I ended up using the birthday cake recipe because it yielded a bit more, and was easier to convert into different sizes for multiple tiers. The recipe makes three 6" round layers for the top tier of wedding cake, so for the bottom tier, scale recipe up (multiply everything by 1.5) to get three 9" round layers. I weighed about 560g per pan for 6" layers, and about 750g per pan for 9" layers, so ended up with some leftover batter for a couple mini loaf cakes! Feel free to make the layers as thick as you want. Once the cakes are fully cooled, I suggest wrapping and freezing each layer before assembling and frosting, as they are much easier to handle this way. That way you can make the cake layers a couple days early to get this step out of the way! You can also level each cake (remove the dome shape at the top so as to create flat surfaces for stacking) either when they are fully cooled before freezing, or once they're frozen and you're ready to frost. Other than that, go check out Deb's recipe for fool-proof vanilla layer cake here.
Swiss Meringue Buttercream:
I wanted to use Swiss meringue buttercream as the frosting for my cake for multiple reasons. First, it's not sickeningly sweet like the frostings most of us are accustomed to. It also holds up extremely well in warm temperatures, and since this wedding was taking place outside in New York in August, that was definitely something to consider. And finally, it is super smooth, making it perfect for piping, and doesn't end up crusting like many other frostings do. It's all about the butter here, so use a high quality one if you can! And, surprise- this recipe also comes from Smitten Kitchen. Even Deb seemed to have some worries about the supposedly tricky Swiss meringue buttercream coming together, but rest assured that it will! It just takes a bit of time, and at some point may look too runny or curdled, but not to worry. Continue mixing for about 15 minutes, and it all work out nicely. You can make this a couple days ahead if need-be, just store in the fridge in an airtight container. Before you're ready to frost, let it come to room temperature, and then re-whip buttercream in the mixer until it's smooth and glossy. Get Deb's recipe for Swiss meringue buttercream here.
Raspberry Compote Filling:
At the tasting, the bride and groom sampled both a fruit and caramel-type filling, and ended up loving both! Since the cake was to have two tiers, we decided to do the raspberry compote in the layers of one, and the salted coconut caramel in the other. I suggest piping a circle of buttercream around the outer edge of each layer before adding filling, so that it doesn't spill over the sides! Fillings are another key component that can be made ahead of time, thus saving you time for assembling on wedding day!
2 cups fresh raspberries
1/2 cup granulated sugar
2 tbsp corn starch
1/4 cup water
2 tsp lemon juice
fresh raspberries, for serving
To prepare raspberry compote, cook raspberries, sugar, cornstarch, and water in a small saucepan until the berries start to break down, about 10 minutes. Lower the heat and simmer until the compote is thick, about 5 minutes. Remove from heat and let cool completely. Store in an airtight container in the fridge (this can be made a week ahead of time). Makes 1 cup.
Salted Coconut Caramel Filling:
1 cup granulated sugar
6 tbsp unsalted butter, softened
2/3 cup full-fat coconut milk
1 1/2 tsp salt
toasted coconut, for serving
Heat sugar in a saucepan over medium heat, stirring constantly with a wooden spoon. Sugar will form clumps and eventually melt into a thick brown, amber-colored liquid as you continue to stir. Be careful not to burn. Once sugar is completely melted, add the butter tablespoon by tablespoon. Be careful are the mixture will start to bubble. Stir the butter into the caramel until it is completely melted, using a whisk if necessary. Slowly pour in coconut milk while stirring, taking care as the mixture bubbles and may splatter. Allow the mixture to boil for 1 minute. It will rise in the pan as it boils. Remove from heat and stir in salt. Allow to cool down before using. You may make this in advance and store in an airtight container in the fridge for up to one week. Makes 1 cup.
Assembly:
Here comes the fun (and slightly terrifying) part! Once all the cake layers are baked, fillings are made, and buttercream is whipped to glossy perfection, it's time to assemble your wedding cake! The assembly and decoration stage is where all your fun cake accessories come in handy! Cake boards, piping bags, decorating tips, offset spatulas (in multiple sizes), a pastry comb, a rotating cake stand, and a cake carrier are all important tools that played a big part in my cake's success. I definitely suggest looking into these as they make the entire process easier, especially for an amateur baker like myself. I like to use a bit of buttercream underneath the base layers to "glue" them to the cake boards. This will make things more stable and keep them from sliding around! While stacking the layers, giving them a spritz of simple syrup will ensure the cake stays moist until serving time. After filling your layers (remember the ring of frosting around the edges to keep the filling from spilling over!), I strongly suggest adding a "crumb layer" of frosting to each tier. This thin layer doesn't need to be perfect by any means, but it will keep those inevitable crumbs where they belong- on the inside layers and not at all visible on your pretty, final product! Just allow the crumb layered tiers to set in the refrigerator for at least 30 minutes before attempting to frost with a full, thicker layer of buttercream. At this point, the pastry comb came in handy, and its several design options truly helped me look like a pro! A few flowers and greenery from the farm, et voila! Be patient, take it one step at a time, and always remember- buttercream can cover a multitude of sins!
Useful Tools: