first birthday smash cake

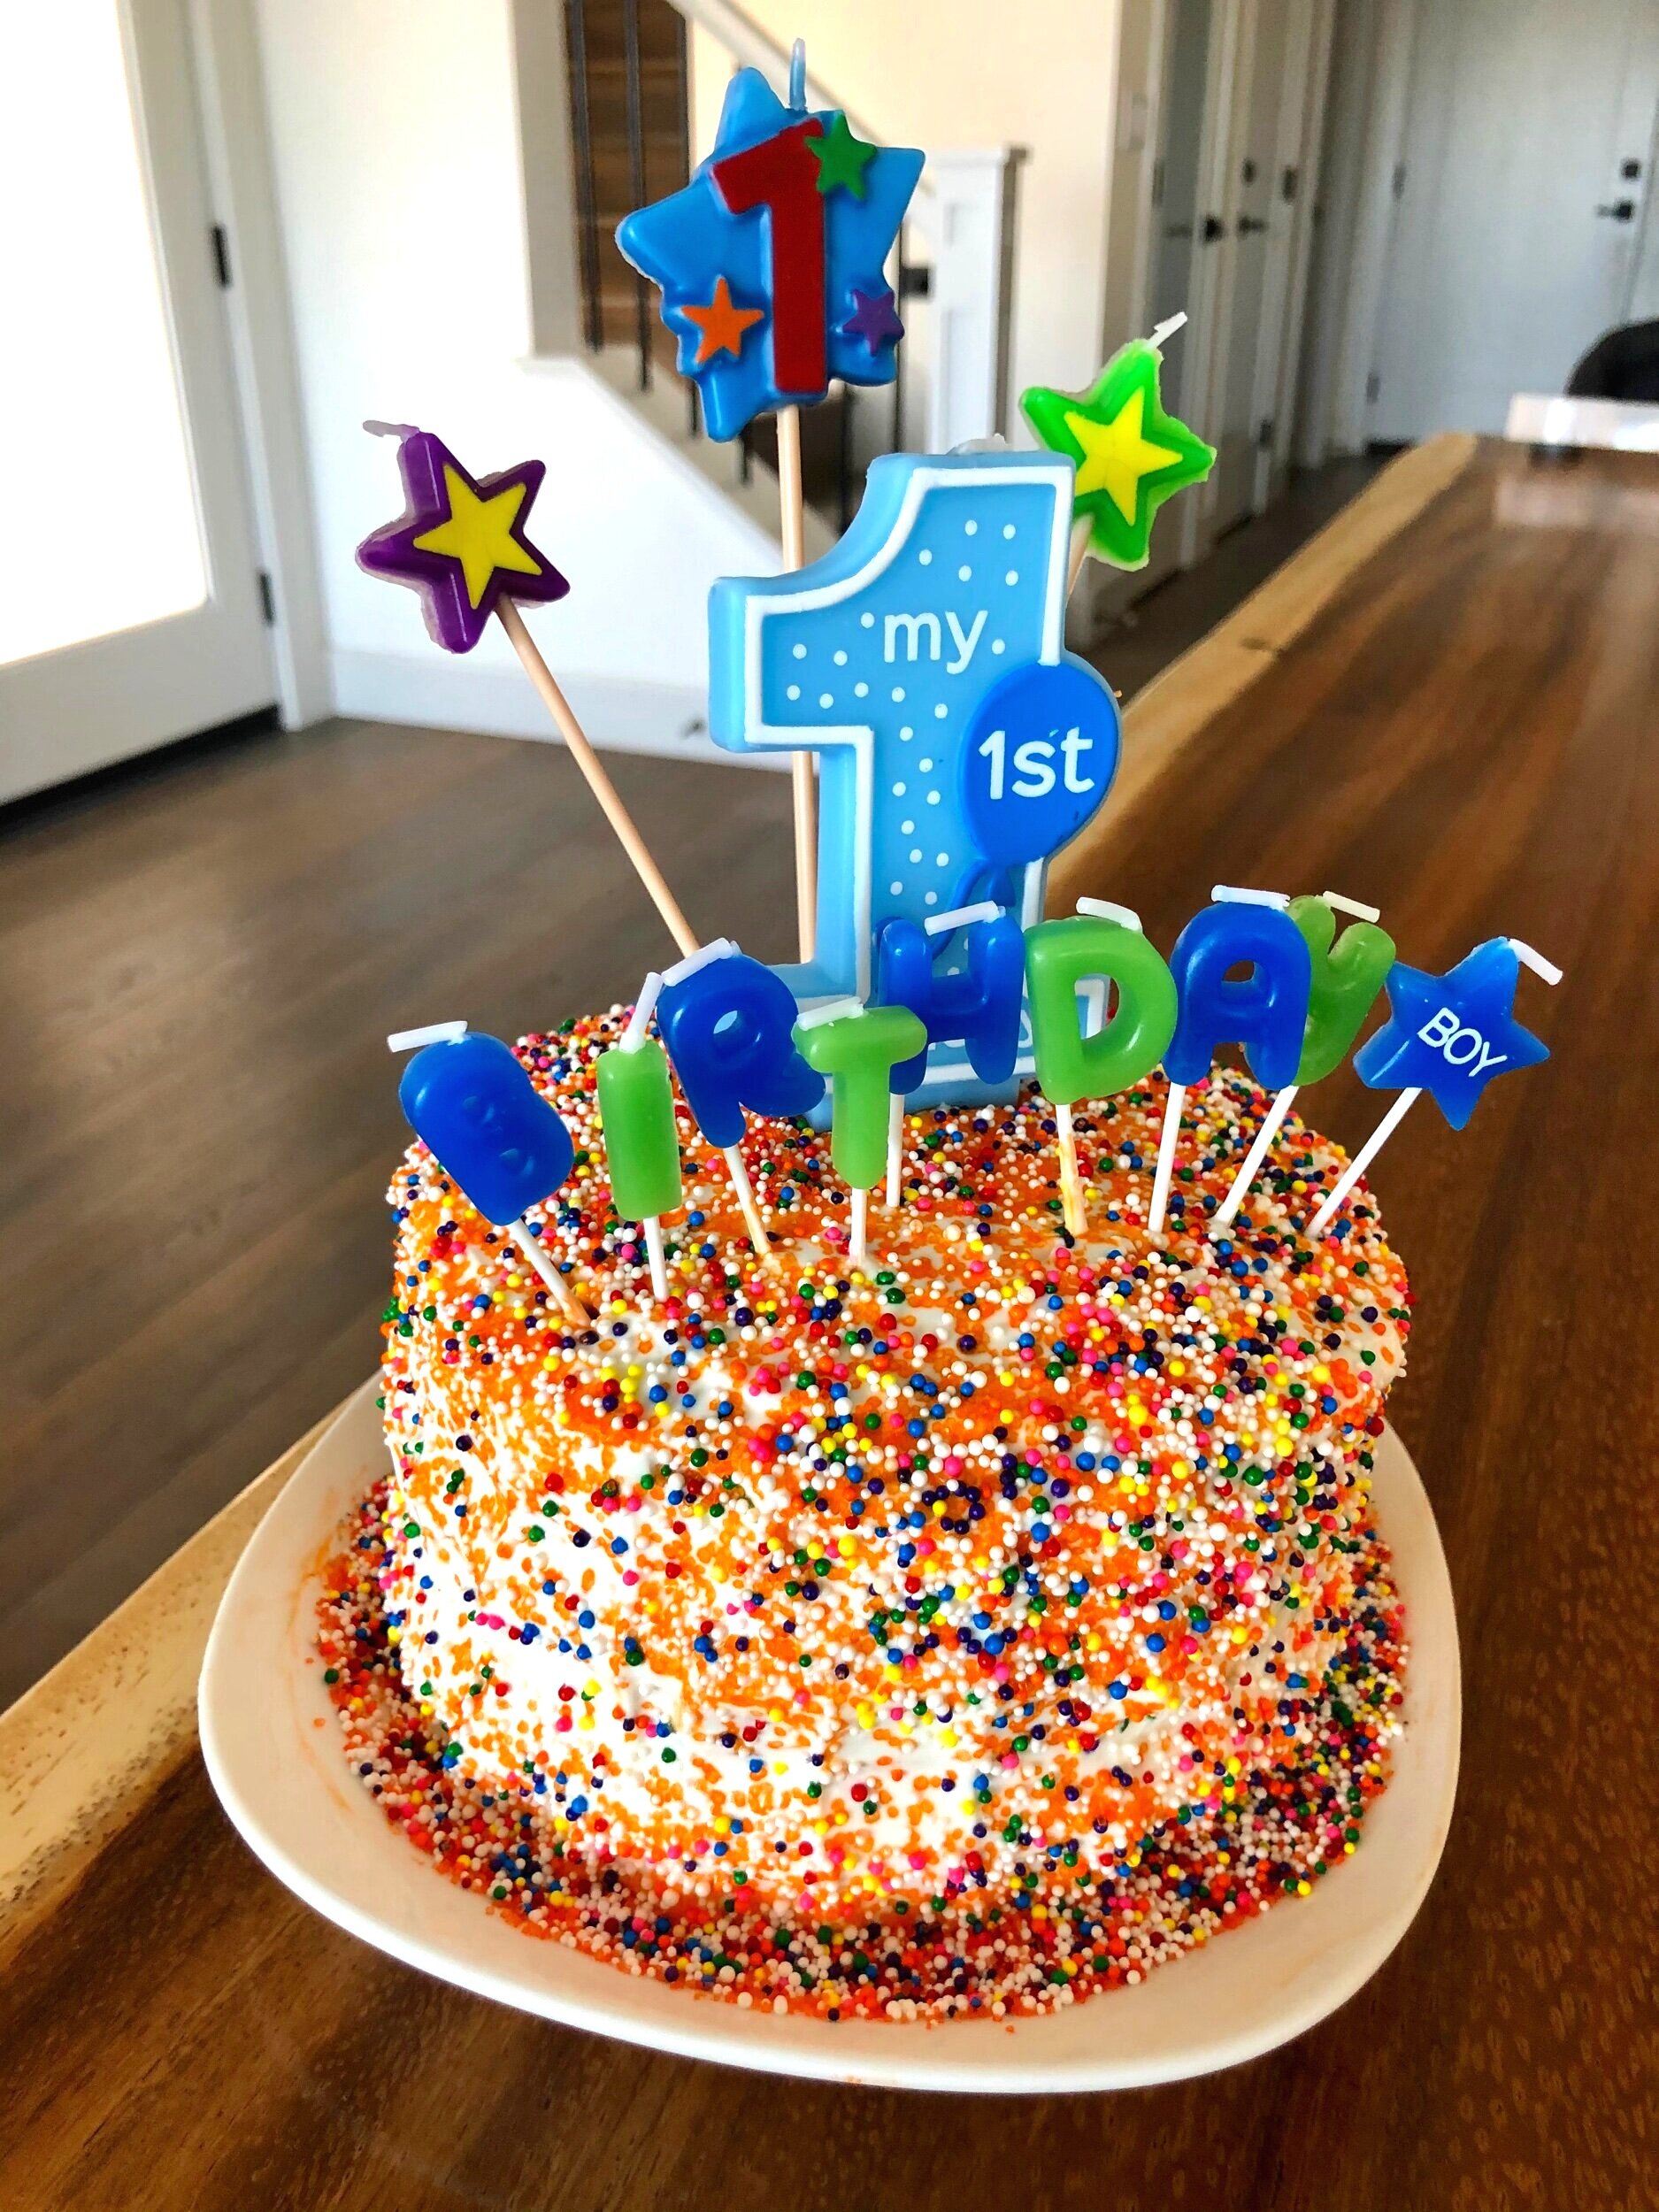
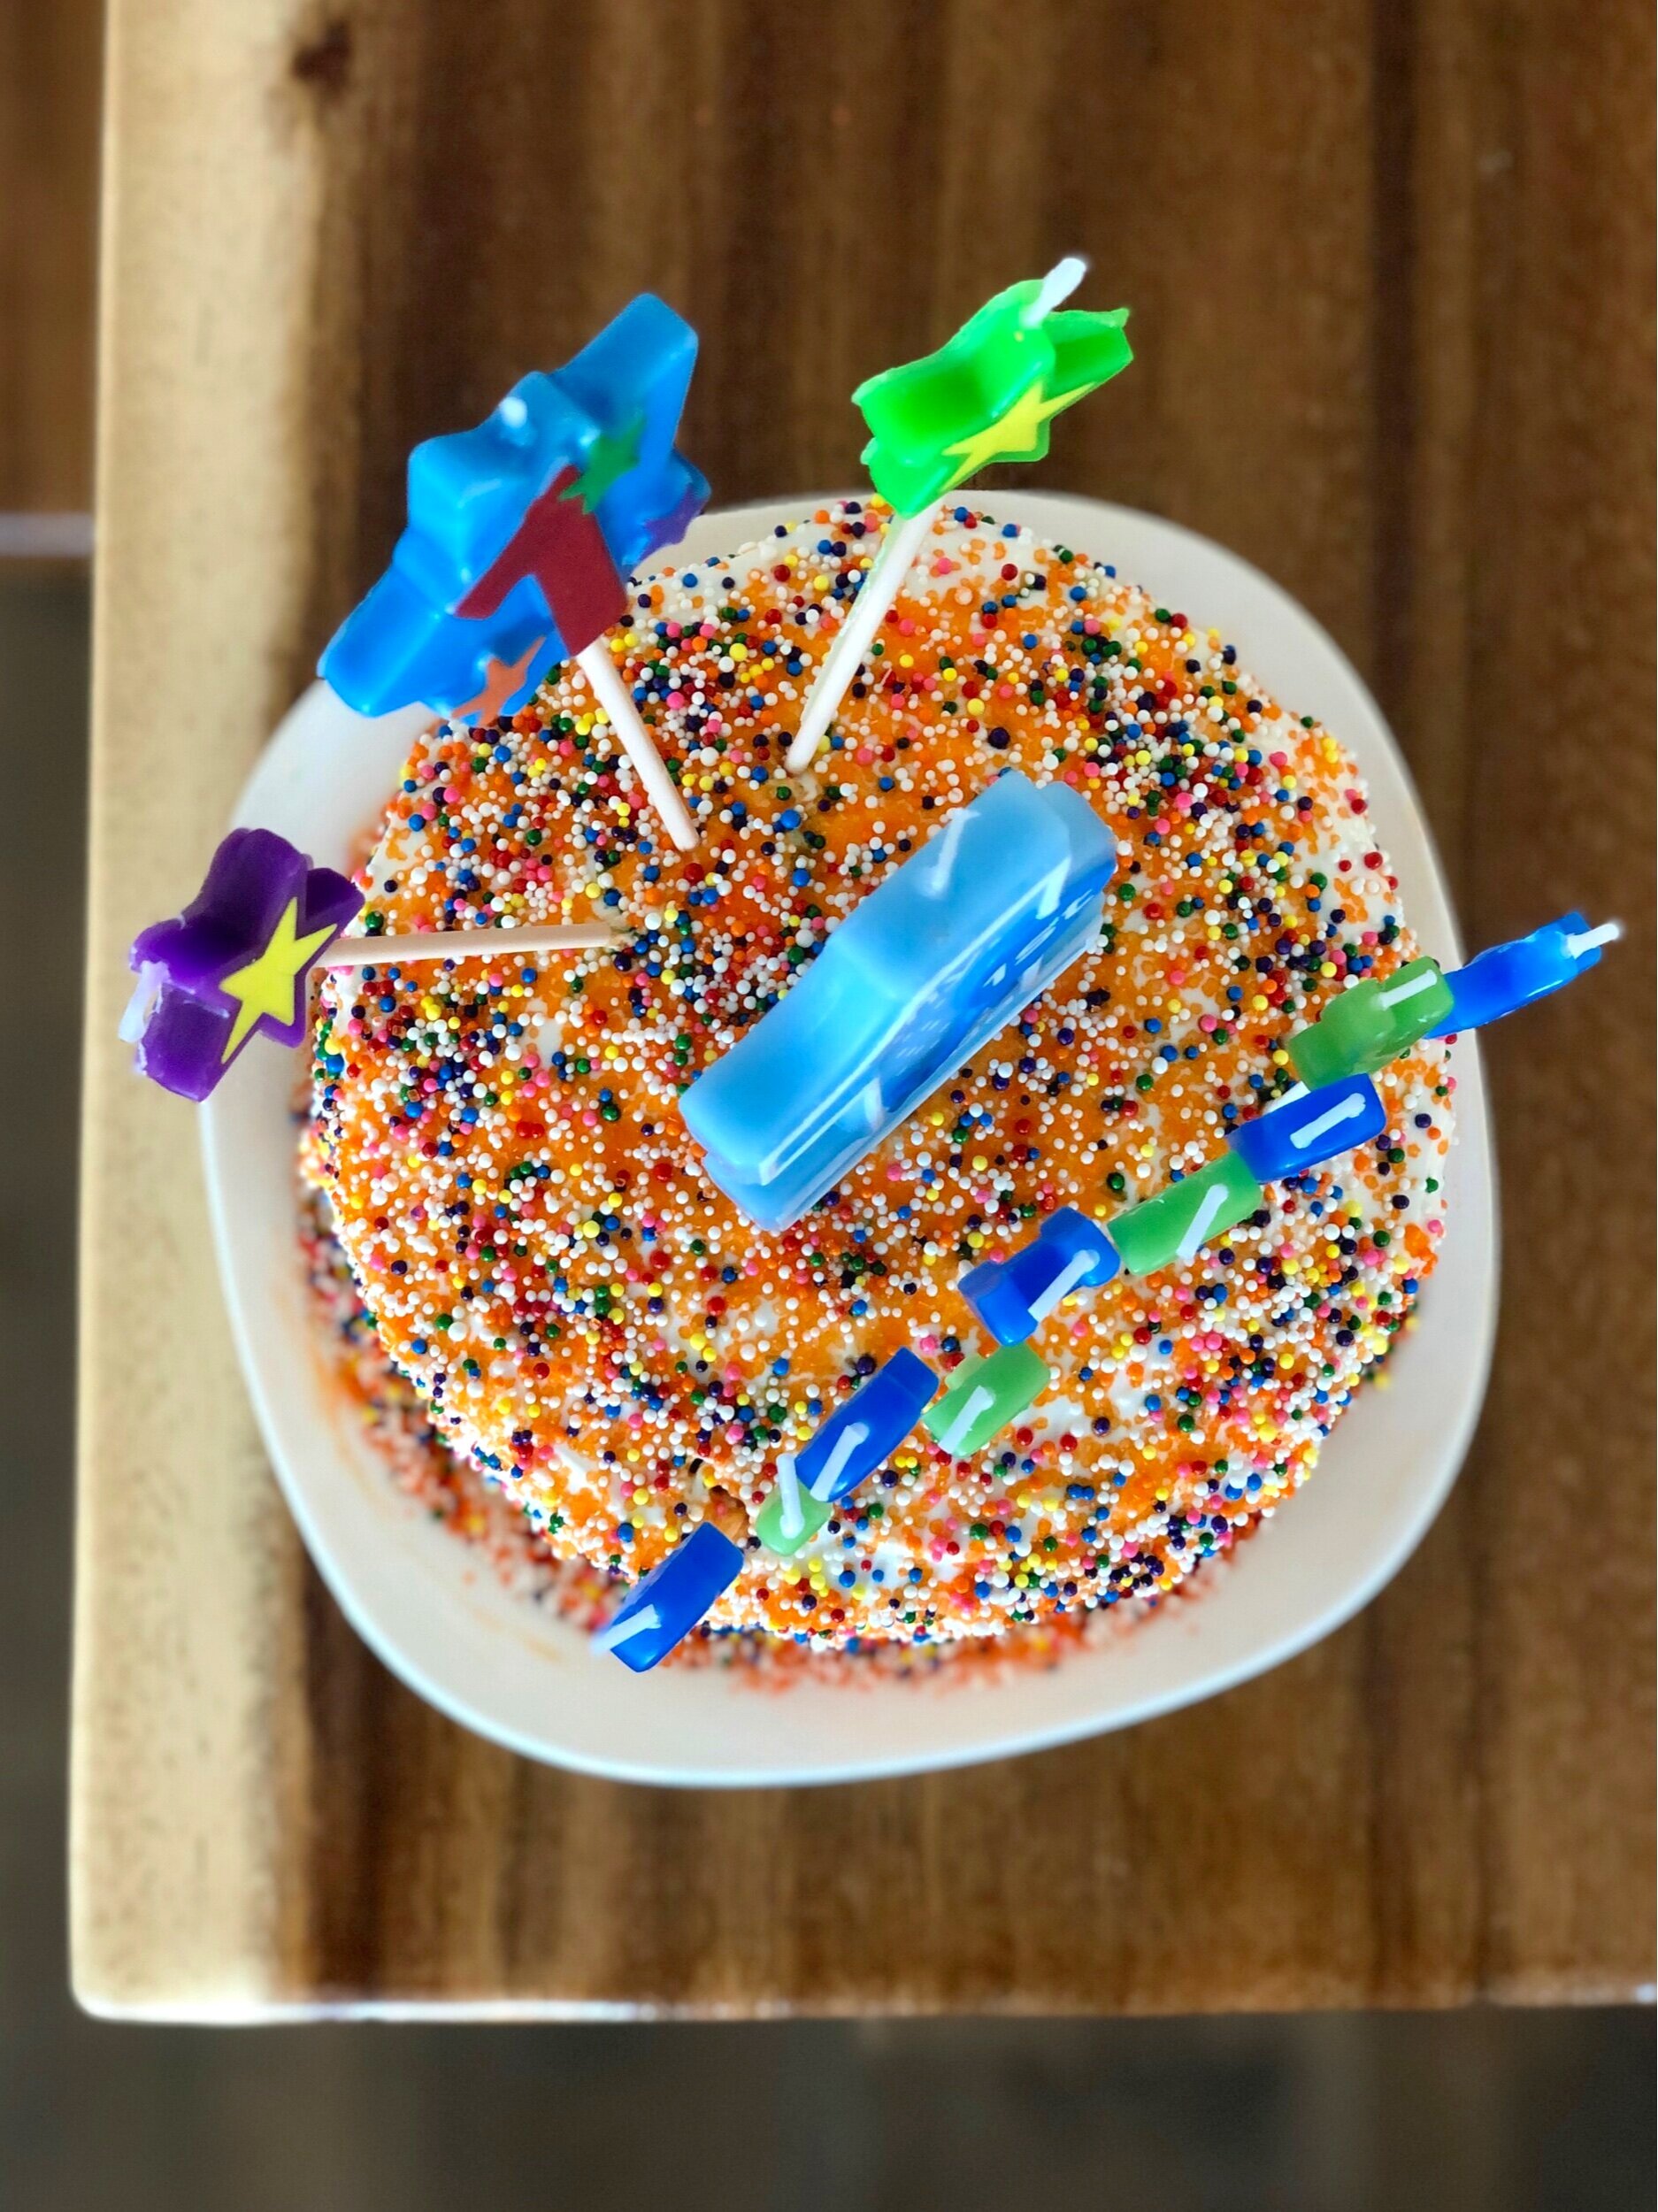
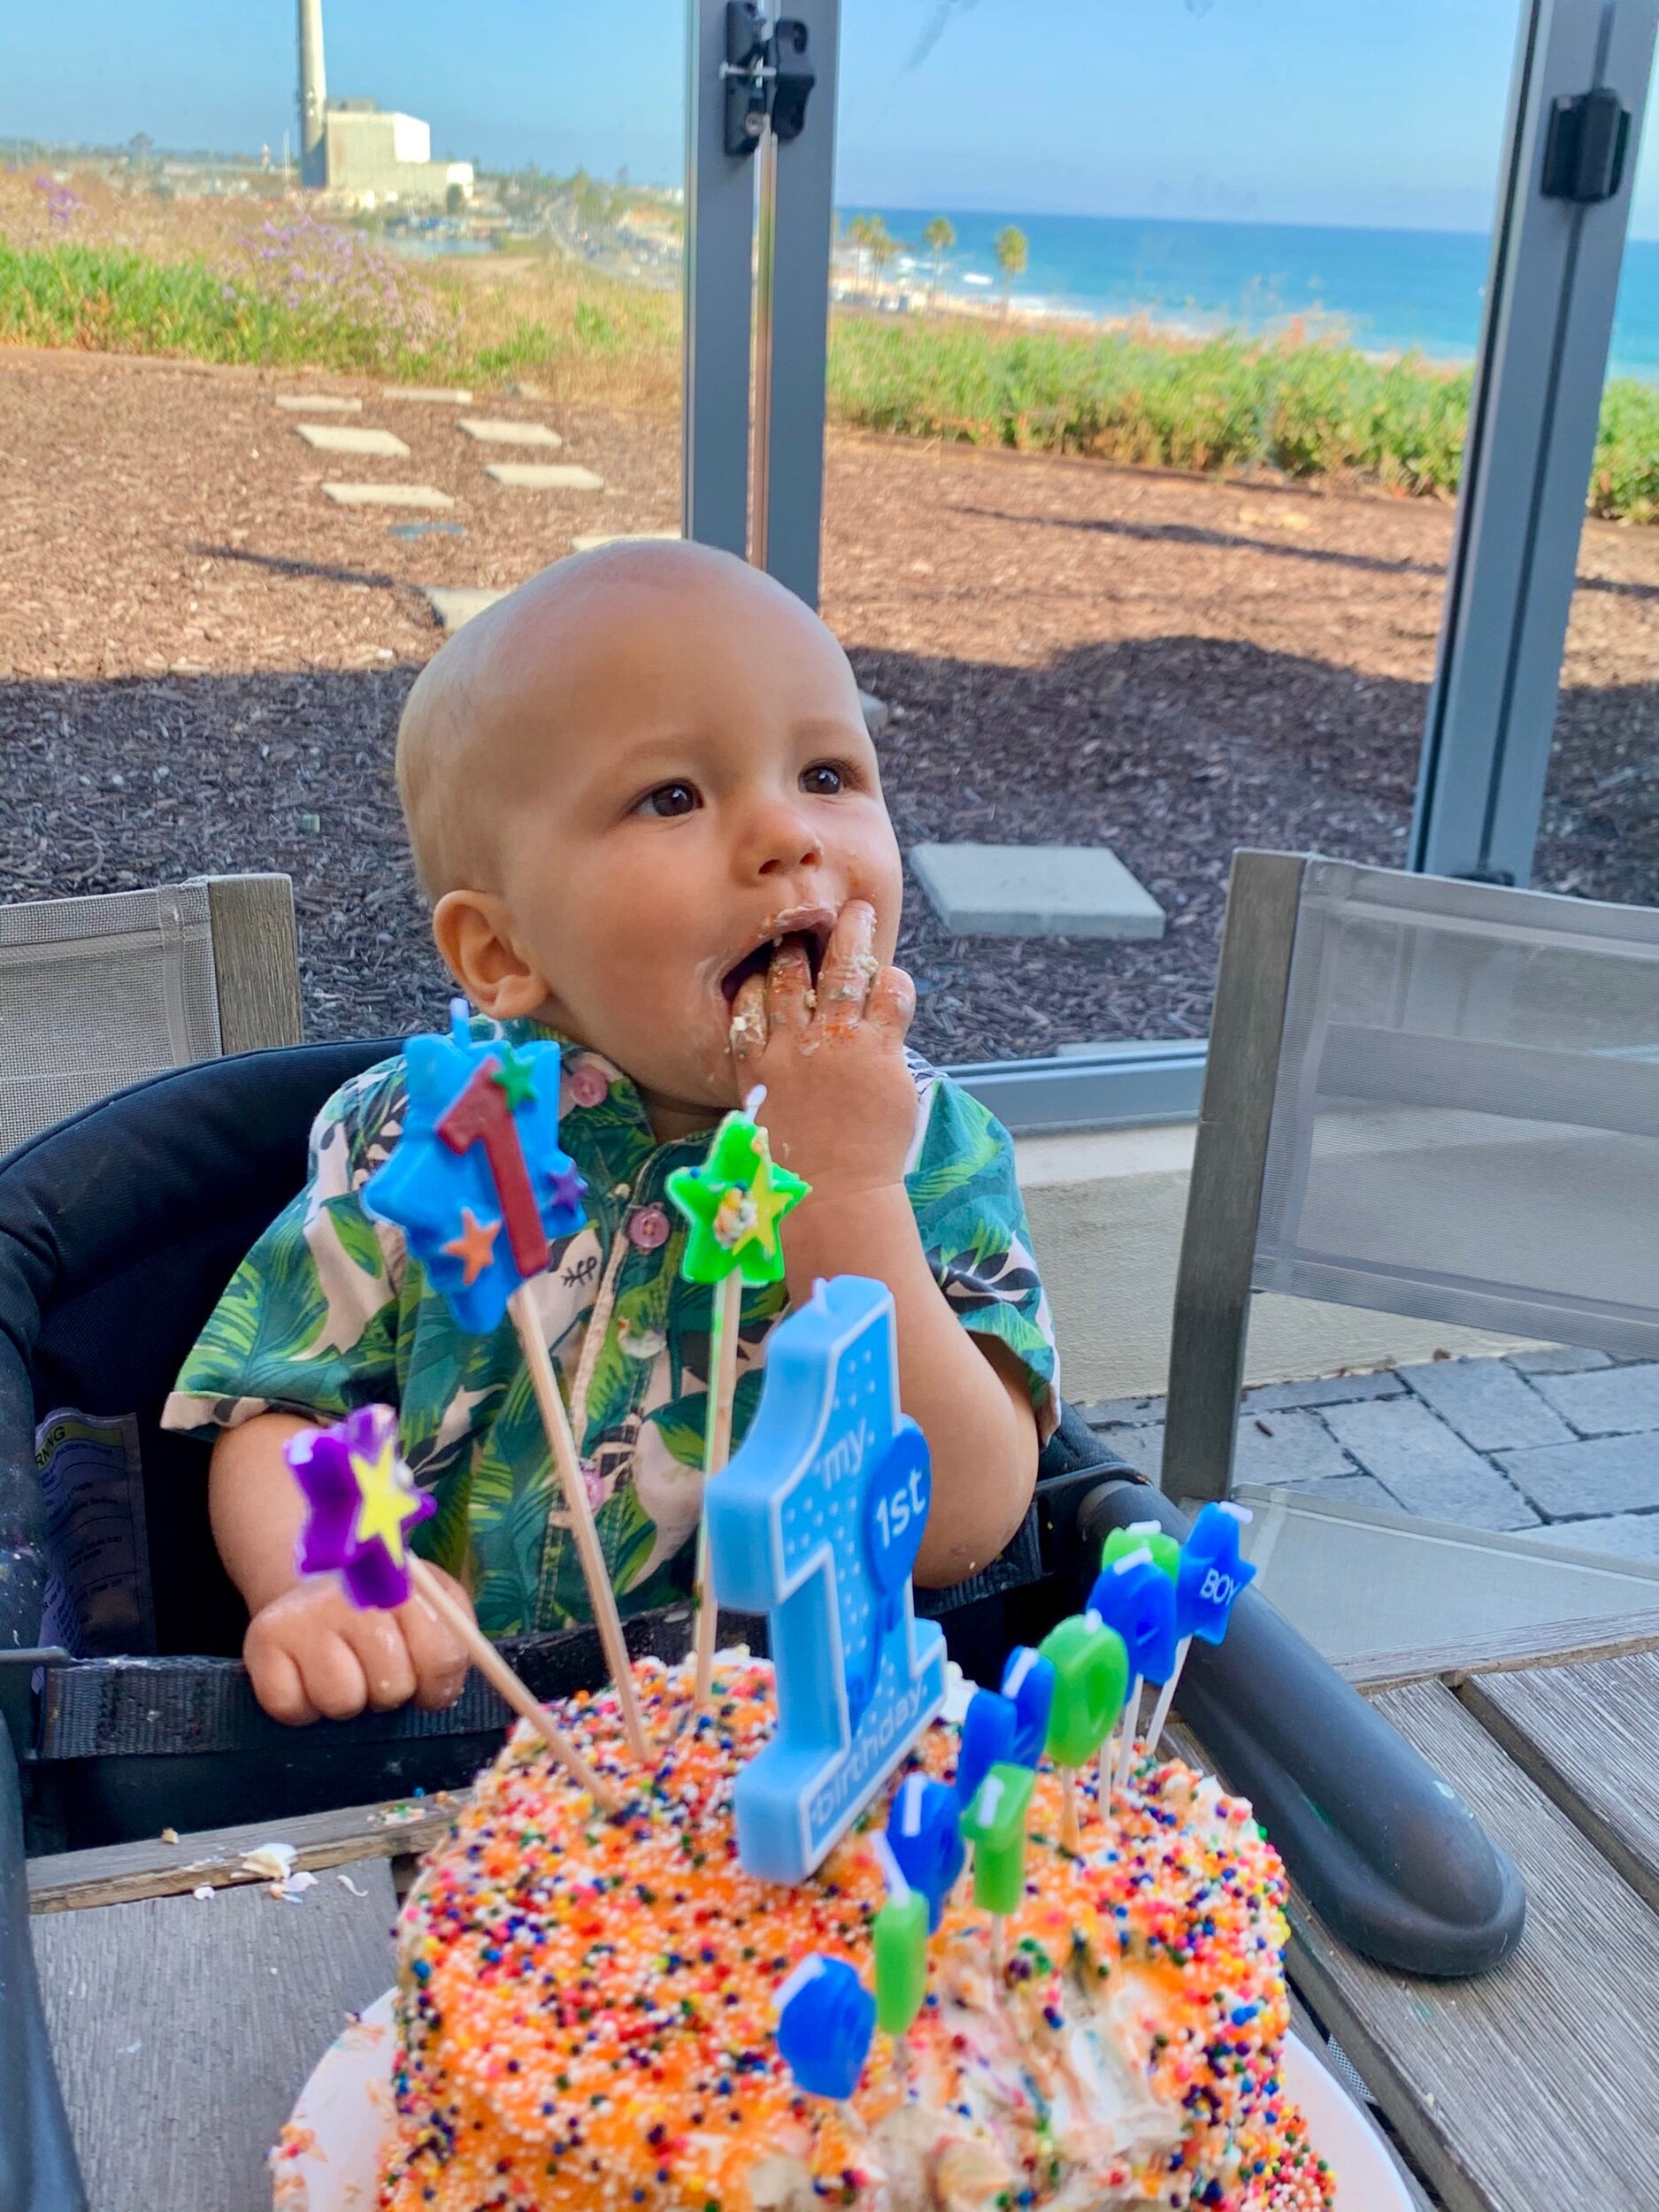
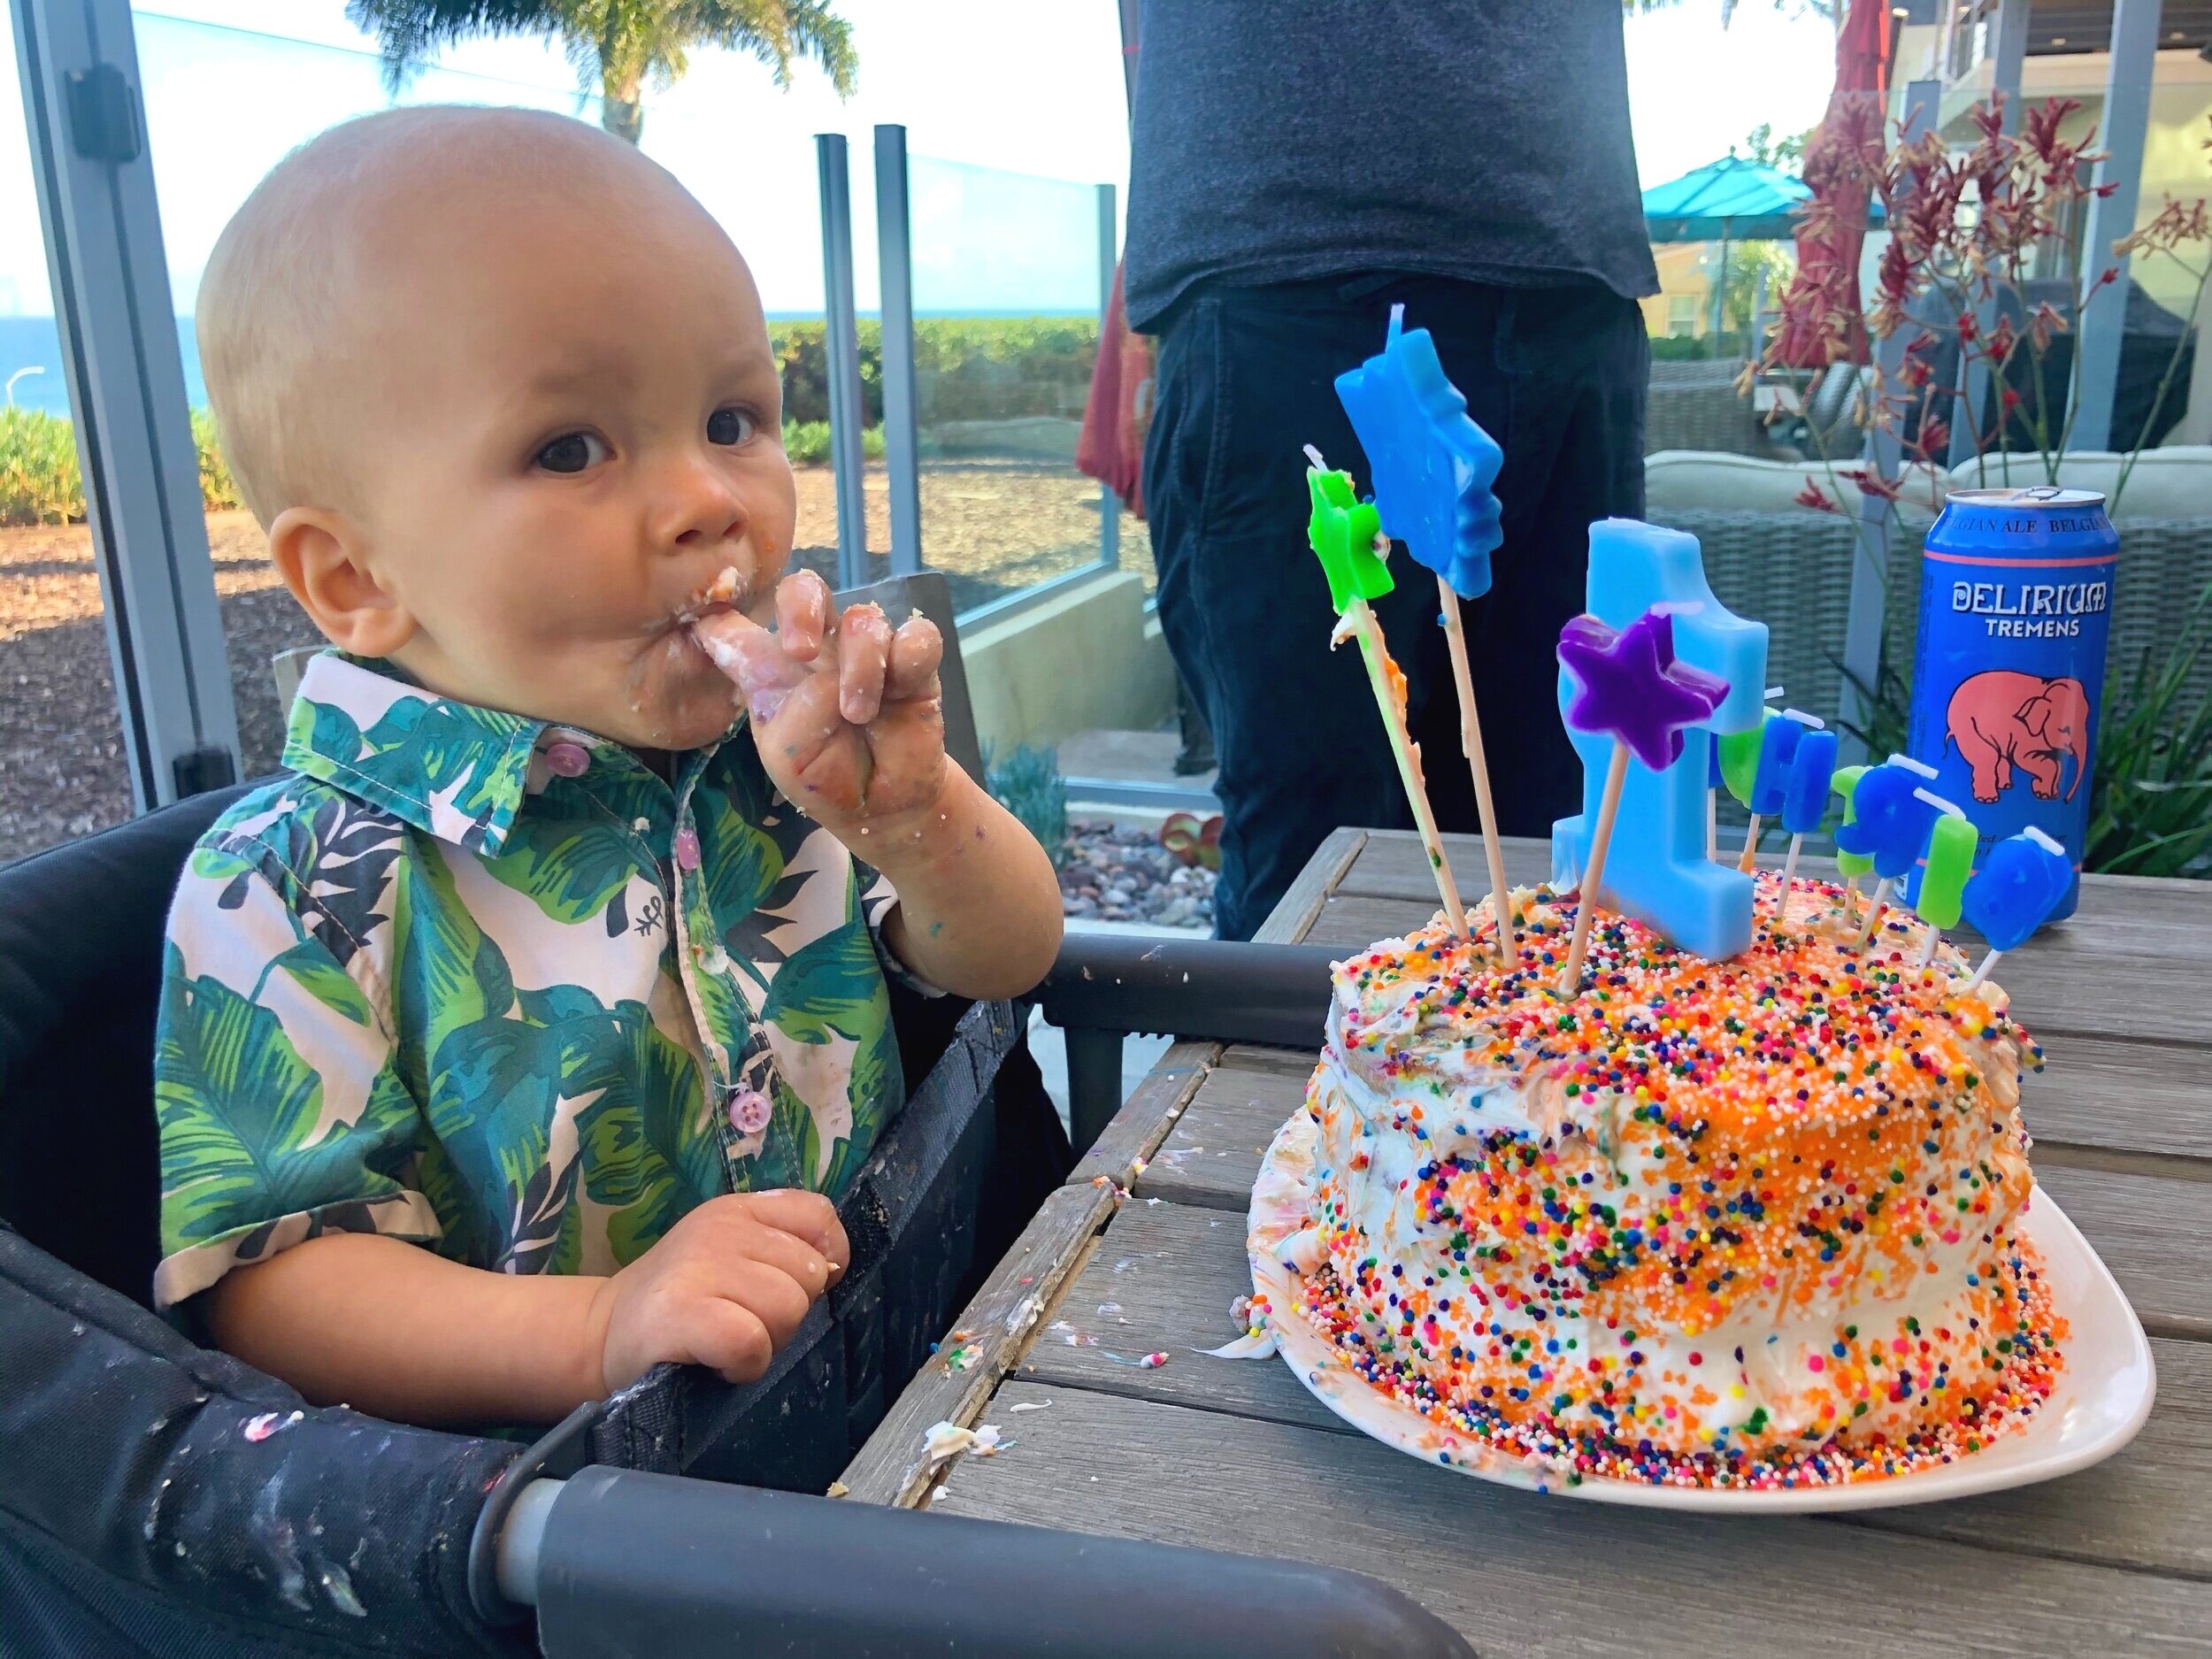
I’m sure it’s no surprise to anyone that I was super excited to bake my son Dylan’s first birthday cake. Typically called “smash cake”, it’s a birthday cake for a one year old that they can essentially smash, play around with, eat, dig in, throw, whatever. Anything goes! And extra cake for me to eat? Yes please! While researching recipes, I knew I wanted something on the healthier side- not too much added sugar for sure. Fresh fruit like bananas are a great way to add a natural sweetness to your cakes without having to add a bunch of cane sugar. I also used a combination of coconut oil (healthy fats!) and applesauce, which keeps the cake nice and moist. Oat flour is a healthy alternative to all-purpose, and I made mine by grinding up rolled oats in a food processor. Super easy! If I’m honest, I didn’t even pulverize the oats into total flour consistency, and left it a bit coarser to give the cake some texture. Whatever you prefer! Plus, if you use certified gluten-free oats, this cake is completely gluten-free as well. In terms of frosting, which can all too often be a huge sugar bomb, I went the Greek yogurt route, with just a touch of maple syrup for sweetness! Make sure you strain it so it’s extra thick for frosting purposes. Feel free to decorate however you desire- a more “naked” frosted cake or spread all-over, and top with berries or natural sprinkles. I was assembling this away from home, without my usual tools and decorating accessories, so it didn’t end up being the prettiest cake out there (I essentially threw sprinkles at it to cover up a messy frosting job), but it was still super fun to make! Just don’t forget the first birthday candles! I’m happy to report Dylan dug right in and ate quite a few handfuls (mostly frosting). Thankfully, he even shared with his mama ;) Happy baking!

First Birthday Smash Cake:

  • 3 cups oat flour

  • 2 tsp baking powder

  • 1/2 tsp salt

  • 6 tbsp coconut oil, melted and slightly cooled

  • 6 tbsp unsweetened applesauce

  • 1/4 cup pure maple syrup

  • 3/4 cup mashed banana (about 1.5 large bananas)

  • 1/4 cup unsweetened almond milk

  • 4 large eggs

  • 2 tsp pure vanilla extract

  • fresh berries or sprinkles, for topping

Greek Yogurt Frosting: 

  • 3 cups whole milk greek yogurt

  • 1 cup cream cheese

  • 1/4 cup pure maple syrup

  • 1 tsp pure vanilla extract

Place greek yogurt in a mesh sieve or fine-mesh strainer lined with a paper towel with a bowl underneath. Let sit for a couple hours (or overnight in the fridge). Transfer the yogurt to a bowl and stir in maple syrup and vanilla extract. You may add more maple syrup if you prefer it sweeter. Refrigerate until ready to use.

Preheat the oven to 350 degrees F. Grease three 6-inch cake pans (you can alternatively use two 9-inch cake pans, but baking time will need to be adjusted), line each with parchment paper, and then grease the parchment as well. In a medium bowl, whisk together the flour, baking powder, and salt. In a large bowl or base of a stand mixer, whisk together melted coconut oil, applesauce, maple syrup, mashed banana, almond milk, eggs, and vanilla until smooth. Slowly add the flour mixture, mixing until just combined. Divide the batter evenly between prepared cake pans, and bake for about 22 minutes, or until a toothpick or cake tester comes out clean. Remove from oven and place pans onto a wire rack to cool for 15 minutes before removing cakes from pans to cool completely.

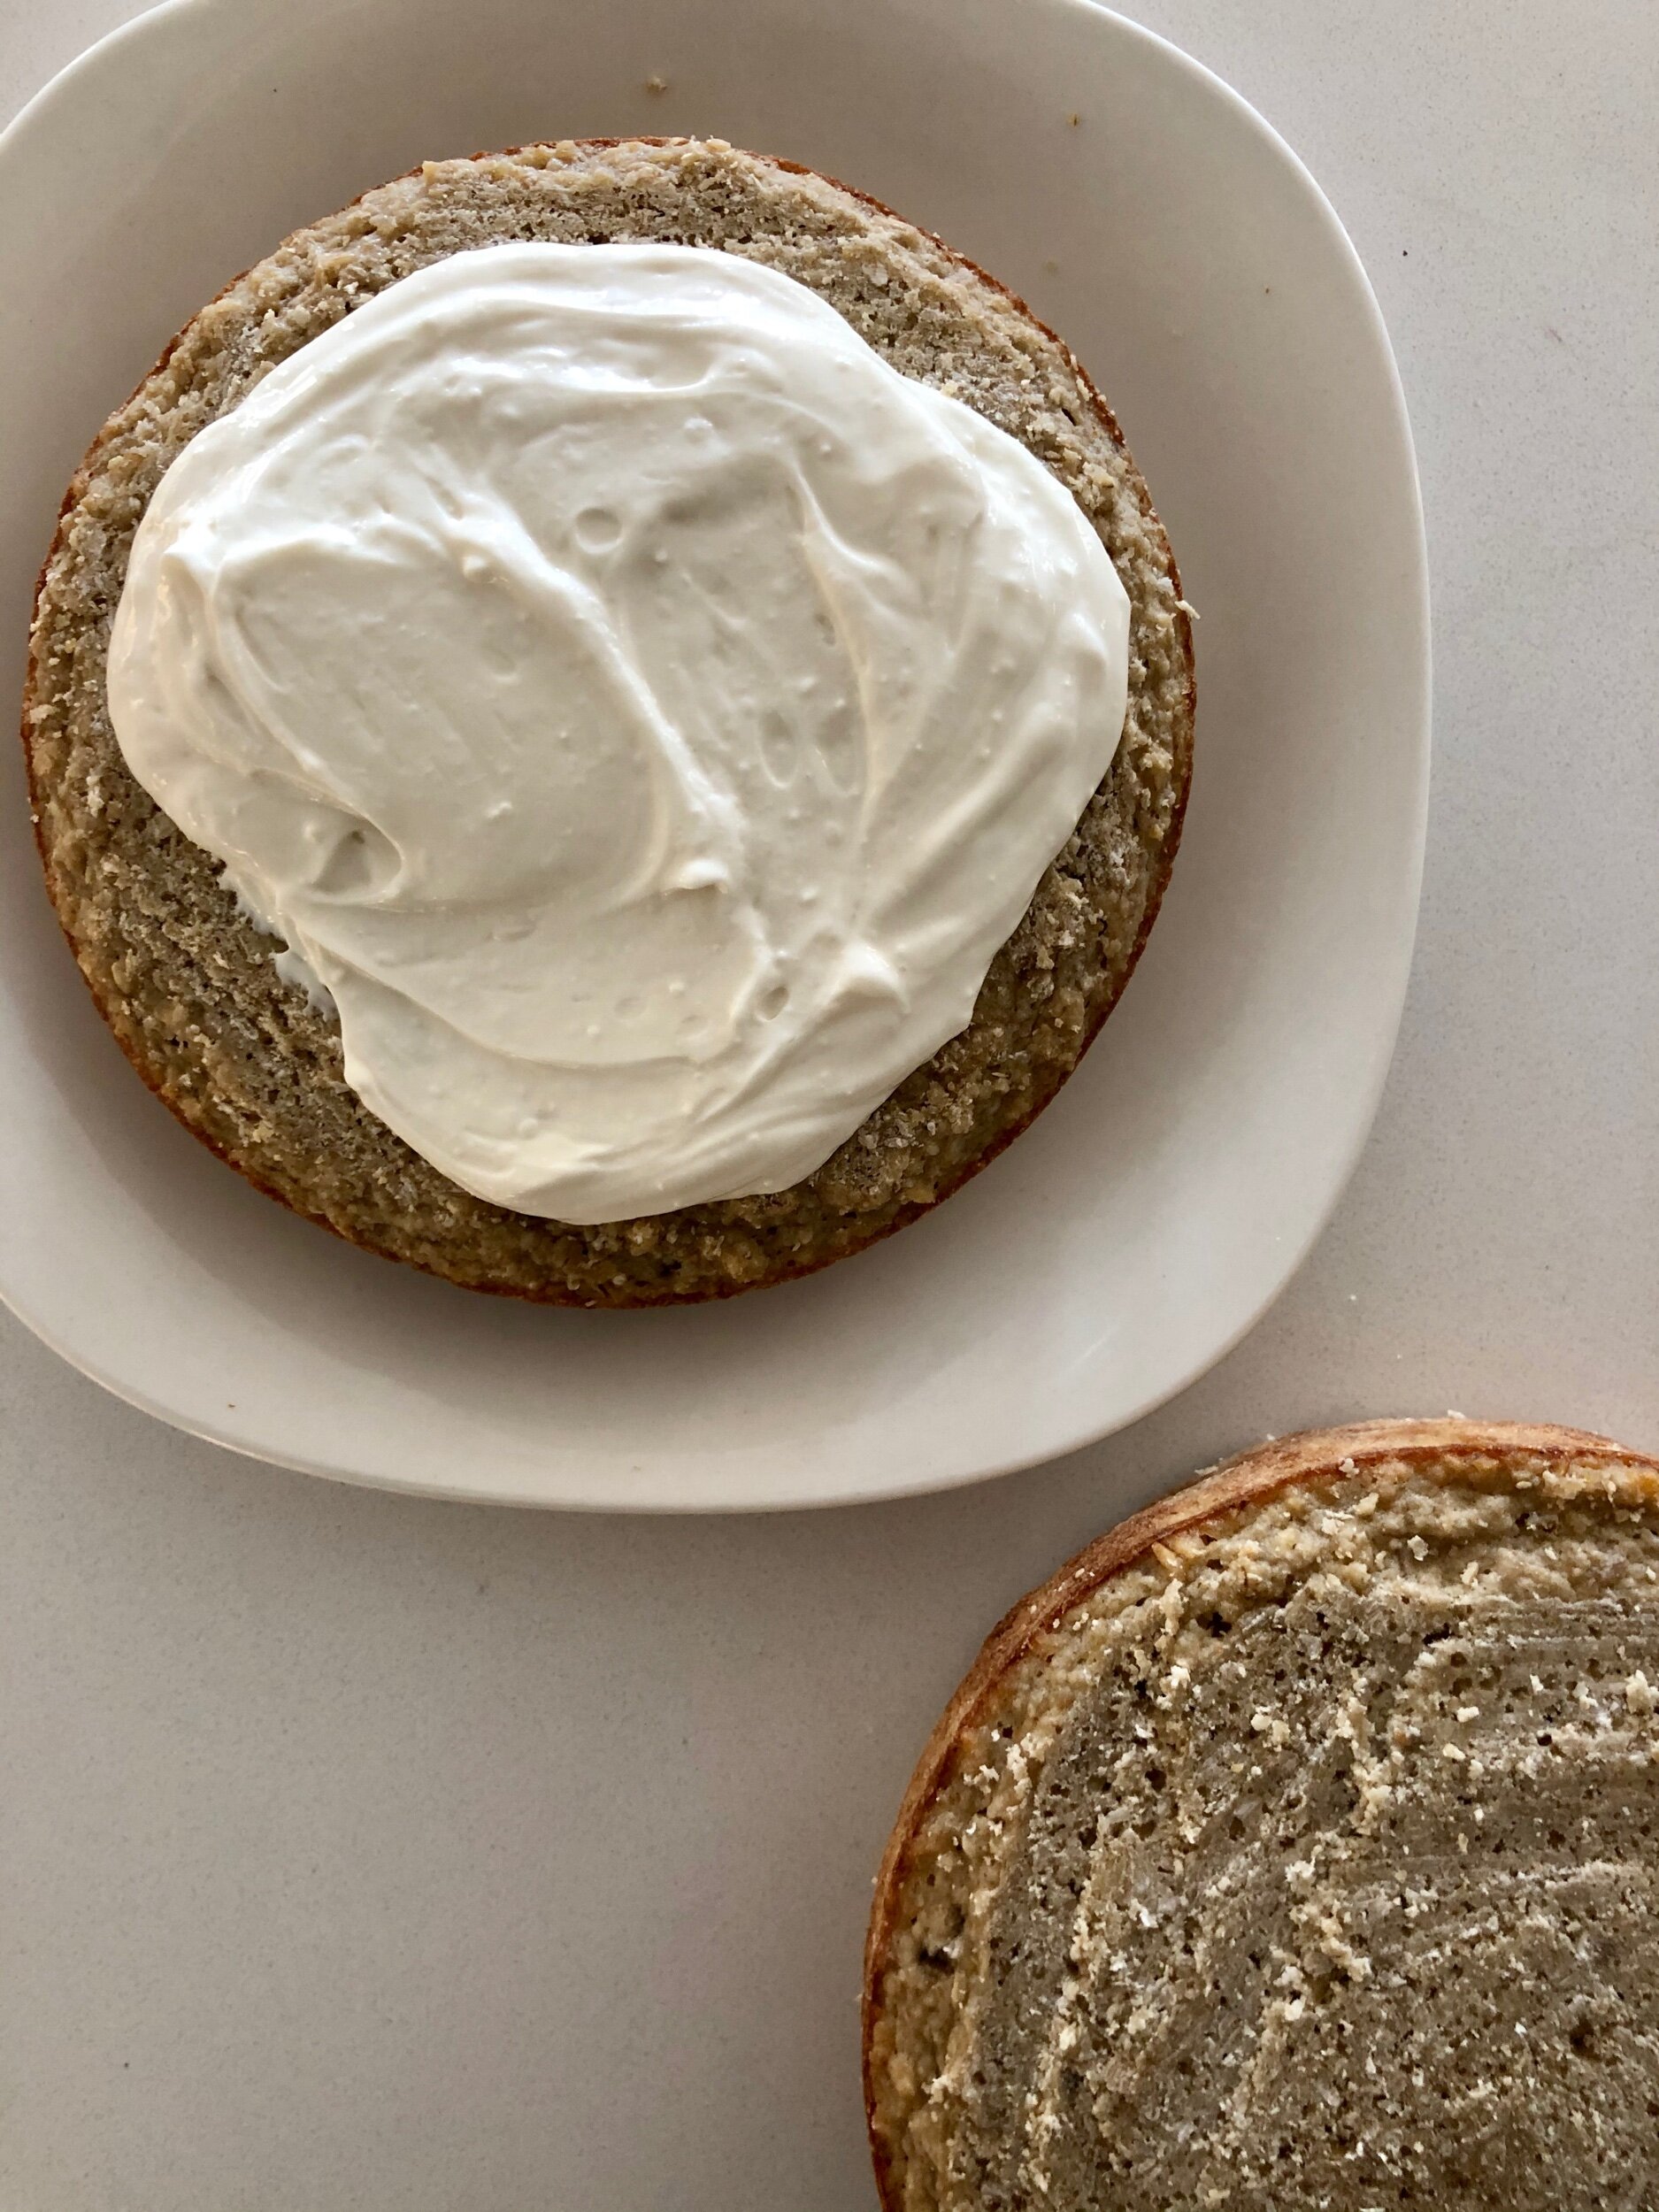
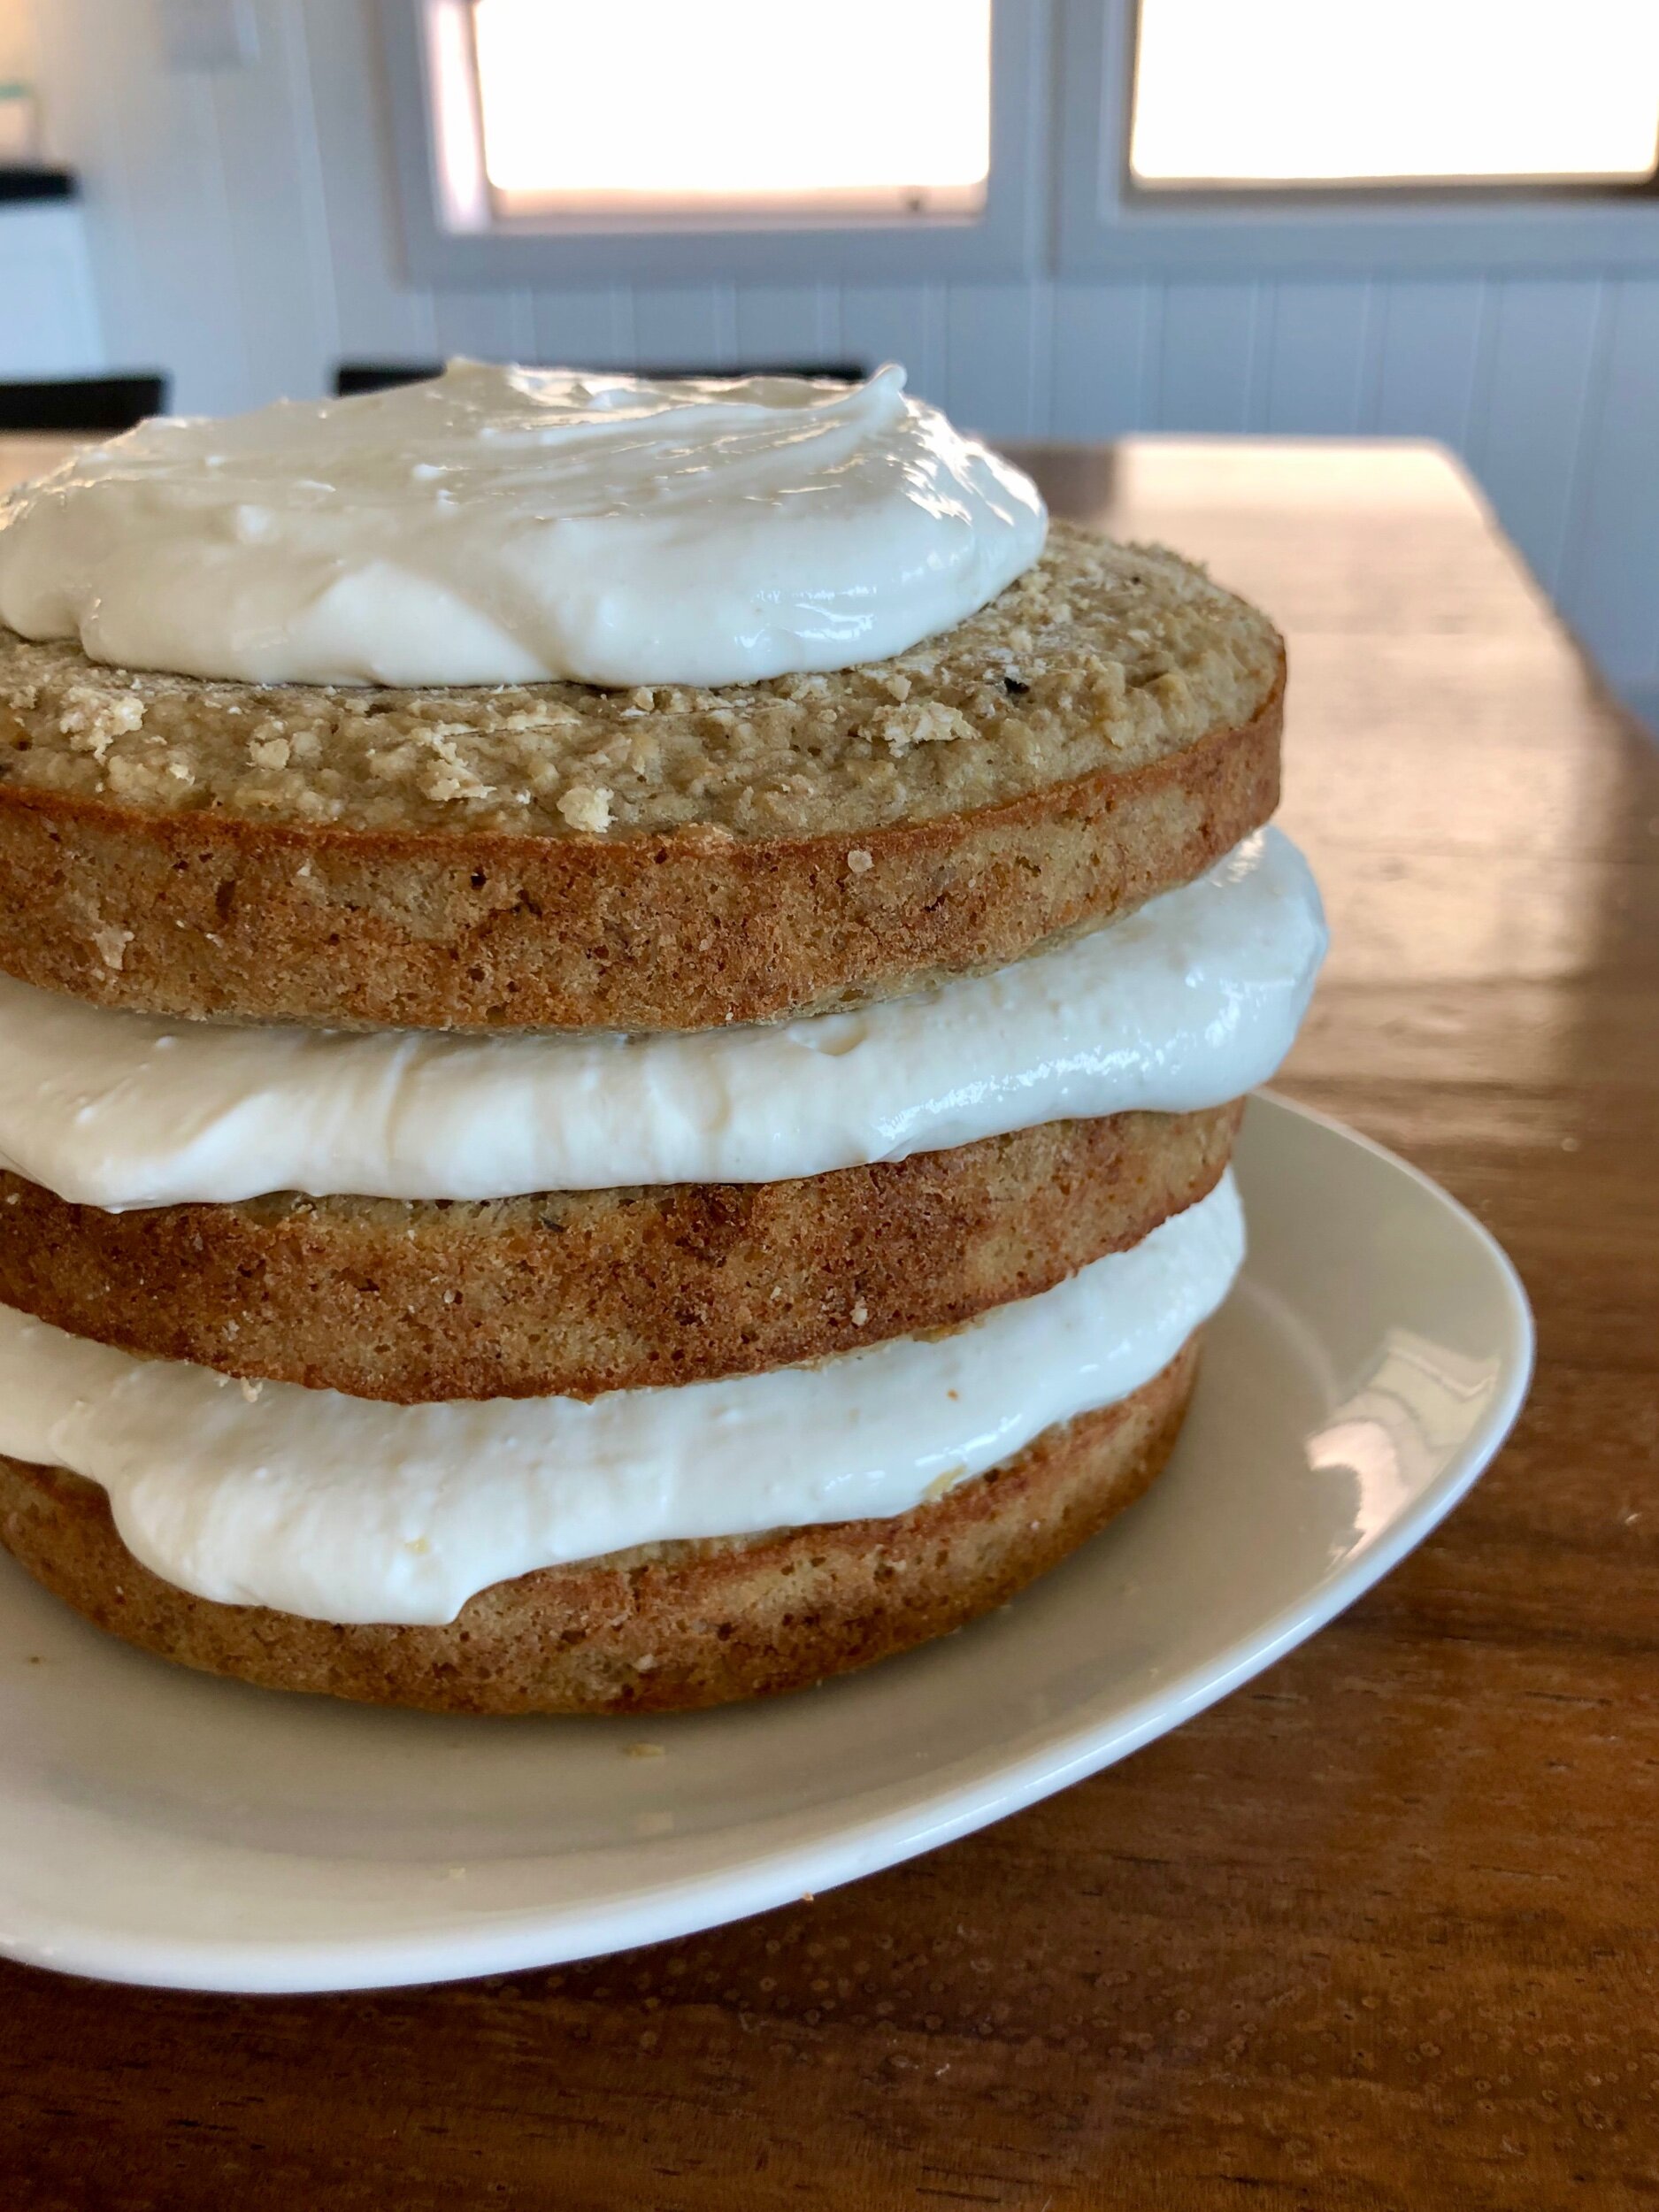
To assemble, level off any dome shape on your cakes, so you have flat surfaces. Place one cake on your cake stand, (you can also use cake boards and a revolving cake stand if you’d like!), and top with frosting, spreading it in an even layer just past the edges. Add the second, repeat with frosting, and then repeat with the third cake . Use an offset spatula or knife to scrape off the frosting overhang for a “naked” cake look, or use additional frosting to coat the entire cake. Top with berries or sprinkles, and enjoy!

*Adapted from First Birthday Smash Cake with Yogurt Frosting by Yummy Toddler Food.


barndiva

If you haven’t gotten to explore the tasty cuisine (and wine, duh) of Napa and Sonoma Valleys, I highly recommend planning a trip. On a recent summer trip to wine country with my family, let’s just say we ate very well. One of the highlights was the super cute Barndiva, housed in none other than a classic barn setting with a beautiful patio out back. This farm to fork restaurant serves modern country cuisine, and everything is extremely fresh and seasonal thanks to their use of the plentiful local produce around. Because of the size of our group, we had a pre-fixe menu, but the options were still delish. I opted for the colorful beet salad to start, which was served with fresh goat cheese, petite lettuces, carrot, radish, raspberry, and lemon vinaigrette. Just look at that plating- it’s practically a work of art! For my entrée, I chose the Alaskan Halibut. The fish was cooked perfectly and was accompanied by sun dried tomato fregola sarda, fava beans, sugar snap peas, gaufrette, and a stinging nettle pistou. Talk about flavors of the season! This truly makes me miss summer and all its bounty. Don’t skip the creative cocktails, or stop by The Somm’s Table for an evening with local winemakers. Maybe even go for a stroll through the garden if you have time- trust me, wherever you end up at Barndiva, you won’t be disappointed!


trois familia

When you're tired of the same 'ol thing, and really craving something outside the box, I highly suggest you head to Trois Familia. This French-Mexican fusion spot comes from Chef Ludo Lefebvre, Jon Shook, and Vinny Dotolo, and is part of the highly acclaimed Trois Mec/Petit Trois family, so you know going in that it's got a lot to live up to. Just browsing through the photos above will show you how colorful and creative the dishes are, and I can attest that everything is just as flavorful and decadent as it looks. Some items on the menu may sound a little out there- beet tartare tostada? Parisian gnocchi? hashbrown chilaquiles?- and I wouldn't fault you for questioning if they'll work. Chef Ludo does what he does best, however, and blends the flavors and techniques of Mexican and French cuisines seamlessly. Each dish offers the comforts of what you'd expect, plus a surprising flair to make it something entirely different. The beet (not beef!) tartare tostada was a personal fave- the crunchy tostada was complemented perfectly from the fresh lime and avocado crema. Also, how much does it look like real beef tartare?! The mussels Marinière were packed full of garlic, white wine, and herbs, and the grilled bread was perfect for soaking up every last drop of sauce. Don't miss their signature tres leches birthday cake for dessert! 


classic birthday cake

Happy Birthday! A classic birthday cake is one of those recipes any good baker should have up his or her sleeve, to whip up whenever an occasion so presents itself. Over the spring and summer months, it seems like there are hundreds of birthdays being celebrated amongst my family and friends, and this cake is a tried and true winner. While this one in particular is a vanilla cake with raspberry filling and a Swiss meringue buttercream, you can customize it in various ways based on your heart's desire: make a chocolate frosting, switch up the filling, add nuts- you get the idea! I highly recommend checking out my wedding cake post for more specific details and instructions on baking, assembling, and decorating the perfect (or close enough!) layer cake! I hope you enjoy it as much as I do :)

Classic Vanilla Birthday Cake with Raspberry Compote Filling & Swiss Meringue Buttercream:

Cake:

  • 4 cups cake flour

  • 2 tsp baking powder

  • 1 1/2 tsp baking soda

  • 1 tsp salt

  • 1 cup unsalted butter, softened

  • 1 1/2 cup cane sugar

  • 1 tbsp pure vanilla extract

  • 4 large eggs, at room temperature

  • 2 cups buttermilk

Buttercream:

  • 1 cup sugar

  • 4 large egg whites

  • 1 1/2 cup unsalted butter, cubed & softened

  • 1 tsp pure vanilla extract

Filling:

  • 2 cups fresh raspberries

  • 1/2 cup granulated sugar

  • 2 tbsp corn starch

  • 1/4 cup water

  • 2 tsp lemon juice

  • fresh raspberries, for serving

Preheat oven to 350°F. Spray two 9" round cake pans with nonstick spray, line with parchment paper, and spray the parchment as well. Mix together flour, baking powder, baking soda, and salt in a medium bowl. In the base of a stand mixer fit with whisk attachment, beat butter and sugar at medium speed until pale and fluffy, then beat in vanilla. Add eggs, beating well and scraping down the bowl to ensure they are fully incorporated. Reduce the speed to low, then mix in buttermilk until just combined. Don't be alarmed if the mixture looks curdled at this point. Add flour mixture until just incorporated, careful not to over-mix. Pour batter evenly among cake pans, and bake until golden, about 35-40 minutes. Allow to cool for a few minutes in the pan, then completely on a cooling rack. 

To prepare raspberry compote, cook raspberries, sugar, cornstarch, water, and lemon juice in a small saucepan until the berries start to break down, about 10 minutes. Lower the heat and simmer until the compote is thick, about 5 minutes. Remove from heat and let cool completely. Store in an airtight container in the fridge (this can be made a week ahead of time). Makes 1 cup.

While cakes are baking, make the buttercream. Whisk egg whites and sugar together in a bowl over a double boiler until sugar is fully dissolved. Transfer mixture into the stand mixer (make sure it's clean & dry!) fit with paddle attachment and whip until it turns white glossy. Add the vanilla, then the butter and continue to whip until buttercream comes together. This may take a good 10-15 minutes, so don't worry if things look curdled or soupy at the start!

Once cakes have cooled, you may level and assemble them, adding filling between the two layers. Spread buttercream evenly around the outside, creating a pattern if desired, and finish with toppings if you choose! You may also make this a 3-layer cake by baking in 6" round cake pans, just make sure you adjust baking time accordingly. Check out my wedding cake post for more assembly and cake decorating instructions. Enjoy!

*Adapted from Best Birthday Cake and Swiss Meringue Buttercream by Smitten Kitchen.

Useful Tools:


key lime pie

I'll be the first to admit, I've never been a key lime pie person. There are very few desserts that I don't love, but key lime pie, along with lemon meringue pie and flan, have never been at the top of my list for whatever reason. I would just typically choose something chocolate, caramel, nutty, or spiced over a citrus-based dessert. Not one to hold a bias, I decided to whip one up for a good friend (who happens to love it!) for her birthday! I can safely say after making one myself, that I thoroughly enjoyed this pie. I love a graham cracker crust, and I personally think toasted coconut is a wonderful addition to almost any dessert. It ends up complementing the fresh, tropical flavors in this pie perfectly. Because I was transporting this pie into the city for dinner, I baked it in a disposable pie dish. But it ended up looking so bright and pretty that I really wish I baked it in one of my pretty ceramic pie dishes! Next time ;)

Key Lime Pie:

Crust:

  • 10-12 full graham crackers (or about 1.5 cups crushed graham crackers)

  • 2 tbsp light brown sugar

  • 1/2 cup coconut oil, melted

  • 1/4 tsp sea salt

Filling:

  • 2 tablespoons finely grated lime zest

  • 4 large egg yolks

  • 1 14 oz. can sweetened condensed milk

  • 2/3 cup fresh lime juice (about 12 key limes or 4 regular limes)

Topping:

  • 3/4 cup heavy whipping cream

  • 2 tablespoons powdered sugar

  • 1/3 cup flaked coconut, toasted

  • lime zest

Preheat oven to 350 F. Combine graham crackers, brown sugar, and salt in a food processor, and pulse until combined. Pour in coconut oil, and pulse a few more times until mixture is uniformly crumbly and moist. Press crust mix into the bottom and up the sides of a standard 9-inch pie dish. Bake crust until lightly browned, about 10 minutes. Set on cooling rack while you prepare filling. 

Zest limes into the bottom of a medium bowl until you have 2 tablespoons (reserving a bit for topping). Beat zest and egg yolks in a stand mixer (or use an electric hand-held one) until pale and thick, about 5 minutes. Add sweetened condensed milk and beat until well incorporated, about 3 minutes more. Whisk lime juice into yolk mixture until combined. Pour into graham crust and bake pie for another 10-12 minutes, until center is just set. Let pie cool completely before adding topping.

In a medium bowl of stand mixer, beat cream and sugar until soft peaks are formed. Spread over top of chilled pie. Sprinkle with toasted coconut and extra lime zest. If possbile, chill pie for another 2-3 hours so that topping can fully set. Slice and enjoy! Pie will stay fresh in the fridge for 5-7 days.

*Adapted from key lime pie by Smitten Kitchen

Useful Tools:

DSC06641.jpg